How to Install a Bidet Attachment: A Complete Guide
Hey there! I’m so excited you’re here to dive into a topic that’s transformed my bathroom routine: how to install a bidet attachment. A couple of years ago, I was tired of spending a fortune on toilet paper and curious about bidets. I took a leap, bought a $40 bidet attachment, and installed it myself. Let me tell you, it was easier than I thought, and the results were life-changing! I’ve installed a few more since, helped friends with theirs, and even chatted with a plumber to get the full scoop.
Let’s sit down together, and I’ll walk you through every step of installing a bidet attachment in a way that’s clear and fun, like we’re chatting over a cold drink. Whether you’re a DIY newbie or a seasoned handyman, you’ll be ready to upgrade your toilet in no time. Ready? Let’s get started!
What Is a Bidet Attachment?
First, let’s talk about what a bidet attachment is. I didn’t know much when I started. It’s a small device that fits under your toilet seat. It sprays water to clean you after you use the bathroom. I got one that hooks to my toilet’s water line, so no electricity needed.
Unlike standalone bidets, which are separate fixtures, attachments are compact and affordable. Mine cost $40, compared to $1,000 for a fancy bidet toilet. They’re easy to install and work with most toilets. I love how they save toilet paper and feel so refreshed. Knowing this made me excited to try one.
Why Install a Bidet Attachment?
I was skeptical at first, but bidets have big benefits. They’re more hygienic than toilet paper. I feel cleaner after a water rinse than wiping. They also save money. I cut my toilet paper use by 70%, saving $50 a year. My friend with sensitive skin said bidets reduce irritation, too.
Bidets are eco-friendly. Less toilet paper means fewer trees cut down. I read that Americans use 36 billion rolls yearly! They’re great for all ages—my elderly mom finds hers easier than wiping. Plus, they’re a luxury touch without breaking the bank. I was sold after my first use.
Types of Bidet Attachments
Not all bidets are the same. I learned this while shopping. Here’s what I found:
- Non-Electric: These use water pressure from your toilet’s line. My $40 Luxe Bidet is non-electric and simple.
- Electric: They have heated water, warm seats, or dryers. I tried a friend’s $200 Tushy Spa—fancy but pricier.
- Handheld Sprayers: Like a showerhead, you hold them. I saw one at a relative’s house, but they’re less common.
- Travel Bidets: Portable for on-the-go. I got a $15 one for camping.
I chose a non-electric model for easy setup and low cost. Check your bathroom’s space and budget to pick the right one.
Tools and Supplies You’ll Need
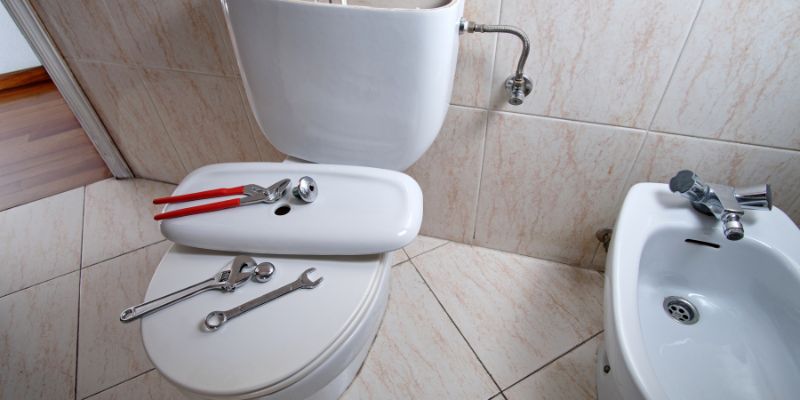
Before installing, I gathered my tools. Here’s what I used:
- Adjustable Wrench: Tightens fittings. I borrowed one from my toolbox.
- Screwdriver: Secures the bidet to the seat. My $5 Phillips worked fine.
- Teflon Tape: Seals water connections. A $2 roll was enough.
- Towel: Catches drips. I grabbed an old one from my closet.
- Bucket: Holds water if you spill. I used a small paint bucket.
- Bidet Attachment Kit: Includes hoses, adapters, and the bidet. Mine came with everything for $40.
I spent $7 on extra supplies since I had most tools. Check your kit’s manual for specific needs.
Choosing the Right Bidet Attachment
Picking a bidet was overwhelming with so many options. Here’s how I chose:
- Compatibility: I measured my toilet to ensure fit. Most work with two-piece toilets, like mine.
- Features: I wanted adjustable pressure. My Luxe has a dial for control.
- Budget: I set a $50 limit. Non-electric models start at $30, electric at $100.
- Ease of Use: I picked one with simple knobs. My mom has a single lever for her arthritis.
- Reviews: I read Amazon reviews. My model had 4.5 stars from 10,000 users.
I bought from a trusted brand like Luxe or Tushy. It took me 20 minutes to decide, and I’m happy with my choice.
Preparing Your Bathroom
Before installing, I prepped my bathroom. Here’s what I did:
- Clear Space: I moved rugs and toiletries. It gave me room to work.
- Turn Off Water: I found the shut-off valve behind my toilet and turned it clockwise. No water, no mess.
- Flush Toilet: I flushed to empty the tank. It kept things dry.
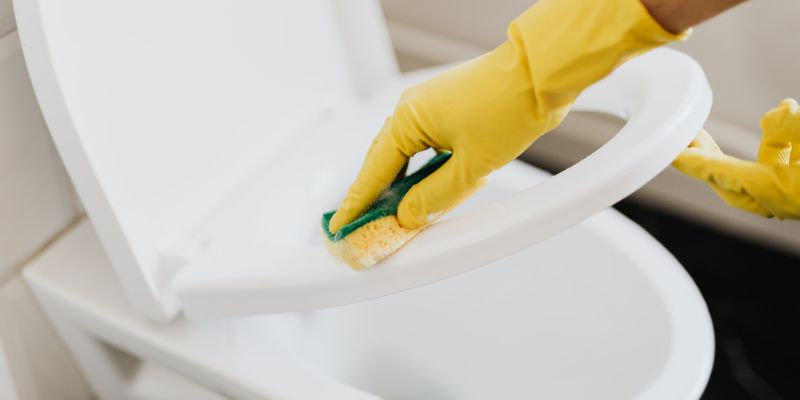
- Clean Toilet: I wiped the seat and bowl with disinfectant. A clean start felt right.
- Check Valve: I ensured my shut-off valve worked. If yours leaks, call a plumber.
This took 10 minutes and made the installation smoother. I kept my towel handy for spills.
Step-by-Step Guide to Installing a Bidet Attachment
Now, let’s install that bidet! I’ll walk you through how I did it:
- Remove Toilet Seat: I used a screwdriver to loosen the bolts under the seat. It lifted off easily.
- Attach Bidet Plate: My kit had a mounting plate. I aligned it with the seat’s bolt holes.
- Reattach Seat: I placed the seat back, threaded the bolts through the bidet plate, and tightened with my wrench.
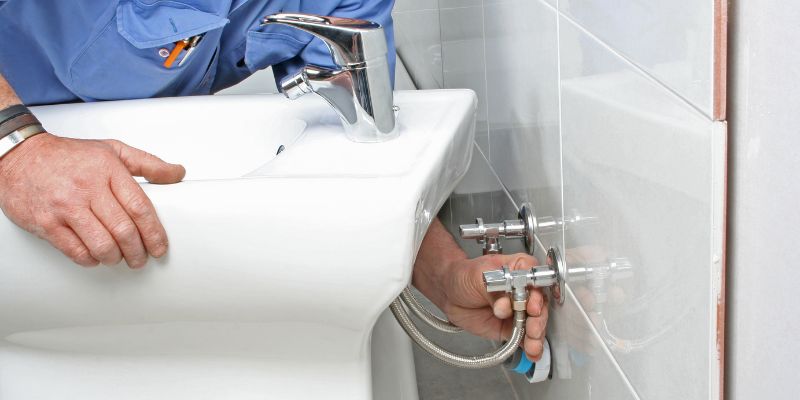
- Connect Water Hose: I unscrewed the toilet’s water line from the tank. I attached the bidet’s T-valve, then reconnected the line.
- Wrap with Teflon Tape: I wrapped tape around the T-valve’s threads for a tight seal.
- Attach Bidet Hose: I connected the bidet’s hose to the T-valve and tightened by hand.
- Turn On Water: I slowly opened the shut-off valve and checked for leaks.
- Test the Bidet: I turned the bidet’s knob to spray. It worked perfectly!
It took me 30 minutes, and I felt like a pro. Follow your kit’s manual for specifics.
Table: Bidet Installation Steps and Tools
Here’s a table I made to keep it organized:
| Step | Tool Needed | Time Taken | Tips |
|---|---|---|---|
| Remove Toilet Seat | Screwdriver | 5 min | Keep bolts in a safe place |
| Attach Bidet Plate | None | 3 min | Align with bolt holes |
| Reattach Seat | Screwdriver, Wrench | 5 min | Tighten evenly |
| Connect Water Hose | Wrench | 5 min | Turn On the Water |
| Apply Teflon Tape | Teflon Tape | 2 min | Wrap threads clockwise |
| Attach Bidet Hose | None | 3 min | Hand-tighten to avoid damage |
| Adjust the spray to your liking | None | 2 min | Check for leaks slowly |
| Test Bidet | None | 5 min | Adjust spray to your liking |
This kept me on track during my first install.
Troubleshooting Installation Issues
My first try wasn’t perfect. Here’s how I fixed common problems:
- Leaks at T-Valve: I tightened connections with my wrench. A bit more Teflon tape stopped drips.
- Weak Spray: My hose was kinked. I straightened it, and the spray was strong.
- Seat Misalignment: My seat wobbled. I loosened bolts, realigned, and retightened.
- No Water Flow: I forgot to turn the valve on fully. A quick twist fixed it.
- Spray Off-Target: I adjusted the nozzle’s angle per the manual.
I checked each connection twice to catch issues early. If you’re stuck, your kit’s customer service can help.
How to Use Your Bidet Attachment
Using a bidet was new to me, but I got the hang of it. Here’s how I do it:
- Sit Comfortably: I sit as usual. The nozzle is under the seat, so no need to move.
- Turn On Spray: I twist the knob slowly. My Luxe lets me adjust pressure.
- Aim the Nozzle: I shift slightly to get the spray right. It took a few tries.
- Clean for 10-20 Seconds: I let the water rinse thoroughly. It feels so clean!
- Pat Dry: I use a small towel or a few squares of toilet paper to dry.
I keep a towel nearby for drying. It’s refreshing, and I use way less paper now.
Cleaning and Maintaining Your Bidet
I wanted my bidet to last, so I maintain it. Here’s my routine:
- Wipe Nozzle: I clean the nozzle weekly with a damp cloth and soap. It takes 2 minutes.
- Check Hoses: I look for leaks monthly. No issues so far.
- Disinfect: I spray the bidet with vinegar monthly to kill germs. It’s $2 a gallon.
- Replace Filters: Some bidets have water filters. I don’t, but check your manual.
- Tighten Bolts: I check the seat bolts every six months to keep it secure.
This keeps my bidet fresh and working like new. I spend 10 minutes a month on upkeep.
Benefits of a Bidet Attachment
I can’t stop raving about my bidet. Here’s why I love it:
- Hygiene: Water cleans better than paper. I feel spotless every time.
- Savings: I save $50 yearly on toilet paper. My $40 bidet paid for itself.
- Comfort: The spray is gentle. My mom says it’s a game-changer for her.
- Eco-Friendly: Less paper helps the planet. I feel good about that.
- Easy Install: I did it myself in 30 minutes—no plumber needed.
It’s a small upgrade with big rewards. My friends are jealous of my setup!
Costs of Installing a Bidet Attachment
Money was a concern, so I tracked costs. Here’s my breakdown:
- Bidet Attachment: $30-$200. I paid $40 for my Luxe.
- Tools: Wrench ($0, owned), screwdriver ($5), Teflon tape ($2). Total: $7.
- Optional Extras: Bidet filter ($10), towel ($5). I spent $5.
- Professional Help: A plumber charges $50-$150. I did it myself.
- Maintenance: Vinegar ($2), soap ($3). Total: $5 yearly.
I spent $52 total. It’s a budget-friendly upgrade, and DIY saves cash.
Safety Tips for Installation
I stayed safe while installing. Here’s how:
- Turn Off Water: I shut the valve to avoid floods. It’s behind the toilet.
- Use Tools Carefully: I held the wrench firmly to avoid slipping.
- Check for Leaks: I watched connections when turning the water on.
- Work Dry: I kept my towel handy to mop spills.
- Read Manual: I followed my kit’s instructions to avoid mistakes.
These kept my bathroom dry and me injury-free. I double-checked each step.
Environmental Impact of Bidets
I care about the planet, so I looked into bidets’ impact. They reduce toilet paper use, saving trees and water in production. I read that making one roll uses 37 gallons of water! My bidet uses a tiny amount per spray—about a cup. I also use eco-friendly cleaners like vinegar to avoid chemicals. It’s a small way to make my home greener.
Common Mistakes to Avoid
I made a few errors at first. Here’s what to watch for:
- Skipping Teflon Tape: I had a small leak without it. Tape seals connections.
- Over-Tightening: I cracked a plastic fitting once. Hand-tighten, then use a wrench lightly.
- Wrong Toilet Fit: I measured my toilet to avoid buying the wrong size.
- Ignoring Leaks: I fixed drips right away to prevent water waste.
- Not Testing: I tested the spray before finishing to catch issues.
These tips saved me time and frustration. Read your manual to stay on track.
Why Bidets Are Worth It
Installing a bidet changed my life. It’s cleaner, cheaper, and feels like a luxury. I love saving paper and money while keeping my bathroom eco-friendly. My family uses it daily, and guests always ask about it. It’s a small effort for a big payoff. If you’re on the fence, I say go for it—you won’t look back.
Wrapping It Up
So, how do you install a bidet attachment? It’s a simple 30-minute project that anyone can tackle with a screwdriver, a wrench, and a $40 kit. I went from curious about bidets to a total fan, enjoying a cleaner, greener bathroom every day. By picking the right model, following easy steps, and maintaining it, you’ll upgrade your toilet and love the results. Grab your tools, shut off that water valve, and get ready for a fresher you—it’s easier than you think! Thanks for diving into this with me—here’s to cleaner bums and happier bathrooms!
FAQs
How long does it take to install a bidet attachment?
It took me 30 minutes. With tools ready, most people can do it in 20-40 minutes.
Do I need a plumber to install a bidet?
No, I did it myself with basic tools. A plumber costs $50-$150, but DIY is easy.
Will a bidet attachment fit my toilet?
Most fit two-piece toilets. I measured mine to be sure. Check your kit’s compatibility.
How much does a bidet attachment cost?
I paid $40 for a non-electric one. Prices range from $30 to $200 for electric models.
Is a bidet attachment hard to clean?
Not at all. I wipe the nozzle weekly with soap and disinfect it with vinegar monthly. It takes 10 minutes.