How To Install Infrared Heaters For Garages The Right Way
Installing infrared heaters in your garage the right way means choosing the correct type of heater, finding the best placement for optimal warmth, understanding the electrical requirements, and ensuring safe mounting. This process helps you create a comfortable and functional garage space year-round.
What Are Infrared Heaters for Garages?
Infrared heaters are different from regular heaters. Most heaters warm the air. Then the air warms you.
Infrared heaters don’t do that. They send out rays. These rays heat objects and people directly.
It’s like the sun. You feel its warmth even on a cold day. This makes them super efficient for garages.
You get warm right away. You don’t wait for the whole room to heat up.
Think about your garage. It might be big. It might have high ceilings.
It might have lots of stuff in it. Heating all that air takes lots of power. And if you open the door, all that warm air escapes.
Infrared heat is smarter. It sends warmth where you need it. It works well even in drafty places like garages.
Types of Infrared Heaters
There are a few kinds of infrared heaters. Each works a little differently. And each is good for different needs in a garage.
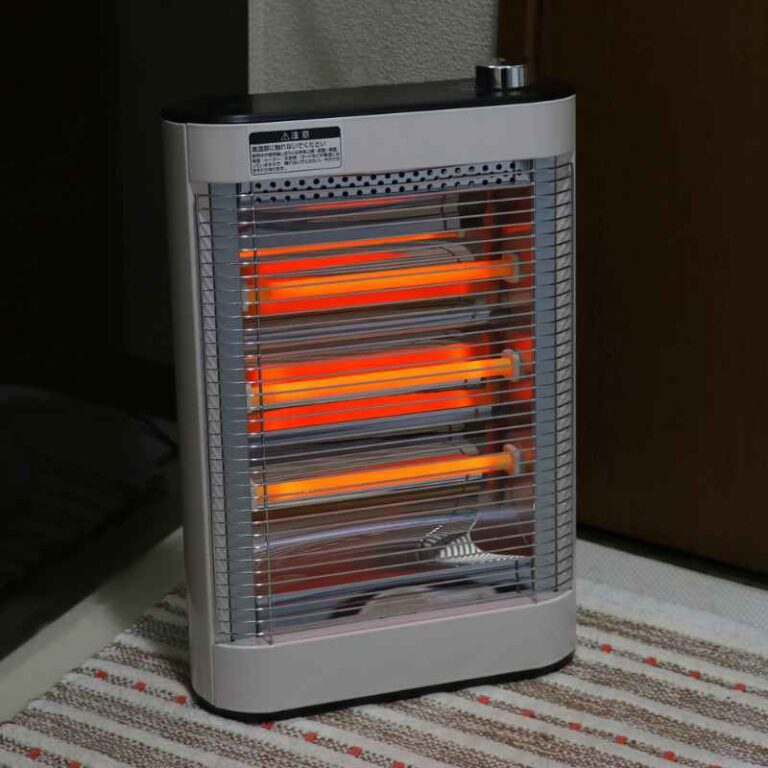
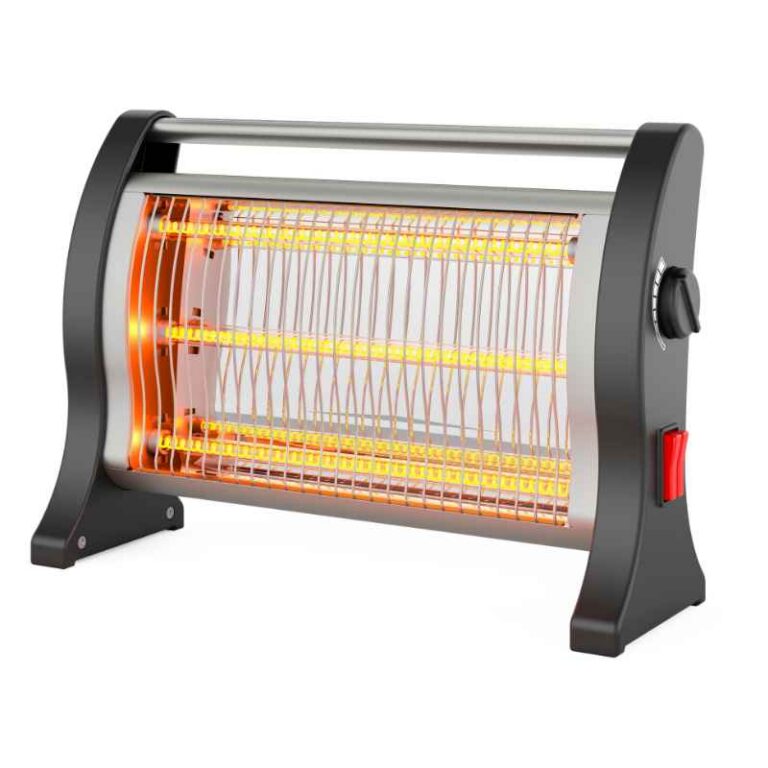
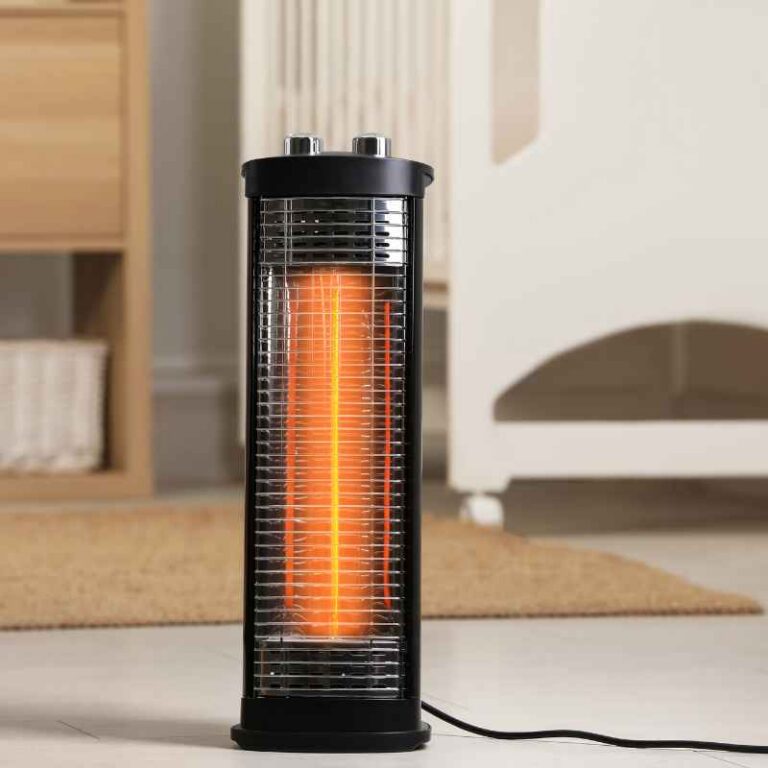
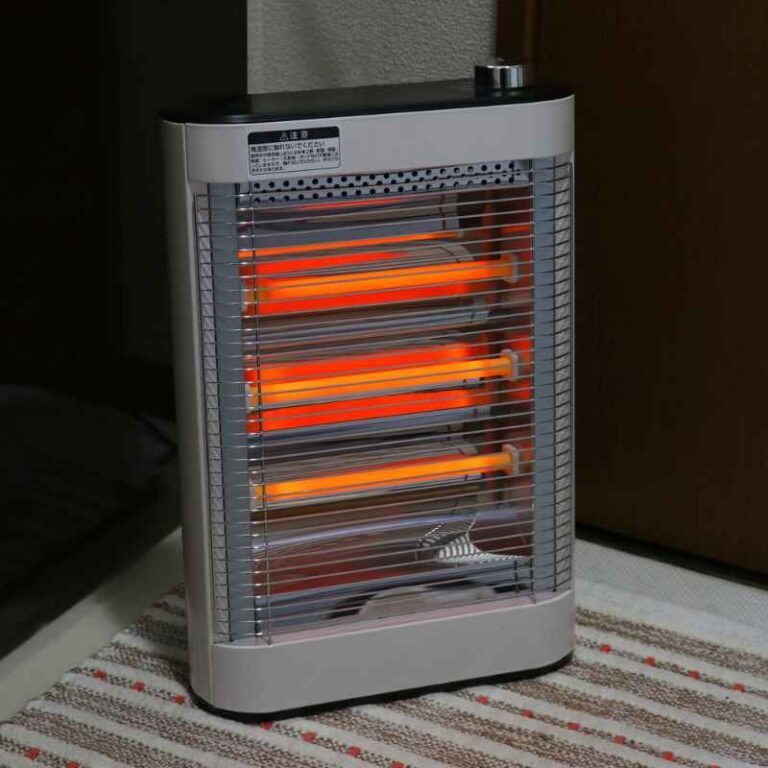
Electric Infrared Heaters
These are very common. They use electricity to make heat. You just plug them in.
Or wire them into your garage’s electric system. They have a heating element. This element gets very hot.
It then sends out infrared rays. They come in many sizes. Some are small and portable.
Others are larger and fixed to a wall or ceiling.
Electric models are easy to set up. You don’t need special fuel lines. But they do use a good amount of electricity.
So, check your garage’s power supply. Make sure it can handle the heater’s needs. This is a key step in how to install infrared heaters for garages.
Propane or Natural Gas Infrared Heaters
These heaters use gas to create heat. They have a burner. This burner heats up a metal surface.
That surface then sends out infrared rays. You need a propane tank or a gas line. These are often used in larger garages.
Or places where electricity might be limited.
Gas heaters can be very powerful. They can heat large spaces quickly. But they need proper ventilation.
Gas fumes need to escape safely. You also need to manage fuel. Refill propane tanks.
Or hook up to a natural gas line. This is a bit more complex than electric ones.
Quartz Infrared Heaters
These are a type of electric heater. They use quartz tubes. Inside the tubes are heating elements.
The quartz gets very hot. It then emits infrared heat. Quartz heaters heat up fast.
They are often used for spot heating. You can aim them right at where you are working.
They are good for temporary heat. Or for areas you use often. Like a workbench.
But they might not heat a whole large garage evenly. They are often less powerful than other types. But they are very quick to start warming you.
Choosing the Right Heater for Your Garage
To know how to install infrared heaters for garages, first pick the right one. Think about these things:
- Garage Size: How big is your garage? A small garage needs less power. A large one needs more. Check the heater’s BTU rating. This tells you how much heat it can produce.
- Garage Usage: What do you do in your garage? If you just store things, maybe less heat is needed. If you work on cars or build things, you need more consistent warmth.
- Insulation: Is your garage insulated? Insulated garages hold heat better. You might need a smaller heater. Or you might need one that runs longer.
- Power Source: Do you have enough electricity? Or a gas line? Make sure your garage can support the heater you choose.
- Budget: Infrared heaters vary in price. Set a budget before you shop.
Planning the Installation
Proper planning is key. This avoids problems later. And makes your heater work its best.
It’s part of knowing how to install infrared heaters for garages.
Placement is Important
Where you put the heater matters a lot. You want it to heat the space you use. Not just empty air.
Consider these spots:
- Work Areas: If you have a workbench, place the heater nearby. Point it at your workspace. This will keep you warm while you work.
- Main Activity Zone: Where do you spend most of your time? Put the heater so it faces that area.
- Avoid Obstructions: Don’t put the heater behind boxes or tools. Nothing should block the infrared rays.
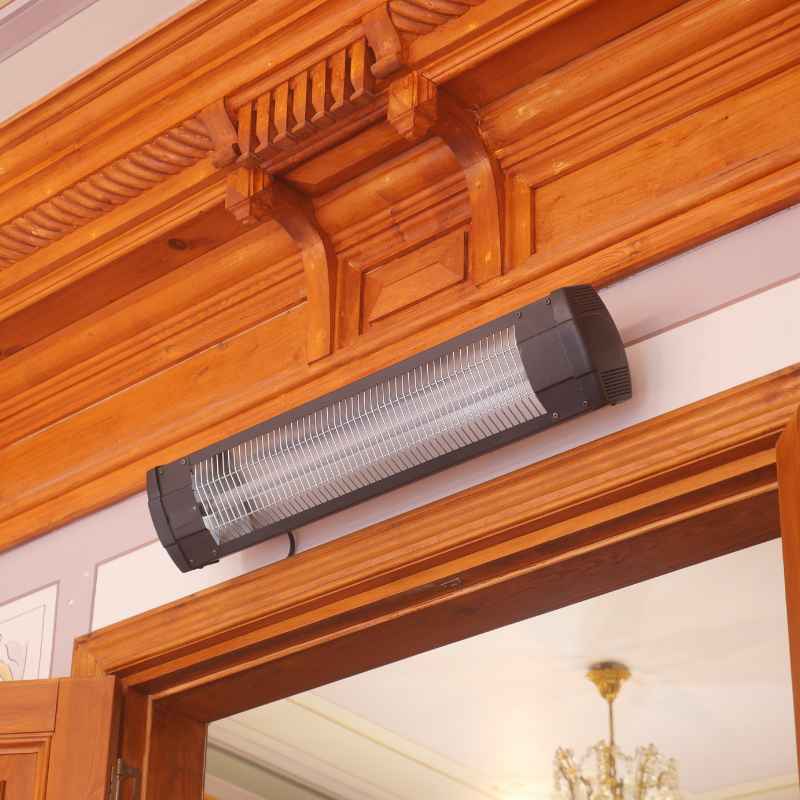
- Ceiling Mount: Many models can be mounted on the ceiling. This spreads heat evenly. Make sure it’s high enough. Check the manual for recommended height.
- Wall Mount: Wall mounting is also common. Choose a spot that faces your main area.
Think about door openings too. If your garage door opens a lot, heat will escape. Try to place the heater away from the door.
Or use a heater powerful enough to counteract drafts.
Electrical Considerations
This is a big part of how to install infrared heaters for garages. Especially for electric models. You need to know about power.
- Voltage: Most electric heaters use 120V. Some larger ones need 240V. Check your garage’s electrical panel. Make sure it has the right circuits. And enough power capacity.
- Amperage: Heaters draw amps. Make sure your circuit breaker can handle the load. Don’t overload a circuit. This can trip the breaker or cause a fire.
- Dedicated Circuit: For powerful heaters, a dedicated circuit is best. This means the heater uses its own circuit. It won’t share power with lights or tools. This prevents tripping the breaker.
- Wiring: If you’re hardwiring a heater, use the correct gauge wire. Follow electrical codes. If you’re unsure, hire an electrician. Safety is most important.
- GFCIs: In damp areas like garages, Ground Fault Circuit Interrupters (GFCIs) are a good idea. They add an extra layer of safety.
A qualified electrician can help you check your wiring. They can install new circuits if needed. This is a wise investment for safety.
Installation Steps for Electric Infrared Heaters
Here’s a general guide on how to install infrared heaters for garages. Always follow the manufacturer’s specific instructions.
Step 1: Choose Your Location
Decide where the heater will go. Based on your planning. Measure the distance from the wall or ceiling.
Check the heater’s manual for minimum clearance. This is crucial for fire safety.
Step 2: Mount the Heater
Most heaters come with mounting brackets. Use the correct hardware for your wall or ceiling type. Studs are ideal for secure mounting.
If mounting to drywall, use appropriate anchors. Make sure the heater is level. And very secure.
It should not wiggle or move.
Step 3: Electrical Connections
For Plug-in Models: If your heater has a standard plug, find a suitable outlet. Make sure it’s on the correct circuit. Don’t use extension cords for permanent installations.
They can overheat.
For Hardwired Models: Turn off the power to the circuit. You’ll need to connect wires. Usually, this involves connecting the heater’s wires to your garage’s wiring.
Use wire nuts and electrical tape. Ensure all connections are tight and secure. Re-check the manual for specific wiring diagrams.
If you’re not comfortable with electrical work, stop here. Call a pro.
Step 4: Test the Heater
Once everything is connected, turn the power back on. Test the heater. Make sure it turns on.
And starts producing heat. Check for any strange noises or smells. If something seems off, turn it off immediately.
And troubleshoot or call for help.
Installation Steps for Gas Infrared Heaters
Gas heaters need more careful setup. This is a bit different for how to install infrared heaters for garages.
Step 1: Choose Location and Ventilation
Gas heaters produce fumes. You MUST have good ventilation. This means either an open garage door or a proper exhaust system.
Place the heater away from flammable materials. Check clearance requirements in the manual.
Step 2: Connect Fuel Source
Propane: Connect the heater to a propane tank. Use the correct hose and regulator. Make sure connections are tight.
Smell for leaks. Never operate a leaking heater.
Natural Gas: If you have a gas line, connect the heater to it. This usually requires a professional plumber or gas fitter. Ensure the line is properly sized and safe.
Step 3: Mount the Heater
Similar to electric models, mount the heater securely. Follow the manual for height and clearance. Ensure it’s stable.
Step 4: Ignition and Testing
Follow the manufacturer’s instructions for lighting the pilot light (if it has one) or starting the burner. Test the heater. Check for proper flame.
And ensure heat output. Again, any unusual smells or sounds mean turn it off.
Safety First!
Safety is the absolute top priority. When you learn how to install infrared heaters for garages, remember these points:
- Read the Manual: Every heater is different. The manufacturer’s instructions are your best guide.
- Clearance: Always maintain the recommended distances from walls, ceilings, and objects. This prevents fires.
- Electrical Safety: If you’re not an electrician, hire one. Incorrect wiring is dangerous.
- Ventilation for Gas: Never run a gas heater without proper ventilation. Carbon monoxide is a silent killer.
- Keep Kids and Pets Away: The surfaces of infrared heaters get very hot. Keep children and pets from touching them.
- Inspect Regularly: Check your heater and its connections periodically. Look for wear or damage.
Infrared Heater Safety Checklist
Checklist Item | Action
Manufacturer Manual | Read thoroughly before installation.
Clearances | Ensure proper distance from all surfaces and objects.
Electrical Connections | Verify secure wiring and appropriate circuit breaker.
Gas Connections (if applicable) | Check for leaks and ensure proper regulator use.
Ventilation (if gas) | Confirm adequate airflow and exhaust.
Mounting Stability | Make sure heater is securely fastened.
Child/Pet Safety | Keep away from hot surfaces when in use.
Regular Inspection | Periodically check for any signs of wear or damage.
Where to Install Your Infrared Heater
Think about your garage’s layout. How you use the space. Where do you need heat the most?
For the Hobbyist or DIYer
If your garage is your workshop, focus heat on your workbench. A wall-mounted unit above or to the side of your bench works well. Or a portable unit you can aim directly at your work area.
This keeps you comfortable for long projects. You won’t be so focused on being cold. This is a common reason people learn how to install infrared heaters for garages.
For Car Enthusiasts
Working on your car often means being on the floor. Or leaning over the engine. Place a heater low on a wall.
Or use a portable one. Aim it towards your main working spot. You might want more than one heater.
One near the driver’s door and one near the engine area.
For Storage and General Use
If your garage is mostly for storage, but you want it warmer for occasional use, a ceiling-mounted unit can be good. It will heat the general space. It won’t be as focused, but it will make the garage feel more welcoming.
Choose a size appropriate for the total volume of the garage.
Consider Your Garage Door
Garage doors are often the biggest source of heat loss. If you have a drafty door, consider how it affects heater placement. You might need a more powerful heater.
Or one that can be directed away from the door when it’s open. Some people install heater strips near the door. But this is usually for commercial spaces.
Heater Placement Strategies
Strategy | Best For | Notes
Workbench Focused | Hobbyists, DIYers | Mount above or aim at workbench.
Floor Level Heat | Car maintenance | Position low on wall, aim at work area.
General Space Warmth | Storage, occasional use | Ceiling mount for even distribution.
Drafty Door Area | High-traffic doors | Use powerful unit or aim away from door.
Electrical Upgrades You Might Need
Many garages were not built with high-demand heating in mind. This is where you might need help. Understanding this is part of how to install infrared heaters for garages.
Check Your Panel Box
Open your garage’s electrical panel. Look at the breakers. Do you have free slots?
Are the existing circuits overloaded? Heaters, especially powerful ones, need their own space. You might see breakers for lights, tools, or outlets.
A new heater might need a dedicated 20-amp or 30-amp breaker.
Dedicated Circuits
For electric infrared heaters, a dedicated circuit is often the best choice. This means the circuit breaker and wiring are only for the heater. It prevents overloading.
It stops your lights from flickering when the heater kicks on. Or your tools from losing power.
An electrician can assess your panel. They can tell you if you have capacity for a new circuit. They can install it safely.
This protects your home and your new heater.
GFCI Protection
Garages can be damp. Water and electricity don’t mix well. Ground Fault Circuit Interrupters (GFCIs) offer extra protection.
They detect tiny imbalances in current. And shut off power quickly. This can prevent shocks.
Many building codes require GFCI protection in garages.
Ensure the outlet you use is GFCI protected. Or have an electrician install GFCI breakers or outlets for your heater circuit.
Installing Gas Heaters: What to Know
Gas heaters have different needs. And different safety concerns. This is a specialized part of how to install infrared heaters for garages.
Ventilation is Non-Negotiable
Gas combustion produces carbon monoxide (CO). It’s a colorless, odorless gas. It can be deadly.
Your garage MUST be well-ventilated. If your garage door is always closed, you need a vent pipe. This pipe carries fumes outside.
Check local building codes. They will specify ventilation requirements.
A CO detector is also a must-have. Install one in your garage. Test it regularly.
Don’t rely on smell. You can’t smell CO.
Fuel Lines and Connections
Connecting to a gas line requires expertise. It’s not a DIY job for most people. Professionals ensure the lines are the right size.
Connections are leak-free. And the pressure is correct. For propane tanks, use a regulator.
Make sure it’s the right type for your heater.
Always check for gas leaks. Use soapy water on connections. Bubbles mean a leak.
Turn off the gas and tighten connections.
Mounting Options and Considerations
How you mount your heater affects its performance and safety. For how to install infrared heaters for garages, mounting is key.
Ceiling Mounts
This is a popular choice for larger garages. It keeps the heater out of the way. It also helps distribute heat more evenly.
Look for heaters designed for ceiling mounting. They usually come with specific brackets.
Height: The manual will tell you the ideal height. Too low and it’s a hazard. Too high and it might not feel warm enough.
Ensure it’s above head height.
Clearance: Make sure there’s enough space around the heater. Nothing should be directly above or beside it.
Wall Mounts
Wall mounts are great for directing heat. You can aim them at specific zones. Like your workbench or car.
Angle: Some wall mounts allow you to tilt the heater. This gives you more control over where the heat goes.
Stability: Mount into studs if possible.
This ensures the heater is held firmly. A heavy heater can be dangerous if it falls.
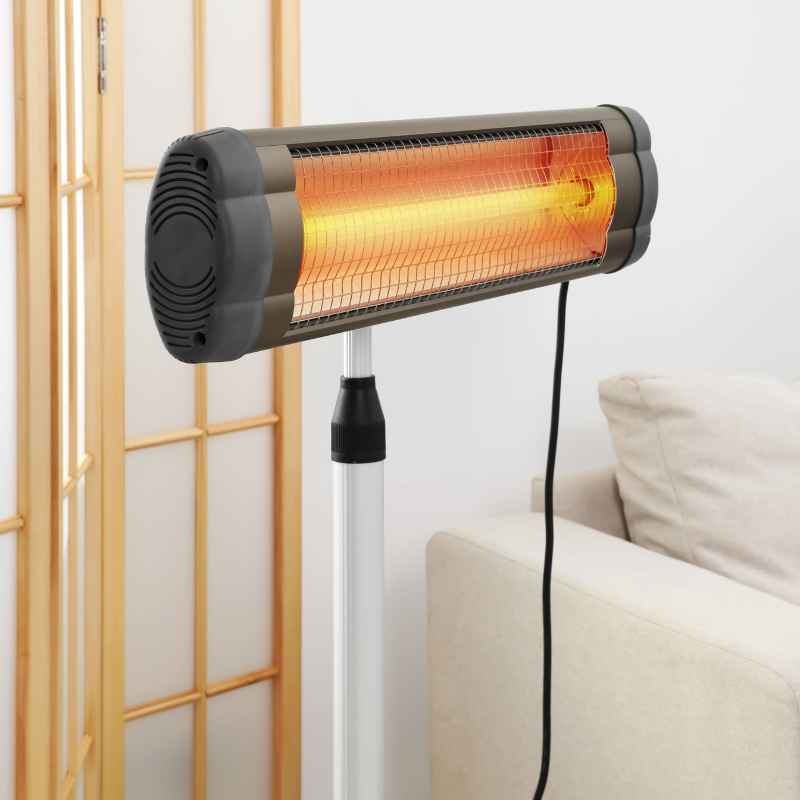
Portable Units
These are the easiest to set up. You just plug them in. But their placement is temporary.
They are good for spot heating. Or when you only need warmth for a short time.
Placement: Keep them on a stable surface. Away from anything flammable. Aim them at where you are.
Don’t leave them running unattended.
Mounting Tips
Mount Type | Pros | Cons
Ceiling Mount | Space-saving, even heat | Can be less direct heat.
Wall Mount | Direct heat, directional | Might be in the way.
Portable Unit | Easy setup, flexible | Temporary, less efficient for large areas.
What This Means for You
Knowing how to install infrared heaters for garages means you can create a more useful space. Your garage can become a place to work, relax, or pursue hobbies all year round.
When is it Normal?
It’s normal for an infrared heater to provide immediate warmth. You should feel the heat rays on your skin within minutes. The heater itself might get hot, but the surrounding air won’t feel super heated like with a fan heater.
This is how they are designed to work.
When Should You Worry?
If the heater doesn’t turn on, there’s an electrical issue. Or a safety lockout. If you smell gas, turn it off immediately.
And get out of the garage. Do not try to fix it yourself. Call a professional.
If you see sparks or smoke, unplug it or turn off the power at the breaker. Strange noises can also be a sign of a problem.
Simple Checks to Do
Before turning on your heater, do a quick check. Make sure nothing is blocking the vents or heating elements. Check power cords for damage.
Ensure gas connections are snug. Look at the mounting brackets to make sure they are still secure.
Quick Fixes and Tips
Even with careful installation, you might need small adjustments. Here are some tips:
- Too Little Heat: Your heater might be too small for the space. Or the garage might be very poorly insulated. Consider a second heater or better insulation.
- Uneven Heating: If you feel hot spots and cold spots, adjust the heater’s position. Try pointing it more directly at the areas you use.
- Too Hot: Some heaters have adjustable thermostats or power settings. Use them to dial back the heat.
- Drafts: Seal up any gaps around windows or doors. This will help keep the heat in.
- Noise: Most infrared heaters are quiet. Some fan-assisted models might make a low hum. If it’s loud or grinding, check for loose parts.
Troubleshooting Common Issues
Problem | Possible Cause | Solution
No Heat | Power issue, tripped breaker, safety lockout | Check power, breaker, manual for reset.
Smell Gas | Gas leak | Turn off gas, evacuate, call gas company/professional.
Not Warm Enough | Heater too small, poor insulation | Use larger heater, improve insulation, add second heater.
Uneven Heat | Poor placement | Adjust heater angle or position.
Loud Noise | Loose part, motor issue | Check for loose screws, call for service if needed.

Frequently Asked Questions
What’s the best type of infrared heater for a garage?
For most garages, electric infrared heaters are a good choice. They are easy to install and use. If you have a very large or uninsulated garage, a powerful gas heater might be better, but requires careful ventilation.
How much power do infrared heaters use in a garage?
It depends on the heater’s wattage. A 1500-watt heater will use 1.5 kilowatts per hour. Check the heater’s label.
Larger or more powerful units use more electricity.
Do I need a special outlet for an infrared garage heater?
For most standard 120V plug-in heaters, a regular outlet on a sufficient circuit is okay. For larger 240V heaters, you’ll need a dedicated 240V outlet. Always check the heater’s requirements and your garage’s electrical capacity.
How far away should an infrared heater be from walls?
This varies by model. Always check the manufacturer’s manual for specific clearance distances. Typically, it’s at least 1 to 3 feet from walls and ceilings.
Can I install a gas infrared heater myself?
Installing gas lines and heaters is complex and dangerous if done incorrectly. It’s highly recommended to hire a qualified professional for gas heater installation to ensure safety and proper ventilation.
Will an infrared heater dry out my garage?
Infrared heaters heat objects directly, not the air’s humidity. They don’t significantly dry out the air. Unlike some convection heaters that can lower humidity.
Conclusion
Installing infrared heaters in your garage can make a big difference. It transforms a cold space into a usable one. By planning carefully and following safety guidelines, you can enjoy a warm and comfortable garage.
Whether you’re working on a project or just need a bit more space, the right heater makes it possible.