How to Properly Install an Oil-Filled Radiator Heater
Installing an oil-filled radiator heater correctly is crucial for safety, efficiency, and longevity. These heaters offer a safe and consistent way to warm spaces, but improper setup can lead to performance issues or even hazards. This guide will walk you through the essential steps for a successful installation, ensuring you get the most out of your new heating unit.
Simply put, to properly install an oil-filled radiator heater, choose a stable, level surface away from flammable materials and moisture, connect the legs or base securely, plug it into a suitable outlet, and familiarize yourself with its controls and safety features before first use.
Key Takeaways
- Proper installation of an oil-filled radiator heater starts with selecting a safe location.
- Ensure the heater is placed on a stable, level surface away from obstructions.
- Follow manufacturer instructions for attaching any necessary legs or bases.
- Plug the heater directly into a grounded electrical outlet, avoiding extension cords.
- Understand the heater’s controls, thermostat, and safety features before operation.
What is an Oil-Filled Radiator Heater?
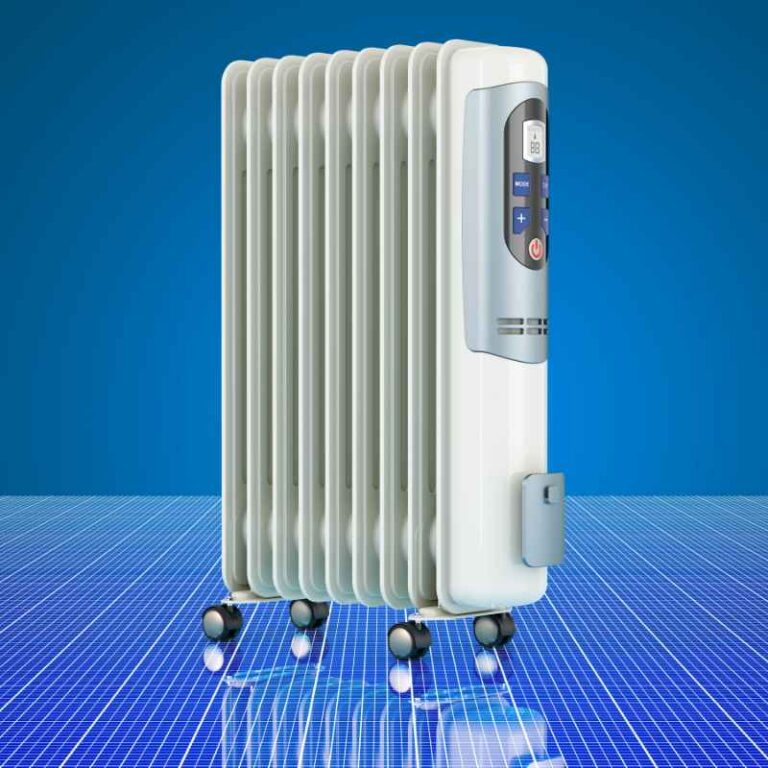
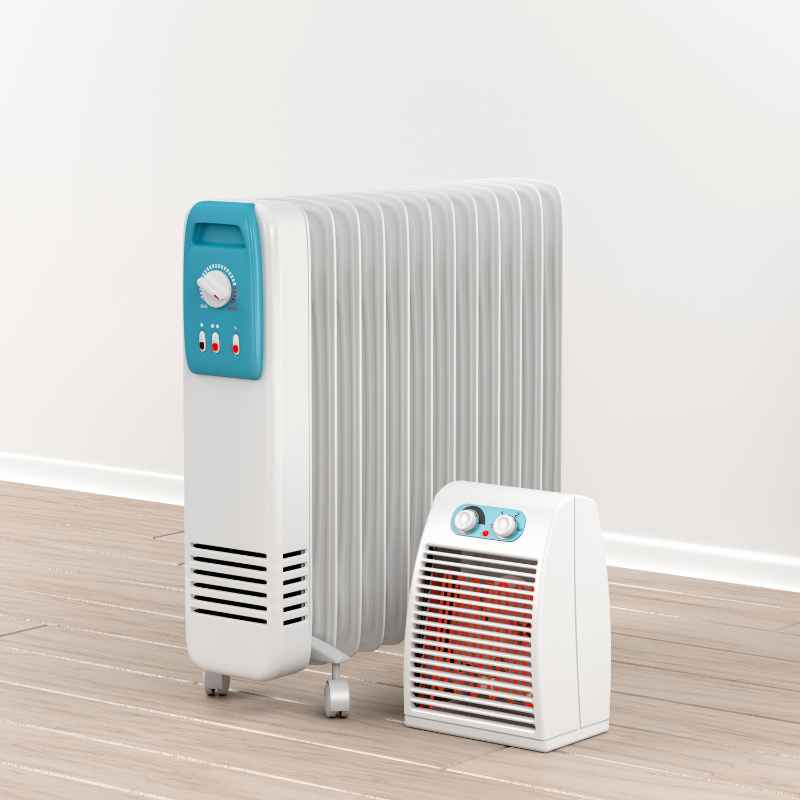
An oil-filled radiator heater is a type of portable electric heater that uses a sealed system containing a special oil to generate heat. Unlike convection heaters that primarily warm the air, these units operate on radiant heat principles, similar to a traditional steam radiator but powered by electricity. The heating element, submerged in the oil, heats it up.
This heated oil then circulates through the finned columns of the radiator, releasing heat into the room.
The oil inside the heater serves as a thermal reservoir. It heats up slowly but retains warmth for a considerable time, allowing the unit to continue radiating heat even after being switched off. This characteristic makes them particularly effective for maintaining a consistent temperature, as they avoid the rapid on-off cycling common with some other heater types.
The sealed nature of the system means the oil never needs refilling or replacement, contributing to their low-maintenance appeal.
These heaters are known for their quiet operation, as they don’t have fans that can create noise. This makes them ideal for bedrooms, offices, or living areas where quiet is desired. Their design often mimics traditional radiators, offering a blend of functionality and a classic aesthetic that can fit into various decor styles.
Safety is also a key feature, with many models incorporating tip-over protection and overheat shutdown mechanisms.
The core components include the heating element, the thermal oil, and the metal fins that increase the surface area for heat dissipation. The electrical cord connects to a power source, and a thermostat controls the desired temperature. Some models offer multiple heat settings and programmable timers for added convenience.
- Heating Element: Electrical resistance coil that converts electricity into heat.
- Thermal Oil: Specially formulated, non-conductive oil that circulates and stores heat.
- Fins/Columns: Metal structures that increase the surface area, enhancing heat radiation.
- Thermostat: Regulates the room temperature by cycling the heating element.
- Control Panel: Allows users to adjust heat settings, timers, and other functions.
- Safety Features: Overheat protection, tip-over switch, and a durable housing.
The oil acts as a buffer, ensuring a smooth release of heat. This gradual warming process is less likely to dry out the air compared to some other heating methods. The sealed system also prevents oil leaks, provided the unit is not damaged.
Choosing the Right Location for Your Heater
Selecting the optimal placement for your oil-filled radiator heater is paramount for both its effective operation and your safety. The primary goal is to position the heater where it can most efficiently warm the intended space without posing any risks. This involves considering airflow, proximity to flammable materials, and stability.
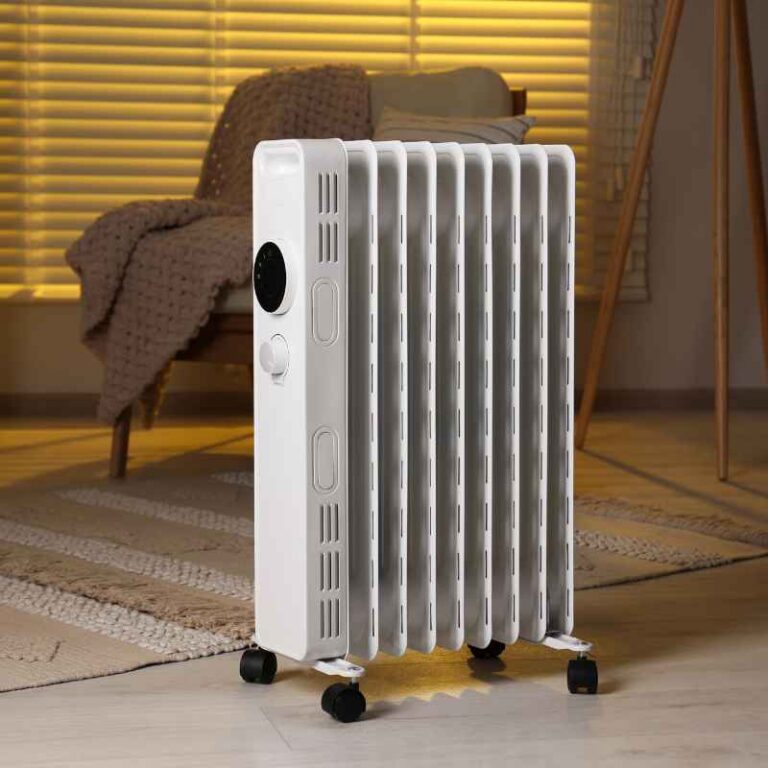
First and foremost, avoid placing the heater near curtains, furniture, bedding, or any other combustible materials. Oil-filled heaters, while generally safer than open-coil units, still generate significant heat, and a minimum clearance is essential to prevent fires. The manufacturer’s manual will specify the recommended distance, typically around 3 feet (1 meter), but it’s always wise to err on the side of caution.
Keep the area around the heater clear and unobstructed.
Ensure the heater is placed on a solid, level, and stable surface. This is critical for two main reasons: even heat distribution and the activation of safety features. If the heater is tilted or on an uneven surface, it could disrupt the oil flow and heat circulation, leading to inefficient heating.
More importantly, many oil-filled radiators are equipped with a tip-over switch that automatically shuts off the unit if it’s knocked over. A stable placement ensures this safety mechanism functions correctly and reduces the likelihood of accidental tipping.
| Location Considerations | Why It Matters |
|---|---|
| Away from flammable materials | Prevents fire hazards. |
| On a stable, level surface | Ensures efficient operation and activates safety features. |
| Near a grounded electrical outlet | For safe and direct power connection. |
| Central to the room or area to be heated | Maximizes heat distribution and efficiency. |
| Away from drafts and heat sources | Prevents inefficient operation and inaccurate thermostat readings. |
Avoid placing the heater in damp or wet areas, such as bathrooms or laundry rooms, unless it is specifically rated for such environments. Moisture can be a hazard when combined with electrical appliances. Lastly, position the heater where it can effectively reach the area you want to warm.
Placing it near the center of the room often yields the best results, allowing heat to circulate more evenly.
Assembling the Radiator Heater
Most oil-filled radiator heaters come partially assembled, but typically require the attachment of legs or a base for stability. This step is straightforward and crucial for safe operation. Always consult your owner’s manual for specific instructions tailored to your model, as designs can vary slightly between manufacturers.
Begin by carefully unpacking all components from the box. Lay out the heater unit and the provided legs or base pieces. Inspect everything for any signs of damage that may have occurred during shipping.
If you notice any damage, do not proceed with assembly and contact the retailer or manufacturer immediately.
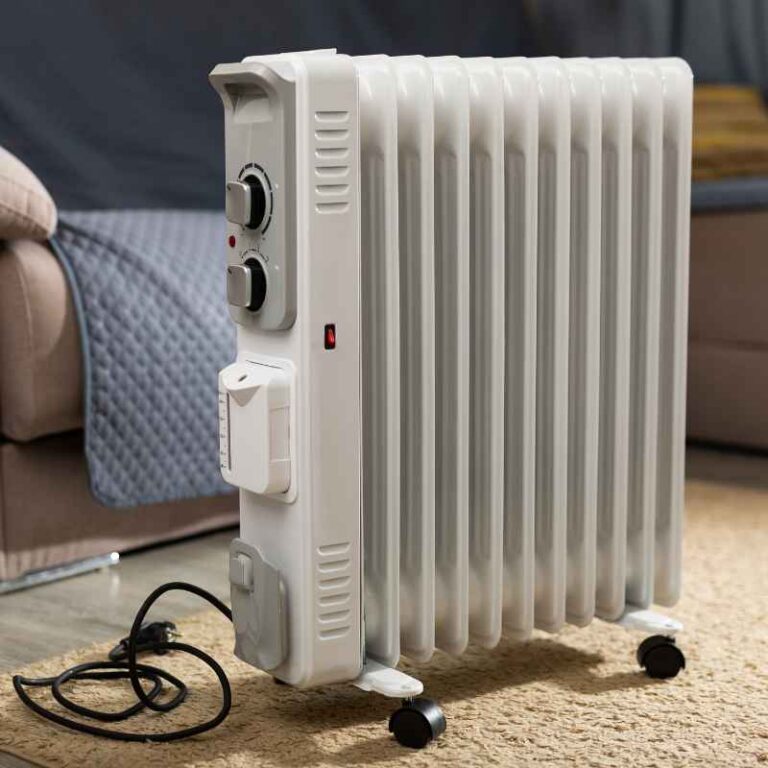
The legs usually slot into designated grooves or mounting points on the bottom of the heater. Some models may use screws to secure the legs. Ensure that each leg is firmly attached and that the heater stands upright without wobbling.
A wobbly heater is a tipping hazard, so double-check for stability before proceeding to the next step.
Many models come with pre-attached wheels or casters on the legs, which allow for easy portability. If your unit has wheels, ensure they are also securely fastened and can rotate freely. This will make it convenient to move the heater between rooms or to storage when not in use.
Once the legs or base are securely attached, the heater is ready to be moved to its operating location.
- Unpack all parts carefully.
- Identify the heater unit and the leg/base components.
- Inspect for shipping damage.
- Align legs with mounting points on the heater’s base.
- Secure legs using provided slots, clips, or screws.
- Ensure the heater stands level and stable without wobbling.
- If applicable, confirm casters are securely attached and functional.
It’s good practice to keep the original packaging for a while, in case you need to return or store the heater. The assembly process should not take more than 10-15 minutes for most models. If you encounter any difficulty or the parts do not seem to fit, refer back to the manual or seek customer support.
Connecting to Power Safely
The electrical connection for your oil-filled radiator heater is a critical step that requires careful attention to safety protocols. Improper connections can lead to electrical hazards, damage to the appliance, or even fire. It’s vital to follow the manufacturer’s guidelines and standard electrical safety practices.
The most important rule is to plug the heater directly into a grounded wall outlet. Oil-filled radiators typically have a three-prong plug, indicating the need for a grounded connection. Grounding provides a path for excess electricity to flow safely into the earth, preventing shock if a fault occurs.
Never attempt to force a three-prong plug into a two-prong outlet; this bypasses the grounding and is extremely dangerous.
Extension cords and power strips are generally discouraged for use with portable heaters, including oil-filled radiators. Heaters draw a significant amount of electrical current, and standard extension cords may not be rated to handle this load. Using an undersized or damaged cord can cause it to overheat, melt, and potentially start a fire.
If an extension cord is absolutely unavoidable, ensure it is a heavy-duty, outdoor-rated cord specifically designed for high-wattage appliances and that it is fully unwound to prevent overheating.
Warning: Never plug a portable heater into an extension cord or a power outlet that is controlled by a wall switch. The heater’s internal thermostat requires a constant power supply to function correctly. Also, avoid using surge protectors, as they may not be rated for the high amp draw of heaters.
When plugging in the heater, ensure your hands are dry and that the plug and outlet are free of debris or damage. If the plug or outlet appears damaged, do not use it and have it inspected by a qualified electrician. For the best and safest experience, always aim for a direct connection to a properly wired wall outlet.
- Always use a grounded, three-prong outlet.
- Plug the heater directly into the wall outlet.
- Avoid using extension cords or power strips if possible.
- If an extension cord is necessary, use a heavy-duty, properly rated cord.
- Ensure the cord is fully unwound to prevent overheating.
- Check the plug and outlet for damage before connecting.
- Keep hands dry when plugging in the unit.
- Do not use an outlet controlled by a wall switch.
Furthermore, ensure the electrical circuit supplying the outlet can handle the heater’s wattage. Overloading a circuit can trip the breaker or blow a fuse, interrupting the power supply. It’s often recommended that high-wattage heaters like these be on their own dedicated circuit, especially in older homes.
Consulting an electrician can help you determine if your home’s wiring is adequate for the heater.
Operating the Heater Controls
Understanding the controls of your oil-filled radiator heater is key to operating it safely and efficiently. While designs vary, most models share common functionalities that allow you to set the temperature, adjust heat output, and utilize timers.
Locate the control panel, which is typically found on the top or side of the heater. You’ll usually find knobs or buttons for power, heat settings, and temperature adjustment. Start by turning the unit on using the power switch.
Some models have a simple on/off switch, while others may require you to set a minimum temperature first.
The heat settings often control the power output, allowing you to choose between low, medium, or high heat. This is distinct from the thermostat, which regulates the actual room temperature. For example, setting the heat to ‘high’ means the heating element will operate at its maximum power to reach the desired temperature more quickly.
Lower settings provide a gentler heat and consume less electricity.
| Control Type | Function | Typical Setting |
|---|---|---|
| Power Switch | Turns the heater on or off. | On/Off |
| Heat Setting (or Power Level) | Determines the amount of heat the element produces. | Low, Medium, High (or specific wattage) |
| Thermostat Dial/Button | Sets the desired room temperature. The heater cycles on and off to maintain it. | Numbered scale (e.g., 1-10) or specific temperature setting. |
| Timer Function | Allows you to schedule when the heater turns on or off. | Digital display or physical dial with time increments. |
The thermostat is what allows you to maintain a comfortable room temperature. You’ll typically set this to your desired warmth level. Start with a medium setting and adjust as needed.
The heater will automatically turn on when the room temperature drops below the set point and turn off when it reaches it. This feature ensures consistent comfort and helps save energy.
Tip: For initial heating, set the heat setting to ‘high’ and the thermostat to your desired temperature. Once the room reaches a comfortable level, you can adjust the heat setting to ‘medium’ or ‘low’ to maintain it, which will be more energy-efficient.
Many modern units include programmable timers. These allow you to set specific times for the heater to turn on or off, which is great for pre-heating a room before you wake up or ensuring it doesn’t run all night. Familiarize yourself with how to set the timer on your specific model; it often involves setting the current time and then programming on/off cycles.
Initial Warm-Up and First Use
When you first power up your oil-filled radiator heater, it’s normal for it to emit a slight odor. This is usually due to residual manufacturing oils or coatings on the heating elements burning off. The smell typically dissipates within the first 30 minutes to a few hours of operation.
Before the first use, ensure the heater is placed in its desired operating location, assembled correctly, and plugged into a suitable outlet as previously discussed. Turn the thermostat to a medium-high setting and the heat control to ‘high’ to allow it to warm up fully. It’s advisable to do this in a well-ventilated area, especially for the initial run, to help clear any new manufacturing smells.
During this first warm-up period, keep an eye on the heater. Listen for any unusual noises and check for any signs of smoke or persistent strong odors beyond the initial burn-off smell. Most new heaters will simply emit a faint, temporary odor.
If you notice anything concerning, such as persistent smoke, strange smells that don’t go away, or the unit not heating properly, turn it off immediately and consult the troubleshooting section of your manual or contact customer support.
The oil-filled radiator heater will take some time to heat up initially because the oil needs to reach a sufficient temperature to start radiating heat effectively. This can take anywhere from 15 to 30 minutes, depending on the heater’s size and wattage, and the ambient room temperature. Once the oil is hot, the heater will maintain the set temperature through its thermostat.
- Ventilate the room during the first use.
- Set heat to ‘high’ and thermostat to a medium-high setting.
- Monitor the heater for any unusual smells, noises, or smoke.
- Expect a faint, temporary odor from manufacturing residues.
- Allow 15-30 minutes for initial warm-up.
- Turn off immediately if concerning issues arise.
- Keep packaging until confident in operation.
After the initial burn-off period and you’re satisfied with the heater’s performance, you can then adjust the controls to your preferred comfort level. The slow, steady heat output is one of the key benefits of these units, providing a comfortable warmth without drying out the air.
Understanding Safety Features
Safety is a paramount concern with any heating appliance, and oil-filled radiator heaters are designed with several features to minimize risks. Understanding these features ensures you can use the heater with confidence and peace of mind.
One of the most critical safety features is the tip-over switch. This mechanism is usually located at the base of the heater. If the unit is accidentally knocked over or tilted beyond a certain angle, the switch automatically cuts off the power supply, preventing the heater from continuing to operate in an unsafe position.
This significantly reduces the risk of fire or burns.
Another vital safety component is overheat protection. Most oil-filled radiators are equipped with a thermal cutoff device. If the heater’s internal temperature exceeds a safe limit—perhaps due to blocked airflow or a malfunction—this device will shut down the heating element.
This prevents the unit from becoming dangerously hot and potentially damaging itself or its surroundings.
Important: While these safety features are robust, they are not a substitute for careful operation. Always ensure the heater is placed on a stable surface and kept away from flammable materials. Regularly inspect the cord and plug for any signs of damage.
The sealed oil system itself contributes to safety. Unlike some other electric heaters, oil-filled models do not have exposed heating elements, which significantly reduces the risk of direct contact burns or igniting nearby materials. The fins are warm, but typically not hot enough to cause instant severe burns upon brief contact, although prolonged contact should still be avoided.
- Tip-Over Switch: Shuts off power if the heater is tilted or knocked over.
- Overheat Protection: Automatically cuts power if internal temperature becomes too high.
- Sealed Oil System: No exposed heating elements, reducing fire and burn risks.
- Durable Housing: Made from materials designed to withstand heat and prevent damage.
- Indicator Lights: Some models have lights to show when the unit is on or heating.
It’s essential to periodically check that these safety features are functioning correctly. While you can’t typically test the overheat protection directly, you can ensure the tip-over switch is engaged by gently tilting the heater (when off and cool) to confirm it shuts down, though manufacturer instructions may advise against this. Always refer to your user manual for specific details on your heater’s safety features and their operation.
Maintenance and Storage Tips
One of the primary advantages of oil-filled radiator heaters is their low maintenance requirements. Because the oil is sealed within the unit, there’s no need for refilling or frequent internal cleaning.
The most common maintenance task is simple cleaning of the exterior. Dust and debris can accumulate on the fins and around the vents, which can reduce efficiency and pose a minor fire risk if left unchecked. To clean the exterior, ensure the heater is unplugged and completely cool.
Use a soft, damp cloth to wipe down the surfaces. For hard-to-reach areas between the fins, a soft brush or a vacuum cleaner with a brush attachment can be effective.
Never use abrasive cleaners, solvents, or scouring pads, as these can damage the heater’s finish. Water should be used sparingly, and you should always ensure no water enters the internal components or electrical parts. After cleaning, allow the heater to air dry completely before plugging it back in.
Regularly inspect the power cord and plug for any signs of fraying, cracking, or damage. If you find any damage, discontinue use immediately and contact the manufacturer or a qualified technician for repair or replacement. A damaged cord is a serious safety hazard.
- Regular Cleaning: Wipe down exterior with a damp cloth.
- Dust Removal: Use a soft brush or vacuum attachment for fins.
- Avoid Harsh Chemicals: Use only mild cleaners.
- Inspect Cord and Plug: Check for damage regularly.
- Unplug and Cool: Always disconnect and let the heater cool before cleaning.
- Storage: Store in a cool, dry place, preferably in original packaging.
- Keep Manual: Retain the user manual for future reference.
When storing the heater, especially for the summer months or extended periods, ensure it is clean and completely dry. Store it in a cool, dry place, ideally in its original packaging or a protective cover to prevent dust accumulation. Avoid storing it in damp basements or garages where moisture could be an issue.
Properly stored, your oil-filled radiator heater will provide reliable warmth for many years.
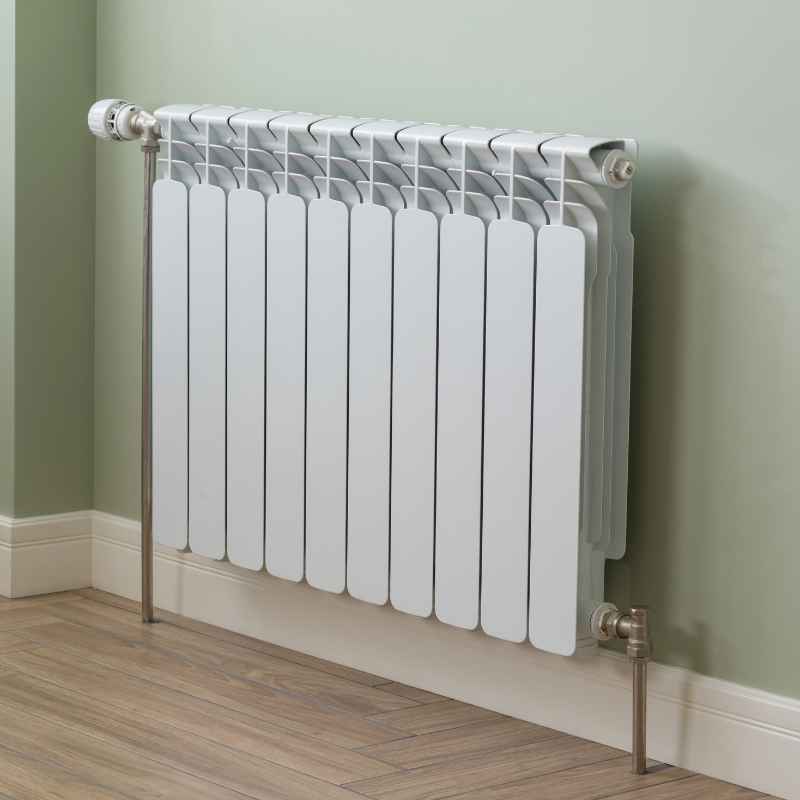
Frequently Asked Questions
What is the maximum lifespan of an oil-filled radiator heater?
With proper care and maintenance, most oil-filled radiator heaters can last between 10 to 20 years. Their simple construction and sealed oil system contribute to their durability and longevity, making them a long-term heating solution for many households.
Can I use an oil-filled radiator heater in a bathroom?
Generally, it is not recommended to use standard oil-filled radiator heaters in bathrooms due to the high moisture content. Unless the heater is specifically rated as water-resistant or suitable for bathroom use (indicated by an IP rating), moisture can pose an electrical hazard and damage the appliance.
How often should I check the oil level?
You never need to check or refill the oil level. Oil-filled radiators are sealed units, and the thermal oil is designed to last the lifetime of the heater. If you notice any signs of oil leakage, discontinue use immediately and contact the manufacturer.
Is it safe to leave an oil-filled radiator heater on all night?
Yes, oil-filled radiator heaters are generally considered safe to leave on all night, provided they are functioning correctly and all safety features are intact. They are designed for continuous operation and do not have exposed heating elements, making them safer than some other heater types. However, always ensure the room is adequately ventilated and that the heater is not covered or obstructed.
How do I know if my heater is efficient?
An efficient oil-filled radiator heater will maintain a consistent room temperature without excessive cycling on and off. Ensure it’s placed centrally, away from drafts, and that the thermostat is set appropriately for the room size. Regularly cleaning the fins also helps maintain efficiency by allowing heat to dissipate freely.
Final Thoughts
Proper installation and use of your oil-filled radiator heater are key to enjoying safe, efficient, and consistent warmth. By carefully selecting a location, assembling it correctly, connecting it to power safely, and understanding its controls and safety features, you ensure optimal performance and longevity. Regular, simple maintenance will keep your heater in top condition for years to come.
Sponsored / affiliate links. As an Amazon Associate I earn from qualifying purchases. I may earn additional commission from eligible campaigns.
 AZEUS Portable AC and Heater Unit, 420W 110V Compact Air Conditioner for Tent RV Truck Cabin and Small Room, 1400W Cooling, 800W Heating, Remote Control, Dehumidifier, Sleep Timer, Champagne
 MOVA X4 Pro Wet Dry Vacuum Cleaner, 20000Pa Cordless Vacuum Mop with Zero Tangle, Hot Water Mopping for Sticky Messes,194℉ Hot Air Self Drying, 180° Lie Flat, Push-in Charging Station, LED Display