How To Mount And Set Up An Oil-Filled Radiator Heater Safely
Dealing with a chilly home can be a real pain. You want warmth, but you also need it to be safe and easy. An oil-filled radiator heater seems like a great choice.
They heat up a room gently and keep that warmth going. But setting one up right is super important. It’s not just about plugging it in.
Getting the mounting and initial setup correct makes a big difference. This guide will help you do just that, step-by-step. You’ll feel much more confident once you know the proper way.
We’ll cover everything you need to know.
Getting your oil-filled radiator heater ready involves a few key steps. You’ll need to assemble it, find the best spot, and understand its controls. Safety is the top priority throughout the entire process. Following these steps ensures your heater works well and keeps your home warm without worry.
Understanding Your Oil-Filled Radiator Heater
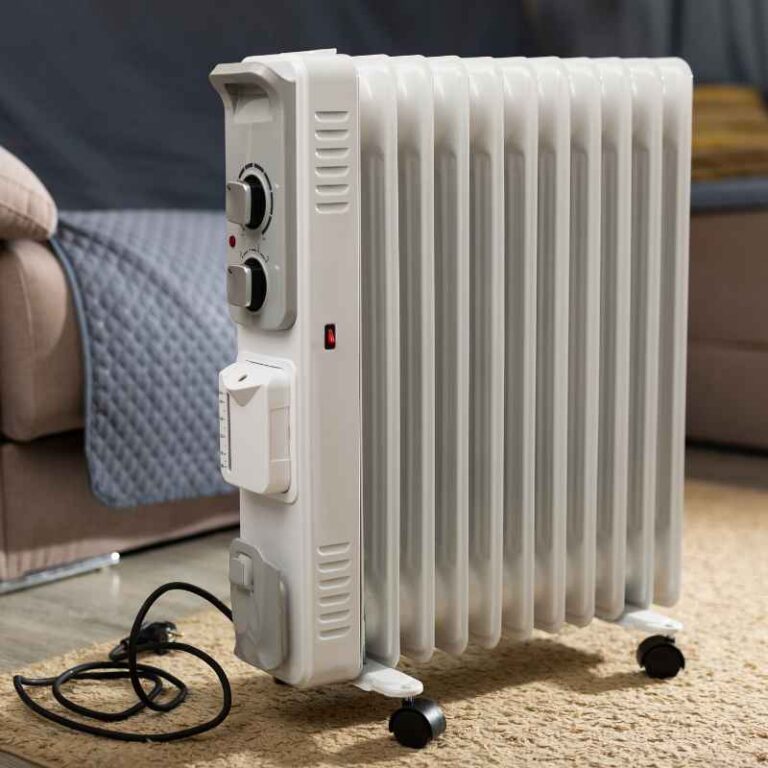
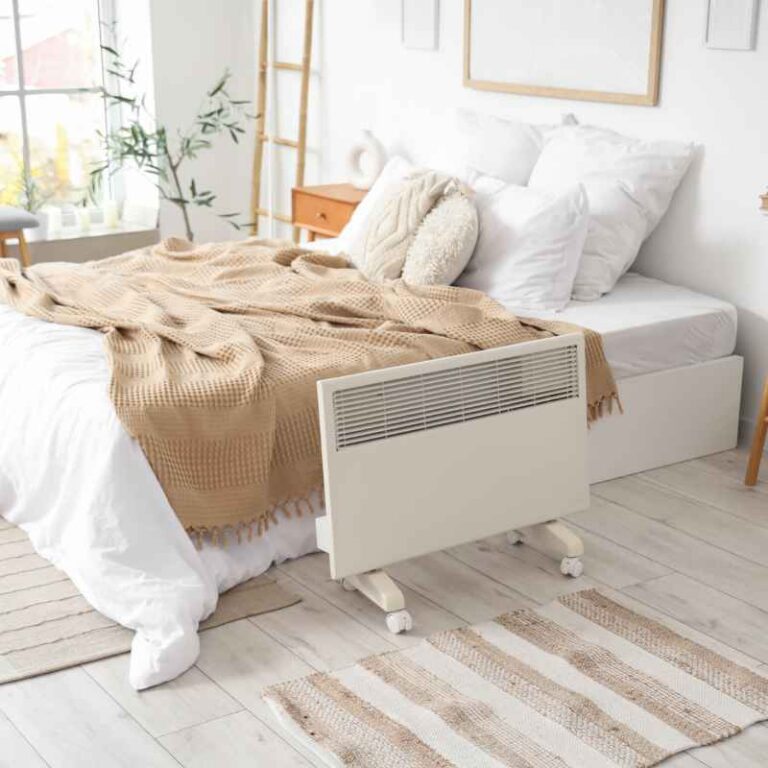
An oil-filled radiator heater is a type of electric heater. It works by heating oil inside its metal fins. This oil then circulates and heats the air around it. The heater doesn’t have a fan. This means it heats a room more quietly. It also provides a more even heat. The oil stays inside the heater. It never needs refilling. The heater’s main job is to provide steady, gentle warmth. This makes them popular for bedrooms or offices. They are good for areas where you need consistent comfort.
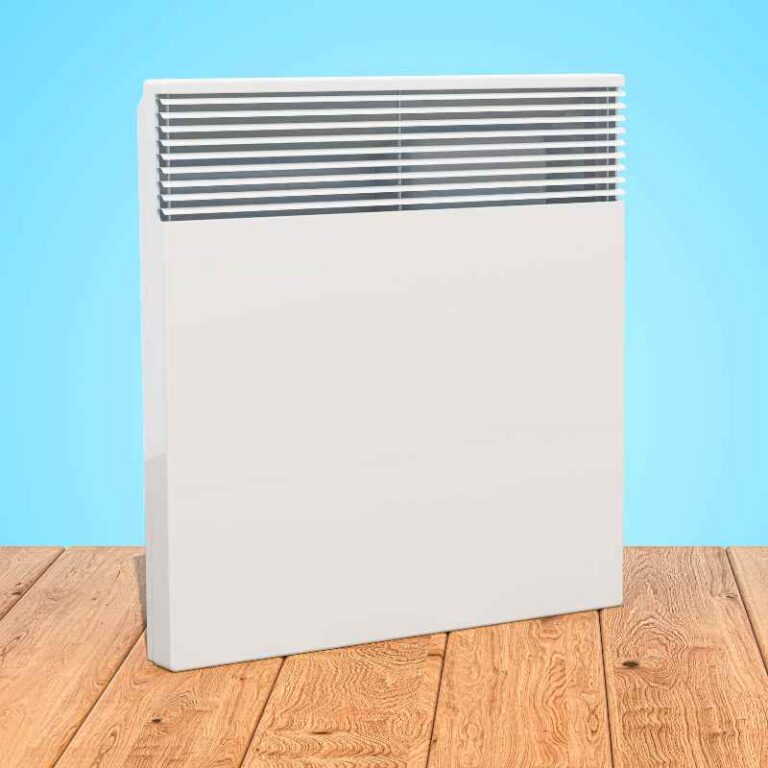
These heaters work by convection. Heat from the oil rises. It warms the air near the top of the heater. This warm air then moves into the room. Cooler air sinks down to the heater. It gets warmed and rises again. This creates a slow, steady airflow. It heats the whole room without creating drafts. The sealed nature of the oil means it is safe. There’s no risk of leaks or spills of the heating oil. This is a big plus for safety. It also means less maintenance for you.
The heating element inside the heater warms the oil. This element is usually at the bottom. As the oil heats up, it becomes lighter. It rises through the internal channels. It reaches the top of the radiator fins. Here, it cools slightly as it transfers heat to the metal. This cooled oil then sinks back down. It goes to the bottom to be heated again. This process continues as long as the heater is on. The cycle keeps the oil moving and the heat spreading. It’s a very efficient way to warm a space.
Assembling Your New Radiator Heater
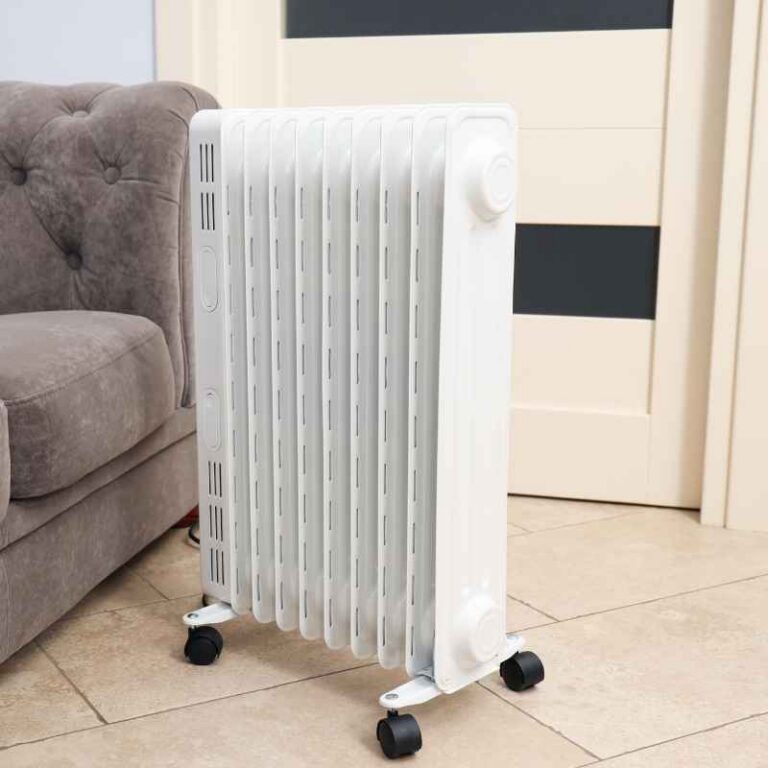
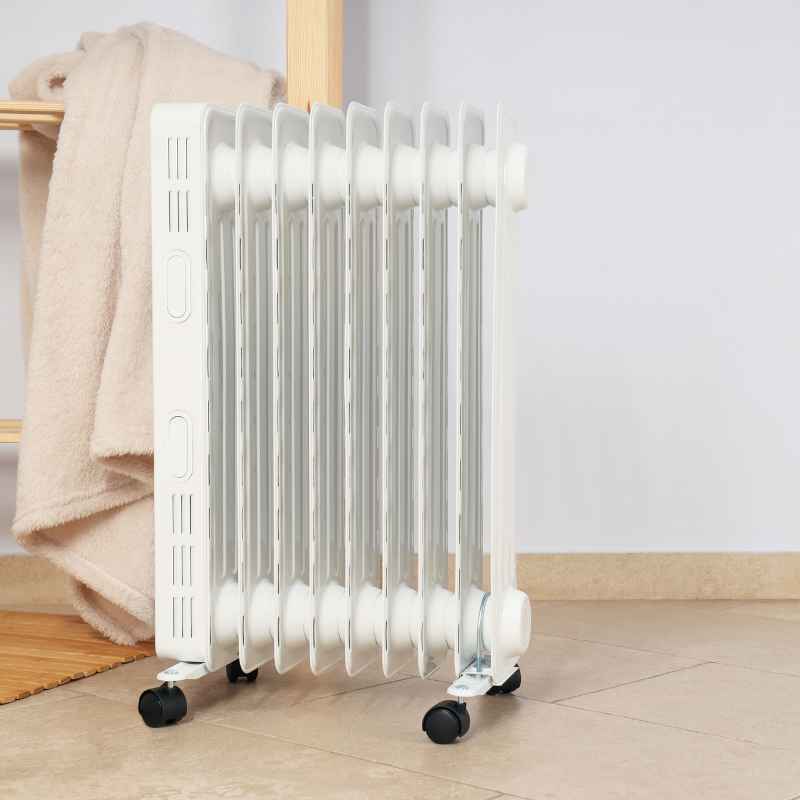
When you get your new heater, it might look like just the main unit. Most models come with a base. This base usually has wheels. These wheels help you move the heater around. You’ll need to attach this base. It’s usually quite simple. Look for a small bag of hardware. It might contain screws or wing nuts.
Most bases attach to the bottom of the heater. There are often slots or mounting points. You’ll line up the base with these. Then, you’ll use the screws or nuts to secure it. Make sure the base is attached firmly. This is important for stability. You don’t want the heater to tip over. Read your heater’s manual carefully. It will show you exactly where everything goes.
Sometimes, the wheels themselves need to be attached to the base. This is often a snap-fit. You just push them into place. Again, check your manual. It will have clear diagrams. It’s helpful to have a clear space to work. Lay the heater down on its side or front. This makes it easier to reach the bottom. Be gentle when handling the heater. The fins can be thin.
Once the base and wheels are on, you can stand the heater up. Give it a gentle push. See if it rolls smoothly. Make sure it feels stable. If it wobbles, check the screws. Make sure they are all tight. Proper assembly is the first step to safe use. It ensures the heater is balanced. This prevents it from falling over later.
Choosing the Right Spot for Your Heater
Placing your oil-filled radiator heater in the right spot is crucial. Safety and heating efficiency depend on it. You need to think about a few things. First, where will you use it most? Is it for a home office, a bedroom, or a living room? The size of the room matters too.
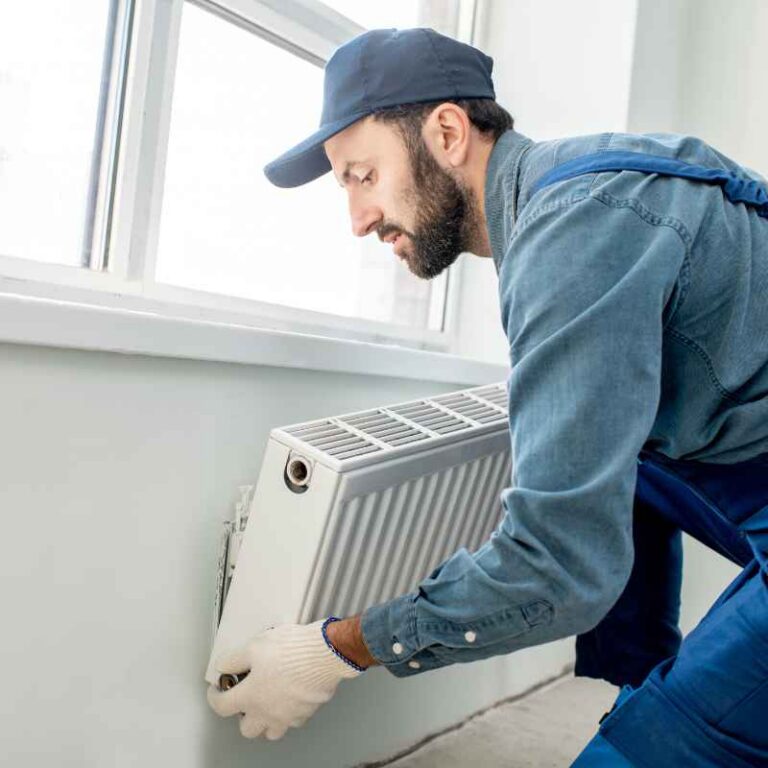
The heater needs a stable, level surface. It should not be placed on a rug. This is very important for safety. Rugs can be a fire hazard. They can block the vents. The heater should be on a hard floor. This could be wood, tile, or linoleum. Make sure the floor is clean and dry.
Keep the heater away from other objects. You need at least 3 feet of clear space around it. This means no curtains, furniture, or blankets nearby. This space allows air to flow freely. It prevents heat from building up. It also keeps flammable materials away from the heat. Always check your heater’s manual for specific clearance recommendations. They often list exact distances.
Do not place the heater near water. Avoid bathrooms, kitchens, or damp basements. While they are designed for indoor use, water and electricity don’t mix well. This can lead to electrical shock or damage to the heater. Keep it in a dry area.
Think about where you need the heat most. Placing it near where you sit or sleep is often best. This helps you feel the warmth directly. It also makes the heating more efficient for your comfort. If you have a large room, you might need to position it centrally. This helps the heat circulate better.
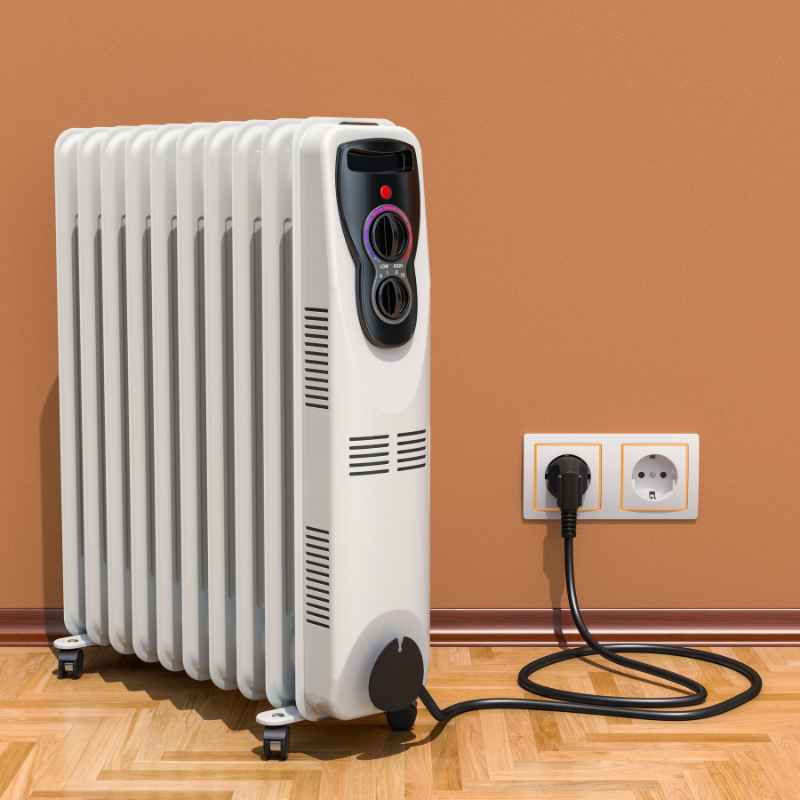
Consider where the power outlet is. You don’t want to use extension cords if possible. Extension cords can overheat. They are a fire risk, especially with heaters. Plug the heater directly into a wall outlet. Make sure the outlet is in good condition.
Safety First: Clearance is Key
The 3-foot clearance rule is non-negotiable. This is not just a suggestion. It’s a vital safety measure. Think of it as a protective bubble around the heater. This bubble prevents accidents. It keeps the heat from scorching nearby items. It also stops the heater from overheating.
Imagine a chair too close to the heater. The fabric could get hot. It might start to smolder. Or a curtain could get blown by the air. It might touch the hot fins. This could cause a fire. By giving it space, you remove these risks. It’s a simple step with big safety implications.
Even though oil heaters are generally safer than some other types, they still get hot. The metal casing and fins can become very warm. This is how they release heat. But this heat needs space to dissipate. If it’s trapped, the heater can malfunction. It could shut off unexpectedly. Or worse, it could become a hazard.
So, when you pick a spot, look around. Are there tables or shelves nearby? Are pets or children likely to bump into it? If so, choose another location. A clear corner or an open space is often ideal. This gives the heater room to breathe and perform its job safely.
Understanding the Controls and Settings
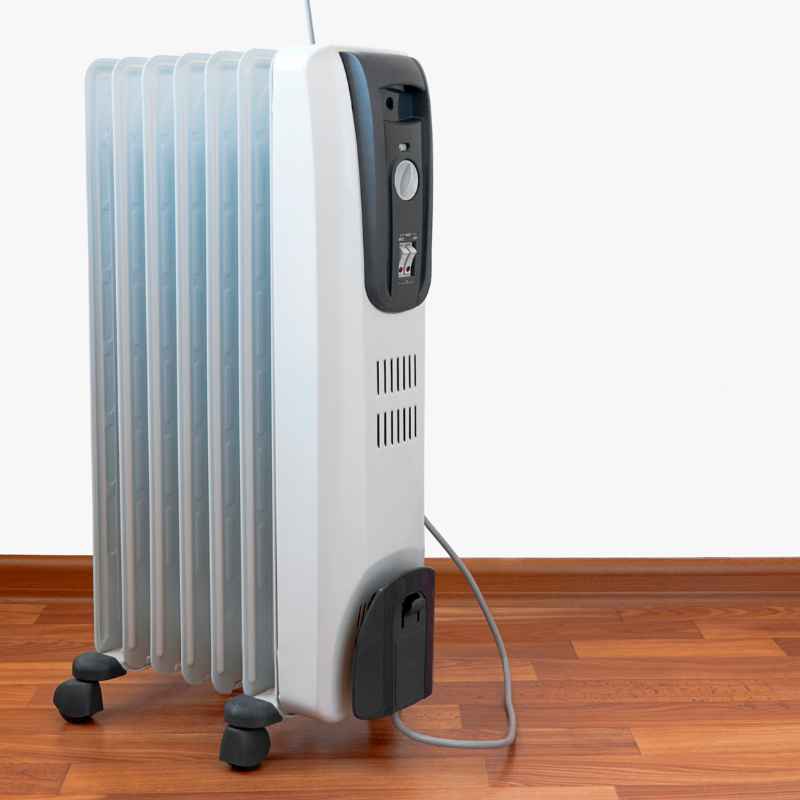
Once your heater is assembled and in place, you need to know how to use it. Most oil-filled radiators have a few basic controls. These are usually knobs or buttons on the side or top. They are designed to be simple.
The most common control is the thermostat. This lets you set the desired temperature. You usually turn a knob. There might be numbers or symbols. Higher numbers mean a hotter setting. Lower numbers mean a cooler setting. Your goal is to find a comfortable level for your room.
Some heaters have different heat settings. These might be labeled as low, medium, or high. Or they might have symbols for different power levels. These settings control how much power the heater uses. They also affect how quickly it heats up. You can use these to adjust the heat output.
There’s often an on/off switch. This is usually separate from the thermostat. Make sure you know where this is. It’s good practice to turn the heater off when you leave the room for a long time. Or when you go to bed.
Some models have timers. These allow you to set the heater to turn on or off at specific times. This can be very useful. You can program it to warm your room before you wake up. Or to turn off automatically after you fall asleep. Check your manual for how to set the timer.
When you first turn on a new heater, it might make some noise. This is normal. You might hear clicking sounds as it heats up. This is the oil expanding. You might also notice a slight smell. This is usually oil or paint burning off. It should go away after a short time. If the smell is strong or persistent, turn off the heater. Check for any obvious issues.
The Initial Power-Up and First Use
The very first time you use your heater is important. It helps to break it in properly. And it lets you check that everything is working as it should. Make sure the heater is plugged directly into a working wall outlet. Avoid using extension cords.
Turn the heater on using its main switch. Set the thermostat to a medium setting. You don’t want it on the highest setting right away. Let it run for about 30 minutes. Pay attention to any unusual sounds or smells. A faint smell is usually okay. A strong, chemical smell is not.
You should start to feel warmth coming from the fins. The room temperature will slowly begin to rise. It takes time for an oil-filled heater to warm up a room. It’s not like a fan heater that blows hot air quickly. Be patient. This slow, steady heat is one of its benefits.
After about an hour, check the room temperature. Is it getting warm enough? If not, you can adjust the thermostat. Try turning it up a little. Or select a higher heat setting if your model has one. Find a level that feels comfortable.
When you turn the heater off, it will cool down slowly. The oil retains heat. This means it continues to radiate warmth for a while. This is called residual heat. It’s a nice feature. It means the heater can keep the room warm even after it’s turned off.
Before you put the heater away or move it, make sure it’s completely cool. This can take an hour or more. Never try to move a hot heater. You could burn yourself. Let it cool down on its stand.
Quick Start Checklist
Before First Use:
- Unpack all parts carefully.
- Attach the base and wheels securely.
- Place the heater on a stable, level surface.
- Ensure at least 3 feet of clearance around the heater.
- Plug directly into a wall outlet.
During First Use:
- Turn heater on to a medium setting.
- Allow 30-60 minutes for initial heating.
- Monitor for unusual smells or sounds.
- Adjust thermostat for comfort.
- Ensure complete cool-down before moving.
Safe Operation: What to Watch For
Operating an oil-filled radiator heater safely is key to using it worry-free. These heaters are designed with safety in mind. But like any electrical appliance, they need respect. Always follow the manufacturer’s instructions. Your heater’s manual is your best friend here.
One critical safety feature is the tip-over switch. Most modern heaters have this. If the heater is knocked over, this switch automatically turns it off. This prevents fires. Always test this feature when you first set up your heater. Make sure it works.
Another safety aspect is overheat protection. If the heater gets too hot, it will shut itself off. This is another layer of protection. It usually happens if airflow is blocked. Or if the heater is malfunctioning. If this happens, unplug the heater. Let it cool completely. Then, check for blockages. If it keeps tripping, stop using it.
Never leave a heater running unattended for long periods. This is especially true if you have pets or young children. While they are stable, accidents can still happen. It’s always best to have someone aware the heater is on.
Do not use the heater in damp or wet locations. Even though they are generally safe, water can cause electrical problems. Keep them away from sinks, showers, and leaky pipes.
Keep the power cord in good condition. Check it regularly for fraying or damage. If you see any damage, stop using the heater immediately. Have the cord repaired or replaced by a professional. Never try to repair it yourself.
Do not insert any objects into the heater’s fins. This can damage the heating element. It can also cause electric shock. The fins are for heat release. They are not meant for poking or prodding.
Maintenance and Cleaning Tips
Oil-filled radiators need very little maintenance. That’s one of their best features. The oil inside is sealed. It never needs refilling or changing. The main thing you need to do is keep it clean. Dust can build up on the fins. This can reduce efficiency. It can also be a fire hazard.
First, always unplug the heater. Then, let it cool down completely. This is very important. You don’t want to get burned. Or risk electric shock.
Once it’s cool, you can clean the outside. Use a soft, damp cloth. Wipe down the metal fins and the casing. For stubborn dust, you can use a vacuum cleaner. Use a brush attachment. Gently vacuum the fins. This will suck up dust.
You can also use a feather duster. Gently dust the fins. Work from top to bottom. This helps to dislodge dust. It allows it to fall to the floor.
Make sure you don’t get water inside the heater. Only use a damp cloth, not a wet one. Never spray cleaning liquids directly onto the heater.
Check the power cord. Make sure it’s clean and free from damage. Wipe it down with a dry cloth.
If you store the heater during warmer months, clean it first. Store it in its original box if possible. Or in a protected place. Keep it in a dry area. This prevents dust from accumulating too much.
Regular cleaning ensures your heater works well. It also helps to keep it safe. A clean heater runs more efficiently. It also reduces the risk of any burning smells.
Quick-Scan Table: Routine Checks
| Frequency | Task | Notes |
|---|---|---|
| Before Each Use | Visual Inspection | Check cord, casing, and placement for damage or blockages. |
| Monthly (During Use) | Dust Fins | Unplug, cool, and gently dust or vacuum fins. |
| Annually | Deep Clean & Check | Thoroughly clean casing, check cord integrity. Test tip-over switch. |
| Storage (Out of Season) | Clean and Protect | Clean unit, store in a dry place, ideally with original packaging. |
When to Worry: Signs Your Heater Needs Attention
While oil-filled radiators are generally robust, they can show signs that something isn’t right. Knowing these signs can prevent bigger problems. It also ensures your continued safety.
If you notice a strong, persistent burning smell, that’s a warning. A faint smell at first is normal. But if it smells like burning plastic or electrical wires, stop using it. Unplug it. Let it cool. Check the cord. If the smell persists after cooling, it might be a serious issue.
Strange noises are also a concern. Hissing, popping, or loud buzzing sounds are not typical. A gentle clicking or ticking as it heats up is normal. But if the sounds are harsh or continuous, there’s a problem.
If the heater stops heating altogether, that’s a clear sign. Or if it only heats intermittently. Make sure it’s plugged in. Check the thermostat setting. If these are fine, and it still doesn’t heat, it might need repair.
If you see any signs of damage to the casing or the cord, stop using it. Any cracks or exposed wires are dangerous. Do not attempt to use a damaged heater.
If the tip-over switch or overheat protection keeps activating, there’s an issue. It means the heater is not functioning as it should. In these cases, it’s best to contact the manufacturer. Or consider replacing the heater.
Remember, safety is always first. If you’re unsure about anything, it’s better to be cautious. Don’t risk it.
Real-World Scenarios: Where and How They Shine
I remember setting up my first oil-filled radiator. I was living in an older apartment. The heating was spotty. My office nook felt like a freezer. I plugged it in. At first, I thought, “This is too slow.” But I left it running. Within an hour, the air around my desk was so much more comfortable. It wasn’t blasting hot air. It was just a consistent, gentle warmth. I could finally focus on my work. That’s when I truly understood their value.
In another home, we used one in our baby’s nursery during winter. We needed a consistent temperature. We didn’t want anything too noisy. Or anything that could accidentally overheat. It was perfect. I set the thermostat. I knew it would maintain a safe warmth all night. It gave me peace of mind. I didn’t have to worry about the baby getting too cold.
They are also great for rooms that don’t get much natural heat. Like a sunroom that gets cold in the evening. Or a finished basement that feels damp. You can set them up. Plug them in. And let them take their time to warm the space. It’s like adding a gentle hug of heat to the room.
My neighbor uses one in her garage workshop. She likes to tinker with woodworking. She doesn’t want a huge, noisy heater out there. The oil-filled one gives her enough warmth to work comfortably. Without being overwhelming. She says it’s perfect for those chilly weekend mornings.
The key is that they are not for instant, blast-furnace heat. They are for sustained, comfortable warmth. They are a quiet companion for your room. They work best when given time to do their job.
Observational Flow: Adding Gentle Heat
Step 1: Identify the Cold Spot
You notice a room that’s consistently cooler than the rest of the house.
Step 2: Choose the Right Heater
Select an oil-filled radiator that’s sized appropriately for the room.
Step 3: Safe Placement
Find a level, hard surface. Ensure 3ft clearance. Away from water and drafts.
Step 4: Assembly & Connection
Attach base. Plug directly into a wall outlet.
Step 5: Gentle Warm-Up
Set thermostat to a moderate level. Allow time for the oil to heat and circulate.
Step 6: Consistent Comfort
The heater maintains a steady, gentle warmth in the room.
What This Means For Your Home
So, what does all this mean for your home? It means you can add reliable warmth. You can do it safely and easily. An oil-filled radiator can be a great tool. It helps you beat the chill. It can make those uncomfortable rooms cozy again.
It means you can improve comfort in specific areas. Without heating the entire house all the time. This can sometimes save energy. You only heat the space you are using.
It also means understanding that these heaters are not instant. They are about creating a stable, comfortable environment over time. So, if you need heat right now, they might not be your first choice. But for long-term, steady warmth, they are excellent.
You can also feel more confident. Knowing how to set them up correctly. And how to use them safely. This knowledge is power. It means you can enjoy the benefits. Without unnecessary worry.
Quick Tips for Optimal Warmth
Here are a few simple tips to get the most out of your heater.
Use the thermostat wisely. Don’t set it to the highest setting all the time. Find a comfortable level. Then leave it there. The heater will cycle on and off. This saves energy. It keeps the temperature steady.
Consider using it in rooms where you spend time. Bedrooms at night. Home offices during the day. Living rooms when you’re relaxing. Focus the heat where it’s needed most.
Keep doors closed. If you’re heating a specific room, keep the door shut. This stops the warm air from escaping. It helps the room heat up faster. And stay warmer longer.
Clean your heater regularly. As we discussed, dust can reduce efficiency. A clean heater works better. And lasts longer.
Don’t block the vents. Make sure nothing is leaning against the heater. Or placed on top of it. The air needs to flow freely.
If you have drafts from windows or doors, address them. Weatherstripping can make a big difference. It helps keep the heat in. And the cold out. Your heater will work less. Your room will feel warmer.
Frequently Asked Questions
Can I use an oil-filled radiator heater in a bathroom?
It’s generally not recommended to use oil-filled radiator heaters in bathrooms. Bathrooms are considered damp locations. While these heaters are safer than some others, water and electricity are a risky combination. Always keep heaters away from water sources like showers, tubs, and sinks. Check your specific model’s manual for usage guidelines in damp areas. Most manufacturers advise against it.
How long does it take for an oil-filled radiator heater to warm a room?
It takes time for an oil-filled radiator heater to warm a room. This is because they work by convection, not by blowing hot air with a fan. It can take anywhere from 30 minutes to several hours to fully heat a room. This depends on the size of the room, the heater’s wattage, and how cold it is outside. Patience is key with these heaters; they provide gentle, sustained warmth rather than quick bursts of heat.
Do oil-filled radiators use a lot of electricity?
Oil-filled radiators use electricity based on their wattage. A typical 1500-watt heater will use 1500 watts of power when it’s actively heating. However, because they have thermostats, they cycle on and off. This means they don’t run at full power constantly. Their efficiency comes from retaining heat. This allows them to maintain a temperature with less frequent operation compared to some other heater types. The actual electricity cost depends on your local rates and how much you use it.
Can I leave my oil-filled radiator heater on all night?
Many people do leave their oil-filled radiator heaters on all night, especially in bedrooms. They are designed for safe, continuous operation with their built-in safety features like tip-over switches and overheat protection. However, it’s always wise to follow the manufacturer’s specific instructions. Ensure the area around the heater is clear. Keep it away from bedding and curtains. Using the thermostat to maintain a comfortable, not excessively hot, temperature is also important.
Why does my oil-filled radiator heater make clicking or ticking noises?
Clicking or ticking noises from an oil-filled radiator heater are usually normal. They are often caused by the metal fins expanding as they heat up and contracting as they cool down. This is a sign that the heating cycle is working. A faint clicking sound is generally not a cause for concern. If the noises become loud, irregular, or are accompanied by other issues like unusual smells or lack of heat, it’s best to check the heater’s condition.
Do I need to add oil to an oil-filled radiator heater?
No, you do not need to add oil to an oil-filled radiator heater. The oil is permanently sealed inside the unit. It is specifically designed to be a closed system. The oil circulates to absorb and radiate heat. It never evaporates or needs refilling. If you ever see a leak of oil, it means the heater is damaged and should not be used.
Conclusion
Getting your oil-filled radiator heater set up is a straightforward process. By following these steps, you ensure safe operation. And you get the most out of its gentle, consistent warmth. From assembly to placement and understanding controls, each part matters. Enjoy a cozier home.