How to Put Together Sai Oil-Filled Radiator Heater
Putting together a Sai oil-filled radiator heater is a straightforward process that ensures efficient and safe heating for your space. These heaters are designed for user-friendly assembly, meaning you won’t need specialized tools or extensive technical knowledge to get yours up and running. This guide will walk you through each step, from unboxing to the final checks, so you can enjoy cozy warmth quickly and confidently.
Simply put, assembling your Sai oil-filled radiator heater involves attaching the feet or casters, connecting any accessories, and performing a few basic safety checks before its first use. The process is designed to be intuitive, requiring minimal effort to ensure safe and effective operation.
Key Takeaways
- Putting together a Sai oil-filled radiator heater is a simple DIY task, typically requiring no special tools.
- The main assembly step involves securely attaching the heater’s feet or caster wheels for stability and mobility.
- Before plugging in, always double-check cord connections and ensure the heater is placed on a stable, flat surface.
- Familiarize yourself with the heater’s controls and safety features to ensure optimal and secure operation.
- Regular maintenance after assembly ensures long-term efficiency and safety.
What is a Sai Oil-Filled Radiator Heater?
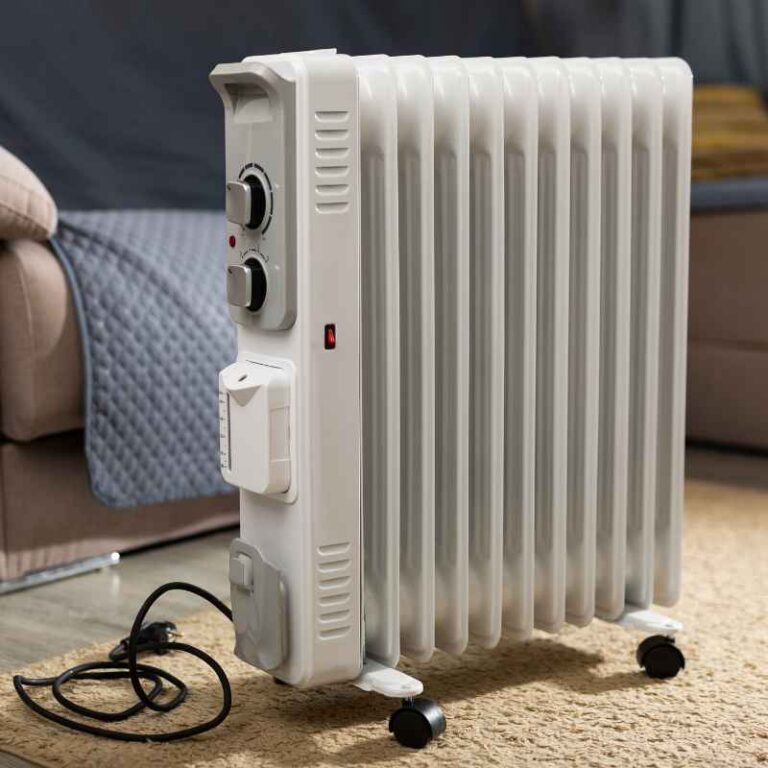
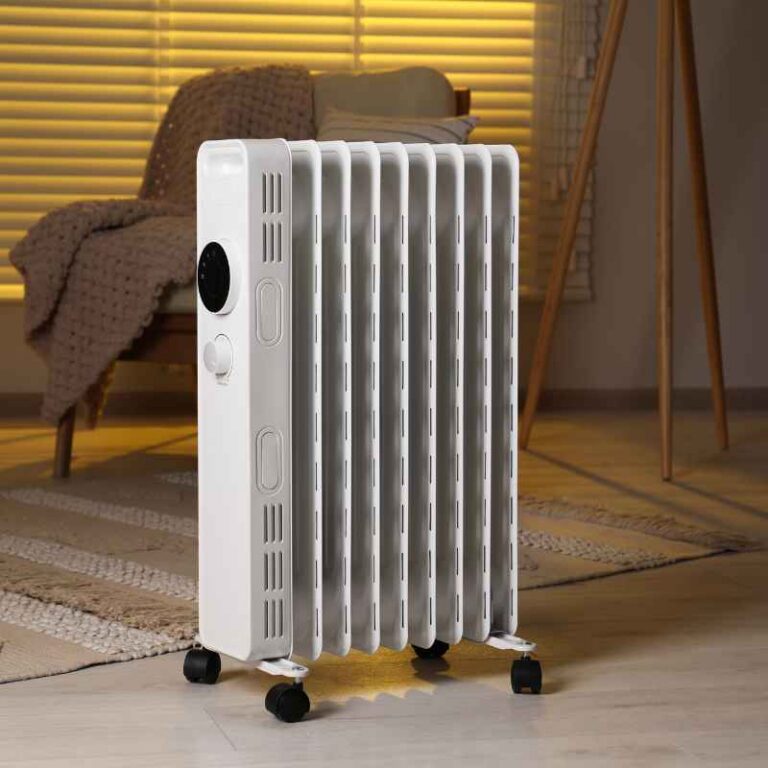
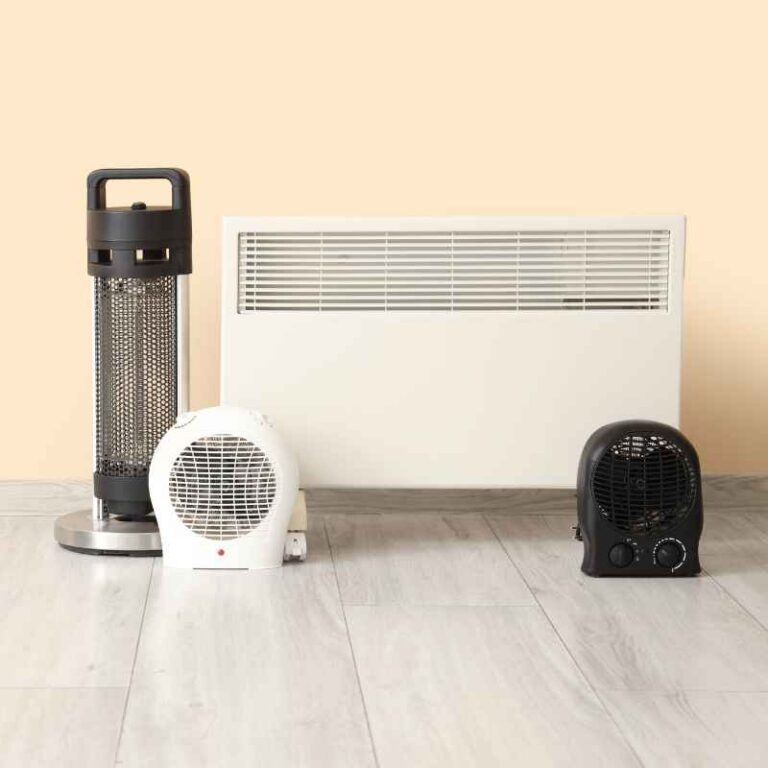
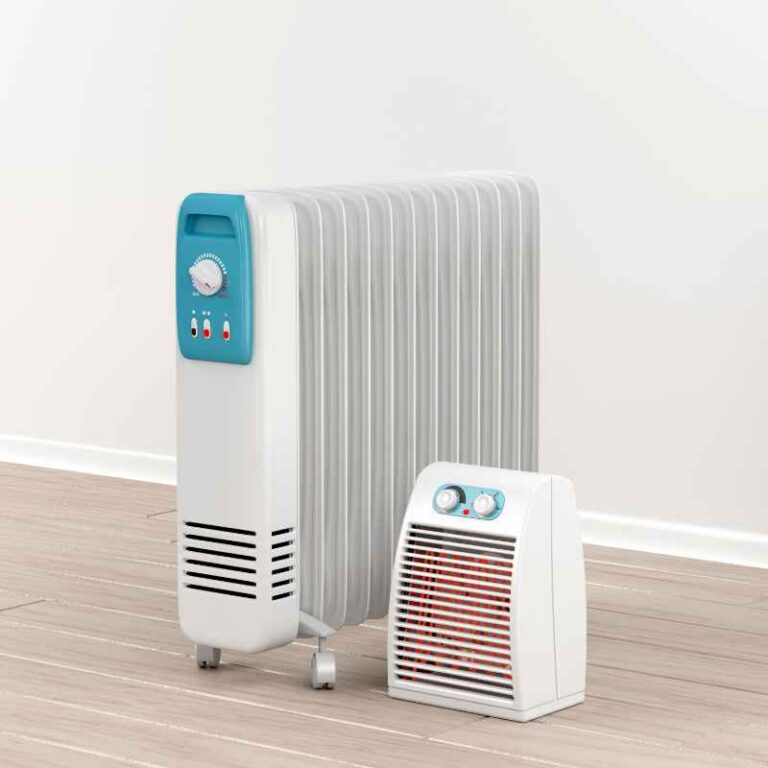
A Sai oil-filled radiator heater is a type of electric space heater that uses a sealed internal element filled with diathermic oil. This oil circulates within the heater’s fins, absorbing heat from the electric element and then radiating it into the room. Unlike fan heaters that force hot air, radiator heaters rely on convection and radiation to warm a space gently and evenly.
This makes them particularly effective for maintaining a consistent temperature without creating drafts or drying out the air excessively.
The sealed nature of the oil means it’s never depleted, contributing to the longevity of the unit. The heating process is quiet, making these heaters ideal for bedrooms, offices, or any environment where noise could be a distraction. They are a popular choice for supplemental heating or for warming smaller to medium-sized rooms.
The design typically features multiple heat settings and an adjustable thermostat for personalized comfort.
Unpacking and Initial Inspection
The first step in putting together your Sai oil-filled radiator heater is to carefully unpack all components. You’ll typically find the main heater unit, a set of feet or caster wheels, and an instruction manual. Lay everything out on a clean, flat surface to ensure you have all parts and to make the assembly process easier.
Inspect each component for any signs of damage that may have occurred during shipping. Look for dents, scratches, or any loose parts.
- Main heater unit (check for external damage)
- Set of feet or caster wheels (ensure they are the correct ones for your model)
- Instruction manual (keep this handy throughout the process)
- Power cord (ensure it’s securely attached to the unit if detachable)
If you notice any damage or missing parts, do not proceed with assembly. Contact the retailer or Sai customer support immediately to arrange for a replacement. It’s crucial that all parts are intact and accounted for before you begin, as this ensures the heater’s safety and functionality.
The manual is your primary reference; keep it accessible for quick lookups if any step is unclear.
Attaching the Feet or Caster Wheels
The primary assembly task usually involves attaching the base of the heater for stability. Most Sai models come with either fixed feet or swivel caster wheels. These are designed to provide a stable platform and, in the case of casters, allow for easy movement of the heater around your room.
The method of attachment can vary slightly between models, but it generally involves screwing or clipping the feet into designated slots on the base of the heater unit.
Refer to your instruction manual for the specific mounting points and hardware required. Some models might use screws that are provided, while others might have a snap-in mechanism. Ensure that the feet or casters are attached securely and evenly.
A wobbly heater can be a safety hazard, so take your time to make sure each attachment is firm. For caster wheels, ensure they all roll smoothly.
| Assembly Step | Tools Needed | Estimated Time |
|---|---|---|
| Unpack and Inspect | None | 5 minutes |
| Attach Feet/Casters | Screwdriver (if applicable) | 10-15 minutes |
| Connect Power Cord (if detachable) | None | 1 minute |
| Perform Safety Checks | None | 5 minutes |
Attaching the base is usually the most involved part of the assembly. Ensure all screws are tightened appropriately without overtightening, which could strip the threads.
Connecting Accessories and Controls
Once the base is secure, you’ll want to familiarize yourself with any included accessories and the control panel. Some Sai heaters may come with a thermostat knob, heat setting selectors (low, medium, high), and indicator lights. Ensure all knobs and buttons feel secure and move freely.
The power cord should be checked to ensure it’s firmly connected to the heater unit if it’s a detachable type, and that it’s not frayed or damaged.
The control panel is your interface with the heater. Understanding what each setting does is crucial for efficient operation. Typically, you’ll have a thermostat to set your desired room temperature and a power setting to control the intensity of the heat.
Some advanced models might also include a timer function, allowing you to schedule when the heater turns on or off.
- Thermostat Dial: Controls the target room temperature.
- Heat Setting Selector: Adjusts the power output (e.g., low, medium, high).
- Indicator Lights: Show when the heater is powered on or reaching temperature.
- Timer (if applicable): Sets specific operating times.
- Power Cord: Ensure it’s intact and securely connected.
Take a moment to read the descriptions of these controls in your manual. Incorrect operation can lead to inefficient heating or potential safety issues. For instance, setting the thermostat too high continuously might cause the unit to overheat or run longer than necessary, impacting energy consumption.
Safety Checks Before First Use
Before you plug in and turn on your Sai oil-filled radiator heater for the first time, performing a thorough safety check is paramount. This step is critical for preventing accidents and ensuring the longevity of the appliance. Double-check that the heater is placed on a stable, level, and non-flammable surface.
Avoid placing it on carpets or rugs that could obstruct airflow or pose a fire risk. Ensure there’s adequate clearance around the heater, typically at least 12 inches (30 cm) from any walls, furniture, or curtains.
Inspect the power cord and plug for any signs of damage, such as cuts, fraying, or bent prongs. Never use a heater with a damaged cord or plug, as this is a significant fire hazard. Also, verify that the voltage in your home matches the requirements listed on the heater’s rating plate.
Using an incompatible voltage can damage the heater and create a safety risk.
Warning: Never attempt to open the sealed oil compartment or add or remove oil. The diathermic oil is permanently sealed within the unit. Tampering with it can lead to leaks, damage, and a serious safety hazard.
Placement and Positioning
The correct placement of your Sai oil-filled radiator heater significantly impacts its effectiveness and safety. These heaters work best when placed in the center of the room they are intended to heat, or at least away from walls and obstructions. This allows for optimal air circulation and heat distribution.
Avoid placing the heater in drafty areas or near windows where heat can escape easily. The goal is to allow the warm air to circulate freely, creating a consistent and comfortable temperature throughout the space.
Ensure the heater is positioned so that the power cord can reach the outlet without being stretched taut. An overly stretched cord can be a tripping hazard and can also put strain on the connection. It’s also important to keep the heater away from water sources, such as bathrooms or sinks, and not to place it directly in front of electrical outlets or power strips.
The heater should always be plugged directly into a wall outlet.
- Place on a flat, stable, non-flammable surface.
- Maintain at least 12 inches (30 cm) of clearance around the unit.
- Avoid placing near curtains, furniture, or in drafty areas.
- Ensure the power cord is not stretched or a tripping hazard.
- Keep away from water sources and ensure direct plug-in to a wall outlet.
- Position for optimal air circulation and heat distribution.
Consider the room’s layout and typical traffic patterns when deciding on the best location. For instance, if you have pets or small children, ensure the heater is placed where it’s less likely to be knocked over.
Operating Your Heater for the First Time
Once assembly and safety checks are complete, you’re ready to operate your Sai oil-filled radiator heater for the first time. Plug the heater directly into a grounded wall outlet. Turn the power setting to your desired level (e.g., Low, Medium, or High).
Then, set the thermostat to your preferred temperature. The indicator light should illuminate, showing that the heater is on and actively heating.
Initially, the heater may emit a slight odor as any residual manufacturing oils or dust burn off. This is normal and should dissipate within a few hours of operation. Allow the heater some time to warm up and circulate heat throughout the room.
You should begin to feel a gentle warmth radiating from the fins. Adjust the thermostat as needed to maintain your desired comfort level. If you have a timer, you can set it according to your schedule.
Tip: For the first use, consider running the heater on a medium setting for a couple of hours to allow any initial odors to dissipate thoroughly and to acclimate the oil.
Understanding the Controls and Settings
To maximize the benefits and safety of your Sai oil-filled radiator heater, understanding its controls is essential. Most models feature a combination of a power setting and a thermostat. The power setting typically offers different levels of heat output, often labeled as Low, Medium, and High, or indicated by wattage.
This allows you to control how quickly the room heats up and the maximum temperature it can reach.
The thermostat is your primary tool for maintaining a consistent room temperature. Once you’ve selected a power setting, adjust the thermostat to your desired comfort level. The heater will then cycle on and off automatically to maintain that temperature.
When the room reaches the set temperature, the heater will shut off. As the room cools below the set point, the heater will turn back on to reheat the space. This automatic operation makes oil-filled radiators energy-efficient.
| Control | Function | Purpose |
|---|---|---|
| Heat Selector | Low, Medium, High (or wattage settings) | Controls the rate of heating and maximum heat output. |
| Thermostat Dial | Adjustable temperature settings (e.g., 1-7, or specific degrees) | Maintains a set room temperature by cycling the heater on and off. |
| Indicator Light | On/Off status | Shows when the heater is actively powered and heating. |
| Timer (Optional) | Programmable on/off times | Allows for scheduled heating to save energy and ensure comfort. |
Understanding these controls helps you use the heater efficiently, preventing it from running unnecessarily and saving on electricity costs.
Troubleshooting Common Assembly Issues
While putting together a Sai oil-filled radiator heater is generally easy, occasional issues can arise. One common problem is difficulty in attaching the feet or casters. This might be due to misaligned slots or slightly warped parts.
If screws don’t seem to catch, ensure you’re using the correct screw for the correct hole and that you’re not cross-threading them. For snap-in parts, try applying firm, even pressure. If a part feels stuck, don’t force it excessively, as this could cause breakage.
Another potential issue could be a power cord that seems loose or doesn’t fit correctly. Always refer to the manual to confirm the proper connection method. If the cord appears damaged, it should be replaced by a qualified technician or the unit returned.
Some users might also experience uncertainty about the firmness of the attachment. Remember, the feet should be snug and prevent any wobbling. If the heater still feels unstable after assembly, re-check all fastenings.
- Feet/Casters don’t fit: Ensure correct part alignment. Gently try different angles. Check manual for specific instructions.
- Screws won’t tighten: Verify correct screw for the hole. Avoid overtightening. Ensure threads are not stripped.
- Wobbly unit: Re-check all fastenings. Ensure casters are fully engaged or screws are tight.
- Loose power cord: Confirm proper connection as per manual. If damaged, do not use.
- Missing parts: Contact customer support immediately; do not proceed with assembly.
Most assembly issues are resolved by carefully rereading the relevant section of the instruction manual and double-checking that all parts are correctly oriented and securely fastened.
Maintenance and Longevity After Assembly
Once your Sai oil-filled radiator heater is properly assembled and in use, regular maintenance will ensure its continued efficient operation and safety. The primary maintenance task for these heaters is cleaning. Dust and debris can accumulate on the fins and around the air vents, hindering airflow and reducing heating efficiency.
Periodically, when the heater is unplugged and completely cool, wipe down the exterior with a soft, damp cloth. For dust buildup in harder-to-reach areas, a soft brush or a vacuum cleaner with a brush attachment can be used.
It’s important to never submerge the heater in water or use abrasive cleaners, as this can damage the unit and create an electrical hazard. Always ensure the heater is unplugged and completely cool before cleaning. The diathermic oil inside the unit is sealed and does not require maintenance or replacement.
However, if you notice any signs of oil leakage, such as a stain or a strong odor, discontinue use immediately and contact customer support. Such leaks can compromise the heater’s performance and safety.
Important: Always unplug the heater and allow it to cool completely before performing any cleaning or maintenance. Never use harsh chemicals, solvents, or abrasive pads, as they can damage the heater’s finish and internal components.
Frequently Asked Questions
What tools are typically needed to assemble a Sai oil-filled radiator heater?
Most Sai oil-filled radiator heaters are designed for tool-free assembly. Typically, the only required “tool” is your hands to attach the feet or caster wheels. Some models might include a small screwdriver if screws are used, but this is usually provided.
How do I know if my heater is assembled correctly and safe to use?
A correctly assembled heater will stand stable on its feet without wobbling. All parts will feel securely attached, and the power cord will be undamaged and firmly connected. Always perform the pre-use safety checks outlined in the manual and this guide.
Can I move the heater while it’s on?
No, you should never move an oil-filled radiator heater while it is plugged in or in operation. Ensure it is unplugged and has cooled down completely before attempting to move it, especially if it has caster wheels.
What should I do if I notice an oil smell during initial use?
A faint, temporary odor during the first few hours of operation is normal as manufacturing residues burn off. However, if you detect a strong, persistent oil smell or see visible signs of oil leakage, unplug the heater immediately and contact customer support. This could indicate a leak.
How often should I clean my Sai oil-filled radiator heater?
For optimal performance and to prevent dust buildup, it’s recommended to clean the exterior of your heater every few weeks, or more often if you use it frequently. Always ensure the unit is cool and unplugged before cleaning.
Final Thoughts
Putting together your Sai oil-filled radiator heater is a simple and important first step towards enjoying efficient, quiet warmth. By carefully following the unpacking, assembly, and safety checks, you ensure both the longevity of your appliance and your safety. Remember that proper placement and understanding the controls are key to maximizing its benefits.
With minimal effort, you’ll have your heater ready to provide a comfortable environment for your home or office.
Sponsored / affiliate links. As an Amazon Associate I earn from qualifying purchases. I may earn additional commission from eligible campaigns.