How To Flush A Home Radiator System Without Removing Radiators
You can flush a home radiator system without removing radiators by carefully draining the old water, cleaning out debris, and then refilling the system with fresh water and inhibitor. This process helps remove sludge and air, improving heat output and efficiency.
Understanding Your Radiator System
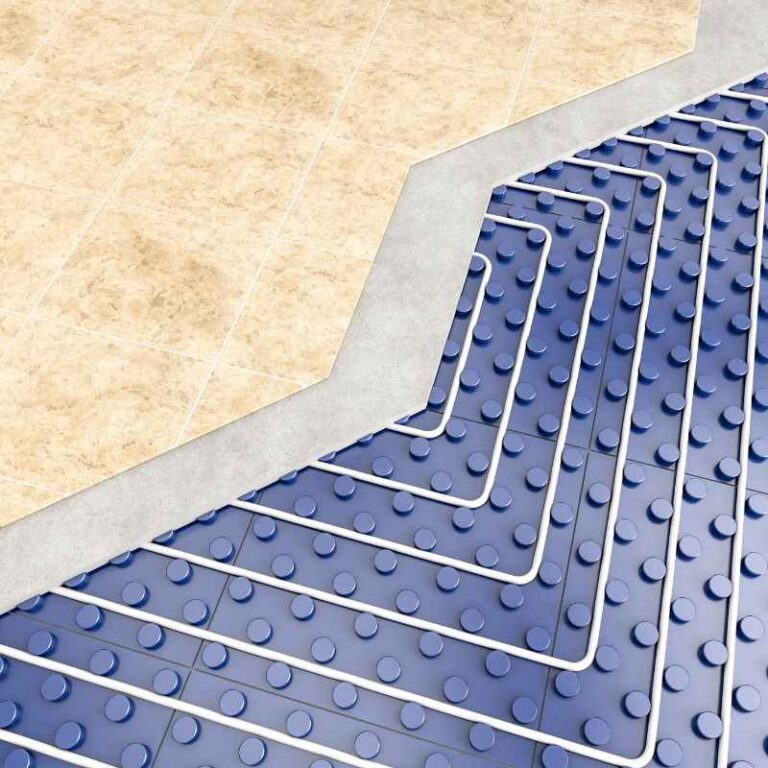
Your home’s heating system is like a big, connected plumbing loop. A boiler heats up water. This hot water then travels through pipes to your radiators.
The radiators then give off heat into your rooms. After the water cools down, it flows back to the boiler to get heated again. It’s a continuous cycle.
Over time, things can build up inside these pipes. This buildup can be rust, sludge, or sediment. It’s like gunk collecting in a kitchen sink.
This gunk can block the flow of hot water. Some radiators might not get hot enough. You might hear strange noises, like banging or gurgling.
Your system might take longer to heat up your home. This is where flushing helps.
Flushing means draining out the old, dirty water. Then, you clean out the system. Finally, you add fresh water back in.
This helps get rid of blockages. It makes your system run better. A clean system means more heat for your rooms.
It also means your boiler doesn’t have to work as hard. This can save you money on energy bills. It can also make your system last longer.
Why Flushing Without Removing Radiators?
Taking radiators off the wall can be a real hassle. They can be heavy. Water can spill everywhere.
Plus, you might need special tools or help. It’s also time-consuming. Many people want a simpler way.
Luckily, you don’t always need to remove them. Most modern systems have drain points. These let you empty the water without taking things apart.
This saves a lot of effort and mess.
The goal is to get the old, dirty water out. Then, you want to
Gathering Your Tools and Supplies
Before you start, gather everything you need. This makes the job go smoothly. You’ll need a few things.
First, a hose. A garden hose works well. Make sure it’s long enough to reach a drain.
You’ll also need buckets. Have a few on hand. They will catch any spills.
You might need a radiator key. This small metal tool opens the bleed valve on a radiator.
You’ll also want some towels. Old rags or towels are great for wiping up drips. It’s a good idea to have some protective gear.
Gloves can keep your hands clean. Maybe some old clothes to wear. You will also need a bucket or basin to collect water from the drain valve.
And last, you’ll need a fresh bottle of central heating inhibitor. This is a special liquid that protects your system.
Essential Flushing Supplies Checklist
- Garden Hose (long enough to reach drain)
- Buckets (multiple)
- Radiator Key
- Old Towels or Rags
- Protective Gloves
- Old Clothes
- Central Heating Inhibitor
- A Drain Valve Wrench (if needed for system drain valve)
Step-by-Step Guide to Flushing Your System
Let’s get to it. The process involves a few key steps. It’s important to follow them carefully.
This ensures you do it right.
Step 1: Turn Off Your Heating System
First things first. You need to make sure the system is off. This means turning off the boiler.
Also, turn off your thermostat. You don’t want the system to kick on while you’re working. Let the water in the radiators cool down.
Hot water can cause burns. It can also make the draining process more difficult.
This step is crucial for safety. It also ensures the water inside is not under pressure. This makes draining easier.
Wait until the radiators are cool to the touch. This might take an hour or two after the heating has been off. Be patient here.
Safety first, always.
Step 2: Locate Your System’s Drain Points
Your heating system has specific points where you can drain water. The most common is at the lowest point of your system. This is often near your boiler.
It might be a tap with a small valve. Some older systems might have a drain valve at the end of a pipe run. Your radiators also have bleed valves.
These are usually at the top of the radiator.
Look around your boiler. See if there’s a tap with a small handle or a square spindle. This is likely your main drain valve.
You might need a small wrench to open this type of valve. If you’re unsure, check your boiler’s manual. It usually shows where these points are.
Knowing these spots is key to draining effectively.
Finding Your Drain Valve
- Check the Boiler Area: Look for a tap or valve near the floor, close to your boiler unit.
- Inspect Pipework: Follow the main heating pipes. A drain valve is often at the lowest point of the circuit.
- Consult Your Manual: Your boiler’s user guide is the best resource for specific locations.
Step 3: Drain the Old Water
Now it’s time to drain. Connect one end of your hose to the main drain valve. Run the other end of the hose to a drain.
This could be a floor drain, a sink, or even outside. Make sure the end of the hose is lower than the drain valve.
Open the drain valve slowly. You should hear the water start to flow. Let it run until the water coming out looks clean.
This might take some time. You might need to open radiator bleed valves. Open one near the top of a radiator.
This helps break the suction. It lets all the water out. Keep an eye on the water.
When it runs clear, you can close the drain valve.
Be prepared for a lot of water. A typical home system holds many gallons. Have your buckets ready for any drips.
If the water is very dirty, you might need to drain and refill a few times. This is often called ‘power flushing’ by professionals, but you can do a simpler version yourself.
Step 4: Flush the System with Clean Water
Once most of the old water is out, it’s time for a flush. Close the main drain valve. Now, refill your system.
You can do this using your filling loop. This is a connection, often flexible, that links your mains water supply to your heating system. Open the valves on the filling loop to let fresh water in.
Watch your system’s pressure gauge. You want to fill it to the recommended pressure. This is usually between 1 and 2 bar.
This information is usually on your boiler or in its manual. Once it’s at the right pressure, close the filling loop valves. You can then drain the system again.
Repeat this drain and refill process a few times.
Each time you refill with fresh water, you are pushing out more of the old gunk. You can tell if it’s working by the color of the water. It should get progressively clearer.
Don’t rush this. Doing a few cycles helps a lot. This is a key part of getting your system clean.
It helps remove even stubborn sediment.
Drain and Refill Cycles
- Cycle 1: Drain all old water. Refill to correct pressure.
- Cycle 2: Drain again. Refill to correct pressure.
- Cycle 3: Drain again. Refill to correct pressure.
- Observation: Check water clarity after each drain. Aim for clear water.
Step 5: Add Central Heating Inhibitor
This is a vital step for system health. After your final refill with clean water, it’s time for the inhibitor. This chemical protects your system.
It prevents rust and scale buildup. It also helps stop sludge forming again. This makes your heating system last longer.
The amount of inhibitor you need depends on your system’s size. Check the instructions on the inhibitor bottle. Usually, you pour it into the system.
The easiest way is often through a radiator bleed valve. Use your radiator key to open a valve slightly. Pour the inhibitor in.
Then, close the valve. Make sure you use the correct dose.
Some newer systems have a special port for adding inhibitor. If yours does, use that. If not, the bleed valve method is common.
This inhibitor circulates with the water. It coats the inside of your pipes. This keeps the metal parts safe from corrosion.
It’s like a protective shield for your heating.
Dealing with Air in the System
Flushing can sometimes introduce air into the system. Air pockets stop radiators from heating properly. They can also cause noisy pipes.
You need to bleed your radiators after flushing. This lets the trapped air escape. You will need your radiator key for this.
Start with the radiators closest to the boiler. Then move to the ones furthest away. Put a cloth under the bleed valve.
Open the valve slowly with your radiator key. You’ll hear a hiss as air escapes. Once water starts to spurt out, close the valve.
Do this for every radiator in your house. This makes sure all the air is gone.
After bleeding all the radiators, check your system pressure again. It might have dropped. If it has, you’ll need to top it up using the filling loop.
Make sure it’s back within the normal range (usually 1-2 bar when cold). This ensures your system is ready to run.
Bleeding Radiators: Quick Tips
- Tools: Radiator key and a rag.
- Order: Start with radiators nearest the boiler, move to furthest.
- Process: Open valve slowly until air hisses out. Close when water appears.
- Pressure Check: Re-check system pressure after bleeding all radiators.
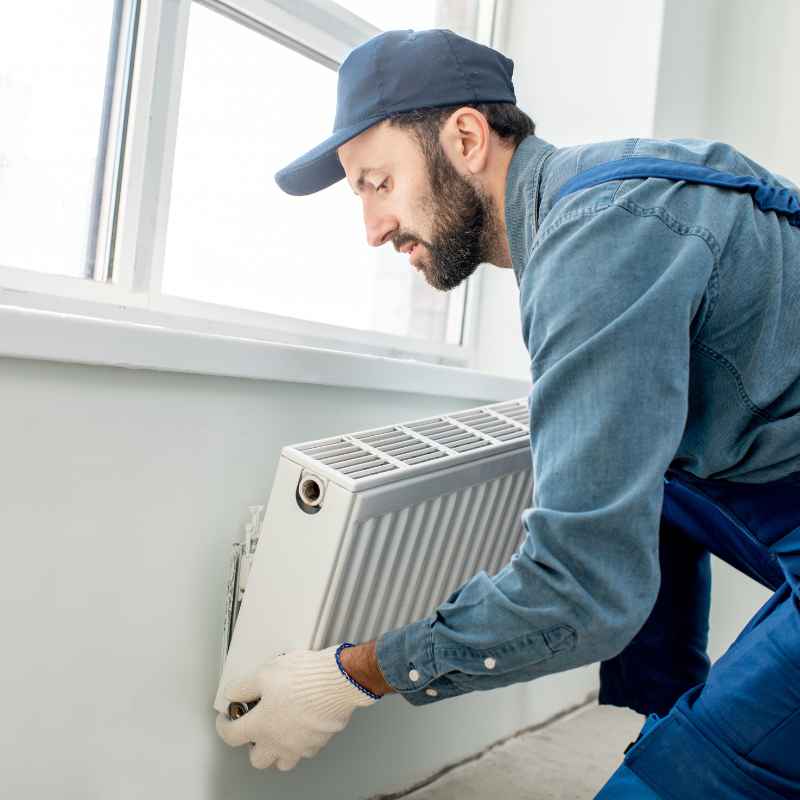
When to Call a Professional
While flushing your system yourself can save money, there are times when it’s best to call an expert. If you’re not comfortable with any of these steps, don’t hesitate to get help. If your system is very old or complex, a professional might be needed.
They have special tools for power flushing.
If you drain the system and the water is still very black and sludgy after several flushes, there might be a bigger problem. This could be severe corrosion. Or maybe a buildup that’s too tough for a simple flush.
A heating engineer can diagnose this. They can also perform a more thorough power flush if needed.
Also, if your system pressure is unstable after refilling and bleeding, it’s a sign something isn’t right. Don’t ignore strange noises or leaks. These could indicate a need for expert attention.
Your boiler and heating system are important. It’s better to be safe than sorry.
Signs You Might Need a Pro
- Uncomfortable with the steps
- Very old or complex system
- Persistent, thick sludge after flushing
- Ongoing system pressure issues
- Unusual noises or persistent leaks
Common Problems and Solutions
Sometimes, even after flushing, you might run into issues. Here are a few common ones and how to address them.
Radiators Still Cold
If a radiator is still cold after flushing and bleeding, the issue might be deeper. There could be a blockage in that specific radiator. Or the pipe leading to it might be blocked.
You can try bleeding it again. If that doesn’t work, you might need to isolate that radiator. Then, try flushing just that section.
Another cause could be a faulty thermostatic radiator valve (TRV). If the pin in the TRV is stuck down, it will block hot water flow. You can try gently tapping the pin.
If it’s still stuck, it may need replacing. For persistent problems, a heating engineer is the best person to consult.
System Pressure Drops
If your system pressure keeps dropping after you refill it, there’s likely a leak. Check all the connections you opened. Make sure they are tight.
Look for any drips or wet spots on the pipes and radiators. If you can’t find an obvious leak, it could be internal. This might be a leak within the boiler itself or in a buried pipe.
This is when you should call a professional.
Strange Noises
Gurgling or banging noises usually mean air in the system. You’ve bled the radiators, so double-check that. Make sure you topped up the pressure.
Sometimes, a very loud bang could be a sign of a more serious issue, like sediment hitting the boiler heat exchanger. If noises persist, get it checked.
Troubleshooting Quick Guide
- Cold Radiator: Re-bleed, check TRV pin, consider professional advice.
- Pressure Loss: Check all connections for leaks, then call a pro if needed.
- Noises: Ensure radiators are bled and pressure is correct. Persistent noise needs expert check.
Maintaining Your System After Flushing
Once you’ve successfully flushed your system, it’s important to keep it in good shape. Regular maintenance prevents future problems. This saves you time and money in the long run.
Keep an eye on your system pressure. It should stay within the recommended range. Check it once a month.
If it drops, top it up. Make sure to bleed your radiators at least once a year. This is usually done at the start of the heating season.
This removes any air that has built up.
Consider getting your system professionally serviced. A heating engineer can check the boiler and the whole system. They can spot potential problems before they become serious.
This professional check is usually recommended annually. It ensures everything is working safely and efficiently.
Finally, always ensure you have enough inhibitor in the system. If you had to drain a lot of water, you might need to add more inhibitor. Follow the manufacturer’s guidelines.
This protection is key to a long-lasting heating system.
Frequently Asked Questions
How often should I flush my radiator system?
You don’t need to flush your system every year. Most systems only need flushing every 3-5 years, or when you notice problems like cold spots or slow heating. If you’ve just had a new boiler installed, it’s a good idea to flush the system first to remove any debris from the installation process.
What is the difference between flushing and power flushing?
Flushing, as described here, is a DIY method of draining, refilling, and bleeding the system. Power flushing is a professional service that uses a machine to force water and cleaning chemicals through the system at high speed. It’s more effective at removing heavy sludge but requires specialized equipment and expertise.
Can flushing my system damage it?
When done correctly, flushing should not damage your system. However, if you use excessive force on valves, damage pipes, or don’t refill the system properly, you could cause problems. Always work carefully and follow the steps.
If unsure, consult a professional.
What happens if I don’t use heating inhibitor?
Without inhibitor, your system is prone to corrosion. Rust and scale can form inside the pipes and on the boiler’s heat exchanger. This reduces efficiency, can cause blockages, and shortens the lifespan of your heating system.
Inhibitor is essential for long-term protection.
My radiators have black sludge. Is that normal?
Some minor discoloration in the water is normal over time. However, thick black sludge indicates significant corrosion or sediment buildup. While a thorough flush can help, persistent black sludge might mean you need a professional power flush or an inspection for underlying issues.
Do I need to turn off water supply to the house?
No, you typically do not need to turn off the main water supply to the house. You are draining a closed loop system, not the entire house plumbing. You will be opening the filling loop briefly to add fresh water, but this is a controlled process.
Conclusion
Keeping your home heating system running smoothly is key to staying warm and comfortable. Flushing your radiator system without removing radiators is a manageable task for many homeowners. It helps get rid of sludge and air.
This leads to better heat and efficiency. By following these steps, you can improve your system’s performance. Remember to be patient and careful throughout the process.
Regular checks and maintenance will keep your home warm for years to come.