How To Determine The Right Steam Radiator Size For Any Room
Choosing the correct steam radiator size means looking at heat loss. This involves measuring your room and understanding how much heat escapes. Proper sizing ensures comfort and saves energy.
Understanding Steam Radiator Sizing
Steam radiators work by heating up when steam flows through them. This heat then warms the air in your room. The trick is to match the radiator’s heat output to how much heat the room needs.
This need is called “heat loss.” Every room loses heat to the outside. Factors like windows, walls, and even how well your home is insulated play a big role. We need to find out how much heat your room loses.
Then, we find a radiator that can put that much heat back in.
Think of it like a leaky bucket. The water leaking out is like the heat escaping your room. The bucket itself is your room.
The radiator is like a tap you turn on to refill the bucket. You need to know how fast the water is leaking to know how fast you need to turn on the tap. If the leak is fast, you need the tap on high.
If the leak is slow, a gentle flow is enough. Sizing a steam radiator is all about matching that “tap flow” to the “leak rate.
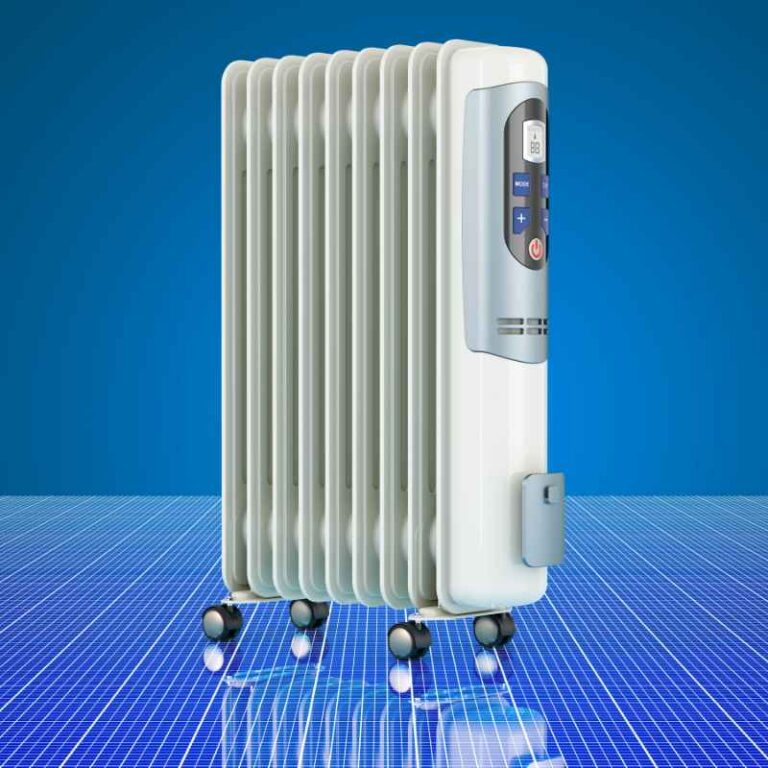
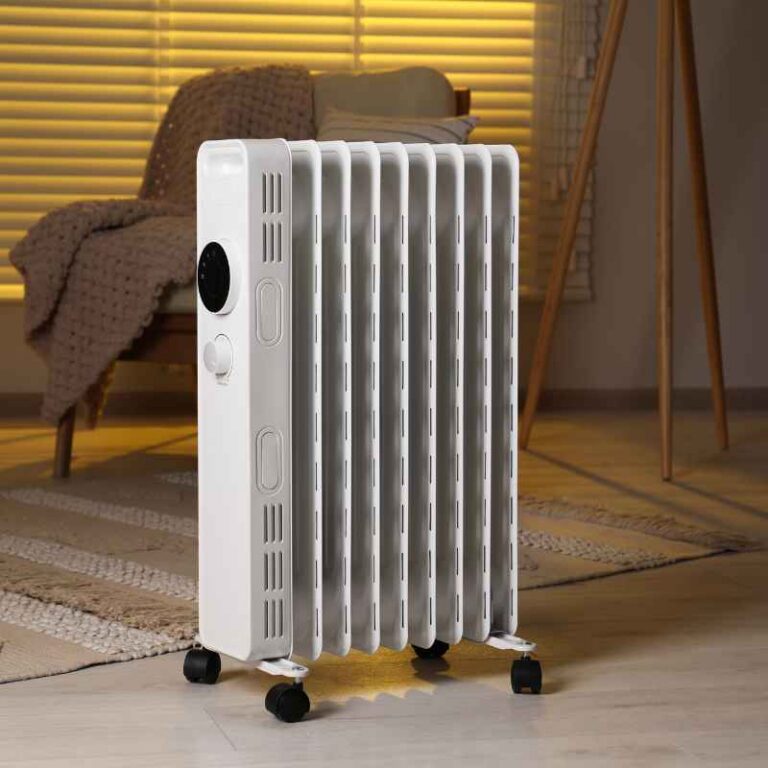
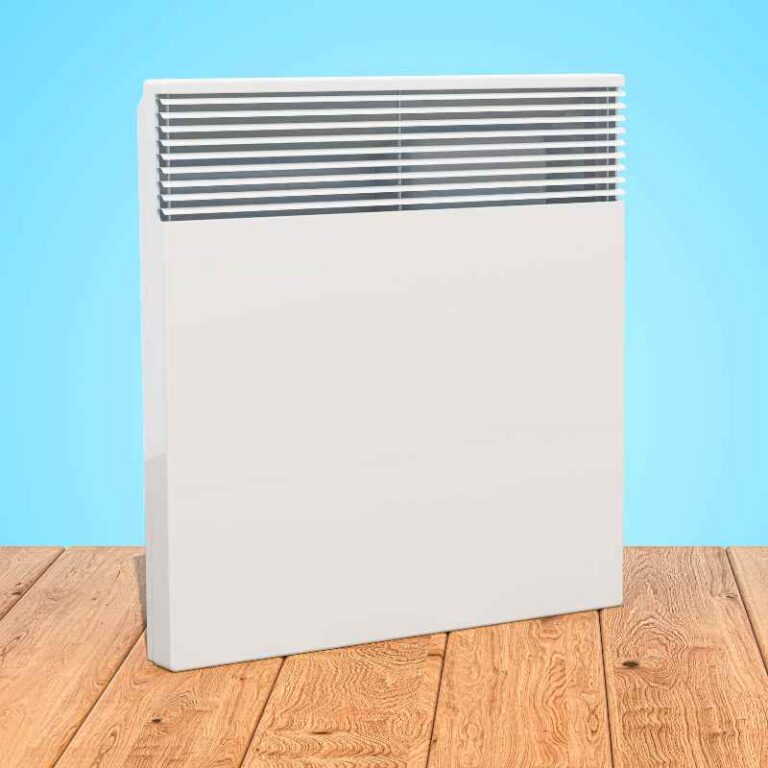
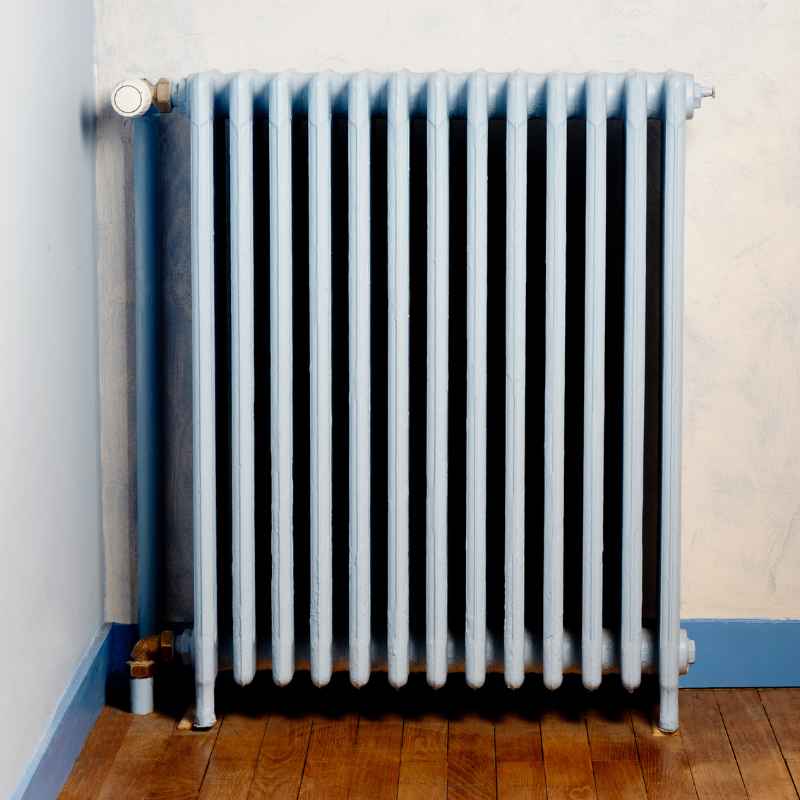
Different types of steam radiators exist. Cast iron ones are common. They hold heat well.
They are also heavy and classic looking. Newer panel radiators are sleeker and heat up faster. But for steam systems, especially older ones, cast iron is often the standard.
The size of a radiator isn’t just its height. It’s also how long and how deep it is. These dimensions give us clues about its surface area.
A bigger surface area can give off more heat. So, we’re looking at its overall physical size.
My Own Radiator Adventure
I remember a time I inherited an old house. It had these beautiful, ornate cast iron radiators. One room, a small study, just never got warm enough.
It was winter, and I’d sit there with a blanket, trying to read. The radiator looked the same size as one in a much bigger living room. That was my first clue: size alone isn’t everything.
I felt so frustrated. I tried turning up the whole house’s steam pressure. That made other rooms too hot.
It was an annoying cycle.
Finally, I called a heating expert. He came over and, instead of just looking, he pulled out a tape measure and a notepad. He started asking me about the room.
How many windows? What direction do they face? Was it an upstairs room?
He explained that my study had a lot of outside walls and a big window. This meant more heat was escaping. The existing radiator was simply too small for the job.
It couldn’t keep up with the heat loss. He explained the process of calculating the BTU output needed. That’s British Thermal Units.
It’s a standard way to measure heat. He showed me how to estimate it for my room. It made so much sense then.
My guessing game was over. We ended up getting a slightly larger radiator for that study. It made a world of difference.
Now, I can actually work in there comfortably.
Understanding Heat Loss
What is it? Heat loss is the amount of heat your room loses to the colder outside. It happens through walls, windows, doors, and even floors and ceilings.
Why it matters: A radiator needs to replace this lost heat to keep the room warm. If it can’t, the room stays cold.
Key areas of loss:
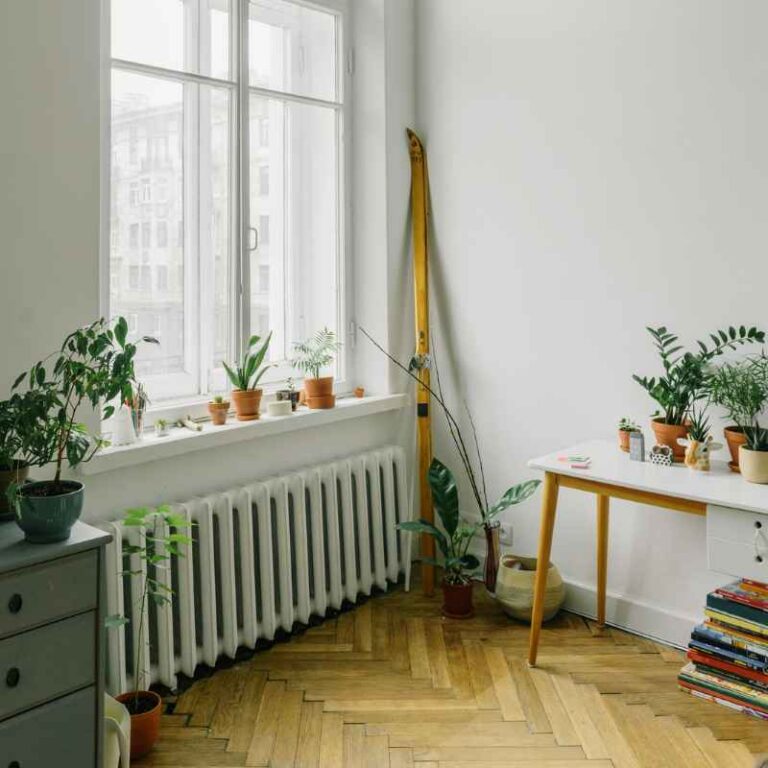
- Windows: Especially older, single-pane ones.
- Exterior walls: Walls facing the outdoors lose more heat.
- Drafts: Air leaks around windows, doors, or outlets.
- Roof/Attic: Heat rises, so this area is important.
Calculating Your Room’s Heat Needs (BTU)
So, how do we actually figure out the heat loss? The most accurate way is to get a professional load calculation. But you can get a good estimate yourself.
We need to find the total BTU requirement for your room. This involves a few steps. First, measure your room’s length, width, and height.
Multiply these to get the room’s volume in cubic feet. This is a starting point.
Next, consider the factors that increase heat loss. This is where your room’s specifics come in. A basic formula uses room dimensions.
But we need to adjust it. For every foot of exposed wall (walls facing outside), you add a bit more. For each window, you add more.
For each door, you add even more. This is because these areas are less insulated than solid walls. Older, drafty windows need a bigger adjustment.
Modern, well-sealed windows need less.
Let’s break down the common adjustments. For a standard room with average insulation, you might start with a base number per cubic foot. Then, you add BTU for other features.
Here’s a simplified way to think about it. You’ll need a basic calculator. Most heating guides offer charts or formulas.
They help you add up the requirements. We are aiming for a target BTU number for your specific room.
A good rule of thumb is to consider the square footage. For basic calculations, many sources use square footage. They estimate BTU needed per square foot.
However, this doesn’t account for room height or specific features like many windows. For steam radiators, being a little generous is often better than being too stingy. An undersized radiator will struggle.
An oversized one can be controlled, but an undersized one can’t magically produce more heat.
Quick BTU Estimator (Very Basic)
Step 1: Measure your room. Get Length (L), Width (W), and Height (H) in feet.
Step 2: Calculate volume. Volume = L x W x H.
Step 3: Base BTU. For a room with average insulation, a rough starting point is 10-15 BTU per cubic foot. Let’s use 12 BTU/cu ft for this example.
Step 4: Add for features (example additions):
- Each window: + 500 BTU
- Each door: + 1000 BTU
- Each exterior wall foot: + 10 BTU/ft
Example: A room is 12ft long, 10ft wide, and 8ft high. It has two windows and one exterior wall.
- Volume = 12 x 10 x 8 = 960 cu ft
- Base BTU = 960 x 12 = 11,520 BTU
- Window BTU = 2 x 500 = 1000 BTU
- Exterior wall BTU = 12ft x 10 BTU/ft = 120 BTU
- Total Estimated BTU = 11,520 + 1000 + 120 = 12,640 BTU
Note: This is a very simplified estimate. Many factors, like climate, insulation quality, and window type, are not fully covered here.
Factors That Affect Radiator Size
Beyond the basic calculations, several real-world factors matter. These can significantly change how much heat your room needs. Understanding these helps you refine your choice.
Climate is a big one. If you live in a very cold area, your room will lose heat faster than in a mild climate. You’ll need more BTU output.
The orientation of your room also matters. North-facing rooms are often colder. Rooms with lots of west-facing windows can get very hot in the afternoon sun, but they still need heat when the sun isn’t shining.
The type of windows and doors is crucial. Are they single-pane or double-pane? Do they have good seals?
Drafty windows can account for a huge portion of heat loss. New, energy-efficient windows lose much less heat. The insulation in your walls and attic is another major player.
A well-insulated home keeps heat in. A poorly insulated home lets it escape easily. If your attic or walls have little to no insulation, you’ll need a larger radiator.
This is an area where improving insulation is often a better long-term solution than just buying a bigger radiator.
Ceiling height is also important. A room with 10-foot ceilings has more air to heat than a room with 8-foot ceilings. This means more heat is needed.
If your room has a particularly high ceiling, you’ll need to factor that in. The number of occupants can also play a small role. People give off body heat.
However, this is usually a minor factor for sizing unless it’s a very small, crowded space.
Consider the room’s use. A bathroom might need to reach a higher temperature quickly. A bedroom might be fine with steady, lower heat.
A room above a cold garage or unfinished basement will lose more heat through the floor. These areas need extra attention. Think about if the room is on the ground floor or an upper floor.
Upper floors tend to be warmer as heat rises. Rooms with many outside walls, like corner rooms, will need more heat.
Contrast Matrix: Insulation Matters
Myth: “My radiator is too small. I just need a bigger one.”
Reality: Often, poor insulation or drafts are the real culprits. Improving insulation can reduce the needed radiator size and save energy long-term.
Normal Heat Loss: Standard windows, insulated walls, minimal drafts.
Concerning Heat Loss: Single-pane windows, uninsulated walls, noticeable drafts, high ceilings with no attic insulation.
Finding Radiator BTU Output
Once you have an estimated BTU need for your room, you need to find a radiator that meets or slightly exceeds it. Radiator manufacturers provide specifications. These usually list the BTU output of their radiators.
This output is typically rated at a specific steam pressure. For steam systems, this is usually around 1-2 PSI (pounds per square inch). It’s important to use the rating for the correct pressure.
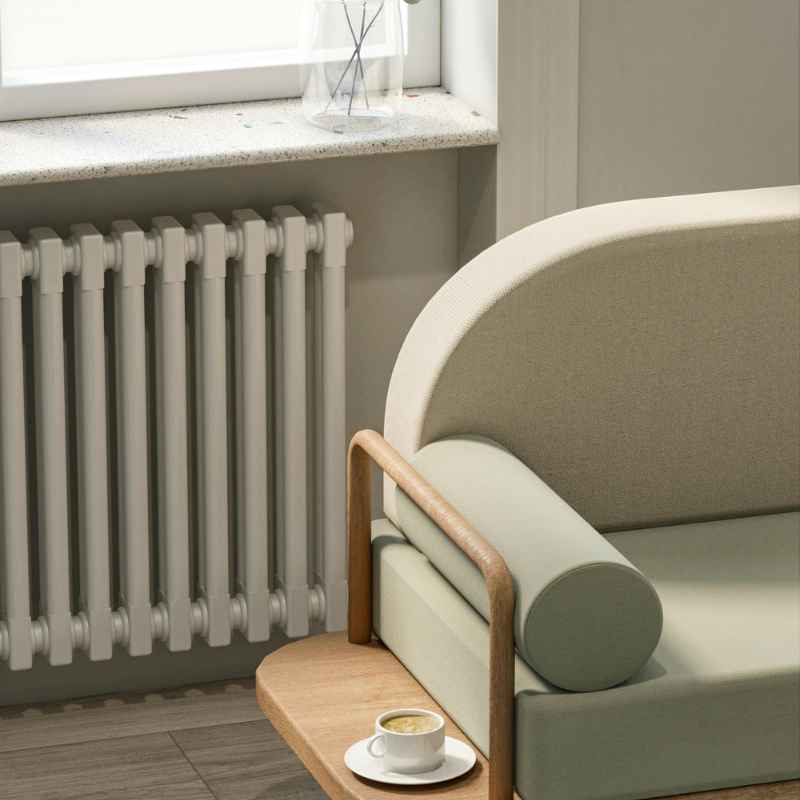
Cast iron radiators are often rated by their “section” size and number. A section is one vertical column of the radiator. A common size might be 38 inches tall.
Radiators come in different heights, like 32 inches, 38 inches, and 45 inches. Taller radiators generally have a larger surface area and higher BTU output. The width and depth of the sections also contribute to the surface area.
You’ll find charts that correlate the number of sections and the type of radiator to its BTU output.
For example, a specific 38-inch, 5-section cast iron radiator might be rated for 4000 BTU at 1 PSI. If your room needs 3500 BTU, this radiator would be a good fit. If it needs 4500 BTU, you might need a 6-section version of the same radiator.
It’s always best to aim for a radiator that meets about 10-15% more BTU than your calculated need. This gives you a buffer. It ensures the radiator can keep up even on the coldest days.
It also means the radiator won’t have to run at its absolute maximum output all the time, which can be more efficient.
Finding these specifications can sometimes be challenging, especially for older or reclaimed radiators. If you’re buying new, the manufacturer’s website or product catalog will have this information. For older radiators, you might need to look up similar models or consult with a heating professional.
Don’t guess the BTU output based on appearance alone. Always look for the manufacturer’s specifications.
Quick-Scan Table: Radiator Types and Output
| Radiator Type | Typical Height | Heat Output (BTU/section) | Notes |
|---|---|---|---|
| Cast Iron (Classic) | 32″, 38″, 45″ | 200-400 BTU/section | Good heat retention, slower to heat up. |
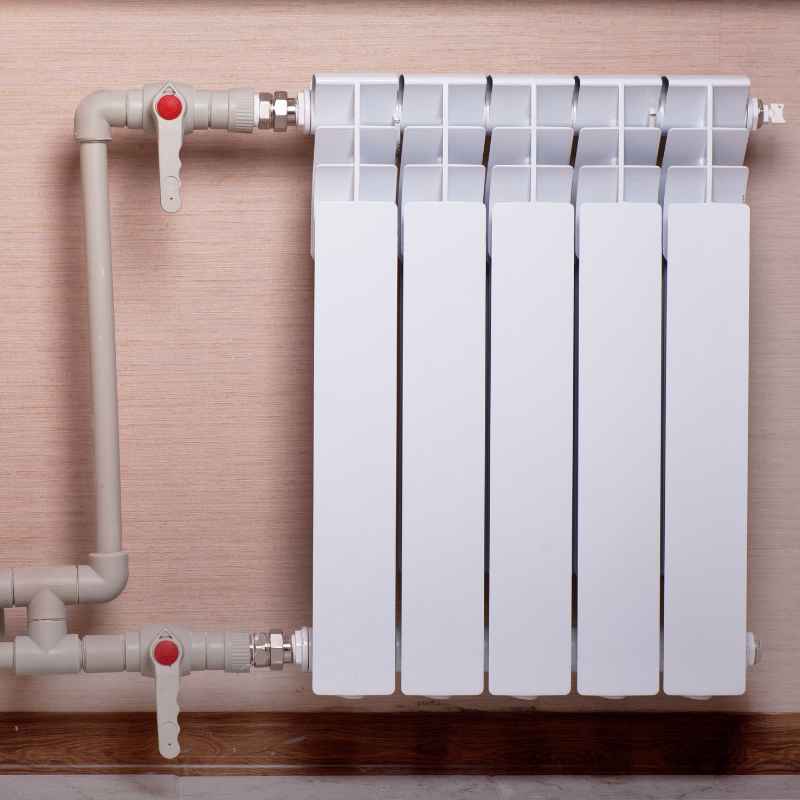
| Panel Radiator (for steam conversion) | Various | Varies by model/size | Heats up faster, may require specific steam valves. |
| Towel Warmer (converted for steam) | Various | Lower BTU | Best for small bathrooms, limited heat output. |
Note: BTU per section is an approximation and varies widely by manufacturer and specific model design. Always check official specs.
Installation and System Considerations
The size of the radiator is just one piece of the puzzle. How it’s installed and how it interacts with your existing steam system are also critical. Your steam system needs to be able to deliver steam efficiently to the radiator.
If your system is old, has leaks, or has inadequate pipe sizing, even the perfectly sized radiator won’t perform well. The pipes that bring steam to the radiator are called supply pipes. The pipes that carry water and air back are called return pipes.
Proper venting is also key. Each steam radiator needs a vent to release air. This allows steam to fill the radiator.
Without a good vent, the radiator might only heat partially or not at all. There are different types of vents. For steam systems, you usually need specific steam vents, not hot water vents.
These vents open to let air out but close when steam hits them.
The location of the radiator matters. Ideally, radiators are placed under windows. This helps counteract the cold air falling from the window.
It also distributes heat well into the room. However, sometimes space limitations mean you have to put it elsewhere. Ensure there’s enough clearance around the radiator for air to circulate.
Don’t block it with furniture or curtains. This impedes its ability to heat the room.
Your steam pressure is another factor. Most residential steam systems operate at very low pressures, often 1-2 PSI. Higher pressures can deliver more heat but can also be noisier and less efficient.
The BTU ratings provided by manufacturers are usually based on these low pressures. If your system operates at a significantly different pressure, you might need to adjust your calculations. Consult a professional in this case.
Observational Flow: Radiator Placement
- Ideal Spot: Underneath a window. This helps block cold drafts and distributes heat effectively.
- Good Airflow: Ensure space around the radiator for air to move freely. Avoid placing large furniture directly in front of it.
- Clearance: Maintain adequate distance from walls and drapes so heat can disperse into the room.
- Pipe Access: The radiator needs to be accessible for the steam supply and return pipes, and for maintenance.
When Is It Okay to Go Bigger?
So, we’ve talked about calculating needs. What if you’re between sizes, or you’re just not sure? It’s generally better to slightly oversize a steam radiator than to undersize it.
Why? Because an undersized radiator will constantly struggle to meet the heat demand. It might run all the time and still not make the room comfortable.
This is inefficient and frustrating. It also puts undue stress on your heating system.
A slightly oversized radiator can be managed. You can adjust the steam flow to it. Many steam radiators have valves that allow you to control how much steam enters.
You can partially close these valves to reduce the heat output. This gives you more control over the room’s temperature. So, if your calculation comes out to 3800 BTU, and the closest standard radiator sizes offer 3500 BTU or 4200 BTU, leaning towards the 4200 BTU option is usually wise.
You can then throttle it back if needed.
However, there are limits. Extremely oversizing a radiator can still lead to problems. It might cause uneven heating or create hot spots.
It can also lead to a very “wet” steam system, meaning a lot of water is being condensed within the radiator, which can cause noise. But for most residential situations, a 10-15% buffer is a good rule of thumb. It provides comfort and system longevity.
Remember to also consider the aesthetic. Sometimes, a slightly larger radiator might not fit the visual design of the room. This is where you might need to make a compromise or explore different radiator styles that offer more BTU output in a smaller footprint.
Always balance the technical needs with the practical and aesthetic ones.
When to Call a Professional
While you can get a good estimate yourself, there are times when consulting a professional is the smartest move. If you have a very complex room layout, unusual ceiling heights, or a historic home with unique heating challenges, a pro can help. They have specialized software and experience to perform precise heat loss calculations.
This is often called a Manual J calculation in the HVAC world. It’s the industry standard for accurate load sizing.
If your steam system is old or you’re unsure about its condition, a professional can assess that too. They can check for leaks, proper venting, and adequate pipe sizing. They can tell you if your system can even support the steam needs of a larger or additional radiator.
Trying to add a big radiator to a weak system won’t solve the problem and could cause new ones.
Also, if you’re replacing an existing radiator and aren’t sure why it wasn’t working well, a professional can diagnose the issue. Was it just the wrong size, or was there an underlying system problem? They can offer solutions that address the root cause.
For many homeowners, the peace of mind that comes with a professional assessment is well worth the cost. They can ensure you get the right size and that your system can handle it. This saves you money and hassle in the long run.
When to Call for Help
- Complex Rooms: Irregular shapes, very high ceilings, unusual window placements.
- Old/Unfamiliar Systems: Unsure about the condition or capacity of your steam system.
- Historic Homes: Unique construction and insulation challenges.
- Persistent Cold Spots: If multiple rooms are always cold, it might be a system-wide issue.
- Uncertain Calculations: If your DIY calculation feels off or you want a definitive answer.
Common Pitfalls to Avoid
One of the biggest mistakes people make is assuming all radiators are the same. A 3-foot radiator of one style will not have the same heat output as a 3-foot radiator of another style. Always check the manufacturer’s BTU ratings.
Another pitfall is relying solely on square footage. While it’s a starting point, it ignores critical details like insulation, window types, and ceiling height.
Don’t forget to factor in multiple exposures. A corner room has two exterior walls. A room with three exterior walls needs even more heat.
Underestimating the impact of windows, especially older ones, is very common. They are often the biggest source of heat loss in a room. Drafts are another silent killer of heat.
Make sure to seal up any air leaks around windows, doors, and electrical outlets.
Finally, don’t just buy the prettiest radiator you see without checking its specs. While aesthetics are important, function comes first. A beautiful radiator that doesn’t heat your room is useless.
Balance form and function by finding a model that meets your BTU needs and looks good. If you are working with reclaimed radiators, be very careful about their condition and assume their original output might be reduced due to age or damage.
Quick Fixes and Tips for Radiator Performance
Even with the right size, you can improve your radiator’s performance. Make sure your radiator vents are clean and functioning. Clogged vents can prevent steam from entering.
Periodically clean dust and debris from between the radiator sections. This allows for better air circulation and heat dispersal. You can use a radiator brush or a vacuum with a crevice tool.
Consider adding radiator reflectors. These are foil-like sheets that you can place behind the radiator on the wall. They bounce heat back into the room instead of letting it soak into the wall.
This is especially helpful for radiators on exterior walls. Ensure your steam traps are working correctly. These are part of the return system and help manage steam and water.
A faulty steam trap can prevent steam from reaching the radiator or cause it to fill with water.
Bleeding your radiators isn’t typically done with steam systems in the same way as hot water systems. Steam radiators self-vent air. However, if you notice one side of a radiator is warm and the other is cold, it could indicate a vent issue or a blockage.
If you’re comfortable, you can try gently turning the radiator valve. Don’t force it. If it’s stiff, leave it alone and consult a pro.
Stacked Micro-Sections: Radiator Care
Cleanliness: Dust and debris block airflow. Use a radiator brush regularly.
Vents: Ensure steam vents are clear and functioning properly to let air out.
Reflectors: Use radiator foil behind radiators on exterior walls to direct heat into the room.
Valves: Gently operate radiator valves. If they’re stuck, get professional help.
Frequently Asked Questions
How do I measure a steam radiator?
Measure the height, width, and depth of the radiator. Note the number of vertical sections. This information helps identify the radiator type and size for looking up its specifications.
What is the difference between steam and hot water radiators?
Steam radiators heat up when steam flows through them. Hot water radiators heat up when hot water flows through them. They require different system components and sometimes different valve types.
Can I convert a hot water radiator to steam?
Yes, but it requires specific valves and careful consideration of your steam system’s pressure and venting. It’s often best done by a professional.
How many BTU does a typical 38-inch cast iron radiator produce?
A typical 38-inch cast iron radiator section can produce around 200-400 BTU. The total output depends on the number of sections and the specific design and steam pressure.
What if my room has very high ceilings?
High ceilings mean more air volume to heat. You’ll need to increase your BTU calculation accordingly. A room with 12-foot ceilings needs significantly more heat than one with 8-foot ceilings.
Is it okay if my radiator is slightly larger than calculated?
Yes, it’s generally better to slightly oversize a steam radiator. This allows for better control and ensures the room gets warm even on very cold days. You can often throttle back an oversized radiator with its valve.
Conclusion
Finding the right steam radiator size is a mix of careful calculation and understanding your home. It’s not just about picking the biggest one you can find. It’s about figuring out how much heat your room loses.
Then, matching that loss with a radiator’s output. By considering room dimensions, insulation, windows, and climate, you can estimate your needs. Always aim for a radiator that meets your calculated BTU requirement, perhaps with a small buffer.
Don’t forget the importance of proper installation and system health. Sometimes, the best solution involves a professional’s touch. With the right approach, your home will be warm and cozy.