How To Install Sunrad Recessed Steam Radiators In Walls
Dealing with a chilly room can be a real drag, especially when you feel like you’ve tried everything. You look at your walls, and they just seem. bare.
No heat source in sight, and the thought of adding bulky radiators can be a downer. What if there was a way to get cozy warmth without sacrificing your room’s look? That’s where the idea of recessed steam radiators comes in.
It’s about blending function with form, making your home warmer and more beautiful. We’ll walk through what it takes to make this happen.
Sunrad recessed steam radiators offer a stylish and efficient way to heat your home by installing radiators directly into your walls. This method hides most of the unit, providing a cleaner aesthetic while still delivering effective warmth. Proper installation involves careful planning, precise measurements, and secure mounting to ensure safety and optimal performance.
Understanding Sunrad Recessed Steam Radiators
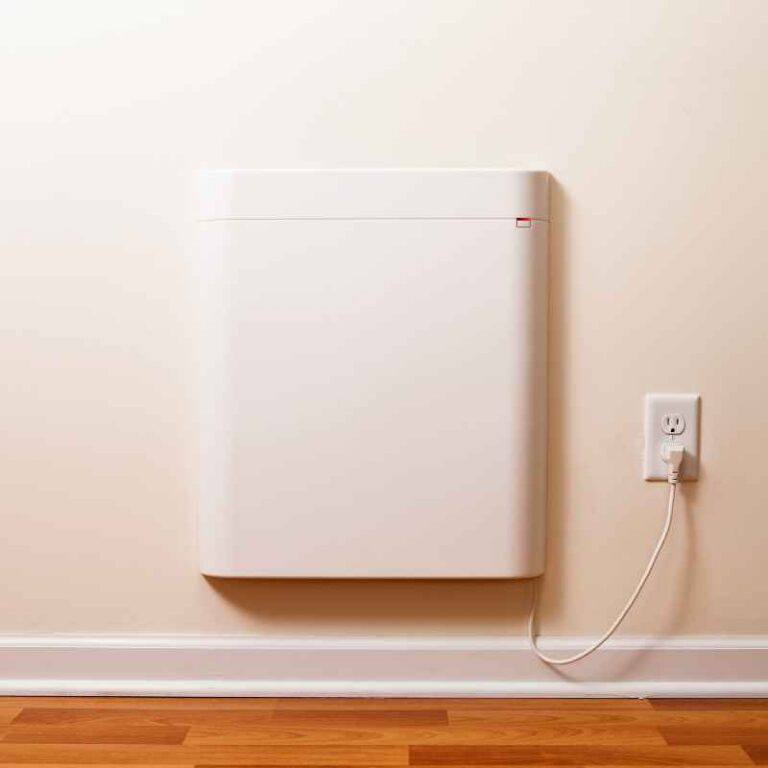
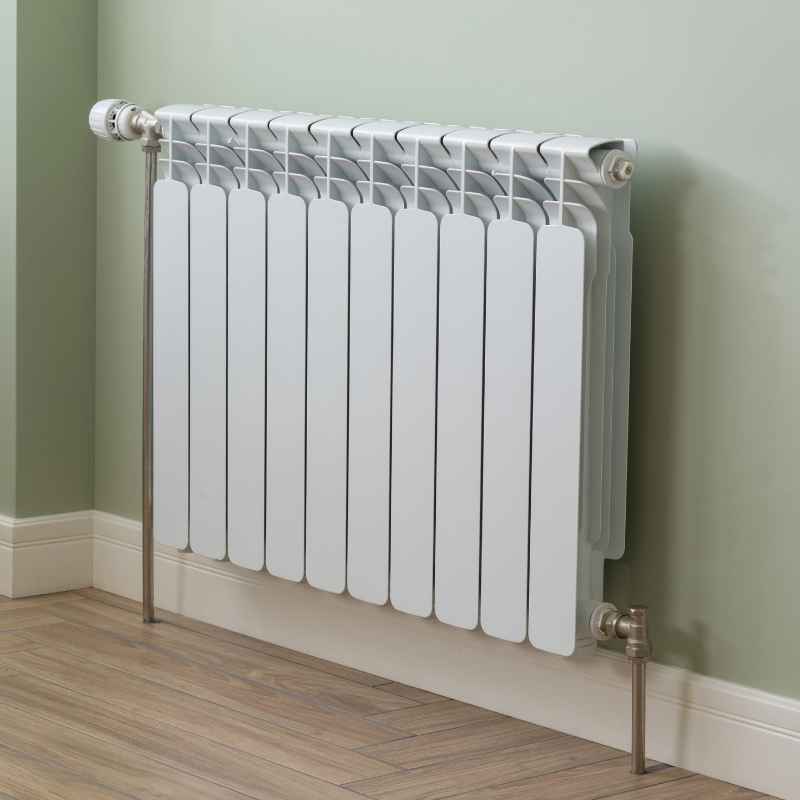
So, what exactly is a Sunrad recessed steam radiator? Think of it as a smart radiator. It’s designed to fit neatly inside a wall.
This means less of the radiator sticks out into your room. You see only a grille or a slim front panel. The rest of the unit is hidden away.
This makes them look super clean and modern. They are especially great for homes where you want to keep that sleek look. Or for rooms where space is tight.
They work by heating up with steam, just like older radiators. But they do it in a way that’s much more hidden.
Steam heating itself is a classic. Steam is made in a boiler. Then, it travels through pipes to the radiators.
The radiator heats up. It then gives off warmth to the room. Recessed radiators use this same steam system.
The key difference is how they are fitted. They go into the wall. This is different from radiators that just hang on the wall.
It means you need to cut a space for them. You also need to make sure the steam pipes can reach them inside the wall. This type of radiator is a great way to add heat without clutter.
It’s a step up from basic radiators for a more polished feel.
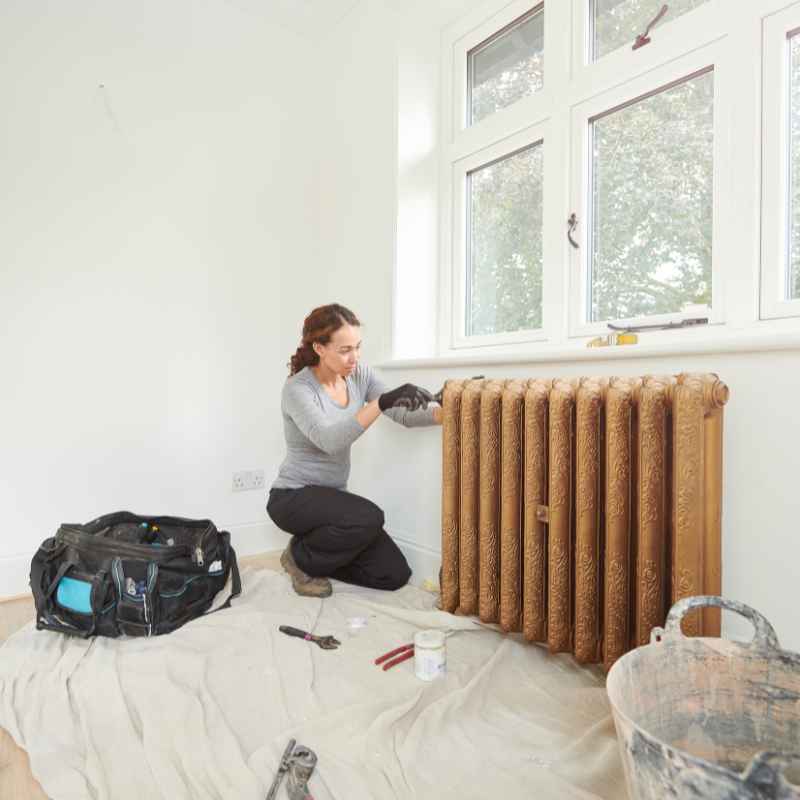
My Own Cold Room Battle
I remember a room in my old house. It was a small den off the living room. In winter, it was always the coldest spot.
Even with the main heating on, it felt like a little ice box. My old radiator was huge and took up a lot of wall space. It looked out of place.
I wanted to make the den more inviting. I dreamt of a space where friends could hang out comfortably. But the cold was a constant barrier.
I looked into different heating options. Most were expensive or would ruin the room’s charm. Then I heard about recessed radiators.
The idea of hiding the heat source seemed like magic. I pictured a clean, warm room. No more goosebumps while reading there!
The thought of cutting into my wall was scary at first. What if I messed something up? What if the pipes leaked?
It felt like a big project. I spent weeks researching. I read forums and watched videos.
I even talked to a contractor friend. He explained how it worked. He said it was doable with care.
He stressed the importance of good measurements. He also told me about safety checks. He mentioned that working with steam systems needs attention.
This gave me confidence. I knew it wouldn’t be a quick job. But the reward of a warm, stylish room felt worth the effort.
Radiator Types: What to Know
Standard Radiators: These hang on the outside of a wall. They are easy to install. But they take up floor or wall space.
Recessed Radiators: These are built into the wall. Only the grille or front panel shows. They save space and look neat.
Concealed Radiators: Similar to recessed. They are hidden behind a panel or cover. Often found in new builds.
Towel Warmers: Special radiators for bathrooms. They heat towels. Some can be recessed.
Planning Your Sunrad Recessed Radiator Installation
Before you even think about cutting into a wall, planning is key. This is not a weekend DIY project to rush. First, find the best spot for your radiator.
Where is the room coldest? Where will it look best? Think about where the steam pipes are now.
Can they reach this new spot easily? You don’t want super long pipe runs. Long pipes lose heat.
This makes the system less efficient. It also costs more to install. So, try to put it near existing pipes.
Next, measure everything. You need to know the exact size of the radiator. Then, figure out the space needed inside the wall.
This space must be deep enough for the radiator. It also needs to be wide and tall enough. You need room for pipes and fittings.
Safety is huge here. Make sure you know where electrical wires and water pipes are. You do not want to cut into them.
Check your house plans. Or use a stud finder with a wire detection mode. This part is critical.
It prevents damage and keeps you safe. Always err on the side of caution.
Consider the type of wall. Is it drywall? Plaster and lath?
Is it an exterior wall or an interior wall? Exterior walls might need more insulation around the radiator. This stops heat from escaping outside.
Interior walls are usually easier. They also don’t usually need as much extra insulation. Think about ventilation too.
The grille lets warm air out. Make sure this grille isn’t blocked by furniture. Good airflow is needed for the radiator to work well.
Good planning saves headaches later on.
Space Planning Checklist
- Location: Identify the coldest or most needed warm spot.
- Pipe Access: Assess proximity to existing steam lines.
- Radiator Size: Measure the physical dimensions of the chosen unit.
- Wall Cavity: Determine required depth, width, and height within the wall.
- Obstructions: Note electrical, plumbing, or structural elements within the wall.
- Ventilation: Ensure the grille area will have clear airflow.
- Wall Type: Consider drywall, plaster, or other materials for cutting.
Gathering Your Tools and Materials
Once you have a solid plan, it’s time to get your tools ready. You’ll need tools for measuring. A good tape measure is essential.
You’ll also need a level. This helps make sure the radiator sits straight. For cutting into the wall, you’ll need a drywall saw or a reciprocating saw.
If it’s plaster, you might need a plaster saw or a chisel. You’ll need safety gear. Always wear safety glasses.
Work gloves are a good idea too. A dust mask is important when cutting drywall.
For the actual installation, you’ll need mounting brackets. These hold the radiator securely in the wall. You’ll need pipes and fittings.
These connect the radiator to your steam system. Make sure they are the right size and type for steam. You might need pipe sealant or Teflon tape.
This ensures a good seal on the pipe joints. You’ll also need screws or fasteners. These secure the grille or front panel.
If you need to reinforce the wall opening, you might need wood framing materials like 2x4s. This adds support. It’s a good idea to have a small toolbox with basic hand tools like a screwdriver and a wrench.
Don’t forget the Sunrad radiator itself! Make sure you have the correct model. Check its size against your measurements.
It’s also wise to have some insulation on hand. This can go around the radiator inside the wall. It helps keep the heat in the room.
It stops it from warming up the wall cavity itself. Having all your tools and materials ready before you start makes the job smoother. It prevents frustrating trips to the hardware store mid-project.
Essential Tools & Materials
- Measuring: Tape Measure, Level
- Cutting: Drywall Saw, Reciprocating Saw, Plaster Saw (if needed)
- Safety: Safety Glasses, Work Gloves, Dust Mask
- Fasteners: Screws, Wall Anchors, Mounting Brackets
- Plumbing: Steam Pipes, Fittings, Pipe Sealant/Teflon Tape
- Framing: 2×4 Lumber (for reinforcement, if needed)
- Radiator: Sunrad Recessed Radiator Unit
- Insulation: Fiberglass or Rockwool Insulation (optional but recommended)
The Installation Process: Step-by-Step
Let’s get to the core of it: installing the radiator. This needs careful work. First, find the exact spot.
Use a level to mark the outline of the radiator. You might need to adjust this mark slightly. It depends on the studs in your wall.
You want to cut between studs if possible. This gives you more room. If you must cut a stud, you’ll need to add framing to support the wall.
Mark the full size of the opening needed. This includes space for pipes.
Now, carefully cut out the opening. Use your drywall saw or reciprocating saw. Go slow and steady.
Try to keep the cuts clean. Once the hole is open, check inside. Look for any wires or pipes you missed.
If you need to add framing, do it now. Install studs or bracing to support the edges of the opening. This is very important for wall strength.
Next, connect the steam pipes. This is a critical plumbing step. Make sure the connections are tight and sealed.
Use the right fittings for steam. You don’t want leaks. Leaks can cause damage.
They can also be dangerous with hot steam.
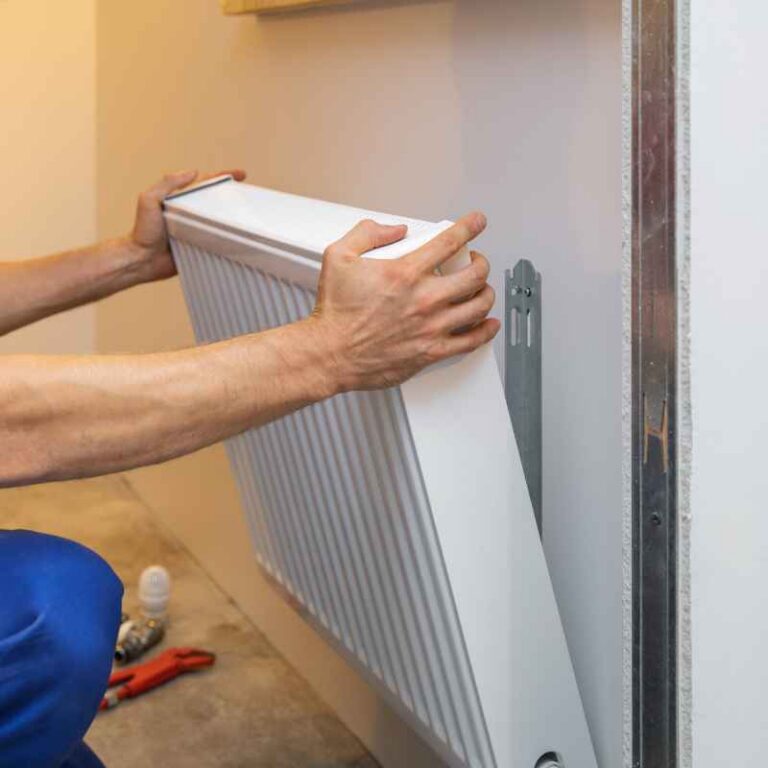
After the pipes are connected, carefully slide the Sunrad radiator into the opening. It should fit snugly. Make sure it is level.
Use your mounting brackets to secure it. Screw the brackets into the wall studs or the new framing. This holds the radiator firmly in place.
Some radiators have screws on the flange to attach directly. Make sure it’s stable. Do not let it wiggle.
Next, you can add insulation around the radiator. This goes in the space behind and to the sides. It helps direct heat into the room.
Finally, install the grille or front panel. This usually snaps or screws into place. Make sure it sits flush with the wall.
Quick Installation Flow
- Mark Outline: Precisely mark the radiator’s dimensions on the wall.
- Cut Opening: Carefully saw out the wall cavity for the radiator.
- Frame Support: Add bracing if studs were cut or for extra strength.
- Connect Pipes: Securely attach steam supply and return pipes.
- Mount Radiator: Slide unit into place and fasten with brackets.
- Add Insulation: Pack space around the radiator with insulation.
- Install Grille: Snap or screw the decorative front panel into place.
Connecting to the Steam System
Connecting your new recessed radiator to your home’s steam heating system is a crucial step. This is where expertise really shines. Steam systems are different from hot water systems.
They work with pressure. They also have to deal with condensation as steam turns back to water. You’ll need to find the correct steam supply pipe.
You’ll also need to identify a steam return pipe. Or, you might need to tap into an existing radiator’s supply line. This decision depends on your system’s layout.
You’ll likely need to cut into the existing steam pipe. This is usually done with a pipe cutter. Then, you’ll attach a new fitting.
This fitting will have a branch for your new radiator pipe. Use the right kind of fittings for steam. These are often threaded.
They must be strong. Make sure to use a good pipe sealant. This is specifically made for steam systems.
Or use Teflon tape. The goal is a leak-proof connection. For the return line, you might connect to an existing return pipe.
Or you might install a new one. This depends on the system design. It’s essential to get the pitch of the pipes right.
Pipes carrying steam need to slope slightly towards the boiler. This helps water drain back. It prevents water hammer.
Water hammer is a loud banging sound. It happens when steam pushes water. It can damage your pipes.
Proper pipe sloping is vital for safety and efficiency. If you are unsure about this part, get a professional. Steam systems can be complex.
Mistakes here can be costly and unsafe. Always follow Sunrad’s specific connection diagrams for their radiators.
Steam System Connections: Key Points
Supply Line: Connect to a live steam pipe. Ensure it’s the correct size.
Return Line: Connect to a steam return pipe. This lets water drain back.
Pipe Pitch: All pipes must slope back towards the boiler to allow drainage.
Fittings: Use high-quality fittings rated for steam pressure.
Sealant: Employ steam-rated pipe dope or Teflon tape for all threaded connections.
Safety First: Ensure the system is off and cool before working. If unsure, hire a pro.
Ensuring Proper Insulation and Ventilation
Once the radiator is in and connected, we focus on making it work its best. Insulation is a big deal for recessed units. When you put a radiator inside a wall, there’s an air space around it.
Without insulation, a lot of heat will go into the wall cavity. This is wasted heat. It makes the radiator less effective.
It also means your boiler works harder. So, pack the empty space around the radiator. Use fiberglass insulation or mineral wool.
Make sure it doesn’t touch the radiator itself too much. You need some airflow. But you want to block heat loss through the back and sides of the radiator.
Ventilation is just as important. The grille on the front is the radiator’s mouth. It’s where the warm air comes out.
If this is blocked, the warm air can’t spread into the room. It just gets trapped. This makes the radiator work harder.
It also makes the room heat unevenly. So, make sure the area in front of the grille is clear. Don’t put heavy furniture right up against it.
Keep plants or curtains from hanging too close. The grille itself should also be clean. Dust and dirt can block airflow.
So, give it a light dusting now and then.
Some recessed radiators also have specific air vents. These help the steam fill the radiator evenly. Make sure these vents are not covered.
Sunrad units usually have clear instructions on this. Following these guidelines ensures your radiator heats your room effectively. It makes your home more comfortable.
And it saves energy. Proper insulation and ventilation are not afterthoughts. They are part of a good installation.
Testing and Safety Checks
You’ve done the hard work! Now it’s time to test everything. First, turn the steam system back on.
Do this slowly. Listen for any strange noises. Listen for hissing or banging.
Check all the pipe joints you made. Look and feel for any steam or water leaks. A small leak can turn into a big problem.
Be patient. Let the system heat up. The new radiator should start to feel warm.
Then, it should get hot.
Use your hand to feel the heat coming from the grille. Does it feel even? If one end is hotter than the other, there might be a problem.
This could be air trapped in the radiator. Or it could be a pipe issue. Check the vents on the radiator.
Are they working? Some vents have bleed screws. You can open these slightly to let out trapped air.
Do this carefully. Hot water or steam can come out. Once air is gone, close the bleed screw.
Make sure the grille is secure. Check that no new drafts have appeared around the radiator opening.
Safety is paramount with steam systems. Always ensure all connections are secure. Make sure no steam is escaping from places it shouldn’t.
If you notice any unusual sounds or smells, turn the system off immediately. Investigate the issue. Or call a qualified heating technician.
Do not ignore potential problems. Steam heat can be very hot. Burns are a risk.
Ensure the installation is solid. Make sure nothing is loose. Your home’s safety and your comfort depend on it.
A well-installed radiator is a safe radiator.
Post-Installation Safety Checklist
- Leak Detection: Inspect all new pipe connections for steam or water leaks.
- Sound Check: Listen for unusual noises like banging or hissing.
- Heat Distribution: Ensure the radiator heats evenly from top to bottom and side to side.
- Air Bleeding: Use radiator vents to release trapped air for better performance.
- Grille Security: Confirm the front grille or panel is firmly attached.
- System Pressure: Monitor system pressure gauges if available for normal readings.
- Professional Review: Consider having a pro do a final safety check if you have any doubts.
When Is It Time to Call a Professional?
This project is achievable for many DIYers. But there are times when calling a pro is the smart move. If you’re not comfortable working with plumbing, especially steam, call a plumber.
Steam systems work under pressure. Mistakes can be costly. They can also be dangerous.
If you don’t know where your existing pipes and wires are, get help. Cutting into the wrong thing can cause major damage. Or even injury.
If your house is older, its heating system might be complex. It might have old pipes. Or it might need upgrades.
A professional heating technician will know how to handle these situations. They have the tools and knowledge. They can ensure your new radiator works with your old system.
They can also make sure it’s up to code. Building codes exist for safety. A pro will know them.
They can also advise on the right size radiator. This depends on room size and insulation.
Finally, if you’ve tried to install it yourself and something isn’t right, don’t keep pushing. Call for help. A small problem can become a big one quickly.
A qualified technician can diagnose issues. They can fix leaks. They can sort out heating problems.
It’s an investment in your home. It ensures your new radiator works safely. It keeps your home warm and cozy for years to come.
Your peace of mind is worth it.
Frequently Asked Questions
Can I install a recessed radiator myself?
Yes, many people can install a recessed radiator themselves if they have basic DIY skills. This includes measuring, cutting drywall, and basic plumbing connections. However, if you are not comfortable with plumbing, especially steam systems, or if you are unsure about your wall’s structure, it is best to hire a professional installer or plumber.
What is the difference between a recessed radiator and a regular radiator?
A regular radiator typically mounts on the outside of a wall, taking up space. A recessed radiator is built into the wall cavity. Only the front grille or a slim panel is visible, making it a more space-saving and aesthetically pleasing option for many homes.
How do I know if my wall can accommodate a recessed radiator?
Most standard interior walls have enough depth for a recessed radiator. You need to check for obstructions like studs, pipes, or electrical wiring within the wall cavity. If you encounter significant obstacles or need to cut through studs, you may need to reinforce the wall structure.
Consulting a contractor can help assess your wall’s suitability.
How much heat can a recessed steam radiator provide?
The heat output of a recessed steam radiator depends on its size and design, much like a standard radiator. Sunrad offers various sizes to suit different room requirements. It’s important to calculate the heating needs of your specific room.
This often involves considering room dimensions, insulation levels, and window types. The manufacturer’s specifications will give you the BTU (British Thermal Unit) output for each model.
What maintenance do recessed steam radiators require?
Recessed steam radiators generally require minimal maintenance. Regular cleaning of the grille to remove dust is important for airflow. Periodically, you may need to check and bleed air from the radiator using its vent valve, especially at the start of the heating season.
Ensuring your main steam boiler is serviced annually is also crucial for the overall system’s health.
Can I install a recessed radiator on an exterior wall?
Yes, you can install a recessed radiator on an exterior wall. However, it’s highly recommended to add extra insulation around the radiator within the wall cavity. This prevents heat loss through the exterior wall and ensures the radiator is more efficient.
Proper sealing of the wall opening is also important to prevent drafts.
What happens if steam pipes are not sloped correctly?
If steam pipes are not sloped correctly back towards the boiler, water can accumulate in the pipes. This can lead to a condition called “water hammer,” which is loud banging noises in your pipes. It can also reduce the efficiency of your heating system and potentially damage your pipes or boiler over time.
Ensuring proper pitch is critical for steam heating systems.
Final Thoughts on Cozy Walls
Adding a Sunrad recessed steam radiator can truly transform a room. It’s about getting needed warmth without adding visual clutter. The process takes planning and care.
But the result is a cleaner look. And a more comfortable space. Remember to plan well.
Measure twice. Cut once. Safety is always the top priority.
Especially when working with steam. If you feel unsure at any step, reach out to a pro. Enjoy your newly warm and beautiful room!