How To Install A Remote Thermostat On L.B. White Heaters
This guide is here to help. We’ll walk through how to add a remote thermostat. This makes controlling your heater much simpler and more precise.
You’ll learn the steps involved. We will also cover wiring and what to check. This will help you get your heater working just right.
Installing a remote thermostat on an L.B. White heater involves connecting the thermostat wiring to the heater’s control board. This allows you to set and maintain temperatures from a different location, improving comfort and potentially saving energy.
It requires careful attention to wiring diagrams and safety precautions.
Understanding Remote Thermostat Installation
A remote thermostat acts like a smart brain for your heater. Instead of the heater sensing the temperature right where it is, it listens to the thermostat. This thermostat is placed where you spend most of your time.
So, it reads the temperature there.
This is super helpful. Think about a garage. The heater might be in a corner.
The air right by the heater gets warm fast. The thermostat there would tell the heater to turn off. But the rest of the garage might still be cold.
A remote thermostat fixes this. You put it on a wall in the main part of your garage. Now, the heater knows how warm it really is where you are.
It will run longer if needed to warm up that space. This means more even heat. It also means your heater doesn’t waste energy.
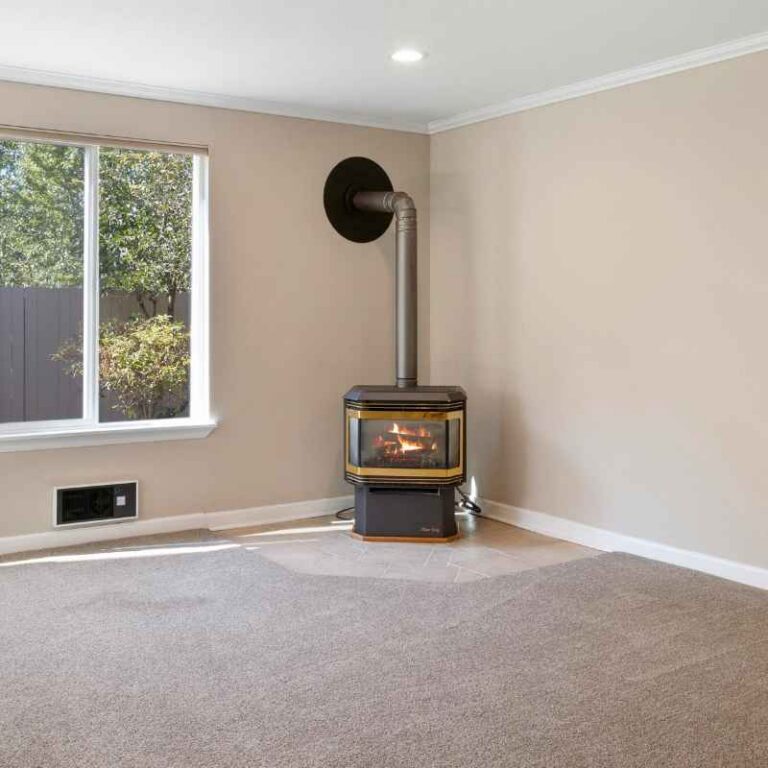
L.B. White heaters are built tough. They are often used in places like garages, workshops, or even some sheds.
Adding a remote thermostat makes them even more useful. It brings modern control to these spaces. You get better comfort without constant fiddling.

My Garage Heater Story
I remember a few winters ago. My old garage workshop was always too cold in the mornings. I had a heater in there, but it just couldn’t seem to get the whole space comfortable.
I’d fire it up, and the air near the heater would get hot. But ten feet away, it was still like an icebox. I’d always be walking back and forth, trying to get the temperature right.
One particularly chilly Saturday, I was trying to work on a project. My fingers were so cold I could barely hold my tools. I was frustrated.
It felt like the heater was working overtime but not actually doing its job. I thought about just leaving the garage door closed all the time, but that felt unhealthy. I knew there had to be a better way.
That’s when I started looking into remote thermostats for heaters like mine. It seemed like a simple upgrade that could make a huge difference.
I learned that many heaters have the ability to connect to external controls. It wasn’t as complicated as I first thought. The idea was to place the sensor where I actually was.
That would tell the heater when to truly turn on or off. It felt like a lightbulb moment. I decided right then I was going to try installing one.
It was a small project, but I knew it could bring big comfort. The thought of a consistently warm workshop was very appealing.
Key Benefits of a Remote Thermostat
Better Temperature Control: Reads the temperature where you are, not just near the heater.
Improved Comfort: Keeps your space evenly warm.
Energy Savings: Heater runs only when needed based on your location.
Convenience: Set and forget. Less manual adjustment needed.
Flexibility: Place the thermostat in the ideal spot for your needs.
What You’ll Need Before You Start
Before you even grab a screwdriver, let’s make sure you have everything. This makes the job go smoothly. It prevents those annoying trips to the hardware store mid-project.
Gather Your Tools
You won’t need a whole toolbox. Just a few basic things will do the trick.
- Screwdriver set: You’ll need a Phillips head. Maybe a flathead too.
- Wire strippers: To safely bare the ends of the wires.
- Wire nuts: To connect wires securely.
- Drill with small drill bits: For mounting the thermostat and running wires.
- Pliers: Can be useful for gripping or bending wires.
- Safety glasses: Always protect your eyes!
- A helper (optional but nice): Sometimes an extra pair of hands is a lifesaver.
Get the Right Thermostat
Not all thermostats are the same. You need one that works with your L.B. White heater.
- Compatibility: Check your heater’s manual. It will say what kind of thermostat it supports. Look for models designed for millivolt or low-voltage systems. L.B. White heaters often use millivolt systems.
- Features: Do you want a basic dial thermostat? Or a digital one with a programmable schedule? Digital ones can save more energy.
- Wire Needs: Most thermostats will need two wires. Some might need more if they have special features.
Understand Your Heater’s Controls
This is the most important step. You need to know where to connect things on your L.B. White heater.
- Manual is Key: Your heater’s user manual is your best friend. Find the section on wiring or thermostat hookups. It will have diagrams.
- Control Board: Look for the control board inside the heater. This is usually where the wires from the thermostat will connect.
- Terminals: The control board will have labeled terminals. You’ll see labels like “T” or “TH” for thermostat, and maybe “R” for power or “C” for common. Your manual will explain what each terminal is for.
Essential Safety Check
Always disconnect power to the heater before starting any wiring. This usually means unplugging it or turning off the breaker. Your heater’s manual will show you how to do this safely.
Step-by-Step Installation Guide
Let’s get started with the actual installation. Take your time. Follow each step carefully.
Safety first, always!
Step 1: Turn Off Power
This cannot be stressed enough. Find the power switch for your heater. Unplug it from the wall outlet.
If it’s hardwired, find the correct breaker in your electrical panel and flip it off. Double-check that there’s no power. You can use a non-contact voltage tester for peace of mind.
Step 2: Mount the Thermostat
Choose a good spot for your new thermostat. This should be on an inside wall. Pick a place away from direct sunlight.
It should also be away from heat sources like vents or other appliances. You want it to read the room’s actual temperature.
- Hold the thermostat’s mounting plate against the wall.
- Use a pencil to mark where the screw holes are.
- Drill small pilot holes at your marks.
- If you’re mounting it on drywall, you might need to use wall anchors.
- Screw the mounting plate securely to the wall.
- Attach the thermostat itself to the mounting plate.
Step 3: Run the Thermostat Wire
This is where you’ll need to route the wire from the thermostat location to the heater. Plan your route carefully to hide the wire as much as possible.
- Through Walls: If possible, run the wire through the wall. This looks the cleanest. You might need to drill holes.
- Along Baseboards: You can also run the wire along baseboards. Use small clips or staples to keep it neat.
- Be Mindful: Avoid running wires near sharp edges or anything that could damage them.
- Entry Point: Figure out where the wire will enter the heater unit. Your manual will show you a knockout panel or a specific entry point for wires.
Step 4: Connect Wires at the Thermostat
Now, connect the thermostat wire to the thermostat itself. Most thermostats have screw terminals.
- Gently pull the thermostat cover off or open its access panel.
- You’ll see small screws or clips. These are the terminals.
- Your thermostat wire will have multiple small wires inside. Usually, two are needed for basic hookup.
- Strip about 1/2 inch of insulation from the end of each wire.
- Connect one wire to the “R” or “Rh” terminal.
- Connect the other wire to the “W” or “Y” terminal (this is the heat terminal).
- Your thermostat might have other terminals like “C” (common) or “G” (fan). You likely won’t need these for a basic heater connection. Refer to your thermostat’s manual.
- Ensure the wires are secured tightly under the screws.
Wire Color Coding (General Guide)
Note: Wire colors can vary. ALWAYS refer to your specific thermostat and heater manuals.
Thermostat Side
R (Heat Power)
W (Heat Signal)
Heater Side (Typical Labels)
TH (Thermostat)
T (Thermostat)
R (Often shared or labeled)
Step 5: Connect Wires at the Heater
This is the critical connection to your L.B. White heater. Be very careful here.
- Locate the control board inside your heater.
- Find the terminals for the thermostat connection. These are often labeled “T” or “TH” or similar. Your manual is vital here.
- Strip the ends of the two wires coming from your thermostat.
- Connect one wire to the designated “T” or “TH” terminal.
- Connect the other wire to the “R” terminal (or the other thermostat terminal if labeled differently).
- Ensure connections are snug and secure. Loose wires can cause issues or be a fire hazard.
Some L.B. White models might have a specific plug-in connector for a remote thermostat. If yours does, follow the instructions for that specific connector.
It’s usually simpler.
Step 6: Reassemble and Test
Once the wiring is done, you can put everything back together.
- Carefully close up the heater’s access panel.
- Make sure no wires are pinched.
- Plug your heater back in or turn the breaker back on.
- Turn on your heater.
- Set your thermostat to a temperature higher than the current room temperature.
- Listen and watch. The heater should kick on.
- Set your thermostat to a temperature lower than the current room temperature.
- The heater should turn off.
If it doesn’t work, don’t panic! Go back and double-check all your connections. Make sure power was off before you touched any wires.
Refer to your manuals again.
Troubleshooting Quick Checks
- Power: Is the heater plugged in? Is the breaker on?
- Thermostat Display: Does the thermostat show a reading? Is it powered (if digital)?
- Wiring: Are all wires securely connected at both ends?
- Manuals: Did you follow the specific diagrams for your models?
Real-World Context: Different L.B. White Heater Types
L.B. White makes several types of heaters. The installation process might vary slightly.
It’s good to know what you’re working with.
Gas Heaters (Forced Air)
These are common for garages and workshops. They use gas to heat air and a fan to blow it around. Most of these will have a control board that accepts a low-voltage or millivolt thermostat.
The wiring usually involves connecting to a “T” or “TH” and “R” terminal on the board.
Electric Heaters
Some L.B. White models might be electric. The wiring for electric heaters can be different.
If you have an electric model, check its manual very carefully. Some might use a built-in thermostat or a specific electric heater thermostat. Ensure the thermostat you buy is rated for the voltage and amperage of your electric heater.
Propane vs. Natural Gas
The type of gas fuel doesn’t usually change the thermostat installation itself. The gas source is for the burner. The thermostat controls the electrical signal that tells the burner and fan to run.
So, whether you use propane or natural gas, the wiring steps should be the same for a remote thermostat.
Where You Might Install a Thermostat
Garages: Perfect for keeping your car warm or your workspace comfortable.
Workshops: Essential for hobbyists and professionals who spend hours creating.
Pole Barns/Outbuildings: Provides consistent heat for storage or secondary uses.
Basements: Can help maintain a more even temperature in finished or unfinished basements.
What This Means for You: Normal vs. Concerning Signals
Once your remote thermostat is installed, what should you expect? How do you know if it’s working right?
When it’s Normal
Steady Temperature: The room temperature stays close to the thermostat setting. Small fluctuations are okay. For example, if you set it to 70°F, it might cycle between 69°F and 71°F.
This is normal operation.
Heater Cycles On/Off: The heater turns on when the temperature drops below your set point. It turns off when the temperature reaches or slightly exceeds it. This is exactly what you want.
Thermostat Display: A digital thermostat shows the current room temperature and your set temperature. A manual thermostat has a dial that points to the current temperature.
When to Worry
Heater Runs Constantly: If the heater never turns off, even when the room is very warm, there might be a wiring issue or a thermostat malfunction. Check your wiring first.
Heater Doesn’t Turn On: If you raise the thermostat setting and the heater still doesn’t come on, recheck your power and wiring. Ensure the thermostat is getting a signal to the heater.
Erratic Readings: If a digital thermostat shows wildly changing temperatures that don’t match the room, the thermostat itself might be faulty or poorly placed.
Strange Noises: Any unusual banging, grinding, or clicking sounds from the heater that weren’t there before could signal a problem. Usually, thermostat issues are silent electrical signals, so noises point elsewhere.
Simple Checks: If something seems off, the first thing to do is re-check your wiring connections. Make sure they are still tight. Then, look at your manuals again.
Sometimes, a small detail can be missed.
Quick Fixes and Tips for Optimal Performance
Even after a successful installation, a few tips can make your remote thermostat setup even better.
- Thermostat Placement: If you find a spot isn’t quite right, you can reposition the thermostat. Just remember to turn off power first!
- Battery Replacement: If you have a digital thermostat, remember to change the batteries when they get low. Most have an indicator for this.
- Keep it Clean: Dust can sometimes affect thermostat readings. Gently wipe the thermostat with a dry cloth occasionally.
- Programmable Schedules: If you have a programmable thermostat, use it! Set lower temperatures when you’re not using the space. This is a great way to save energy.
- Annual Check-up: Just like your heater, it’s a good idea to check your thermostat connections and functionality once a year.
Using Programmable Thermostats
Setback Temperatures: Lower the temperature by 5-10 degrees when you’re away or sleeping. This can save significant energy.
Scheduling: Program different temperatures for different times of the day or days of the week.
Weekday/Weekend: Many allow separate schedules for weekdays and weekends.
Manual Override: You can always temporarily adjust the temperature without changing the program.
Frequently Asked Questions
Can I use any thermostat with my L.B. White heater?
No, you must use a thermostat compatible with your L.B. White heater’s system. Most L.B.
White heaters use millivolt or low-voltage systems. Always check your heater’s manual for specific recommendations. Using the wrong type of thermostat can damage the heater or the thermostat itself.
How many wires do I need for the thermostat connection?
Typically, for basic heating control, you will need two wires: one for power (often labeled R) and one for the heat signal (often labeled W or Y). Some advanced thermostats might require a third wire for common power (C), but this is less common for simple heater setups.
Where is the best place to mount a remote thermostat?
The best place is on an interior wall in the main living or working area. Mount it about 5 feet from the floor. Keep it away from direct sunlight, drafts, heat sources (like lamps or vents), and exterior walls.
This ensures it reads the actual room temperature accurately.
What if my L.B. White heater doesn’t have a thermostat connection?
Some very basic L.B. White models might not have provisions for a remote thermostat. In such cases, you might need to consider if an adapter kit is available from the manufacturer.
If not, it might not be possible to add one without significant modification.
How do I know if the thermostat is working correctly after installation?
Test it by setting the thermostat to a temperature higher than the room’s current temperature; the heater should turn on. Then, set it to a temperature lower than the room’s current temperature; the heater should turn off. Consistent temperature readings and proper cycling are good signs.
Do I need to hire a professional to install a remote thermostat?
For most DIY-ers comfortable with basic wiring and following instructions, installing a remote thermostat is a manageable project. However, if you are unsure about electrical wiring or your heater’s specific setup, it is always safer and recommended to hire a qualified HVAC technician or electrician.
Conclusion
Adding a remote thermostat to your L.B. White heater is a smart move. It brings better comfort and efficiency to your space.
By following these steps carefully, you can enjoy more consistent warmth. Remember to always prioritize safety and consult your manuals. Enjoy your newly controlled comfort!