How To Determine Humidity In A Heated Space Flooring
Dealing with your home’s climate can feel like a puzzle. Especially when it comes to your floors. You might notice changes in them.
They might creak more. Or maybe they look a bit different. A big part of this is the air around them.
Specifically, how much moisture is in the air. This is called humidity. In a heated space, understanding this is key.
It affects comfort. It affects your floors, too. This article will help you figure out the humidity in your heated floors.
You will learn why it matters. We will cover what to look for. And how to manage it.
Let’s get your home feeling just right.
The humidity in a heated space flooring refers to the amount of water vapor present in the air surrounding and within the flooring materials. This level fluctuates with heating cycles and environmental conditions. Proper understanding helps prevent common flooring issues like warping, cracking, or buckling, and ensures overall home comfort.
Understanding Humidity and Heated Floors
Humidity is basically the invisible water in the air. Think of it like a sponge. The air can hold a certain amount of water.
When you heat the air, it can hold more. But the actual amount of water might not change. This makes the air feel drier.
This is very common in winter. Your heating system dries out the air. This drop in air moisture affects many things.
It affects how you feel. It can dry out your skin. It can also make your wooden furniture shrink a bit.
For floors, especially wood floors, this is a big deal. Wood is a natural material. It has tiny pores.
It breathes. It takes in and lets out moisture from the air. When the air gets dry, wood loses moisture.
It shrinks. This shrinking can pull the floorboards tighter. Sometimes, they pull so much they crack.
Or the edges might lift up. This is called cupping. On the other hand, if the air gets too damp, wood can swell.
Swelling can push boards against each other. This can make them buckle. The floor might push up in the middle.
In a heated space, the temperature changes. This change causes humidity to change too. When the heat is on, the air gets warm.
It can hold more water. But if the actual water content stays the same, the relative humidity drops. Relative humidity is what we measure.
It’s the percentage of water in the air compared to the maximum it could hold at that temperature.
So, a warm room might feel dry. This is because the air’s capacity to hold water increased. But the actual amount of water didn’t.
Your wood floors notice this change. They dry out. They shrink.
This is why managing humidity is so important for your floors. It’s not just about comfort. It’s about protecting your investment.
A beautiful wood floor can last for decades. But it needs the right environment. Knowing your home’s humidity levels is the first step.
My Own Floor Woes: A Humid Nightmares Tale
I remember one particularly brutal winter a few years back. We lived in an older house in Chicago. The heating system was… temperamental.
One night, I woke up to a strange noise. It sounded like tiny twigs snapping. I got out of bed and went to the living room.
My beautiful oak floors. They looked different. Some boards seemed a bit wider apart.
It wasn’t a huge gap, but I could see the space. I felt a wave of panic. This floor was expensive.
I had just refinished it the year before.
I walked across the room. And there it was. A definite creak.
Not just a little squeak. A loud, drawn-out groan. It felt like the floor was complaining.
I knelt down. I touched the wood. It felt dry.
Almost brittle. That’s when I realized. The heat had been blasting all night.
The air inside must have been incredibly dry. The wood was just reacting to it. It was shrinking.
I felt so foolish. I had focused so much on keeping the house warm. I hadn’t thought about the moisture in the air at all.
It was a classic case of “out of sight, out of mind.” This experience taught me a valuable lesson. Controlling humidity is just as important as controlling temperature.
Understanding Relative Humidity
What it is: Relative humidity (RH) is the amount of water vapor in the air. It’s shown as a percentage. It compares the current water vapor to the maximum the air can hold at that temperature.
Cold air vs. Warm air: Cold air holds less moisture than warm air. When you heat cold air, it can hold more moisture.
But if the amount of water vapor stays the same, the RH goes down. This makes it feel drier.
Why it matters for floors: Wood floors expand when they absorb moisture. They shrink when they lose moisture. Wild swings in RH cause these changes.
This can lead to damage like cracks and warping.
What is the Ideal Humidity for Heated Flooring?
For most homes, especially those with wood flooring, there’s a sweet spot for humidity. Experts often recommend keeping the relative humidity between 35% and 55%. This range is generally good for both people and wood.
It helps prevent those extreme swings.
Some floor manufacturers have even stricter guidelines. They might suggest a range like 40% to 50%. It’s always a good idea to check the specific recommendations for your flooring.
Different types of wood, or engineered wood products, can have slightly different needs.
Why this range? Below 35% RH, wood starts to lose moisture quickly. This leads to shrinking.
You might see gaps appear between boards. Or the finishes could crack. Above 55% RH, wood starts to absorb too much moisture.
It can swell. This can cause boards to push against each other. It might lead to buckling.
Mold and mildew can also become a problem in very humid conditions.
Think about the seasons. In summer, it’s often more humid. You might need to lower the humidity.
In winter, heating systems dry out the air. You might need to add humidity. The goal is to keep the humidity stable year-round.
This stability is the key to happy floors. It’s also key to a comfortable home environment. Stable humidity means less static electricity.
It means fewer dry noses and throats.
It’s important to remember that these are general guidelines. Factors like your climate, the type of flooring, and the construction of your home can all play a role. But aiming for that 35% to 55% range is a great starting point.
It’s a balance. It protects your floors. It keeps your home pleasant.
How to Measure Humidity in Your Heated Space
You can’t guess humidity levels. You need to measure them. Luckily, it’s pretty easy.
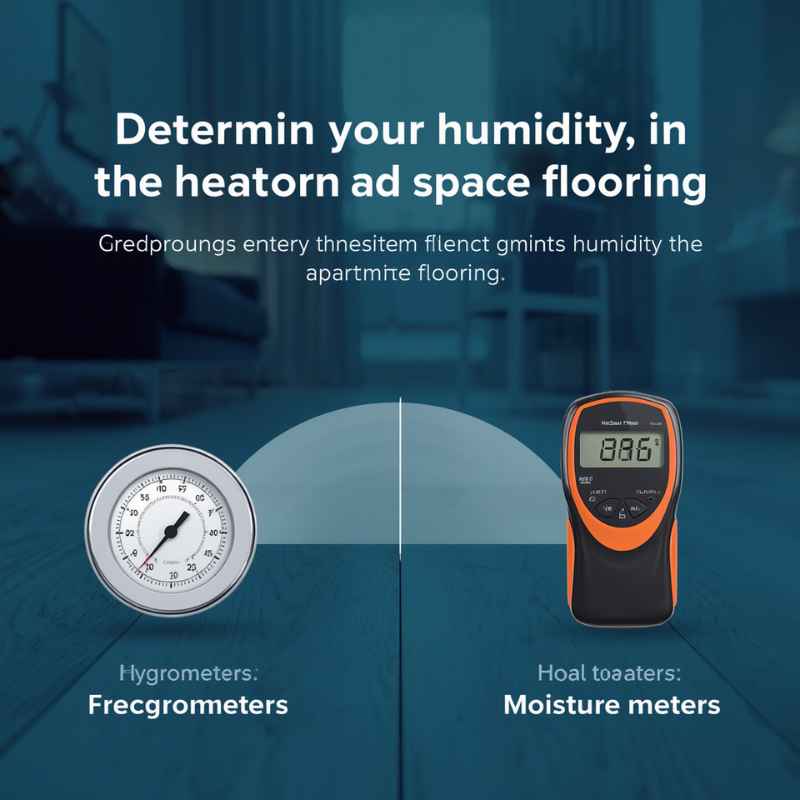
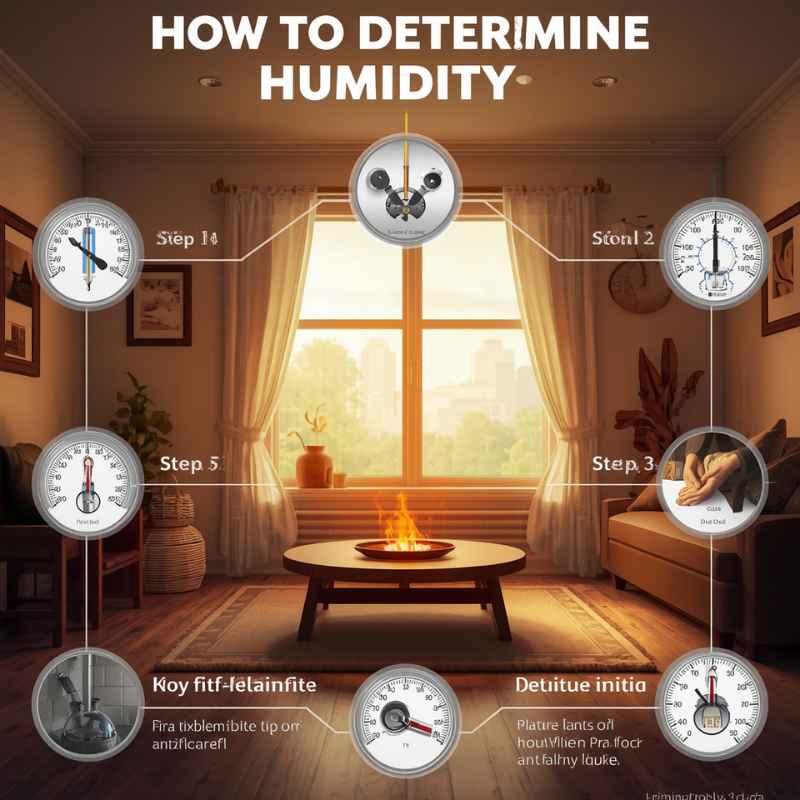
The main tool you’ll use is called a hygrometer. Think of it like a thermometer, but for moisture. Hygrometers come in a few different types.
They can be digital or analog.
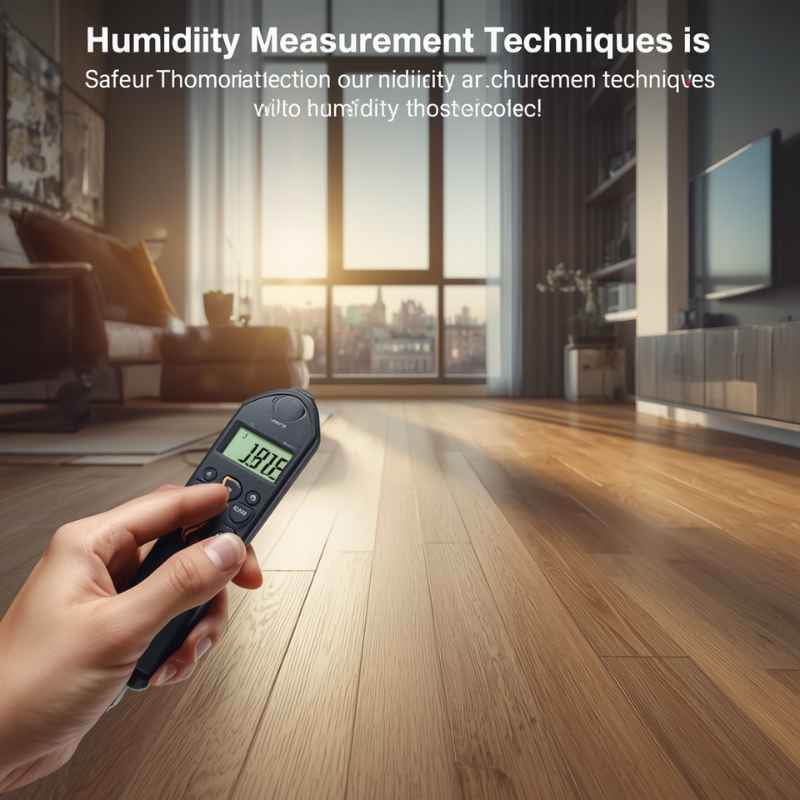
Digital hygrometers are very common now. They are usually small, battery-powered devices. They have a small screen that shows the temperature and the humidity percentage.
Many are quite affordable. You can place them in different rooms of your house. This helps you see if humidity levels vary.
Analog hygrometers are older. They often have a dial. They might use a strand of hair or a metal coil.
As humidity changes, the hair or coil expands or contracts. This moves a needle on the dial. They can be less precise than digital ones.
But they don’t need batteries. Some people find them quite charming.
For a heated space with flooring concerns, it’s best to have a reliable digital hygrometer. You want accurate readings. Get one that can measure both temperature and relative humidity.
This helps you understand the full picture.
Where should you place these devices? You want to measure the air close to your floors. But not directly on them if they are wood.
Place the hygrometer on a table or shelf about waist-high. Or on a cabinet. You can even get ones designed to be placed near floor vents.
Avoid placing them near windows. Or in direct sunlight. Or too close to heat sources like radiators or heating vents.
These can give false readings.
It’s also a good idea to have more than one hygrometer. This lets you check different areas of your home. You might find that the basement is more humid than the upstairs.
Or that a certain room stays drier. This information helps you pinpoint problems. Or understand where you need to make adjustments.
Some smart home systems include humidity sensors. If you have one of these, you can often check readings on your phone. This is very convenient.
It allows you to monitor your home’s climate from anywhere.
The key is consistent monitoring. Check your hygrometer daily, especially during seasons when humidity changes a lot. Note the readings.
This will give you a good sense of your home’s typical humidity patterns. And it will show you when things are getting too high or too low.
Quick Humidity Check
- Tool: Use a digital hygrometer.
- Placement: Place it about waist-high. Away from windows, direct sun, and heat sources.
- Goal: Aim for 35-55% relative humidity.
- Frequency: Check readings daily during seasonal changes.
Factors Affecting Humidity in Heated Spaces
Many things can influence the humidity levels in your home, especially when the heat is on. Understanding these factors helps you address issues effectively. It’s not just about the heater.
The Heating System Itself: This is the biggest player. Forced-air furnaces, especially older models, tend to dry out the air significantly. They are very efficient at heating.
But they often strip moisture as they do it. The warmer the air, the more water vapor it can hold. But if there isn’t much water vapor to begin with, the relative humidity plummets.
Outside Climate: Your local weather plays a huge role. In the dry Western United States, you’ll naturally have lower outdoor humidity. This means the air coming into your home is already dry.
In humid climates, you might struggle more with high indoor humidity, even when heating. The amount of moisture in the outside air that your system brings in matters.
Home Insulation and Air Sealing: A well-insulated and well-sealed home keeps conditioned air in. And outside air out. If your home is leaky, you’re constantly letting in dry outside air (in winter).
Or humid outside air (in summer). This makes it harder to control indoor humidity. Drafty windows and doors are major culprits.
Ventilation: How your home breathes is important. Modern homes are often built to be very airtight. This is good for energy efficiency.
But it can trap moisture. Things like cooking, showering, and even breathing add moisture to the air. If there’s no way for this moist air to escape, humidity can build up.
Conversely, if you have too much ventilation (like a constantly running bathroom fan), it can pull out too much moisture.
Lifestyle and Activities: What you do in your home affects humidity. Taking long, hot showers. Boiling water for cooking.
Running a clothes dryer indoors (which is a fire hazard, by the way). These all add moisture to the air. Having many houseplants can also increase humidity slightly.
Unfinished Basements or Crawl Spaces: These areas can be sources of moisture. If they are not properly sealed or dehumidified, damp air can rise into your living spaces. Especially if there are leaks or poor seals between floors.
Appliances: Some appliances can release moisture. Older refrigerators might sweat. Even aquariums can contribute to humidity.
It’s often small things, but they add up.
Understanding these influences helps you see the whole picture. It’s rarely just one thing. It’s a combination of factors.
Identifying them is the first step to managing your home’s humidity.
Where Does Humidity Come From (and Go)?
- Source: Breathing, cooking, showering, plants, basements.
- Loss: Heating systems (especially forced air), leaky homes, dehumidifiers.
- Control: Humidifiers, dehumidifiers, good insulation, ventilation management.
Signs Your Heated Flooring is Affected by Humidity
Your floors will tell you if the humidity is off. You just need to know what to look for. These signs are usually subtle at first.
But they become more obvious over time.
Visible Gaps Between Boards: This is a classic sign of dry conditions. As wood shrinks, it pulls away from its neighbors. You might see small lines appear.
In severe cases, these gaps can be wide enough to see dust bunnies collecting in them. This usually happens in winter when heating systems are working hard.
Cracking or Splitting: Dry wood can become brittle. The ends of boards, or even the face of the planks, can start to split. This is especially common along the grain.
It’s a more serious sign of prolonged dryness.
Cupping: This means the edges of the floorboards are higher than the center. It looks like a gentle wave. Cupping typically happens when the bottom of the wood is wetter than the top.
In a heated space, this is less common with dry air. But it can happen if there’s moisture from below (like a damp basement) and the top surface is drying out. It can also happen with rapid temperature changes.
Crowning: This is the opposite of cupping. The center of the board is higher than the edges. This happens when the top surface of the wood has absorbed too much moisture and swollen.
The edges are compressed. This is more common in humid conditions or if there’s been a spill that wasn’t cleaned up quickly.
Buckling: This is a severe form of swelling. The floorboards push against each other so hard that they lift up from the subfloor. You might see a bulge in the middle of the room.
This is a sign of significant moisture exposure and expansion.
Squeaking or Creaking: While some squeaking can be normal, especially in new installations or older homes, a sudden increase in squeaking can indicate that boards are moving against each other due to shrinking or swelling. The dry, shrinking wood can rub together, causing noise.
Surface Issues: In very dry conditions, the finish on your floor might start to look dull. Or you might see tiny cracks in the finish itself. This is called checking.
It’s the finish reacting to the wood underneath shrinking.
Feeling of Dryness: Beyond the floors, you might notice other signs of dry air in your home. Dry skin, chapped lips, static electricity shocks, and scratchy throats are all indicators. If you feel these, your floors are likely affected too.
Pay attention to your floors. They are sensitive indicators of your home’s environment. If you see any of these signs, it’s time to investigate your humidity levels.
Floor Warning Signs
- Dryness: Gaps, cracks, splitting wood.
- Wetness: Cupping, crowning, buckling.
- Noise: Increased squeaking.
- Overall: Dry skin, static shocks in the house.
How to Control Humidity in Your Heated Space
Once you know your humidity levels and see the signs, you can take steps to control them. The goal is to maintain that ideal 35% to 55% range.
Using a Humidifier (for Dryness): If your hygrometer shows low humidity, especially in winter, a humidifier is your best friend. There are several types:
- Portable Humidifiers: These are great for single rooms. They sit on a table or the floor. You fill a tank with water. They release mist or vapor into the air. You’ll need to refill them regularly. Clean them often to prevent mold.
- Whole-House Humidifiers: These are installed directly into your HVAC system. They connect to your water supply. They add moisture to the air as it circulates through your furnace. This is the most effective way to humidify an entire home consistently.
When using a humidifier, set it to maintain your desired humidity level. Many newer models have built-in hygrometers and auto-shutoff features. This prevents over-humidifying.
Using a Dehumidifier (for Dampness): If your humidity is too high, usually in summer or in damp areas like basements, a dehumidifier is needed. These units pull moisture from the air. They collect it in a tank that you empty.
Or they can be connected to a hose to drain continuously.
Managing Ventilation: This is about balancing fresh air with moisture control.
-
In Winter: Try to limit excessive ventilation. Use exhaust fans in bathrooms only when showering.
Use range hoods when cooking. Don’t leave windows open for long periods.
-
In Summer: Ensure your air conditioning is running properly. It naturally dehumidifies the air.
Consider a whole-house dehumidifier if your AC struggles.
Sealing Air Leaks: Check around windows, doors, electrical outlets, and plumbing penetrations. Use caulk or weatherstripping to seal any gaps. This prevents uncontrolled air exchange.
This helps maintain consistent indoor humidity.
Proper Appliance Use: When cooking, use lids on pots and pans. This traps steam. Run your clothes dryer vent to the outside.
Avoid drying clothes on racks indoors if possible.
Checking Your HVAC System: Ensure your heating and cooling systems are well-maintained. A properly functioning system will be more predictable in how it affects humidity. Some newer HVAC systems have integrated humidity controls.
It often takes a combination of these strategies. You might need a humidifier in winter and a dehumidifier in summer. Or focus on sealing leaks and managing ventilation.
The key is active management. Don’t just set it and forget it. Monitor your hygrometer.
Make adjustments as needed.
Humidity Control Options
- Add Moisture: Humidifier (portable or whole-house).
- Remove Moisture: Dehumidifier.
- Manage Airflow: Seal leaks, use fans wisely.
- Lifestyle: Cover pots, vent dryers outside.
Real-World Scenarios: Humidity and Flooring
Let’s look at some common situations. This shows how humidity affects floors in real homes.
Scenario 1: The New England Winter Home
Picture a home in Boston during January. Outside temperatures are often in the teens or low 20s Fahrenheit. The heating system runs constantly.
The furnace blows hot, dry air. A hygrometer might read 20% RH. The oak floors are losing moisture rapidly.
You start seeing small gaps between boards. The floor might feel a bit more creaky. The solution here is a whole-house humidifier tied to the furnace.
Set to 45% RH. It adds moisture to the heated air before it circulates.
Scenario 2: The Southwest Dry Climate Home
Consider a house in Phoenix, Arizona, during summer. It’s very hot and dry outside. The air conditioning runs a lot.
While AC cools, it also dries the air. If the outdoor air is extremely dry, even the AC might not keep indoor humidity from dropping too low. A hygrometer might show 30% RH.
This can still cause wood floors to shrink. Especially if they are old and have less stable moisture content. In this case, a portable humidifier in the main living areas could help.
Or a whole-house humidifier set to a lower target, like 35-40%.
Scenario 3: The Humid Southern Home in Winter
Imagine a home in Atlanta, Georgia, in December. It might not be extremely cold. The heating system might not run non-stop.
But the outdoor air can still hold a lot of moisture. If the house isn’t well-sealed, humid air can seep in. Or if there are issues like a damp crawl space.
A hygrometer might read 60% RH. This is too high for wood floors. You might see slight cupping or feel that the floor is a bit “spongy.” The solution here would be a dehumidifier.
Perhaps a whole-house unit or a strong portable one in the main living area. Or focus on sealing up air leaks to keep humid outdoor air out.
Scenario 4: The Engineered Wood Floor Owner
You have an engineered wood floor in Minnesota. These floors are made with layers. The top layer is real wood.
The core is often plywood or HDF. Engineered floors are generally more stable than solid wood. But they are not immune to humidity changes.
If humidity drops too low (e.g., 25% RH), the thin top layer can still shrink and crack. Or the layers might delaminate. Keeping humidity between 35-55% is still crucial.
A portable humidifier might be sufficient for one or two rooms.
These scenarios highlight that the solution depends on your climate, your home, and your flooring type. But the principle is the same: measure, understand, and manage humidity.
What Does This Mean for You?
Understanding and managing humidity around your heated flooring is crucial for its longevity and your home’s comfort. Here’s a breakdown of what it means for you.
When it’s Normal:
Some slight fluctuations in humidity are normal. Especially with the changing seasons. A minor increase in squeaks during winter, or a slightly drier feeling in the air, is often not cause for alarm.
If you see tiny, almost unnoticeable gaps between floorboards in the dead of winter, and they disappear when the weather warms up, it’s likely within the normal range of wood movement. Most engineered wood floors handle these smaller changes better than solid wood.
When to Worry:
You should worry if you see significant, visible gaps between floorboards that don’t go away. If your floors start to cup, crown, or buckle. If you notice cracking or splitting in the wood.
These are clear signs of excessive moisture loss or gain. Persistent squeaking that becomes very annoying is also a concern. Furthermore, if you consistently experience dry skin, static shocks, or sinus irritation, your home’s humidity is likely too low.
Conversely, if you see condensation on windows, mold growth, or a musty smell, your humidity is too high. These conditions are bad for your floors and your health.
Simple Checks You Can Do:
- Hygrometer Readings: Regularly check your hygrometer. If it consistently stays below 30% or above 60%, it’s time to act.
- Visual Inspection: Walk your floors daily. Look for changes. Check corners and edges.
- Feel the Air: Is your skin dry? Do you get static shocks? These are easy indicators.
- Listen to Your Home: Are there new creaks or groans from your floors?
- Check for Condensation: Are windows fogged up inside, even when it’s cold out? This suggests too much moisture.
Taking these simple steps empowers you to be proactive. You can catch problems early. This saves you from costly repairs down the road.
It also makes your home a more comfortable place to live. Protecting your flooring is about protecting your home’s value and its beauty.
Quick Fixes and Tips for Humidity Management
Here are some straightforward things you can do to manage your home’s humidity. These are practical tips for everyday living.
- Invest in a Good Hygrometer: You can’t manage what you don’t measure. Get a reliable digital hygrometer. Place it in a central location.
- Humidifier Maintenance: If you use a humidifier, clean it regularly. Follow the manufacturer’s instructions. This prevents mold and mineral buildup. Use distilled or demineralized water if recommended.
- Dehumidifier Drainage: Ensure your dehumidifier is draining properly. If it’s a tank, empty it regularly. If it has a hose, make sure it’s clear and draining to a suitable spot.
- Ventilate Smartly: Use bathroom and kitchen fans judiciously. Run them only when needed. Turn them off once the moisture source is gone.
- Seal Drafts: Weatherstrip doors and windows. Use caulk to fill small gaps. This stops uncontrolled air exchange.
- Monitor Your HVAC Filter: A dirty air filter can affect how your HVAC system works. This includes how it handles air and moisture. Change it regularly.
- Proper Houseplant Care: If you have many plants, they add humidity. Ensure they aren’t overwatered. Consider grouping them in one area if humidity becomes an issue.
- Cover Cooking Pots: Using lids on pots and pans while cooking significantly reduces the amount of steam released into the air.
- Run AC in Summer: Even if it’s not extremely hot, running your air conditioner can help dehumidify your home during warmer months.
- Consider Professional Advice: If you’re struggling to control humidity, talk to an HVAC professional. They can assess your system and home for more complex solutions.
These tips focus on simple, actionable steps. They help you maintain a healthier balance of moisture in your home. This benefits both you and your floors.
Frequently Asked Questions About Heated Flooring Humidity
What is the ideal humidity level for wood floors?
The ideal humidity level for most wood floors is between 35% and 55% relative humidity (RH). Some manufacturers may suggest a slightly narrower range, like 40% to 50%. Maintaining this stable range helps prevent shrinking, swelling, cracking, and warping.
How do I know if my heating system is drying out my floors?
Signs include visible gaps between floorboards, increased creaking or squeaking, and brittle-feeling wood. You might also notice personal symptoms like dry skin, chapped lips, or static shocks. A hygrometer reading below 30% RH, especially during winter heating season, is a strong indicator.
Can I use a humidifier with radiant floor heating?
Yes, you can. A humidifier, whether portable or whole-house, works by adding moisture to the air. Radiant floor heating heats the room.
The combination of controlled humidity and radiant heat can actually create a very comfortable environment. Just ensure the humidifier is placed safely and maintained properly.
My floors seem fine in winter, but warp in the summer. What’s wrong?
This suggests a humidity problem specific to warmer, more humid months. In summer, outdoor humidity is typically higher. If your home isn’t well-sealed, humid air can enter and cause your wood floors to swell, leading to issues like crowning or buckling.
You may need a dehumidifier in the summer.
How often should I check my hygrometer readings?
During seasons of significant change (like fall and spring, or the peak of winter heating), check your hygrometer daily. Once you’ve established a pattern and have your humidity under control, checking a few times a week might be sufficient. Always check if you notice any changes in your floors or home comfort.
Will engineered wood floors warp less than solid wood floors due to humidity?
Generally, yes. Engineered wood floors are constructed with layers that make them more dimensionally stable. The cross-grain construction of the core layers helps resist expansion and contraction.
However, they are not immune to extreme humidity fluctuations. Prolonged exposure to very low or very high humidity can still cause damage.
What is the difference between cupping and crowning in flooring?
Cupping occurs when the edges of a floorboard are higher than the center. This usually means the bottom of the board is wetter than the top. Crowning is the opposite: the center of the board is higher than the edges.
This typically happens when the top surface of the board has absorbed too much moisture and swelled.
Conclusion: Keeping Your Floors Happy and Your Home Comfortable
Taking care of your home’s humidity levels is an ongoing process. It’s tied directly to your comfort and the health of your floors. By understanding how heated spaces impact moisture.
And by knowing how to measure and manage it. You can protect your beautiful flooring. You’ll also create a more pleasant living environment.
Remember to check your hygrometer. Watch for signs in your floors and in your own well-being. Small, consistent efforts go a long way.
They keep your home just right, all year round.
Sponsored / affiliate links. As an Amazon Associate I earn from qualifying purchases. I may earn additional commission from eligible campaigns.