How to Remove Bathroom Light Fixture: Genius Effortless Guide
Quick Summary:
Removing a bathroom light fixture is a straightforward DIY task. By turning off the power, safely accessing the fixture, and carefully disconnecting the wires, you can easily detach your old fixture and prepare for a new one. This guide provides simple, step-by-step instructions to ensure a safe and successful removal, even for beginners.
Hello there! Md Meraj here, your friendly guide to making home improvement projects feel less daunting and more like fun puzzles to solve. If you’ve ever looked up at your bathroom light fixture and thought, “How in the world do I get that thing down?” you’re not alone. Many homeowners find this task a bit mystifying, especially when they can’t immediately spot any screws. But don’t worry! With a few simple steps and a little patience, you can safely remove your old bathroom light fixture, whether it’s held by hidden screws or a clever twist-and-lock mechanism. We’ll walk through it together, making sure you feel confident and secure every step of the way. Ready to brighten up your bathroom, one fixture at a time?
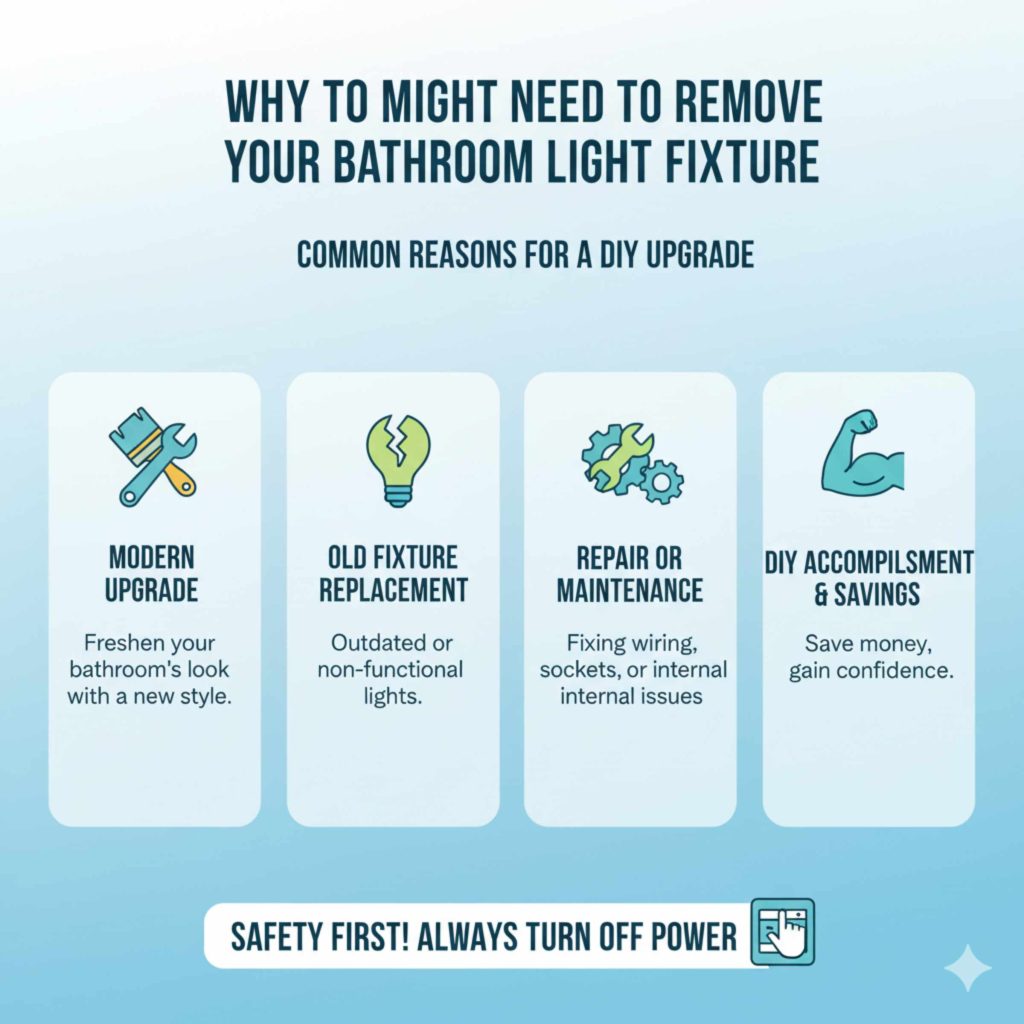
Why You Might Need to Remove Your Bathroom Light Fixture
There are several common reasons why you might find yourself needing to remove your bathroom light fixture. Perhaps you’re giving your bathroom a fresh new look with a modern upgrade, or maybe the old fixture has finally given up the ghost and needs replacing. Sometimes, a simple repair might require taking the fixture down. Whatever the reason, understanding how to do it safely is key. It’s a project that many homeowners can tackle themselves, saving on professional costs and gaining a sense of accomplishment. Let’s dive into how to make this happen smoothly.
Safety First: Essential Precautions
Before we even think about touching a screwdriver, the most crucial step is ensuring your safety. Electricity can be dangerous, so we absolutely must turn off the power to the fixture at its source. This isn’t a step to skip or rush. It’s the golden rule of any electrical DIY project.
Turning Off the Power
Here’s how to make sure the power is off:
- Locate Your Circuit Breaker Box: This is usually in a basement, garage, utility room, or hallway closet. It’s a metal panel with switches.
- Identify the Correct Breaker: Look for a label that indicates the bathroom lighting or a specific circuit for that area. If it’s not clearly labeled, you might need to do a little detective work. You can turn off breakers one by one and check if the bathroom light goes out. A simple way to test is to flip a breaker off, go to the bathroom, and try the light switch. If the light doesn’t turn on, you’ve found the right one!
- Flip the Breaker to the “Off” Position: Make sure it’s firmly in the off position.
- Test the Light Switch: Go back to your bathroom and flip the light switch for the fixture you’ll be working on. Confirm that the light does NOT turn on. This is your final safety check.
For added peace of mind, you can use a non-contact voltage tester to confirm there’s no power at the fixture itself once you get to that stage. You can find these testers at most hardware stores, and they’re a great tool for any DIYer to have.
Gathering Your Tools and Supplies
Having the right tools ready before you start makes the job much easier and faster. Here’s what you’ll likely need:
- Screwdrivers (Phillips head and flathead)
- Pliers (needle-nose are handy)
- Wire strippers/cutters
- Wire nuts
- Non-contact voltage tester (highly recommended)
- A stepladder or sturdy stool
- Safety glasses
- A helper (optional, but nice for holding things or handing tools)
- A flashlight or headlamp (in case your main light is off!)
- A bucket or small container to hold screws and small parts
Having everything within reach will prevent you from having to stop mid-project, which is always a good thing when dealing with anything electrical.
Step-by-Step Guide: Removing Your Bathroom Light Fixture
Now that safety is covered and your tools are ready, let’s get to the actual removal process. We’ll cover common fixture types, including those that don’t have obvious screws.
Step 1: Remove the Cover or Shade
Most bathroom light fixtures have a glass shade, a metal cover, or a diffuser. This is usually the first thing that needs to come off to access the internal wiring and mounting hardware.
- For glass shades: Many are held in place by small screws on the side of the fixture base. Gently loosen these screws – don’t remove them completely unless the shade is very light and won’t fall. Sometimes, you can just loosen them enough to slide the shade off. Others might have a screw at the top or bottom of the shade itself. If there are no visible screws, the shade might be held by clips or a tension fit. Try gently wiggling it. If it feels secure, look for small tabs or a rotating mechanism.
- For metal covers: These might be secured with screws, or they could twist off. Try gently rotating the cover counter-clockwise. If it doesn’t budge, look for screws around the edge.
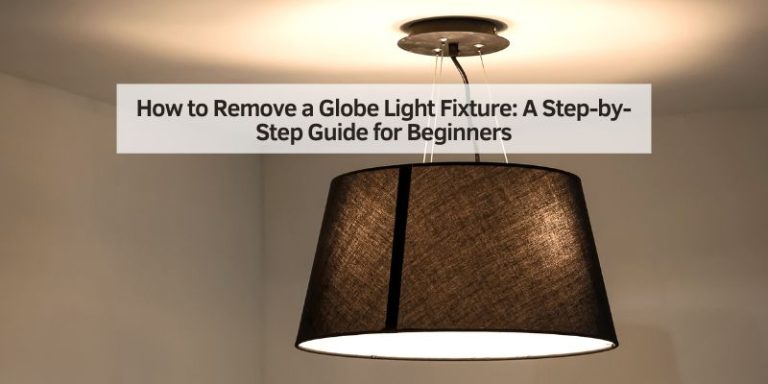
- For globe-style fixtures: These often screw directly onto the base. Carefully try to unscrew the globe by turning it counter-clockwise. Be sure to support its weight as you do this.
Pro Tip: If you’re removing a glass shade, place a soft towel or blanket on the counter or floor below the fixture to catch it in case it slips. You don’t want a shattered shade!
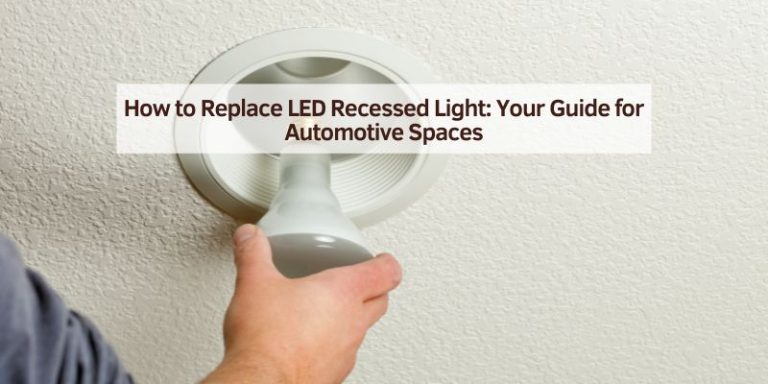
Step 2: Remove the Light Bulbs
Once the cover is off, you’ll likely see the light bulbs. Unscrew them just like you would normally. It’s always a good idea to do this even if you’re not replacing the bulbs, just as an extra precaution.
Step 3: Locate and Remove the Mounting Screws
This is where things can get tricky, especially if you’re looking for how to remove a bathroom light fixture without screws.
Common Mounting Methods:
Most fixtures are attached to a junction box in the ceiling or wall by screws. These screws are often located:
- On the sides of the fixture base, holding it to a mounting bracket.
- Through the center of the fixture base, directly into the junction box.
- Hidden behind decorative caps or trim pieces.
“No Screw” Fixtures: The Twist-Off Method
Some modern or minimalist fixtures are designed for easier installation and removal, often using a twist-and-lock mechanism. If you can’t find any screws, try this:
- Inspect the Base: Look very closely at where the fixture meets the ceiling or wall. Are there any small notches, slots, or areas that look like they could be turned?
- Gentle Twisting: With the cover and bulbs removed, try to gently twist the main body of the fixture counter-clockwise. You might need to apply firm but steady pressure. Sometimes, you’ll need to press inward slightly while twisting.
- Look for Tabs: Some twist-off fixtures have small tabs or detents that align with slots in the mounting plate. You might need to press these tabs in to release the fixture.
If you’re still stuck, check the manufacturer’s instructions if you have them, or search online for your specific fixture model. Sometimes a little research is all it takes.
Finding Hidden Screws
If it’s not a twist-off, there are likely screws, they’re just not obvious.
- Decorative Caps: Some fixtures have decorative caps that cover the screw heads. These might unscrew by hand or require a flathead screwdriver to gently pry them off.
- Under Trim: Look for any trim pieces or canopies that might be hiding the screws. You may need to carefully pry these away to reveal the mounting screws.
- Small Pilot Holes: On very flush-mount fixtures, the screws might be in small holes on the edge of the fixture’s base.
Once you locate the mounting screws, use the appropriate screwdriver (usually Phillips head) to loosen them. Turn them counter-clockwise. You typically don’t need to remove the screws entirely; just loosen them enough so the fixture can be pulled away from the ceiling or wall.
Step 4: Carefully Lower the Fixture and Expose the Wiring
As you loosen the screws, the fixture will start to detach from the mounting bracket or junction box. Be ready to support its weight. Gently pull the fixture away from the ceiling or wall. It will still be connected by wires.
You’ll see a bundle of wires coming from the junction box and connecting to the fixture. These are usually:
- Black wire: This is the “hot” wire.
- White wire: This is the “neutral” wire.
- Green or bare copper wire: This is the “ground” wire.
The wires from the fixture will be connected to the house wires, typically with wire nuts (small plastic connectors).
Step 5: Disconnect the Wires
This is the most critical electrical step. Remember, the power should be OFF, but it’s good practice to double-check with your voltage tester if you have one.
- Remove Wire Nuts: Gently twist the wire nuts counter-clockwise to remove them. If they’re stuck, you might be able to carefully pry them off with needle-nose pliers or a small flathead screwdriver.
- Separate the Wires: Once the wire nuts are off, the wires from the fixture will be separated from the house wires.
- Observe Connections: Note which color wire from the fixture connects to which color house wire (black to black, white to white, ground to ground). This is helpful if you’re installing a new fixture immediately.
Important Note on Grounding: The ground wire (green or bare copper) is a vital safety feature. Ensure it’s properly connected when installing a new fixture.
Step 6: Remove the Fixture Mounting Bracket (If Necessary)
Sometimes, the fixture is attached to a separate mounting bracket that is screwed into the junction box. If your new fixture requires a different type of bracket, you’ll need to remove the old one. This usually involves unscrewing two or more screws that hold the bracket to the junction box.
If your new fixture uses the same mounting system, you might be able to leave the old bracket in place.
Step 7: Secure the House Wires
Once the fixture is completely removed, you’ll have loose wires hanging from the junction box. To ensure safety, you need to cap these wires off properly.
- Use new wire nuts to cover the ends of each individual house wire (black, white, and ground).
- Ensure the wire nuts are screwed on tightly.
- You can then gently tuck these capped wires back into the junction box.
This prevents any accidental contact with live wires and keeps them tidy. For more information on electrical safety and wiring standards, the Occupational Safety and Health Administration (OSHA) provides excellent resources.
Fixture Types and Their Removal Nuances
Bathroom light fixtures come in a wide variety of styles, and their removal can differ slightly. Understanding these variations can save you a lot of head-scratching.
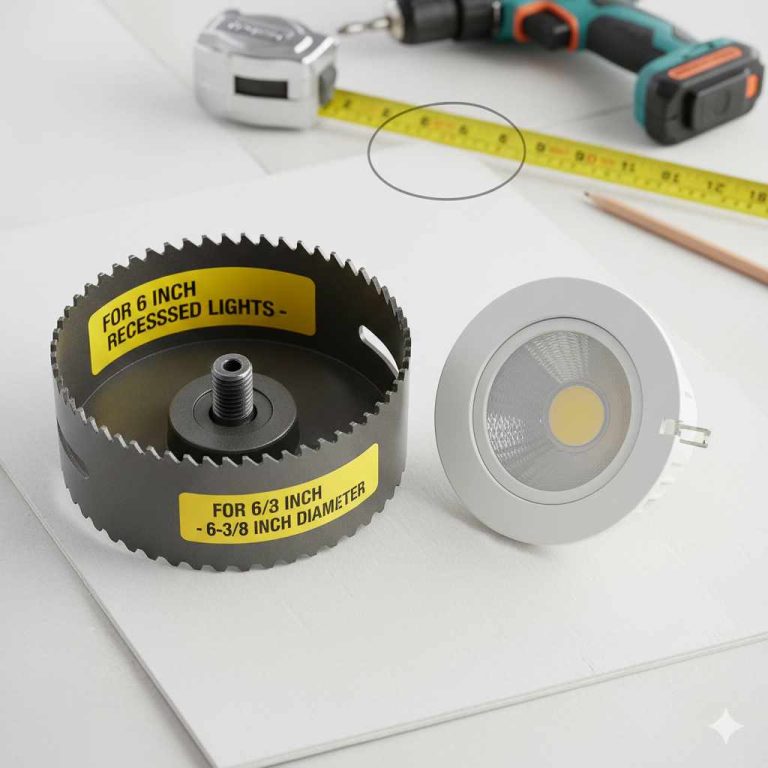
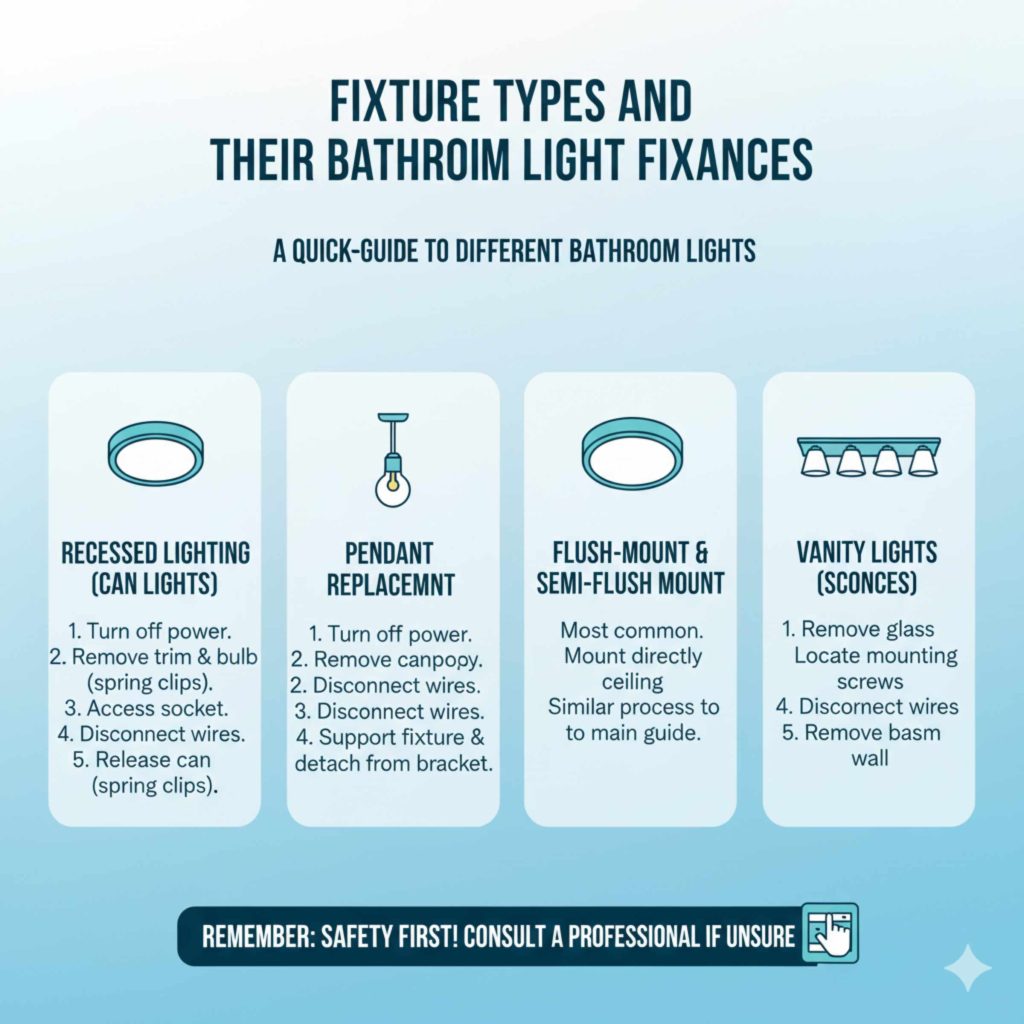
Recessed Lighting (Can Lights)
Removing recessed lights often involves a different approach. For most standard “can” lights:
- Turn off power.
- Remove the trim and bulb. The trim might be held by spring clips or a twist-lock mechanism.
- Access the socket/junction box. You might need to reach up into the opening.
- Disconnect wires from the socket or junction box.
- Release the entire can fixture. This often involves pulling down on spring clips that hold the can in place within the ceiling joist framework.
Pendant Lights
These are less common in bathrooms but can be found. They usually involve a longer wire or chain that needs to be disconnected from the ceiling box.
- Turn off power.
- Remove any decorative canopy that hides the wiring at the ceiling.
- Disconnect wires as usual.
- Support the fixture as you detach it from its mounting bracket or the ceiling box itself.
Flush-Mount and Semi-Flush Mount Fixtures
These are the most common types in bathrooms and are covered extensively in the step-by-step guide above. They mount directly to the ceiling and typically have a decorative cover or shade.
Vanity Lights (Sconces)
These are mounted on the wall, usually above or beside a mirror. The process is similar to ceiling fixtures:
- Turn off power.
- Remove glass shades and bulbs.
- Locate mounting screws on the fixture’s base, which attach it to a junction box behind the wall.
- Disconnect wires.
- Remove the fixture base from the wall.
Troubleshooting Common Issues
Even with the best guide, you might run into a snag. Here are a few common problems and how to solve them.
Fixture Won’t Budge or Twist Off
Problem: You’re trying the twist-off method, but the fixture is stuck fast.
Solution: Double-check for hidden screws. Sometimes, paint or accumulated grime can make it seem like a twist-off when it’s actually screwed in. Gently try to lift the fixture slightly to see if there’s any play that might reveal a hidden screw or clip. If you’re confident there are no screws, and it’s still stuck, you might need to apply a bit more steady pressure. If you’re worried about breaking it, it’s always safer to call a professional.
Wire Nuts Are Impossible to Remove
Problem: The wire nuts seem fused to the wires.
Solution: Use needle-nose pliers to get a good grip on the wire nut and twist counter-clockwise. Sometimes, gently wiggling the connection while twisting can help. If they’re really stubborn, you can carefully cut the wire nut off with wire cutters, making sure not to nick the wires inside. Be extra cautious when doing this.
Missing Ground Wire
Problem: You see black and white wires, but no green or bare copper ground wire.
Solution: This can happen in older homes. If your junction box doesn’t have a ground wire, and the fixture you’re removing also didn’t have a ground wire connected, it’s likely that the circuit is not grounded. While it’s best practice to have grounded circuits for safety, you can typically replace the fixture with another one that also doesn’t require a ground connection. However, if your new fixture does have a ground wire, consult a qualified electrician. Upgrading your home’s wiring to include grounding is a significant safety improvement.
Stripped Screw Heads
Problem: The screwdriver keeps slipping, and the screw head is getting damaged.
Solution: This is frustrating! Try using a rubber band placed between the screwdriver tip and the screw head for extra grip. If that doesn’t work, a screw extractor kit can be a lifesaver. These kits have bits designed to bite into damaged screw heads and remove them.
Table: Tool Comparison for Fixture Removal
Here’s a quick look at some key tools and why they’re useful for this project:
| Tool | Purpose | Beginner Friendliness |
|---|---|---|
| Phillips Head Screwdriver | Removing most mounting screws and some shade screws. | Very High |
| Flathead Screwdriver | Prying off decorative caps, loosening stubborn wire nuts. | High |
| Needle-Nose Pliers | Gripping and twisting stubborn wire nuts, holding wires. | Medium |
| Wire Strippers/Cutters | Cutting wires if necessary, stripping insulation (rarely needed for removal). | Medium |
| Non-Contact Voltage Tester | Crucial for confirming power is OFF at the fixture. | Very High |
| Stepladder | Safely reaching the fixture. | Very High |
Frequently Asked Questions (FAQ)
Q1: How do I know if the power is really off?
A1: After flipping the breaker, always test the light switch. For extra certainty, use a non-contact voltage tester near the wires once you expose them. If the tester lights up or beeps, there’s still power, and you need to find the correct breaker.
Q2: What if I can’t find any screws on my light fixture?
A2: Many modern fixtures have a twist-and-lock mechanism. With the cover and bulb removed, try gently twisting the main body of the fixture counter-clockwise. If that doesn’t work, carefully inspect the base for small tabs or decorative caps that might be hiding screws.
Q3: Do I need to disconnect the ground wire?
A3: The ground wire (usually green or bare copper) is a safety wire. You’ll disconnect it from the house ground wire, but when installing a new fixture, you’ll reconnect it to the new fixture’s ground wire. If your old fixture or junction box doesn’t have a ground wire, consult an electrician.
Q4: How do I handle the wires after removing the fixture?
A4: Once the fixture is detached, you’ll have wires from the ceiling/wall. Cap each wire individually with a wire nut and tuck them back into the junction box. This is a crucial safety step.
Q5: Can I remove a bathroom light fixture if I’m not comfortable with electrical work?
A5: If you’re unsure about any step, especially dealing with wiring, it’s always best to call a qualified electrician. Safety is paramount, and a professional can ensure the job is done correctly and safely.
Q6: What if my fixture has a very heavy glass globe?
A6: When removing heavy globes or shades, it’s wise to have a helper. Support the globe with one hand while you loosen the securing screws or twist the globe itself with the other. Place a towel or blanket below to cushion any accidental drops.
Conclusion
And there you have it! Removing a bathroom light fixture, even one that seems to have no visible screws, is a manageable DIY project when you follow these steps. Remember to always prioritize safety by turning off the power at the breaker and testing it. With the right tools, a bit of patience, and a clear understanding of how fixtures are typically mounted, you can confidently tackle this task. Whether you’re updating your style or replacing a faulty fixture, you’ve now got the knowledge to do it yourself. Enjoy your refreshed bathroom space – you’ve earned it!