How to Remove Paint From Cabinets Without Stripping
Start with warm water and a microfiber cloth. Then move to a plastic scraper, a small amount of mineral spirits, and only then a lightly used melamine sponge. Stop as soon as the unwanted paint lifts. Push too hard, and you can dull the sheen, cut through the color coat, or leave a permanent mark. This guide gives you the least-aggressive removal sequence, plus the checks that tell you when to stop.
What you’ll need


- Microfiber cloths
- Warm water
- Grease-cutting soap or degreaser
- Plastic scraper or old plastic card
- Mineral spirits
- Melamine sponge
- 220-grit sandpaper for very light scuffing only
- Deglosser or liquid sandpaper, used per label directions
- Paint stripper for stubborn paint, with a gentler option such as Citristrip for wood cabinets
- Drop cloths or building paper
- Painter’s tape
- Labeling tape and marker for doors, drawers, hinges, and pulls
- Goggles
- Chemical-resistant gloves
- Respirator if the product label requires it
- Closed-toe shoes
- Fan or active room ventilation
Safety gear and ventilation setup
Put on goggles, chemical-resistant gloves, and closed-toe shoes before you handle any solvent or stripper. Use a respirator when the label says to, and keep fresh air moving through the room. Some chemical strippers contain methylene chloride, so the product label sets the minimum protection and airflow you need.
Cleaning products before removal begins
Grease and grime get in the way of every later step. Clean first with grease-cutting soap or a degreaser; This Old House also notes grease-cutting soap or vinegar and water for cabinet cleaning, and Hunker’s prep guidance uses 1/2 cup of trisodium phosphate per gallon of warm water. Let the surface dry before you test anything else.
📊 This Old House recommends a 2 1/2-inch angled brush for cabinet painting. Source: How to Paint Kitchen Cabinets Without Sanding.
Do you need to remove doors and hardware?
Yes, remove cabinet doors, drawer fronts, and hardware before you start whenever possible. Label each part for reassembly, because doors and drawers often look alike until you try to put them back. Leave the cabinet boxes in place if pulling them out would cause more damage than it prevents.
Label parts before you touch the finish
Mark each door, drawer front, hinge set, and pull location with a matching number or letter. That keeps you from forcing a part back into the wrong opening, which can scratch the finish you are trying to keep intact.
Protect nearby surfaces
Cover counters, floors, and adjacent appliances with drop cloths or building paper. If you are working near finished trim, tape off the edges so a scraper or solvent does not touch a surface you are not trying to clean.
Say your upper cabinet door is still hanging in the kitchen and has one dime-size paint drip near the pull hole. Leave the box in place, but remove the door and hardware first so you can work flat and stop as soon as the drip lifts.
Can you remove paint without sanding?
Yes, often you can. For finished cabinet surfaces, start with cleaning, then spot scraping, then mineral spirits or a deglosser before you reach for sandpaper. Sanding is common, but it is not always the safest first move when your goal is to keep the original color coat intact.
Use the least aggressive method first
- Clean the spot with warm water and grease-cutting soap.
- Lift loose paint with a plastic scraper held nearly flat.
- Wipe the area with a cloth dampened with mineral spirits.
- Use a lightly used melamine sponge only on stubborn residue.
Stop if the surrounding finish starts to look cloudy, sticky, or lighter in color. Those are signs that the topcoat or color coat is softening, not just the stray paint.
When sandpaper grit is appropriate
Use 220-grit sandpaper only for very light scuffing or finish cleanup, not as your first move on a painted, stained, or clear-coated face. Coarser grit removes material faster, but it also increases scratch risk and can break through thin topcoats at edges and corners.
When to stop before the color coat is affected
Stop the moment you see a color shift, bare wood, softened sheen, or a scratch pattern that does not wipe away. If the area still feels sticky after wiping and a dry cloth does not improve it, back off and let the surface dry before deciding whether to escalate.
What is the safest remover?
There is no single safest remover for every cabinet. Mineral spirits is the mildest of the three options here, but it only helps with some fresh paint transfer or residue. Deglosser is better for changing sheen before repainting than for stripping paint. Chemical stripper is often the stronger option for cured paint, though it also carries a higher risk of haze, skin exposure, and finish lift.
Choose by job, not by brand
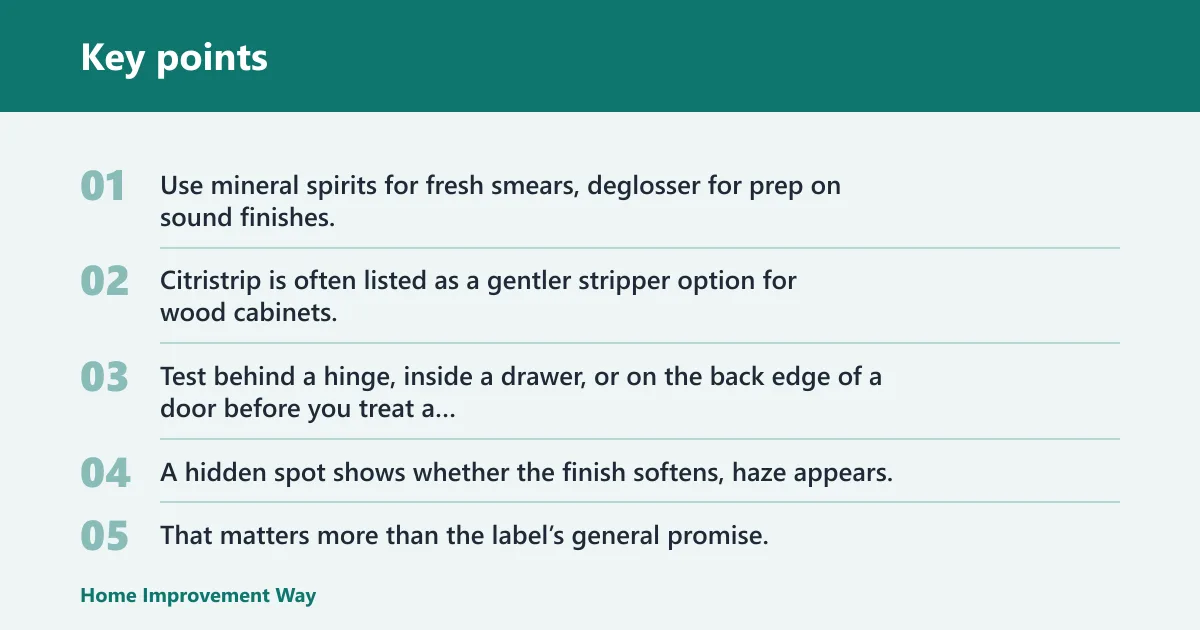
Use mineral spirits for fresh smears, deglosser for prep on sound finishes, and stripper only when gentler methods fail. Citristrip is often listed as a gentler stripper option for wood cabinets, but any stripper can dull or lift a thin finish if you leave it on too long.
Test behind a hinge, inside a drawer, or on the back edge of a door before you treat a visible area. A hidden spot shows whether the finish softens, haze appears, or color lifts after contact. That matters more than the label’s general promise.
Step-by-step removal sequence
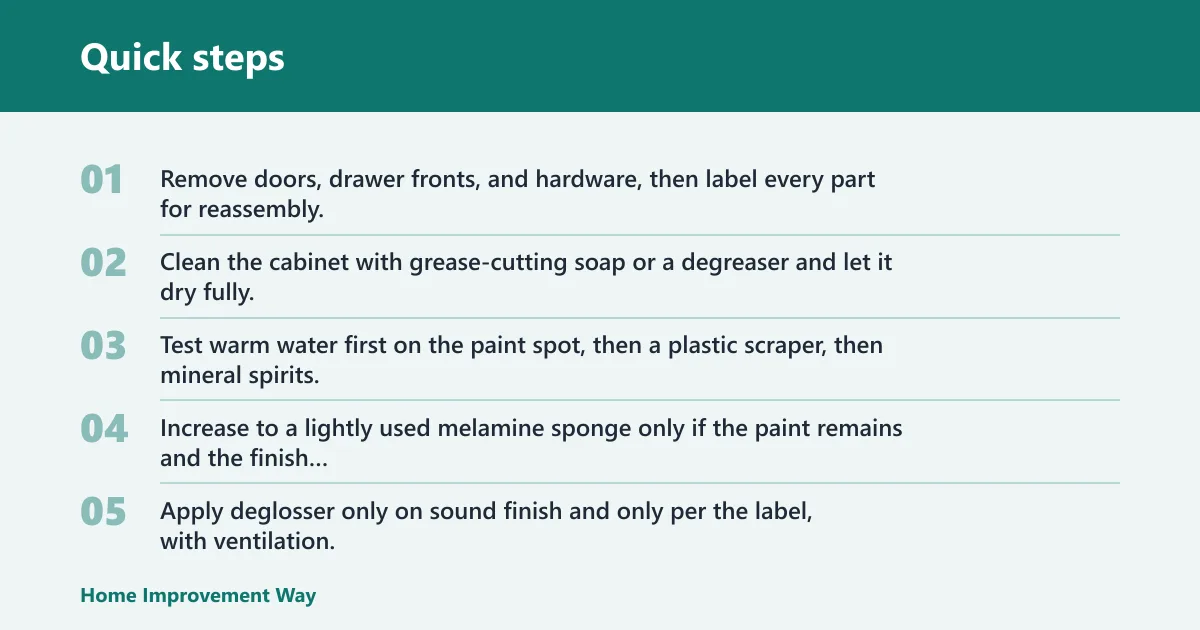
- Remove doors, drawer fronts, and hardware, then label every part for reassembly.
- Clean the cabinet with grease-cutting soap or a degreaser and let it dry fully.
- Test warm water first on the paint spot, then a plastic scraper, then mineral spirits.
- Increase to a lightly used melamine sponge only if the paint remains and the finish stays unchanged.
- Apply deglosser only on sound finish and only per the label, with ventilation.
- Use a chemical stripper only for paint that will not release, and keep the dwell time short.
- Wipe, neutralize, or remove residue as directed by the product label, then inspect for haze, softening, or color lift.
How to use deglosser instead of sanding
Deglosser or liquid sandpaper is a no-sand prep step, not a cure-all. Use it after cleaning and before repainting when the cabinet finish is intact but too slick for new coating. Follow the manufacturer instructions, keep the area ventilated, and stop if the surface turns cloudy or soft.
How far to go with stripper
If a spot still holds after the gentler steps, use a chemical stripper in the smallest area that needs it. Work in short passes, not long soak times. If the finish around the spot dulls, swells, or lifts at the edge, stop and remove residue before it spreads.
Suppose a stained oak door has one dried drip near a raised panel profile. A plastic scraper clears the flat area, but the groove holds the last trace. In that case, a brief stripper pass on the groove only is safer than sanding the whole panel and risking a thin veneer.
Cabinet finish matrix
| Cabinet finish | Color lift risk | Haze risk | Scratch risk | Safest first method | Test spot | Stop condition |
|---|---|---|---|---|---|---|
| Painted wood | Moderate to high on old topcoats | Moderate with solvent or stripper | High at edges and brush marks | Warm water, then plastic scraper | Behind a hinge or on the back edge | Stop if the color coat lightens or the sheen turns uneven |
| Stained or clear-coated wood | High if the clear coat is thin | Moderate with mineral spirits or deglosser | High on face frames and corners | Mineral spirits, then a melamine sponge | Inside a door edge or back rail | Stop if stain transfers to the cloth or the clear coat turns cloudy |
| Laminate | Low for color lift, higher for printed-surface damage | Moderate with strong solvents | High with sanding or aggressive scraping | Warm water and plastic scraper only | Hidden underside or cabinet toe-kick edge | Stop if the printed layer dulls, lifts, or shows white marks |
| Thermofoil | High if heat or solvent reaches the film bond | Moderate to high with stripper fumes or wipe-on solvent | High if the film is already brittle | Warm water and the lightest scraping only | Back edge or inside a lower corner | Stop if the film softens, bubbles, or edges curl |
Common mistakes
Over-sanding is the fastest way to expose the color coat or break through veneer. If you need sanding at all, keep it light; Hunker’s cabinet prep example uses 220-grit sandpaper for scuffing, not heavy removal. Coarser grit belongs only where the finish is already failing.
Leaving stripper on too long can haze the finish or lift the topcoat, even on wood cabinets. Work in small sections and watch the surface closely. If the paint is still holding after the recommended dwell time, remove the residue, then decide whether a second short pass is safer than a longer soak.
Skipping cleanup before repainting causes adhesion failures later. If the paint is gone and you plan to repaint, clean again, then use bonding primer designed for cabinets. This Old House identifies that primer as essential, and it also specifies satin or semi-gloss paint for cabinet finishes. (Thisoldhouse)
Frequently asked questions
How do you remove paint from cabinets without ruining the finish?
Start with cleaning, then spot-test a plastic scraper, mineral spirits, and a melamine sponge in that order. Work on a hidden area first. Stop at the first sign of color lift, haze, or scratch lines, because those are finish-damage warnings, not signs to push harder.
Can you strip paint from cabinets without sanding them first?
Yes. Cleaning, mineral spirits, deglosser, and stripper can all come before sanding, depending on the finish and the paint type. Sand only if the surface needs light scuffing or if the product label calls for it. On finished cabinets, sanding is a fallback, not the opening move.
What is the safest paint remover for painted wood cabinets?
For a painted wood cabinet, the safest first remover is the least aggressive one that works on a hidden test spot. That usually means warm water, then mineral spirits for residue, then a brief stripper pass only if the paint will not release. Any remover can damage a thin topcoat.
Will mineral spirits remove paint from cabinets?
Mineral spirits can remove some fresh paint transfer, smears, or soft residue. It will not reliably strip cured paint from cabinets. If the paint has dried hard, move to a plastic scraper, then deglosser or stripper as needed, and stop if the finish starts to haze or soften.
Do you need to remove cabinet doors before stripping paint?
Yes, remove doors, drawer fronts, and hardware whenever possible. Working flat gives better control and lowers the chance of drips or over-scraping. Label every part before you start so reassembly goes back in the right place without forcing hardware or scratching the finish.
What safety gear do you need for paint stripper on cabinets?
Use goggles, chemical-resistant gloves, and closed-toe shoes, and keep the room ventilated. Wear a respirator if the product label requires it. Chemical strippers can contain methylene chloride, so read the label before opening the can and keep skin exposure to a minimum.
Can you use deglosser instead of sanding on cabinets?
Yes, if the cabinet finish is intact and you are preparing to repaint rather than removing cured paint. Apply deglosser per the label after cleaning, in a ventilated area. It changes the surface profile, but it will not fix peeling paint or replace stripping where paint has built up.
Sponsored / affiliate links. As an Amazon Associate I earn from qualifying purchases. I may earn additional commission from eligible campaigns.