How To Smooth Textured Walls Without Sanding (Works Great)
This article explores practical, non-sanding methods for smoothing textured walls. It covers preparation steps, material choices, application techniques, and tips for achieving a professional finish. The focus is on simplifying the process for homeowners.
Understanding Textured Walls
Textured walls are common. They come in many forms. Think popcorn ceilings. Think orange peel. Think knockdown or skip trowel. These textures were popular for a long time. Why did people use them? Well, they hide imperfections. Minor drywall flaws disappear under texture. It also adds visual interest. Some people just liked the look. Modern tastes are changing. Many now prefer a flat, smooth finish. Smooth walls feel more clean. They make rooms look bigger. They are also easier to clean. Getting rid of texture means changing how a room feels. It’s a big upgrade.
Why do people avoid sanding? It’s a big mess. Sanding creates fine dust. This dust gets everywhere. It lands on furniture. It gets into vents. It fills the air. You need special gear. Respirators are a must. Dust sheets cover everything. Even with all that, cleaning up takes days. Plus, sanding textured walls can be tricky. The peaks and valleys are hard to reach. You might miss spots. You could create new problems. That’s why folks look for easier ways. Ways that skip the dust. Ways that are less work.
My Own Textured Wall Nightmare
I remember staring at my living room ceiling. It was popcorn. Thick, white popcorn. It looked like a giant tub of cottage cheese. I hated it. I wanted that smooth, modern look. I thought about painting it. But the texture would still be there. It wouldn’t look clean. So, I decided to scrape it off. Big mistake. I watched a YouTube video. It looked easy. Just spray it with water. Then scrape.
I started spraying. The water made the popcorn soggy. It started to drip. Then I grabbed my scraper. I pulled it across the ceiling. Some of it came off. But it was messy. Gobs of wet popcorn fell everywhere. It splattered on my walls. It landed on my hair. It got in my eyes. I was covered in it. The air felt thick and damp. I looked around. The room was a disaster. It looked worse than before. I felt a wave of panic. This was not what I expected. I had so much more ceiling to go. I felt stuck. It was a humbling experience. I learned a lot that day. Mostly, I learned that some jobs are not as simple as they look. Especially when you try to cut corners.
Smooth Wall Magic: The Mud and Tape Method
This method is great for really rough textures. It’s like giving your walls a new skin. You’ll need drywall mud. You’ll also need paper drywall tape. You can buy these at any home store. Think of it like giving your walls a facial. First, you have to prep. You need to clean the walls. Make sure they are dry. Remove any loose bits of texture. Then, you start with the mud. You put a thin layer of mud on the wall. It’s like frosting a cake. You want it smooth.
Next, you apply the paper tape. You embed the tape into the wet mud. You smooth it down. You want to cover the texture as much as possible. You might need a few coats of mud. Let each coat dry. Then sand it lightly. This sounds like sanding, but it’s different. You’re sanding the mud, not the old texture. You’re smoothing bumps. You’re not creating a cloud of dust. The goal is to build up layers. These layers hide the old texture. They create a flat surface.
Working with Joint Compound
Joint compound is your best friend here. It’s also called drywall mud. You can buy it in tubs. It comes in different types. All-purpose is good for many jobs. Lightweight is easier to spread. It dries faster too. You can also get setting-type compounds. These harden chemically. They are stronger. But they dry very fast. For most DIYers, all-purpose is fine.
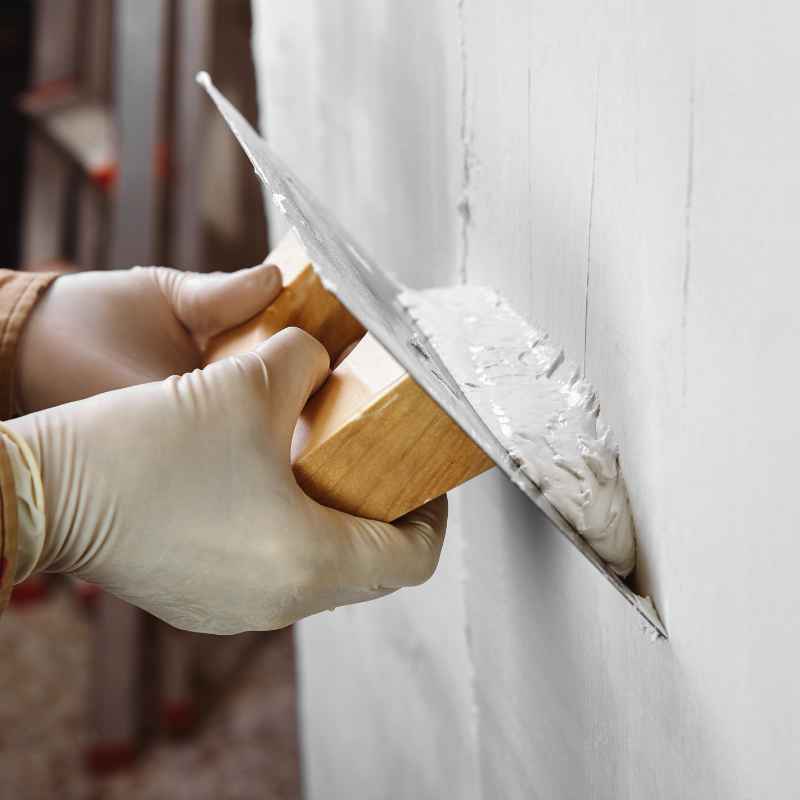
You apply joint compound with a drywall knife. A 6-inch knife is a good start. A 10-inch knife is better for larger areas. You scoop some mud onto the knife. Then you spread it onto the wall. You work in small sections. You want a thin, even coat. Don’t try to cover everything at once. Overlap your strokes a bit. This helps blend the mud. If you have deep textures, you might need more than one coat. Let the first coat dry completely. Then apply a second coat. This second coat fills in any low spots. It smooths out your first pass.
The Power of Primer
Primer is super important. Don’t skip this step. After you’ve applied your mud and it’s dry, you need to prime. Primer seals the surface. It helps the paint stick. Without primer, your paint might peel. It might not cover evenly. Some primers are better for new drywall. Some are for over textures. You want a good quality primer. A stain-blocking primer is often best. It covers any stains. It also helps create a uniform surface.
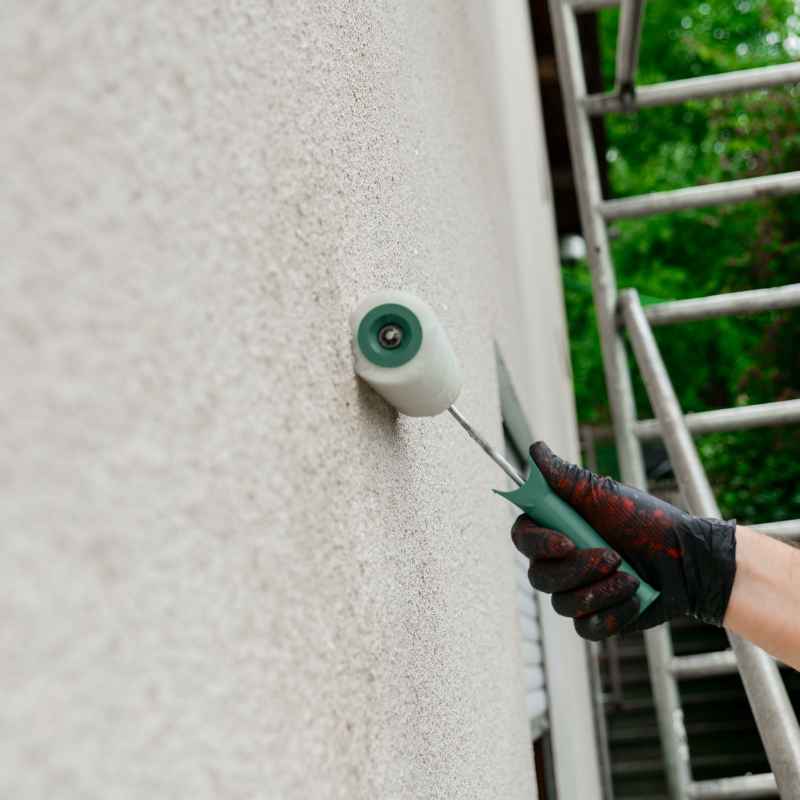
You’ll apply primer just like paint. Use a roller and a brush. Get into corners with the brush. Use the roller for the big walls. You might need two coats of primer. This is especially true if your mud work isn’t perfect. The primer will show you any spots you missed. It highlights low areas. It shows you rough spots. After the primer dries, you can do a light sanding. This is the sanding part we talked about. It’s just a little bit. It’s to make the mud smooth. Not to remove the texture.
Painting for a Fresh Look
Once your primer is dry, you’re ready to paint. This is the fun part! You’ve worked hard to get to this point. You want to pick a nice color. For smooth walls, lighter colors often work best. They make rooms feel airy and open. Eggshell or satin finishes are good choices. They are durable. They are also easy to clean. Flat paint can show every little mark. Glossy paint can highlight imperfections you might have missed.
Apply paint in thin, even coats. Use a good quality roller. A 3/8-inch nap is usually good. It holds enough paint. It spreads it evenly. Work from top to bottom. Avoid pressing too hard. This can cause drips. Let the first coat dry completely. Then apply a second coat. You might need a third coat. This is especially true if you are painting over a dark color. The goal is a smooth, even finish. You should see your reflection in the wall. Well, maybe not quite. But it should look clean.
When Texture Isn’t the Problem: Fixing Imperfections
Sometimes, the issue isn’t the texture itself. It’s what’s underneath. Old houses have walls that shift. Drywall seams can crack. Nail pops can happen. If you have these problems, you need to fix them first. Before you even think about smoothing. You can use drywall tape and mud for these. They are called “patching” or “repairing.”
For small cracks, you can just fill them with mud. For larger cracks or seams, you’ll need tape. You can use paper tape. Or you can use mesh tape. Apply mud over the tape. Smooth it out. Let it dry. Sand it smooth. You might need a few coats. This is important. If you don’t fix these issues, they will show through your new smooth finish. They will still be there. They will just be on a smooth wall. That’s not the look you want.
Alternative Method: Skim Coating
Skim coating is another excellent way. It’s very similar to the mud and tape method. But it’s often used on walls that are already pretty smooth. Or on walls where the texture is very light. It’s also great for covering old wallpaper. Or for making damaged drywall look new.
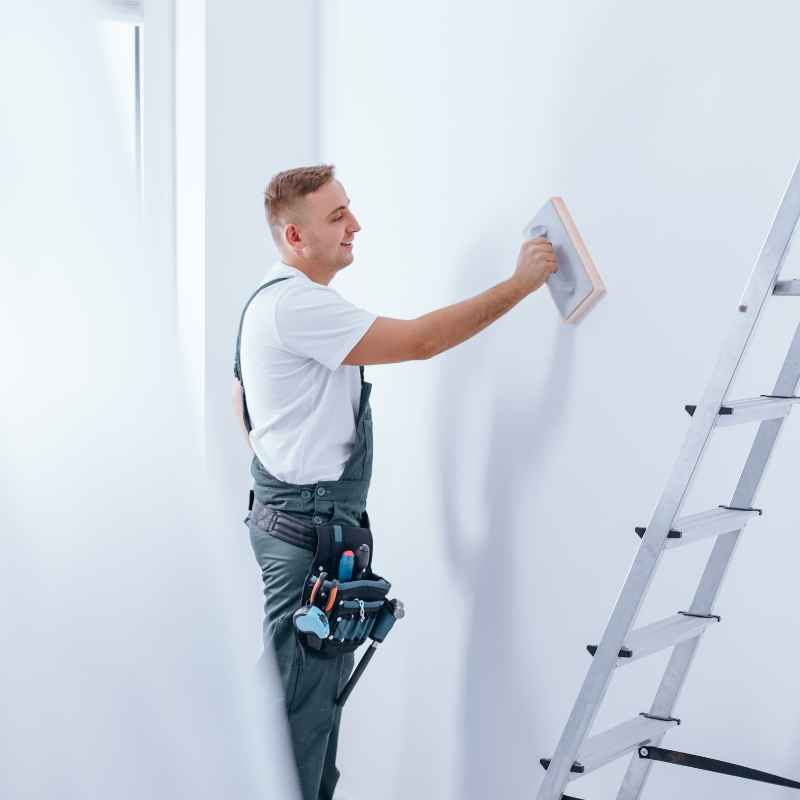
Skim coating involves applying very thin layers of joint compound. You spread it on the wall. You use a wide drywall knife. A 12-inch or 14-inch knife is best. You pull the knife across the wall. It leaves a thin film of mud. You want to overlap your passes. You don’t want streaks. You work in sections. Let each thin coat dry. Then you sand it lightly. You might need two or three coats. This builds up a smooth, flat surface. It hides minor textures. It hides minor damage. It’s a great way to achieve a truly flat wall.
Choosing the Right Joint Compound for Skim Coating
For skim coating, a lightweight joint compound works well. It’s easier to spread thin. It dries faster. It sands easier. You can also use a pre-mixed all-purpose compound. Just make sure it’s smooth. Stir it well before you use it. You don’t want lumps.
You apply skim coats very thinly. Imagine you are wiping the wall with mud. Not slathering it on. The goal is to fill in the low spots. To level out the highs. You don’t need to cover every bit of the old wall. Just enough to make it flat. After the first coat dries, you will see areas that are still textured. Or areas that are low. You just apply another thin coat. Continue until the wall is smooth.
Tips for a Flawless Finish
Use good tools. Quality drywall knives and rollers make a big difference. They spread mud and paint more evenly.
Work in good light. You need to see every little bump and low spot. A bright work light helps a lot.
Don’t rush. Each step needs to dry fully. Patience is key.
Clean your tools. Wash your knives and rollers after each use. Dried mud is hard to remove.
Scrape off loose bits. Before you start, get rid of anything that’s not stuck.
Keep it simple. Start with small areas. Get comfortable with the mud. Then move to bigger sections.
Understanding Texture Types
Different textures need different approaches. Popcorn is the hardest. It’s thick and uneven. It often needs a lot of mud to cover. Orange peel is lighter. It’s like tiny bumps. It’s easier to cover. Knockdown texture has a smooth base with rougher peaks. This can be tricky. Skip trowel leaves a swirled pattern.
The methods we talked about, mudding and skim coating, work for most textures. But the number of coats needed will vary. Thick popcorn might need several layers of mud. Even with the mud and tape method. Lighter textures might only need one or two thin skim coats. It’s good to know what you’re dealing with.
The Importance of Drywall Tape
When you use the mud and tape method, the tape is crucial. It bridges gaps. It reinforces mudded areas. It stops cracks from forming later. You can use paper tape or mesh tape. Paper tape is usually preferred for flat surfaces. It lays flatter. Mesh tape is self-adhesive. It’s easier for some people. But it can leave a slight bump.
You embed the tape into the wet mud. You press it down. Make sure there are no air bubbles. Then you cover it with more mud. This creates a strong, seamless joint. It’s the same way new drywall sheets are joined. It’s a proven technique.
Tools You’ll Need
Drywall knives (6-inch, 10-inch, and maybe 12-inch)
Mud pan or bucket
Joint compound (all-purpose or lightweight)
Drywall tape (paper or mesh)
Sandpaper (medium and fine grit)
Sanding block or pole sander
Primer (stain-blocking recommended)
Paint (your chosen color)
Paint rollers and trays
Paintbrushes
Drop cloths
Screwdriver or putty knife (for scraping loose bits)
Safety glasses
Dust mask (even for light sanding)
Extension pole for roller (optional but helpful)
When to Call a Professional
Sometimes, you might feel overwhelmed. Or maybe your walls have serious damage. Like water damage or large cracks. In these cases, it’s okay to call a pro. A drywall specialist has the tools. They have the experience. They can do the job quickly and cleanly. They know how to get that perfect, smooth finish.
If you have a very large area. Or if you just don’t have the time or patience. Hiring someone is a good option. It might cost more upfront. But it saves you stress. It ensures a good result. Think about the time you’ll save. Think about the frustration you’ll avoid. It’s worth considering.
How to Prepare Your Room
Before you start any work, you need to get your room ready. First, remove everything you can. Move furniture to the center of the room. Cover it with drop cloths. Cover the floors too. Even with careful work, some dust or mud can fall. Lay down plastic sheeting or old sheets. Make sure they go up the walls a bit. This protects your baseboards.
Turn off your HVAC system. You don’t want dust getting into your vents. Open windows for ventilation. Especially when you are sanding. Or when the mud is drying. It helps the drying process. It also removes fumes from primers or paints. Clean the walls first. Use a damp cloth. Let them dry.
Dealing with Popcorn Ceilings
Popcorn ceilings are the toughest. They are usually the most textured. They also tend to be thicker. The mud and tape method is often the best approach here. You’ll need to apply multiple coats of mud. You’re essentially flattening out the ceiling. It’s a lot of work. But the result is worth it.
If your popcorn ceiling has been painted, it’s harder to remove. Water won’t soak in as well. You might need to scrape it dry. This creates a lot of dust. Or you might need a special spray solution. Always test a small area first. See how the texture reacts.
The Skim Coating Process Step-by-Step
1. Clean the walls. Remove any loose texture.
2. Apply a thin first coat of joint compound. Use a wide knife. Spread it evenly. Overlap your strokes.
3. Let it dry completely. This can take several hours. Or overnight.
4. Lightly sand the dried coat. Use medium-grit sandpaper. Smooth out any high spots or ridges.
5. Apply a second thin coat. Again, spread evenly. Overlap.
6. Let it dry and sand again. Use finer grit sandpaper this time.
7. Repeat if necessary. Continue until the wall is perfectly smooth.
8. Wipe down walls. Remove all dust.
9. Prime the walls. Use a good quality primer. Two coats may be needed.
10. Paint your walls. Apply your chosen color. Two coats are standard.
Making the Smooth Finish Last
Once you have your beautiful, smooth walls, you want them to stay that way. Regular cleaning is key. Dust them gently. Use a soft cloth or a duster. For smudges or marks, use a damp cloth. For tougher stains, use a mild soap and water solution. Test a small, hidden area first.
Be careful with furniture placement. Avoid putting heavy items right against the wall. This can cause dents. Or scratch the paint. Use wall protectors if needed. Treat your newly smooth walls with care. They are a canvas for your home’s beauty.
Common Questions About Smoothing Walls
Can I really get smooth walls without sanding at all?
It depends on the texture. For very light textures, maybe. But most textured walls require some light sanding of the mud layers.
The goal is to sand the mud smooth, not the original texture.
How many coats of joint compound do I need?
This varies greatly. Thick textures like popcorn might need 3-5 coats of mud and tape. Lighter textures might only need 1-3 thin skim coats.
It’s about achieving a flat surface.
What’s the best way to deal with orange peel texture?
Orange peel is generally easier to cover. You can often use skim coating with 1-2 thin coats. Or the mud and tape method if it’s very uneven.
Light sanding between coats is important.
Can I just paint over textured walls?
Yes, you can. But the texture will still be visible. Paint won’t hide the texture.
It will just cover it. If you want a smooth look, you need to apply new material like joint compound.
How long does it take to smooth walls without sanding?
This can take several days. You need to factor in drying time between mud coats. Plus priming and painting.
It’s not a one-day project. But it’s much less dusty than sanding.
What if I make a mistake with the joint compound?
Don’t worry! That’s the beauty of joint compound. If it dries unevenly, you can sand it smooth.
Or you can apply another coat over it. Most mistakes can be fixed.
Final Thoughts on Transforming Your Walls
Getting smooth walls without the dust storm of sanding is totally possible. It takes patience. It takes a bit of work. But the results are amazing. You’ll create a clean, modern look. Your rooms will feel more open. You can transform your home with these methods. Whether you choose mud and tape for heavy textures or skim coating for lighter ones, the goal is a fresh start. Enjoy your beautiful new smooth walls!