How to Adjust a Door Threshold to Stop Drafts
Adjust a threshold only after confirming the draft is under the door and the sweep still misses the sill by about 1/8 inch or less; if the gap is larger or uneven, address the sweep, sag, or floor first. Wrong screw adjustments can make the latch bind, worsen gaps, and leave the door draftier. This guide helps you diagnose threshold, sweep, door sag, or floor slope before you turn the screws.
How do you tell whether the threshold is the problem?


Check the bottom gap with the door fully closed. If light shows across the full width, the threshold may sit too low or the sweep may be worn. If the light appears at one corner, sag or floor slope is more likely. Do not start with the screws until you know where the leak is.
A 1/4 inch gap at a standard 3-foot entry door can leak as much air as a 3.4-inch hole. That is why a small-looking gap matters. (Thisoldhouse)
Separate the likely causes
Look at three areas in order: the threshold body, the door sweep, and the perimeter weatherstripping at the frame stop. An adjustable exterior door threshold usually has several Phillips-head adjustment screws, and those screws raise or lower the threshold height. The goal is slight compression of the sweep, not a hard close.
- Threshold: gap runs along the sill, often with light in the center.
- Sweep: bottom edge is flattened, split, or missing.
- Frame or stop: draft comes from the sides or top, not the sill.
What you’ll need
- Phillips screwdriver or driver bit
- Flashlight
- Putty knife or utility knife for old sealant
- Vacuum or stiff brush
- Replacement door sweep, if needed
- Replacement threshold insert matched to profile and width, if needed
- Silicone or polyurethane sealant for the exterior edge
- Replacement screws if the original threshold screws are damaged
How to adjust a door threshold
Turn the threshold screws in small, even increments after clearing grit from the contact area. Common designs use clockwise to raise and counterclockwise to lower. Recheck with the door fully closed after each pass. The proper fit is slight resistance when closing, not a hard bind.
- Close and inspect. Shut the door fully and check for light under the entire bottom edge. Mark any corner where the gap is wider, because that points to sag or an uneven floor rather than a simple height setting.
- Clean the contact area. Vacuum dirt, grit, and dried sealant from the threshold and sweep. Loose debris can prop the door open and make a good threshold look wrong.
- Raise or lower evenly. Turn each Phillips-head adjustment screw about 1/2 turn at a time, keeping the screws at the same relative setting. On common designs, clockwise raises and counterclockwise lowers.
- Test the close. Shut the door after each pass. Stop when the sweep just compresses and the latch still closes without force.
- Seal the exterior edge. If the threshold is set and water can reach the edge, caulk the exterior side with silicone or polyurethane. Leave service access clear where the threshold may need future removal.
Say your front door has light only in the middle, and the sweep is still intact. A 1/2 turn up on each screw may close the center gap without creating drag at the latch side.
Threshold troubleshooting matrix
This table helps you pick the right fix before you touch the screws again. If the symptom does not match the likely cause, stop and recheck the sweep, sag, and frame.
| Symptom | Likely cause | Adjustment/action | Stop-and-call-a-pro |
|---|---|---|---|
| Light at the center | Threshold too low or insert worn in the middle | Raise all threshold screws evenly 1/2 turn and recheck | If the body is bowed or the screws will not hold |
| Light at one corner | Door sag or uneven floor | Inspect hinges and floor slope before further threshold changes | If the door rubs the jamb or the floor drops noticeably |
| Bottom gap across the whole width | Sweep too worn, flattened, or missing | Replace the sweep before raising the threshold further | If the sweep is an odd profile or part of a specialty bottom rail |
| Door drags after adjustment | Threshold raised too far | Lower screws evenly 1/4 turn and test again | If latch alignment changes or the door still binds |
| Threshold insert is split | Worn rubber or vinyl insert | Replace the insert by matched profile and width | If the T-slot is damaged or the insert will not stay seated |
| Threshold screws are stripped | Fastener damage or corroded aluminum | Replace the screws; if holes are enlarged, replace the threshold | If the screw heads spin without moving the body |
| Draft remains after threshold adjustment | Perimeter weatherstripping at the stop | Check the jamb and stop for compression or gaps | If light shows at the latch side or top corners |
| Floor is uneven under the sill | Subfloor or slab slope | Use a sweep style that fits uneven contact, or plan for replacement | If the threshold rocks or the subfloor feels soft |
When should you replace the threshold instead?
Replace the insert when the aluminum body is sound and only the rubber or vinyl seal is worn. Replace the full threshold when the body is bent, the screw channels are damaged, or the subfloor under it is soft or deteriorated. A threshold can only seal well if the base beneath it is solid.
Replace the insert when the body is sound
Many aluminum thresholds have a removable seal insert in a T-slot or channel. Replacement inserts are matched by profile and width, and common fits include roughly 3/8-inch and 1/2-inch T-slots. If the metal body sits flat and the groove is intact, swap the insert instead of the whole assembly.
Replace the full threshold when the body or subfloor is damaged
If the threshold is warped, crushed, or stripped, a new insert will not solve the leak. Soft or punky wood under the threshold needs repair before replacement will hold, and an uneven subfloor can prevent a proper seal. A full replacement is also the right move when the existing body no longer matches the door geometry.
Suppose the insert tears at the latch side but the threshold body is straight. In that case, a matched replacement insert is the right fix. If the body rocks when pressed, the problem is deeper.
Why does the door still draft after adjustment?
If the sill is set correctly and drafts remain, check for door sag and the perimeter weatherstripping at the frame stop. A gap at one corner often points to hinge wear or uneven flooring, while side drafts point away from the threshold entirely. Do not keep raising the sill in response to a frame leak.
Check for door sag and uneven flooring
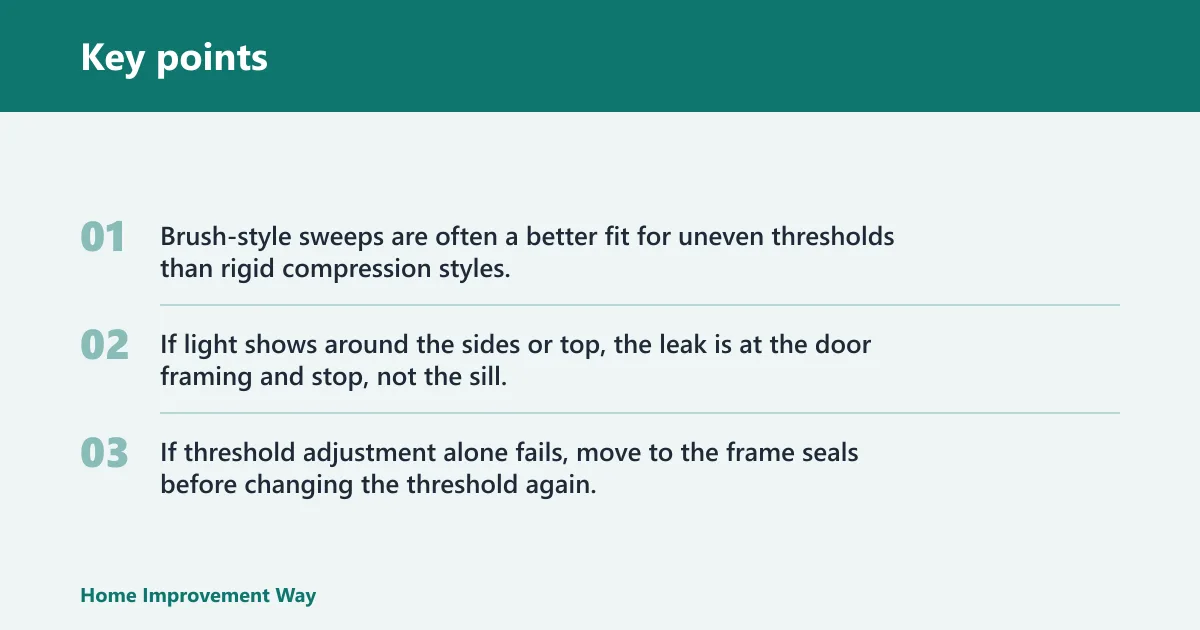
Open the door halfway and look for hinge-side drop, then close it again and check whether the bottom gap changes from one corner to the other. That tells you the door is out of square or the floor slopes under the threshold. Brush-style sweeps are often a better fit for uneven thresholds than rigid compression styles.
Inspect the stop and perimeter weatherstripping
If light shows around the sides or top, the leak is at the door framing and stop, not the sill. That weatherstripping may be compressed, cracked, or missing. If threshold adjustment alone fails, move to the frame seals before changing the threshold again.
Common mistakes
Most bad threshold fixes come from moving the screws too far or blaming the sill for a different leak. If the door starts to stick, stop and back off the adjustment before the latch binds or the sweep folds under the door.
- Turning one screw only, which twists the threshold and creates a corner gap.
- Raising the threshold until the door closes hard instead of with slight resistance.
- Replacing the whole threshold when only the insert is worn.
- Replacing only the insert when the threshold body is bent or stripped.
- Ignoring a soft subfloor, which lets the new adjustment fail again.
- Caulking so heavily that the threshold cannot be serviced later.
Common first-timer mistake: a door closes tightly after a 1/2 turn on each screw, so the adjustment looks right. If the latch now scrapes, lower the threshold 1/4 turn and retest before going farther.
Sponsored / affiliate links. As an Amazon Associate I earn from qualifying purchases. I may earn additional commission from eligible campaigns.