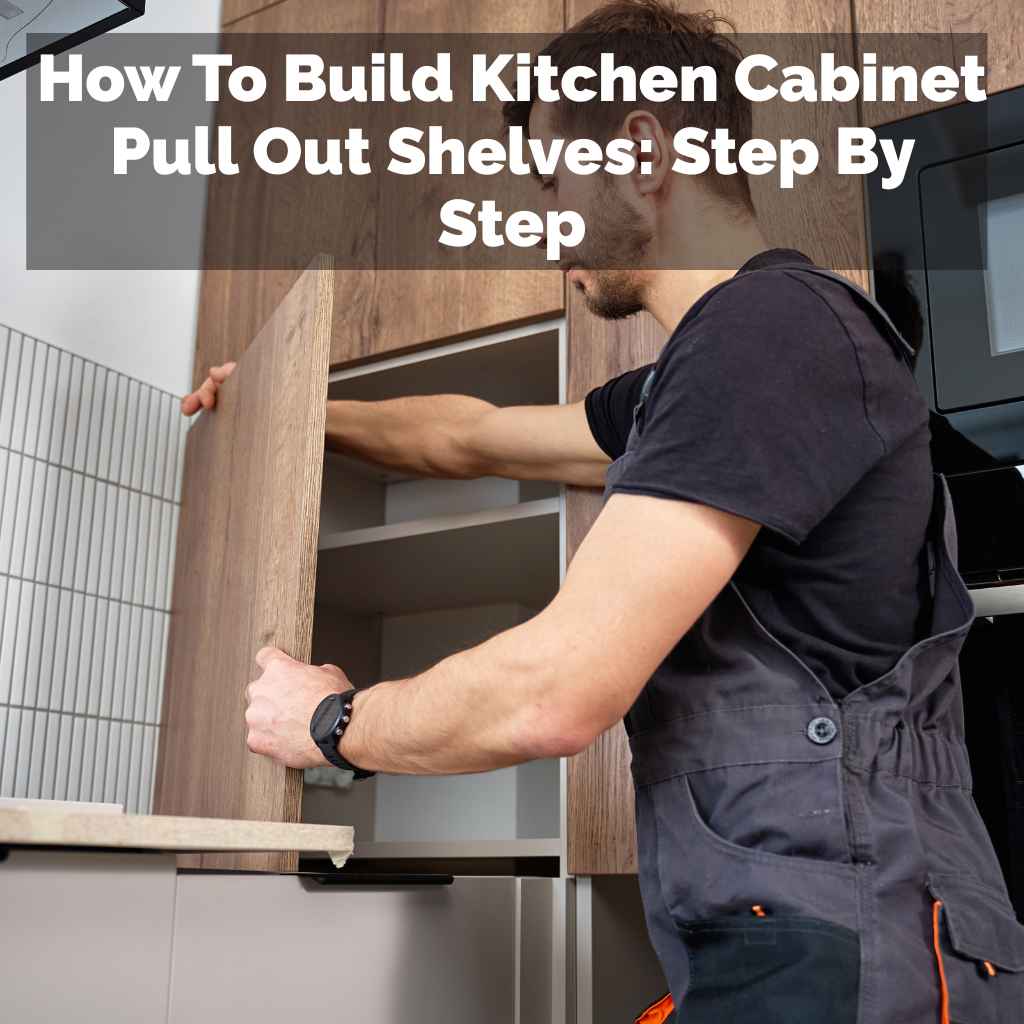
How To Build Kitchen Cabinet Pull Out Shelves: Step By Step
Building pull out shelves for your kitchen cabinets can greatly improve accessibility and organization. This guide walks you through the essential steps, from planning and measuring to cutting, assembling, and installing, ensuring you can reach items in the back with ease.
Understanding Pull Out Shelves
Pull out shelves are simply shelves that slide out of your cabinet. They glide on special tracks or rails. This makes it easy to see and grab things.
No more digging around in the dark. They bring what you need right to the front.
Why do people want these? Think about your lower cabinets. You might store pots, pans, or small appliances there.
Getting to the ones in the back is hard. You might have to move lots of other things. Pull out shelves solve this problem.
They save you time and effort.
They also help with organization. When you can see everything, you keep things tidier. It’s a win-win for any kitchen.
Gathering Your Tools and Materials
Before you start building, get everything ready. This makes the project go smoothly. You will need some basic tools.
A tape measure is key. You also need a pencil for marking. A saw is necessary for cutting wood.
A drill will be useful for making holes.
Safety glasses are a must. Always protect your eyes. Gloves can also help prevent splinters.
You might need sandpaper to smooth edges. A level helps make sure shelves are straight.
For materials, you’ll need wood for the shelves. Plywood is a good choice. It’s strong and holds up well.
You’ll also need drawer slides. These are the tracks that let the shelves move. Choose slides that are strong enough for the weight you expect.
Screws are needed to hold everything together. Make sure they are the right size. Wood glue can add extra strength.
Essential Tools Checklist
Measuring: Tape Measure, Pencil
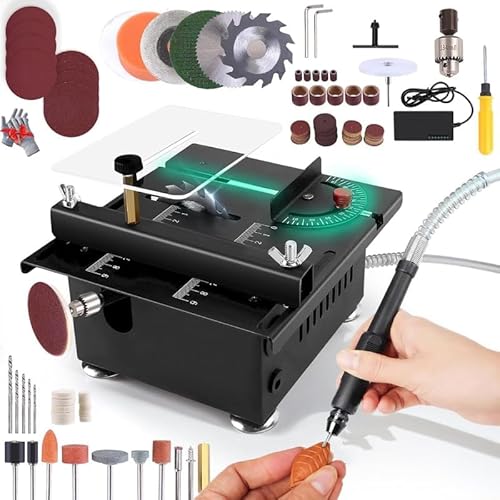
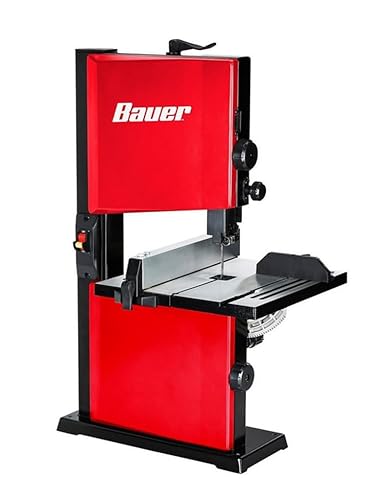
Cutting: Circular Saw or Hand Saw
Fastening: Drill/Driver, Screws
Finishing: Sandpaper, Wood Glue
Safety: Safety Glasses, Gloves
Alignment: Level
Planning Your Pull Out Shelves
Good planning prevents problems later. First, decide which cabinets will get shelves. Lower cabinets are the most common.
Think about what you store there. This helps you decide the size of the shelves.
Measure your cabinet opening carefully. Measure the width, height, and depth. Note the thickness of the cabinet walls.
This is important for knowing how much space you have inside.
You need to measure the inside space. Measure from the front edge to the back. Then measure from side to side.
Also, measure the height from the bottom of the cabinet to the top. You will need space for the drawer slides too. They take up some room.
Think about the height of your shelves. If you stack things, you need enough space between them. You might want one shelf or two in a cabinet.
This depends on how tall your items are.
Consider the weight of the items. Heavier items need stronger drawer slides. Look at the weight rating on the slides.
Make sure they can handle your pots and pans.
Cabinet Measurement Guide
Cabinet Width: Measure the inside width at the widest point.
Cabinet Height: Measure the inside height from the cabinet floor to the top.
Cabinet Depth: Measure the inside depth from the front frame to the back wall.
Clearance: Always subtract space for drawer slides and any obstructions.
Measuring for Drawer Slides
Drawer slides are what make the shelf move. They usually come in two parts. One part attaches to the cabinet.
The other part attaches to the shelf. They are often called tandem slides for a smooth pull.
Check the slide’s length. You usually want slides that are about 3/4 the depth of your cabinet. If your cabinet is 20 inches deep, 16-inch slides are a good choice.
This lets the shelf pull out most of the way.
Measure the width needed for the slides. Each slide has a thickness. You’ll need to account for this on both sides of your shelf.
Also, consider the height of the slide mechanism. This affects the space between shelves.
Some slides need a specific gap between the cabinet side and the shelf. Read the instructions that come with your slides. This is crucial for them to work correctly.
Improper installation means they might stick or not slide at all.
The best way to measure is to lay the slides out. See how they connect. Then measure the space required.
For example, if you have a 30-inch wide cabinet, and your slides and shelf construction take up 1 inch on each side, your shelf needs to be 28 inches wide.
Cutting Your Shelf Materials
Once you have your measurements, it’s time to cut. Use your chosen wood. Plywood is good because it’s stable.
Cut the pieces for the shelf bottom. These will form the base of your pull out shelf.
You’ll also need side pieces and a back piece. These create a box for the shelf. The width of these pieces should match your shelf width.
The depth should be the depth of your shelf.
Make sure your cuts are straight and square. A square cut ensures the shelf fits together well. It also helps the drawer slides work properly.
If the shelf is crooked, the slides might bind.
For example, if you are building a shelf that is 24 inches wide and 18 inches deep, you’ll cut a piece of plywood for the base that is 24 inches by 18 inches. Then you’ll cut two side pieces and one back piece. These side pieces would be 18 inches long.
The back piece would be 24 inches long. The height of these pieces will depend on how deep you want the sides to be.
If you are not confident with a saw, many hardware stores can cut wood for you. Bring your exact measurements. This can save you time and ensure accuracy.
Cutting Wood for Your Shelf
Shelf Base: Cut to your planned width and depth.
Shelf Sides: Cut to the depth of your shelf. Height can vary.
Shelf Back: Cut to the width of your shelf. Height matches sides.
Accuracy is Key: Ensure all cuts are straight and square for proper fit.
Assembling the Pull Out Shelf Box
Now you put the pieces together. Take your shelf base. Attach the side pieces and the back piece to it.
Use wood glue for a strong bond. Then, add screws. Drill pilot holes first to prevent the wood from splitting.
The side pieces should sit on top of the base. Or, you can have them wrap around the base edges. Either way works.
Make sure the corners are square.
A simple way is to make a box. The base is the bottom. The sides and back form the walls.
You might want a front piece too, depending on the style of slide you use. Some slides attach to the bottom edge of the shelf box.
Check that the box is sturdy. It needs to hold the weight of your items. Once assembled, let the glue dry.
You can lightly sand any rough edges. This makes it safer and looks better.
I remember building my first set. I didn’t use enough glue. When I put heavy pans on it, it felt a little wobbly.
I had to go back and add more screws. Now I always use plenty of glue and let it dry fully. It makes a big difference.
Attaching the Drawer Slides
This is a critical step. The drawer slides must be installed correctly. Get the two parts of each slide.
One part goes on the cabinet. The other goes on the shelf box you just built.
First, attach one part of the slide to the side of your shelf box. Measure carefully. Make sure it’s level and square.
The front edge of the slide should be a specific distance from the front of the shelf box. Check your slide’s instructions.
Then, attach the matching part of the slide to the inside of your cabinet. This is the trickiest part. You need to place it at the correct height.
It must also be perfectly level and parallel to the shelf slide.
Use a level and a tape measure. Mark your lines on the cabinet interior. Drill pilot holes for the screws.
This makes attaching them easier and more secure.
It’s helpful to have a second person for this. One person can hold the shelf in place. The other can attach the slides.
Or, you can use clamps to hold things steady.
Getting the slides aligned is vital. If they are off even a little, the shelf won’t slide smoothly. It might get stuck or bind up.
This is where patience pays off.
Drawer Slide Installation Tips
Read Instructions: Always follow the manufacturer’s guide.
Level and Square: Ensure slides are perfectly aligned.
Pilot Holes: Drill holes before screwing for easier installation.
Helper: Having a second person makes this step much easier.
Test Fit: Before final tightening, test slide the shelf.
Installing the Pull Out Shelves in the Cabinet
With the slides attached to both the shelf and the cabinet, you are ready to install. Carefully slide the shelf into the cabinet. The slides on the shelf should connect with the slides inside the cabinet.
Gently push the shelf in. It should glide smoothly. If it sticks, stop.
Check your slide alignment again. You might need to adjust them.
Once the shelf is in, test it. Pull it out fully. Then push it back in.
Make sure it moves freely. Do this several times. This helps seat the slides properly.
If you are installing multiple shelves, work from the bottom up. Make sure the spacing is correct for your needs.
What happens if the slides don’t connect? This usually means the alignment is off. You might need to loosen the screws.
Adjust the position slightly. Then retighten. It can be frustrating, but persistence is key.
Consider the front of the shelf. You might want to add a small handle. This makes it easier to pull the shelf out.
You can also add a front lip to the shelf box. This prevents items from falling off the front.
Installation Checklist
Connect Slides: Carefully align and join the cabinet and shelf slides.
Test Movement: Pull out and push in the shelf multiple times.
Check Alignment: If it sticks, re-check slide positioning.
Secure Fully: Once satisfied, ensure all screws are tight.
Add Handles (Optional): Attach a handle for easier use.
Finishing Touches and Maintenance
Once your shelves are installed and sliding well, you can add finishing touches. Some people like to paint or stain their shelves. This matches them to the rest of the kitchen.
Make sure to use a durable finish.
You might want to add shelf liners. These protect the wood and prevent items from sliding around. They are also easy to clean.
Maintenance is usually simple. Keep the drawer slides clean. Dust and debris can affect their performance.
Periodically wipe them down.
If a shelf starts to stick or squeak, check the slides. A little bit of lubrication might help. Use a silicone-based spray.
Avoid oily lubricants that can attract dirt.
Check the screws from time to time. Ensure they are still tight. Over time, vibration or heavy use can loosen them.
Tightening them up can prevent bigger problems.
When It’s Normal and When to Worry
It’s normal for new pull out shelves to need a little breaking in. The slides might feel a bit stiff at first. A few uses will usually loosen them up.
A slight, smooth glide is what you’re aiming for.
You should worry if the shelf sticks hard. If it requires a lot of force to pull out or push in, something is wrong. This usually points to misaligned slides.
It could also mean the shelf is not square. Or, it might be too tight a fit within the cabinet opening.
Another sign to worry about is noise. A loud grinding or scraping sound means the slides are rubbing incorrectly. A gentle squeak might be normal for some slides, but loud noises are not.
Also, if the shelf feels wobbly or loose, check the connections. Ensure the shelf box is sturdy. Make sure the slides are securely attached to both the shelf and the cabinet.
The capacity of the slides is important. If you overload the shelves, the slides can bend or break. Always respect the weight limit specified by the manufacturer.
It’s better to have shelves that are strong enough for what you plan to store.
Troubleshooting Common Issues
Sticking Shelf: Check slide alignment, cabinet clearance, and shelf squareness.
Loud Noise: Realign slides, check for debris, or lubricate.
Wobbly Shelf: Ensure shelf box is sturdy and slides are securely screwed.
Overloading: Respect the weight limit of your drawer slides.
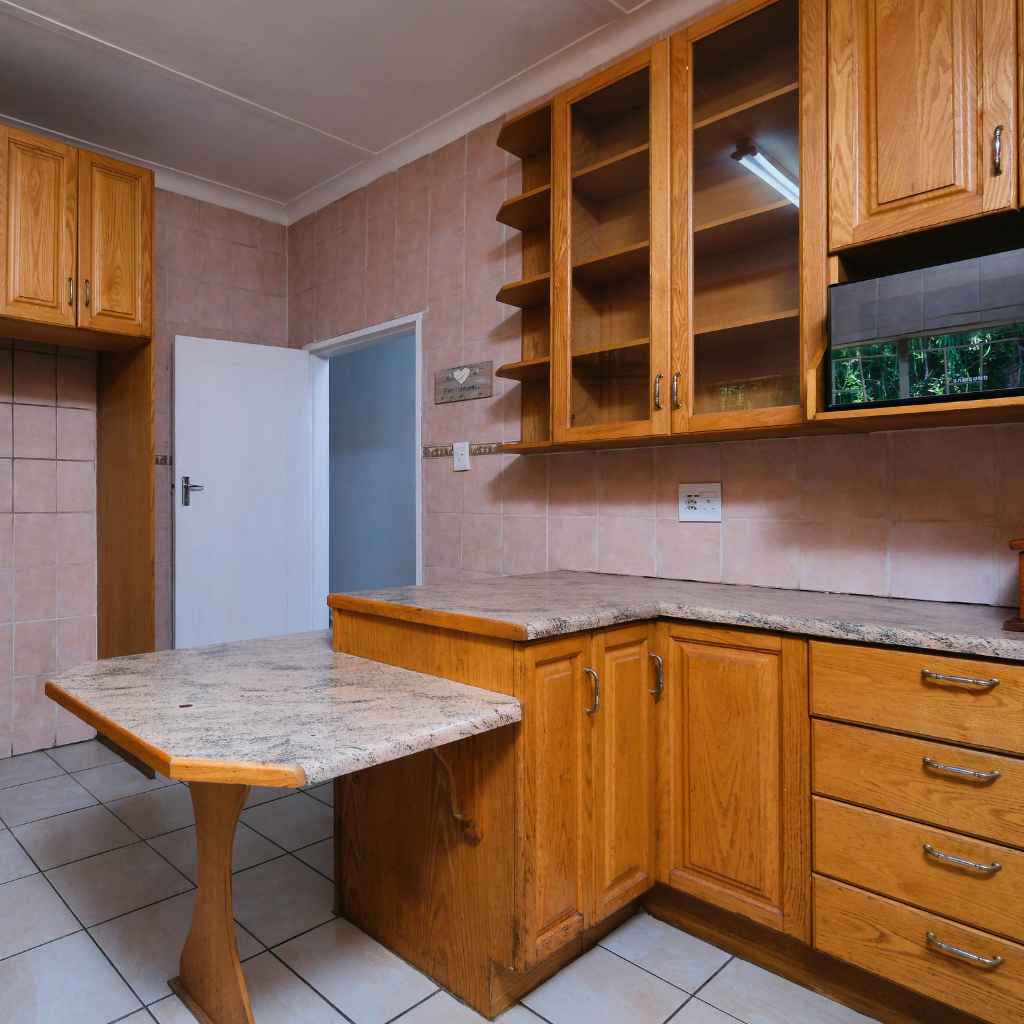
Real-World Context: Kitchen Cabinet Makeovers
I’ve seen many kitchens transformed with pull out shelves. Think about older homes. The cabinets might be deep and dark.
Reaching anything in the back is a workout. Adding these shelves is a practical upgrade. It’s like giving your kitchen a modern touch without a full renovation.
In busy family kitchens, speed is important. You need to grab ingredients quickly. You don’t want to spend time searching.
Pull out shelves make meal prep faster. They bring everything to you.
Even in smaller kitchens, they make a difference. Every inch of space counts. Making that space accessible is smart.
You use your cabinets more efficiently. You can fit more in because you can reach it all.
What about people with limited mobility? Pull out shelves can be a huge help. They reduce the need to bend or reach awkwardly.
This makes the kitchen safer and more comfortable to use. It’s a thoughtful adaptation.
Quick Fixes and Tips for Success
Use the Right Plywood: Birch plywood is strong and looks good. Avoid particle board for shelves; it’s not durable enough.
Get Heavy-Duty Slides: For pots and pans, choose slides rated for at least 100 lbs.
Don’t Forget Clearance: Always account for the thickness of the slides. Measure twice, cut once.
Sand Edges: Smooth all cut edges to prevent splinters and improve appearance.
Consider a Front Lip: A small piece of wood at the front of the shelf can stop items from sliding off.
Install a Handle: A simple knob or pull makes opening the shelf much easier.
Check Cabinet Structure: Ensure your cabinet frame is strong enough to support the slides and weight.
DIY Project Tips
Measure Carefully: Your measurements dictate success.
Choose Quality Slides: Good slides make all the difference.
Pilot Holes are Crucial: Prevent wood splitting.
Level is Your Friend: Use it for every step of slide installation.
Don’t Rush: Take your time, especially with slide alignment.
Frequently Asked Questions About Building Pull Out Shelves
Can I install pull out shelves in any kitchen cabinet?
Generally, yes. Pull out shelves are best suited for base cabinets and pantries. You need enough clear interior space for the shelf and the slides.
Very shallow cabinets or those with unusual internal structures might pose challenges.
What is the best type of wood for DIY pull out shelves?
High-quality plywood is often recommended. Materials like birch or maple plywood are strong, stable, and less prone to warping. Solid wood can also be used, but it might be heavier and more expensive.
How much weight can typical pull out shelves hold?
This depends heavily on the drawer slides you choose. Consumer-grade slides might hold 75-100 pounds. Heavy-duty slides can handle 150 pounds or more.
Always check the product specifications for the weight rating.
Do I need special tools to install drawer slides?
A standard drill/driver, tape measure, pencil, and level are essential. Having a saw to cut wood and possibly a stud finder if you need to attach slides to cabinet walls are also very helpful. Most tasks can be done with basic DIY tools.
How wide should my pull out shelves be?
The width depends on your cabinet’s interior width. You need to subtract space for the drawer slides on each side. Typically, you subtract about 1 inch on each side for the slides and the mounting hardware.
Measure your cabinet’s inner width and subtract accordingly.
What if my cabinet has a center stile or divider?
If your cabinet has a center stile (a vertical support in the middle of the opening), you will need to use a different type of slide. These are often called “full-access” or “center-guided” slides. You’ll need to plan for this specific hardware.
Is it cheaper to build pull out shelves myself?
Yes, generally building them yourself is significantly cheaper than buying pre-made units or hiring someone. The main costs are the materials (wood, slides, screws) and your time. The savings can be substantial, often cutting costs by 50% or more.
Conclusion
Adding pull out shelves is a rewarding DIY project. It makes your kitchen far more functional. You gain better access.
You enjoy better organization. Building them yourself saves money. With careful planning and execution, you can enjoy these benefits too.
Happy building!