How to Check if Space Saver Heaters Need Cleaning
Checking if space saver heaters need cleaning is crucial for ensuring they operate efficiently, safely, and effectively throughout the colder months. Over time, dust, debris, and lint can accumulate on heating elements and within ventilation systems, which can lead to reduced performance, potential fire hazards, and even compromised air quality.
This guide will walk you through the essential steps to identify when your space saver heater requires attention, covering visual inspections, performance indicators, and simple maintenance checks. Understanding these signs will help you maintain a cozy and safe environment in your home.
Simply put, check for visible dust buildup on the exterior, listen for unusual noises during operation, feel for reduced heat output, and smell for any burnt odors, all while ensuring the unit is unplugged and cool. A thorough visual inspection is the most immediate way to gauge cleaning needs.
Key Takeaways
- Cleaning space saver heaters involves checking for visible dust and debris on vents and heating elements.
- Reduced heat output or unusual noises are strong indicators that your space saver heater needs cleaning.
- Always unplug and ensure the heater is cool before performing any inspection or cleaning.
- Regular inspection and cleaning contribute to the heater’s longevity and safety.
- Ignoring cleaning can lead to reduced efficiency and potential safety hazards.
What is a Space Saver Heater?
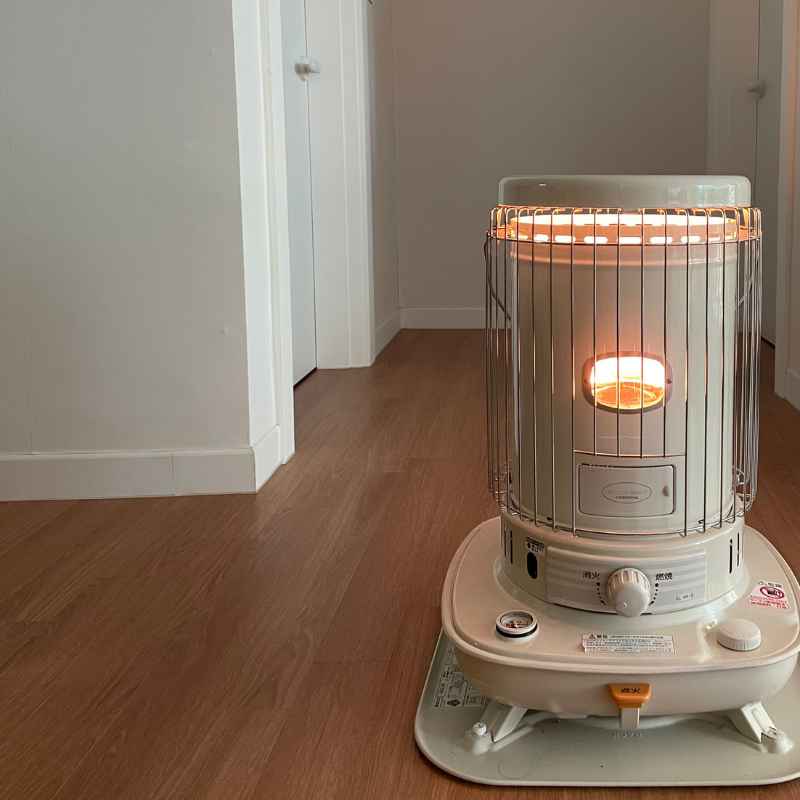
Space saver heaters, often referred to as compact heaters or personal heaters, are designed to provide localized warmth without occupying significant floor space. Their compact nature makes them ideal for placing on desks, tables, or shelves, offering convenient heating for individual workspaces, small rooms, or chilly corners of a home.
These heaters typically employ various heating technologies, such as ceramic elements, infrared, or convection, to generate heat. Their small size and portability are their primary selling points, allowing users to easily move them where warmth is most needed. However, this compact design also means that airflow can be more restricted, leading to a quicker buildup of dust and debris compared to larger heating systems.
The convenience of these units, however, comes with a responsibility for regular maintenance. Because they are often placed in areas where dust naturally settles, such as near windowsills or on desks, their components can quickly become coated. This accumulation not only looks unsightly but can significantly impact the heater’s performance and pose a safety risk.
Common Types of Space Saver Heaters
- Ceramic Heaters: These use a ceramic plate that heats up and then a fan blows air over it to distribute warmth. They are known for quick heating.
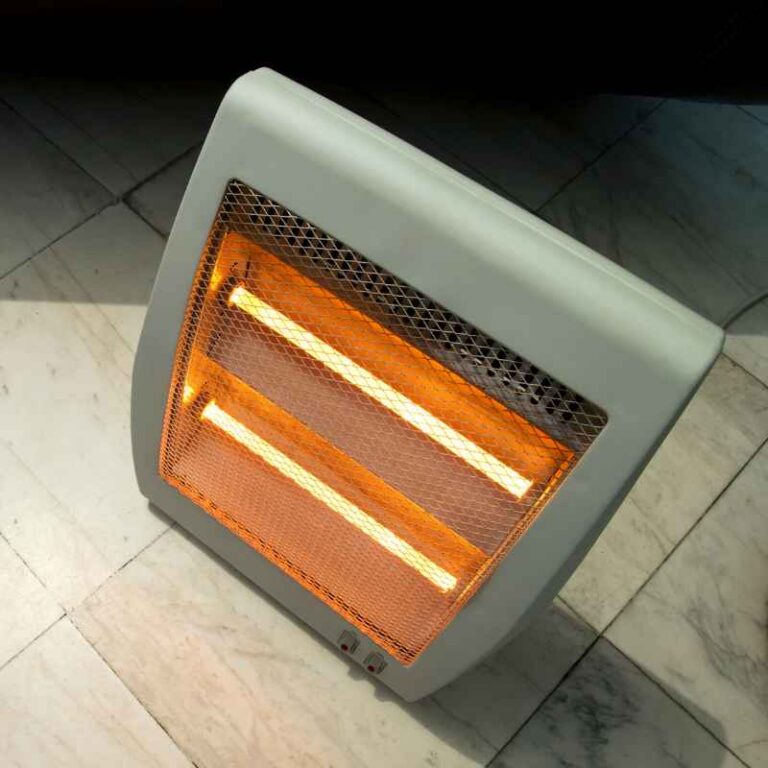
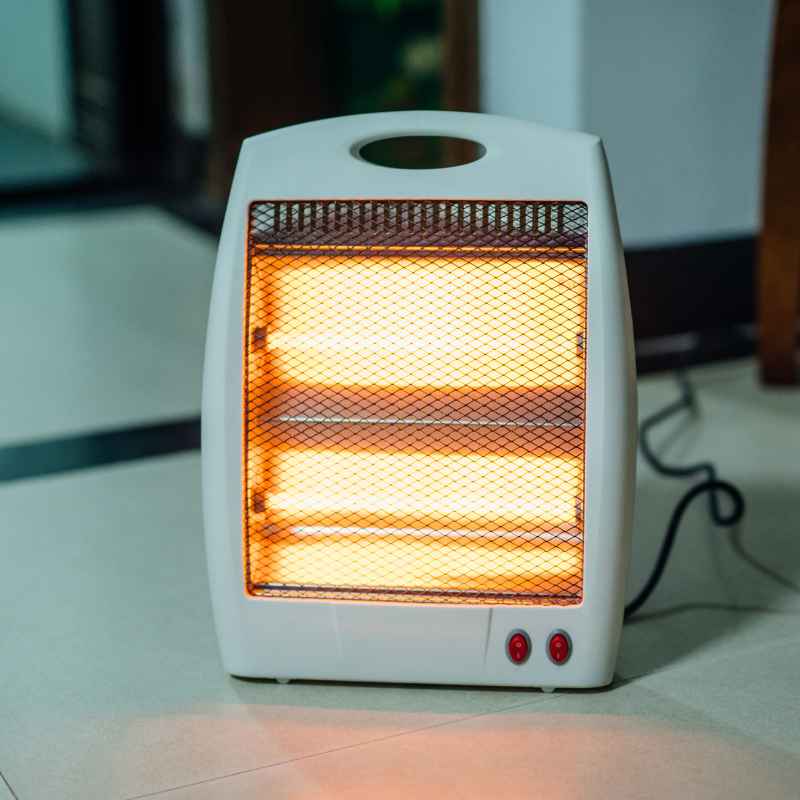
- Infrared Heaters: These emit infrared radiation to directly warm objects and people in their path, rather than heating the air. They are silent and don’t blow air.
- Fan Heaters: Simple and effective, these use a heating element and a fan to push warm air into the room.
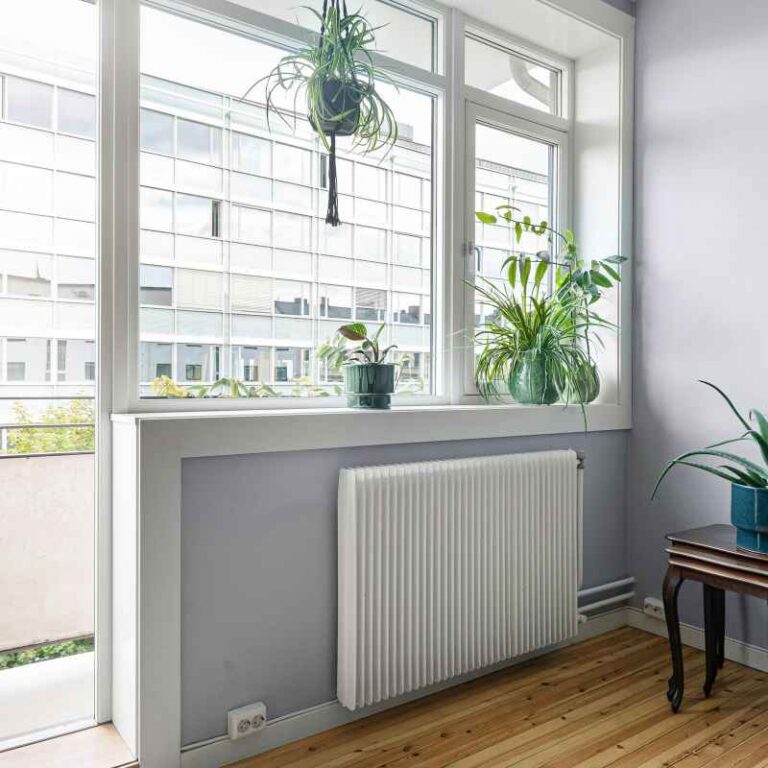
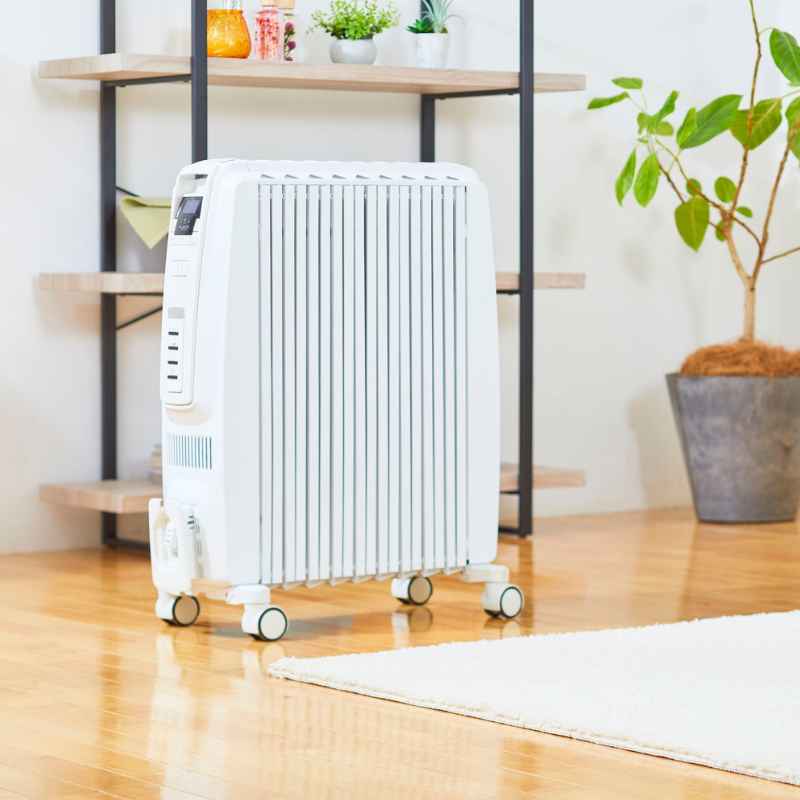
- Oil-Filled Radiators: While larger than typical space savers, smaller versions exist. They heat oil sealed within the unit, which then radiates heat. They are silent and provide steady warmth.
- Convection Heaters: These heat the air in the room by circulating it over a heating element. They are generally quieter than fan heaters.
Why Cleaning is Essential for Space Saver Heaters
Regular cleaning of your space saver heater is not just about aesthetics; it’s a critical aspect of ensuring its safe and efficient operation. A dirty heater can lead to several problems that affect its performance and your home’s environment. Dust and debris act as insulators, hindering the heat transfer process and forcing the heater to work harder to achieve the desired temperature.
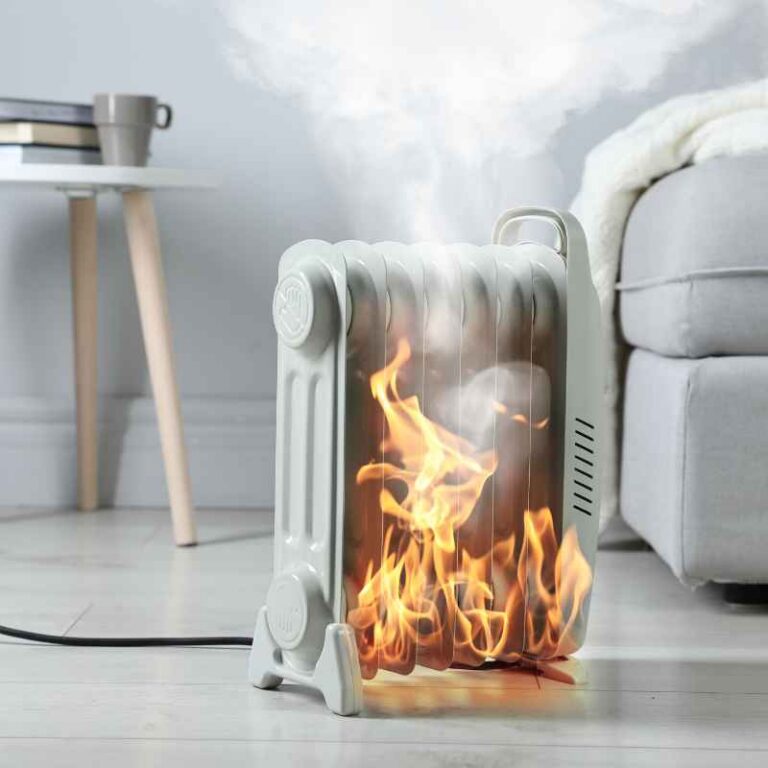
This increased workload not only consumes more energy, driving up electricity bills, but also places undue stress on the heater’s components, potentially shortening its lifespan. More importantly, accumulated dust can become a fire hazard when it comes into contact with hot heating elements. This is a significant safety concern that cannot be overlooked.
Additionally, when dust is heated and circulated, it can degrade indoor air quality, exacerbating allergies and respiratory issues for occupants.
| Consequence of Dirty Heater | Impact |
|---|---|
| Dust on heating elements | Reduced heat output, potential fire hazard, burnt smell |
| Blocked vents/filters | Overheating, reduced airflow, decreased efficiency, motor strain |
| Circulation of dust and allergens | Poor indoor air quality, exacerbation of allergies and asthma |
| Strain on internal components | Shorter lifespan of the heater, increased energy consumption |
Understanding these risks highlights why proactive cleaning is a smart and safe practice for any space saver heater owner.
Signs Your Space Saver Heater Needs Cleaning
Detecting when your space saver heater needs a cleaning often involves paying attention to subtle changes in its performance and how it operates. Fortunately, many of these signs are quite noticeable. The first and most obvious indicator is visual: a significant accumulation of dust, lint, or pet hair on the exterior casing, grilles, and vents.
If you can see a thick layer of grime, it’s definitely time for a cleaning.
Beyond visual cues, performance issues are strong indicators. If you notice that your heater is taking much longer than usual to warm up a room, or that it’s not producing as much heat as it used to, dust buildup is a prime suspect. This is because dirt acts as an insulator, preventing efficient heat transfer.
Similarly, if the fan seems to be running louder than normal, or if you hear any strange grinding or rattling sounds, it could be due to debris obstructing the fan blades or motor.
Another critical sign is the presence of unusual odors. A faint smell of burning dust when you first turn on the heater is common, especially after it hasn’t been used for a while. However, if this smell is strong, persistent, or accompanied by visible smoke, it indicates a serious issue, likely related to excessive dust igniting on the heating elements.
This requires immediate attention and likely a thorough cleaning. Lastly, if the heater feels unusually hot to the touch on its exterior (beyond normal operating warmth), or if its power cord or plug feels warm, it could be a sign of poor ventilation caused by dust, leading to overheating. Always prioritize safety and unplug the unit if you suspect overheating.
Visual Inspection for Dust and Debris
The most straightforward way to determine if your space saver heater needs cleaning is to conduct a thorough visual inspection. Before you begin, always ensure the heater is unplugged from the power outlet and has had ample time to cool down completely. This is a critical safety step to prevent electrical shock or burns.
Start by looking at the exterior of the unit. Pay close attention to the air intake and outlet grilles. These are the primary points where dust and debris are drawn into or expelled from the heater.
If you see a visible layer of dust, lint, or pet hair coating these areas, it’s a clear sign that cleaning is needed. Use a flashlight to look deeper into the vents; sometimes, significant buildup can be hidden from plain sight. Also, inspect the heating element itself, if it’s accessible without disassembling the unit beyond what the manufacturer recommends.
A visible coating of dust on the element is a major red flag.
- Examine the air intake grilles for accumulated dust and lint.
- Inspect the air outlet vents for any blockages or visible grime.
- Look for dust buildup on the heater’s casing and control panel.
- If accessible, check the heating element for dust accumulation.
- Use a flashlight to peer into vents and any openings for hidden debris.
- Note any discoloration or signs of scorching around vents, which could indicate overheating.
Performance Indicators: Heat Output and Fan Noise
Your space saver heater’s performance can offer significant clues about its cleanliness. One of the most common symptoms of a dirty heater is a noticeable decrease in its heat output. If you find yourself having to turn the thermostat up higher than usual or keep the heater running for longer periods to achieve the same level of warmth, dust buildup on the heating elements and within the airflow path is likely the culprit.
This dirt acts as an insulator, impeding the efficient transfer of heat into the room.
Another key indicator is a change in the fan’s sound. Space saver heaters rely on fans to circulate air over the heating elements and distribute warmth. If the fan starts making unusual noises—such as grinding, rattling, whining, or a generally louder hum than before—it could be due to debris interfering with the fan blades or motor.
A blocked vent or a fan struggling against resistance from dust can also cause the fan to work harder, leading to increased noise and potential motor strain.
- Reduced Heat Output: Does the room feel less warm than before, even with the heater on high?
- Longer Warm-up Times: Is it taking significantly longer for the heater to warm the space?
- Unusual Fan Noise: Are there new grinding, rattling, or unusually loud humming sounds from the fan?
- Inconsistent Airflow: Does the warm air output seem weaker or less consistent than usual?
- Fan Speed Decrease: Does the fan appear to be spinning slower, even on its highest setting?
Unusual Odors and Potential Hazards
The smell emanating from a heater can be a strong indicator of its condition. A faint, dusty smell might be normal for a heater that hasn’t been used in a while, particularly when it’s first turned on. However, if the odor is strong, acrid, or smells like burning plastic or rubber, it’s a serious warning sign that requires immediate attention.
This smell often comes from dust, lint, or even small debris igniting on the hot heating elements.
This ignition is a significant fire hazard. If you detect such an odor, turn the heater off immediately, unplug it, and allow it to cool down completely before attempting any inspection or cleaning. In some cases, a persistent burnt smell might also indicate that internal components are overheating due to restricted airflow.
Beyond smells, look for any discoloration or scorching marks around the vents or on the casing, which could be visual evidence of overheating or arcing electrical components. If you see smoke or notice an electrical burning smell, do not use the heater and consider it unsafe until professionally inspected.
Warning: Never ignore a strong burnt smell or visible smoke coming from your space saver heater. These are critical safety issues that could indicate an impending fire. Unplug the unit immediately and do not attempt to use it again until it has been thoroughly inspected and cleaned by a qualified professional, or replaced if necessary.
How to Clean Your Space Saver Heater
Cleaning your space saver heater is a relatively simple process that can significantly extend its life and ensure it operates safely. The key is to be gentle and use appropriate tools to avoid damaging the delicate internal components. Always remember the cardinal rule: unplug the heater and ensure it is completely cool before starting any cleaning procedure.
This is non-negotiable for your safety.
The cleaning process generally involves a combination of dry dusting, vacuuming, and gentle wiping. For external surfaces, a soft, damp cloth is usually sufficient. For internal parts like vents and heating elements, a vacuum cleaner with a brush attachment or a can of compressed air can be very effective.
Avoid using harsh chemicals or abrasive cleaners, as these can damage the plastic casings or internal electronics. If your heater has a removable filter, cleaning or replacing this is also a crucial step in maintaining optimal airflow and preventing dust buildup.
Step-by-Step Cleaning Guide
- Unplug and Cool Down: Ensure the heater is unplugged from the power source and completely cool to the touch. This is the most important safety step.
- Exterior Wipe Down: Use a soft, damp cloth to wipe down the exterior casing of the heater. For stubborn spots, you can use a mild, non-abrasive household cleaner, but ensure no liquid seeps into the internal components. Dry the exterior thoroughly with a clean, dry cloth.
- Ventilation Cleaning (Vacuum): Attach a brush nozzle to your vacuum cleaner. Carefully vacuum the air intake and outlet grilles, and any other openings on the heater. This will help to remove loose dust and debris.
- Ventilation Cleaning (Compressed Air): For more deeply embedded dust, a can of compressed air can be very effective. Hold the can upright and spray short bursts of air into the vents, working from different angles. This will help to dislodge and blow out dust particles. Be sure to do this in a well-ventilated area, or outdoors, as dust will be expelled.
- Heating Element Cleaning (If Accessible): If the heating element is visible and accessible without disassembling the unit, gently use compressed air to blow away any dust. Do NOT touch the heating element directly with tools or fingers, as it can be fragile.
- Filter Cleaning/Replacement (If Applicable): Some space saver heaters have removable air filters. Consult your owner’s manual to see if your unit has one. If so, remove the filter and clean it according to the manufacturer’s instructions (usually rinsing under water or vacuuming). Ensure the filter is completely dry before reinstalling. If the filter is disposable, replace it with a new one.
- Reassembly and Final Check: Once all parts are clean and dry, reassemble any components you may have removed (like a filter). Visually inspect the heater one last time to ensure no cleaning materials or debris have been left behind.
- Test Run: Plug the heater back in and test it on a low setting in a safe, well-ventilated area. Listen for any unusual noises and check for normal heat output.
Tools You’ll Need
- Soft, lint-free cloths (microfiber cloths are ideal)
- Mild, non-abrasive household cleaner (optional, for exterior)
- Vacuum cleaner with a brush attachment or crevice tool
- Can of compressed air
- Small soft brush (like a paintbrush or makeup brush, for gentle dusting)
- Owner’s manual for your specific heater model
- Gloves (optional, for handling potentially dusty components)
- Mask (optional, if sensitive to dust expelled by compressed air)
Important Safety Precautions
Important: Always refer to your heater’s owner’s manual before cleaning. It may contain specific instructions or warnings relevant to your model. Never attempt to disassemble parts not intended for user removal, as this can void your warranty and create safety hazards. If you are unsure about any step, consult the manufacturer or a qualified technician.
When to Seek Professional Help or Replace
While most space saver heater cleaning can be done by the user, there are instances where professional help is necessary or when it’s more prudent to replace the unit. If you perform a visual inspection and find signs of damage, such as cracked casings, frayed power cords, or discolored wiring, do not attempt to clean or repair it yourself. These are critical safety issues that require expert attention.
Similarly, if after cleaning, the heater continues to exhibit problems like persistent strange noises, weak heat output, or a recurring burning smell, it might indicate an internal mechanical or electrical failure. Overheating issues that persist even after cleaning could mean the thermostat, safety sensors, or motor are failing. In such cases, the cost and risk associated with professional repair might outweigh the cost of a new, more efficient, and safer unit.
Many space saver heaters are designed for a lifespan of several years, and older units may become less energy-efficient or more prone to failure.
Signs Indicating Professional Repair is Needed
- Visible damage to the power cord or plug (fraying, cracks, melted plastic).
- Cracked or broken casing that exposes internal components.
- Persistent electrical burning smells or visible smoke after cleaning.
- The heater cycles on and off erratically or fails to maintain a set temperature.
- Unusual noises from the motor that cleaning does not resolve.
- The unit overheats despite being clean and having clear vents.
- Any indication of internal corrosion or water damage (if used in a damp environment).
When Replacement is the Best Option
Sometimes, the most practical and safest course of action is to replace your space saver heater rather than attempt repairs. If your heater is several years old and has seen frequent use, its internal components may simply be worn out. Older models are often less energy-efficient than newer ones, meaning a replacement could save you money on your electricity bills over time.
Energy Star certified heaters, for instance, are designed to provide the same warmth using less power.
Another strong indicator for replacement is if the heater has suffered significant damage or has repeatedly failed after cleaning. The cost of professional repair for internal electrical issues or motor problems can often approach or exceed the price of a new unit, especially for budget-friendly space saver models. Furthermore, if your heater lacks modern safety features like automatic tip-over shutoff or overheat protection, investing in a newer model with these built-in safeguards is a wise decision for peace of mind.
| Decision Factor | Consider Repair | Consider Replacement |
|---|---|---|
| Age of Heater | Units under 3-5 years old, simple issues | Units 5+ years old, frequent issues, wear and tear |
| Nature of Problem | Dust buildup, minor vent obstruction, external cosmetic fixes | Internal electrical faults, motor failure, cracked casing, persistent overheating |
| Repair Cost vs. New Cost | Repair cost is significantly less than a new unit | Repair cost is close to or exceeds the cost of a new, more efficient unit |
| Safety Features | Existing safety features are intact and functional | Lack of modern safety features, or existing ones compromised |
| Energy Efficiency | Still operates efficiently | Noticeably less efficient than newer models |
Making an informed decision between repair and replacement ensures you maintain a safe, efficient, and cost-effective heating solution.
Frequently Asked Questions
What is the recommended frequency for cleaning space saver heaters?
It’s generally recommended to perform a thorough cleaning of your space saver heater at least once per year, ideally before the start of the heating season. However, if you use your heater frequently, have pets, or live in a dusty environment, you may need to clean it more often, perhaps every few months or when you notice signs of buildup.
Can I use a vacuum cleaner directly on the heating elements?
It’s best to avoid direct vacuuming on delicate heating elements as they can be easily damaged. Instead, use a can of compressed air to blow dust off the elements. If vacuuming is necessary for areas near the elements, use a soft brush attachment and maintain a safe distance to avoid contact.
What if my heater has a peculiar smell even after cleaning?
If a peculiar or burnt smell persists after a thorough cleaning, it indicates a potential internal issue that cleaning alone cannot fix. This could be due to damaged components, electrical problems, or overheating. It is strongly advised not to use the heater and to have it inspected by a professional or consider replacing it for safety reasons.
Is it safe to use a space saver heater with a dirty filter?
No, it is not safe or efficient to use a space saver heater with a dirty or clogged filter. A dirty filter restricts airflow, causing the heater to overheat, work harder, and reduce its efficiency. It can also lead to premature wear on the motor and potentially create a fire hazard if dust ignites on the heating element.
Can cleaning affect the warranty of my space saver heater?
Generally, routine cleaning and maintenance performed by the owner will not void a manufacturer’s warranty, provided you follow the instructions in the owner’s manual. However, attempting to disassemble parts not meant for user servicing or causing damage during cleaning could void your warranty. Always check your specific warranty terms.
Final Thoughts
Regularly checking and cleaning your space saver heater is a simple yet vital task for maintaining safety, efficiency, and air quality in your home. By being aware of the tell-tale signs of dust buildup and following the straightforward cleaning steps, you can ensure your heater provides reliable warmth all season long. Don’t overlook these maintenance tasks; they protect your investment and your home’s environment.
Sponsored / affiliate links. As an Amazon Associate I earn from qualifying purchases. I may earn additional commission from eligible campaigns.