How to Clean Portable Heaters Safely and Effectively
How to clean portable heaters is a crucial skill for ensuring they operate efficiently and safely throughout the colder months. Dust and debris accumulation can not only hinder performance but also pose a fire risk, making regular maintenance essential. This guide will walk you through the simple steps to get your portable heater sparkling and ready to warm your space effectively and securely.
Simply put, cleaning portable heaters involves unplugging them, dusting surfaces, vacuuming vents, and wiping down the exterior and cord. For more stubborn grime, mild soap and water can be used on non-electrical parts, ensuring thorough drying before reassembly and use.
Key Takeaways
- Always unplug your portable heater before starting any cleaning process.
- Regular dusting of external surfaces and vacuuming of vents are key steps in how to clean portable heaters.
- Ensure all parts are completely dry before plugging the heater back in to avoid electrical hazards.
- Check the power cord for any damage during the cleaning process.
- Perform maintenance at least once before the heating season and mid-season if used frequently.
What is a Portable Heater and Why Clean It?
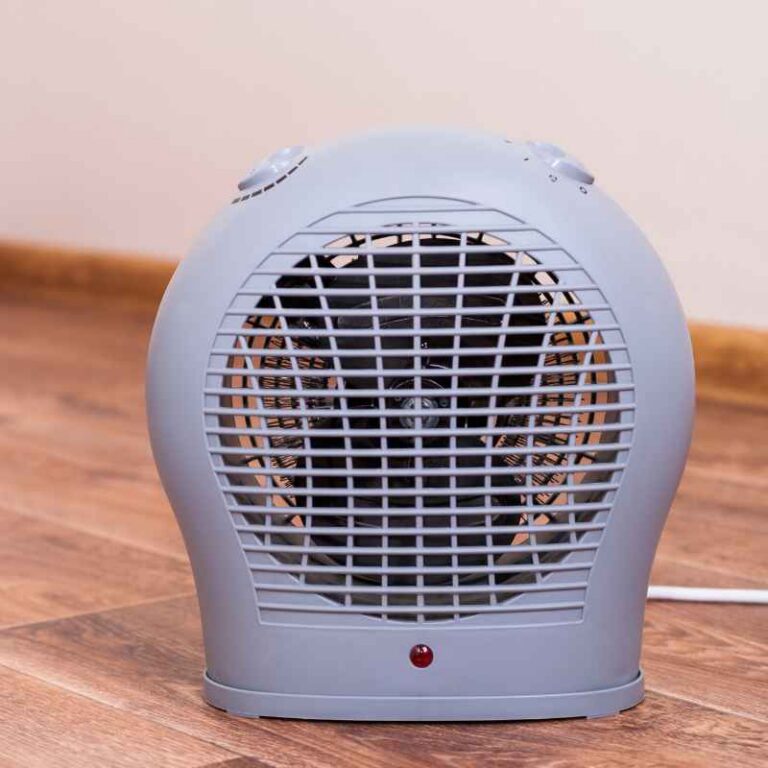
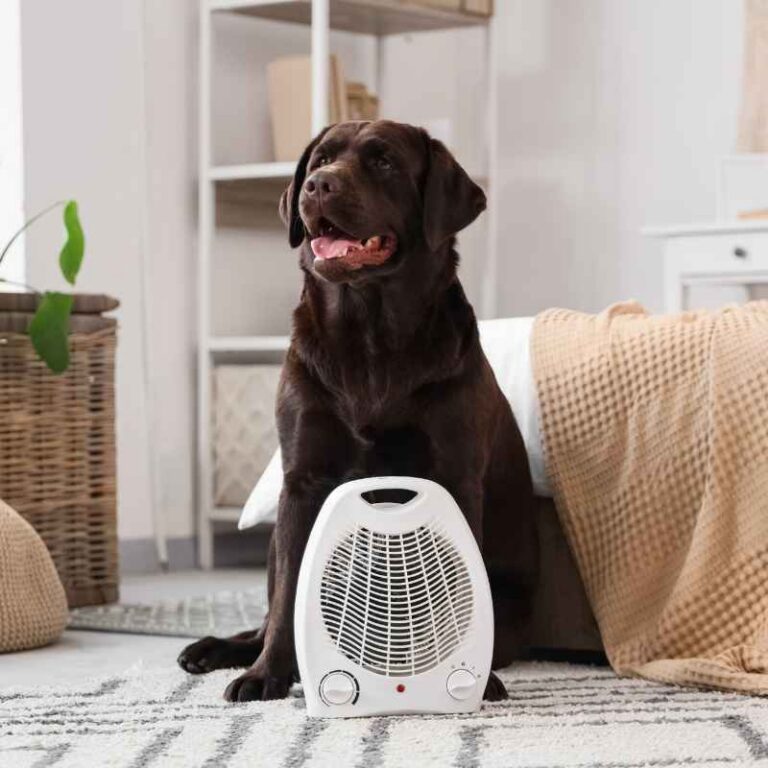
A portable heater is a self-contained heating unit designed for easy movement between rooms or locations. They come in various forms, including ceramic, oil-filled, infrared, and fan heaters, each utilizing different methods to generate warmth. Their convenience makes them popular for supplemental heating in homes, offices, garages, and workshops.
The primary reasons for cleaning portable heaters are twofold: safety and efficiency. Over time, dust, pet hair, and other airborne particles accumulate on heating elements, inside vents, and on surfaces. This buildup can obstruct airflow, causing the unit to overheat or work harder than necessary, thus reducing its efficiency and increasing energy consumption.
More critically, flammable dust or lint on or near heating elements can ignite, creating a fire hazard.
Neglecting regular cleaning can lead to a shorter lifespan for your appliance. Clogged filters or vents put undue stress on the motor and heating components. By understanding how to clean portable heaters, you can extend their operational life and ensure they function as intended.
- Types of Portable Heaters:
- Ceramic Heaters: Use a ceramic plate to heat air blown across it by a fan.
- Oil-Filled Radiators: Heat oil sealed within the unit, which then radiates heat.
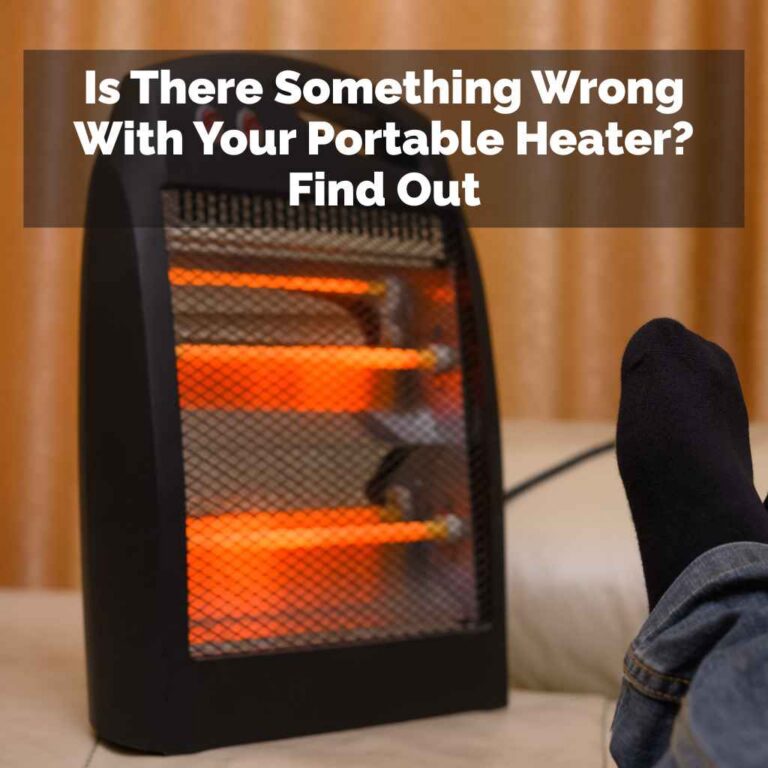
- Infrared Heaters: Emit radiant heat that warms objects and people directly, not the air.
- Fan Heaters (Convection): Heat air and then circulate it using a fan.
Common Issues from Lack of Cleaning:
- Reduced heating output
- Unpleasant odors when turned on
- Overheating and potential shut-off
- Increased energy consumption
- Risk of fire hazard
- Shortened appliance lifespan
Addressing these issues preemptively through proper cleaning is always better than dealing with them after they’ve occurred.
Step-by-Step Guide: Unplugging and Initial Dusting
The very first and most critical step in learning how to clean portable heaters is ensuring the unit is completely powered off and disconnected from the electrical source. Safety must always be your top priority when dealing with electrical appliances, especially those that generate heat.
Once the heater is unplugged, you can begin the initial dusting. Use a soft, dry cloth or a feather duster to gently wipe down all external surfaces. Pay attention to any nooks or crannies where dust might settle.
This initial pass removes loose surface dust before you move on to more detailed cleaning.
The power cord and plug should also be inspected and wiped down. Dust and grime on the cord can potentially interfere with its connection or degrade the material over time. A clean cord ensures a safe and secure connection to the power outlet.
Tools for Initial Cleaning:
- Soft dry cloth
- Feather duster
- Vacuum cleaner with a brush attachment
- Mild soap (optional, for stubborn grime)
- Water
- Soft brush or cotton swabs
| Cleaning Step | Description | Frequency |
|---|---|---|
| 1. Unplug | Disconnect from power source. | Before every cleaning. |
| 2. Surface Dusting | Wipe exterior with a dry cloth. | Weekly/Bi-weekly during use. |
| 3. Vent Cleaning | Vacuum or brush intake/output vents. | Monthly. |
This table outlines the basic routine for keeping your portable heater clean and safe.
Warning: Never attempt to clean a portable heater while it is plugged in or still warm. Always allow ample time for the unit to cool down completely before you begin cleaning to prevent burns or electrical shock.
Tackling Vents and Internal Grime
The vents are where most of the dust and debris enters and exits the heater. These areas are often the most critical for effective cleaning. For most portable heaters, a vacuum cleaner with a brush attachment is your best friend here.
Gently run the vacuum over the intake and output vents to suck out accumulated dust bunnies and lint.
If you don’t have a brush attachment, you can use a dry, soft brush to loosen the dust first, then vacuum it up. For particularly stubborn buildup deep within the vents, a flexible crevice tool on your vacuum can be helpful. Be careful not to force the vacuum nozzle or brush into the vents, as this could damage internal components.
Understanding how to clean portable heaters effectively means addressing the hidden grime. Some heaters might have removable filter screens. If yours does, consult your user manual to see if they can be removed and washed.
If so, rinse them thoroughly and ensure they are bone dry before reinserting them. This step is vital for maintaining optimal airflow.
Specific Vent Cleaning Techniques:
- Vacuuming: Use the brush attachment for gentle yet effective dust removal from vent slats.
- Soft Brushing: A clean, dry paintbrush or makeup brush can dislodge dust from intricate vent designs.
- Compressed Air: For hard-to-reach areas, a can of compressed air can blow out dust, but do this in a well-ventilated area.
- Cotton Swabs: For small crevices or individual slats, cotton swabs can be used to clean away dried-on grime.
When to Call a Professional:
- If you notice significant internal damage during cleaning.
- If the unit emits unusual smells or noises after cleaning and drying.
- If you are uncomfortable disassembling parts of the heater.
For most users, a thorough external and vent cleaning will suffice. If you encounter problems beyond simple dust removal, professional servicing might be needed.
Cleaning the Heating Element and Fan
Cleaning the heating element itself requires extreme caution. For most portable heaters, especially electric ones, the heating element is not designed to be directly handled or cleaned with liquids. If you see visible dust or lint directly on the element (e.g., in a radiant heater), a gentle dusting with a dry cloth or a very light blast of compressed air might be all that’s needed.
Never scrub the element or use cleaning solutions on it, as this can damage its function or create fumes when heated.
The fan is another area that can accumulate dust, affecting airflow and potentially causing a rattling noise. If your heater allows access to the fan blades (consult your manual), you can carefully clean them. A soft brush, cotton swabs dampened very slightly with water (and immediately dried), or a vacuum with a soft brush attachment can be used.
The goal is to remove any dust that might impede the fan’s rotation or create imbalance. If you cannot easily access the fan blades without significant disassembly, it’s often best to leave them alone to avoid damaging the unit. Regular vacuuming of the external vents will help minimize dust accumulation on the fan over time.
Maintenance of Different Heating Elements:
| Heater Type | Heating Element/Surface | Cleaning Approach |
|---|---|---|
| Ceramic | Ceramic plates and fan blades | Dry dusting, gentle vacuuming of vents. Avoid moisture on elements. |
| Oil-Filled Radiator | Sealed metal fins | Wipe down fins with a damp cloth. Ensure no liquid enters sealed unit. |
| Infrared | Quartz tube or reflector | Gentle dusting with dry cloth; avoid touching tubes with bare hands. |
This table illustrates how the type of heater influences the cleaning method for its heating components.
Important: Always refer to your portable heater’s user manual before attempting any internal cleaning. Specific models may have unique components or cleaning recommendations to ensure optimal performance and safety.
Wiping Down the Exterior and Cord
After dealing with the more intricate parts, focus on the exterior casing and the power cord. For the outer shell, a damp cloth with a small amount of mild dish soap can be effective for removing dirt, scuff marks, or minor stains. Ensure the cloth is only slightly damp – you don’t want water to drip into the heater’s internal workings.
Wipe down the entire casing, then follow up with a clean, damp cloth to rinse off any soap residue. Finally, dry the exterior thoroughly with a soft, dry cloth. This prevents water spots and ensures all electrical components are safe for operation.
Don’t forget the power cord. Wipe it down with a dry cloth. If there’s any greasy residue, use a cloth slightly dampened with water or a mild cleaner, then dry it completely.
Inspect the cord for any fraying, cracks, or damage. If you find any, stop using the heater immediately and consider replacing the cord or the entire unit, as a damaged cord is a significant fire and shock hazard.
Exterior Cleaning Checklist:
- Wipe down the top and sides with a damp cloth (mild soap optional).
- Clean control knobs or buttons carefully with a slightly damp cloth.
- Wipe the base or feet to remove dust and grime.
- Inspect the power cord and plug for any signs of damage.
- Clean the entire length of the power cord.
Cord Safety Checks:
- Look for cuts, abrasions, or fraying.
- Ensure the plug prongs are clean and not bent.
- Check that the cord is securely attached to the heater body.
A thorough check of the cord is as important as cleaning the visible parts of the heater.
Reassembly and Final Checks
Once all parts are thoroughly cleaned and, most importantly, completely dry, you can reassemble your portable heater if you’ve taken any parts off. This might include reinserting filter screens or putting back protective covers.
Before plugging the heater back into the wall socket, perform a final visual inspection. Ensure there’s no lingering moisture, no dust or debris inside the vents, and that the cord is in perfect condition. Double-check that all external surfaces are dry.
When you plug it in and turn it on for the first time after cleaning, pay attention to any unusual sounds, smells, or performance issues. A properly cleaned heater should operate smoothly, efficiently, and without any strange odors. If you notice anything amiss, unplug it immediately and re-examine your work or consult the user manual for troubleshooting.
Pre-Operation Checklist:
- Ensure all cleaned parts are bone dry.
- Confirm vents are clear of obstructions.
- Verify the power cord is undamaged and securely connected.
- Place the heater on a stable, level surface.
- Ensure the heater is positioned away from flammable materials.
Warning: Never operate a portable heater with a damaged cord or plug. This is a significant electrical hazard that can lead to fires or electric shock. If you find damage, do not use the heater and seek professional repair or replacement.
Frequently Asked Questions
What is the best way to remove stubborn dust from heater vents?
For stubborn dust in heater vents, a vacuum cleaner with a crevice tool is often effective. You can also use a slightly damp cotton swab or a soft brush to dislodge hardened grime, followed by vacuuming. Always ensure the unit is unplugged and cool.
How often should I clean my portable heater?
It’s recommended to clean your portable heater at least once before the heating season begins and again mid-season if you use it frequently. More regular dusting of external surfaces can be done weekly or bi-weekly.
Can I use household cleaners on my portable heater?
Generally, it’s best to stick to mild soap and water for exterior cleaning, and only on non-electrical parts. Avoid harsh chemicals, abrasive cleaners, or solvents, as they can damage the plastic casing or internal components. Always consult your user manual for specific recommendations.
What if my heater smells bad after cleaning?
A bad smell after cleaning could indicate residual moisture that hasn’t fully evaporated, or that some dust was pushed further inside. Unplug the heater and allow it to air dry for at least 24-48 hours. If the smell persists, there might be a more serious issue with the heating element or internal wiring, and professional inspection is advised.
Is it safe to disassemble parts of a portable heater for cleaning?
Disassembly should only be attempted if your user manual explicitly provides instructions for it, and only if you are comfortable with the process. For most portable heaters, basic external and vent cleaning is sufficient and safer. If you’re unsure or encounter resistance, it’s best not to proceed with disassembly.
Final Thoughts
Mastering how to clean portable heaters is a simple yet vital task for anyone relying on these convenient devices for warmth. By following these steps – unplugging, dusting, vacuuming vents, and ensuring everything is dry – you not only improve efficiency and reduce energy waste but, more importantly, significantly enhance safety. Regular, basic maintenance will keep your portable heater running smoothly and reliably through many heating seasons to come.