How to Connect PVC to Copper Pipe: The Transition Fitting Method
PVC cannot be glued or soldered directly to copper — solvent cement only fuses plastic to plastic, and a soldering torch will melt PVC and release toxic fumes. The code-compliant fix is a listed transition fitting: a threaded, compression, or push-fit adapter for pressurized supply lines, or a no-hub rubber coupling with stainless clamps for drain lines. Get the wrong fitting for the job and the joint leaks, fails inspection, or becomes a fire hazard. This guide covers picking the right fitting, installing it correctly, and the drain-line method most guides skip entirely.
Quick Answer
Use a purpose-made PVC-to-copper transition fitting — never glue or solder the two materials together directly. For pressurized supply lines, a push-fit (SharkBite-style) or threaded transition fitting works without solder. For drain lines, use a no-hub rubber coupling with stainless steel clamps. Prep the PVC side with primer and cement as usual; connect the copper side per the fitting type, never with an open flame touching the plastic.
Why You Can’t Glue or Solder PVC to Copper
PVC solvent cement works by chemically softening and fusing two plastic surfaces into one solid piece — it has nothing to bond to on a metal surface, so cement applied to copper simply doesn’t hold. Soldering is worse: it requires heating the joint to roughly 400–600°F with a propane torch. PVC softens and deforms starting around 140–180°F and burns well before solder ever flows, releasing hydrogen chloride fumes that are hazardous to breathe. There is no version of “hold the torch on it briefly” that’s safe. Any guide describing inserting a PVC pipe into a copper fitting and soldering the joint is describing a fire and toxic-fume hazard, not a real plumbing technique.
📊 Plumbing code requires an approved adapter or transition fitting designed for the specific materials being joined whenever plastic pipe connects to another piping material — a direct solvent-weld or solder joint between PVC and metal is not a recognized method under the model plumbing codes. — Source: UpCodes, Transition Joints Between Different Piping Materials
Choosing the Right Transition Fitting
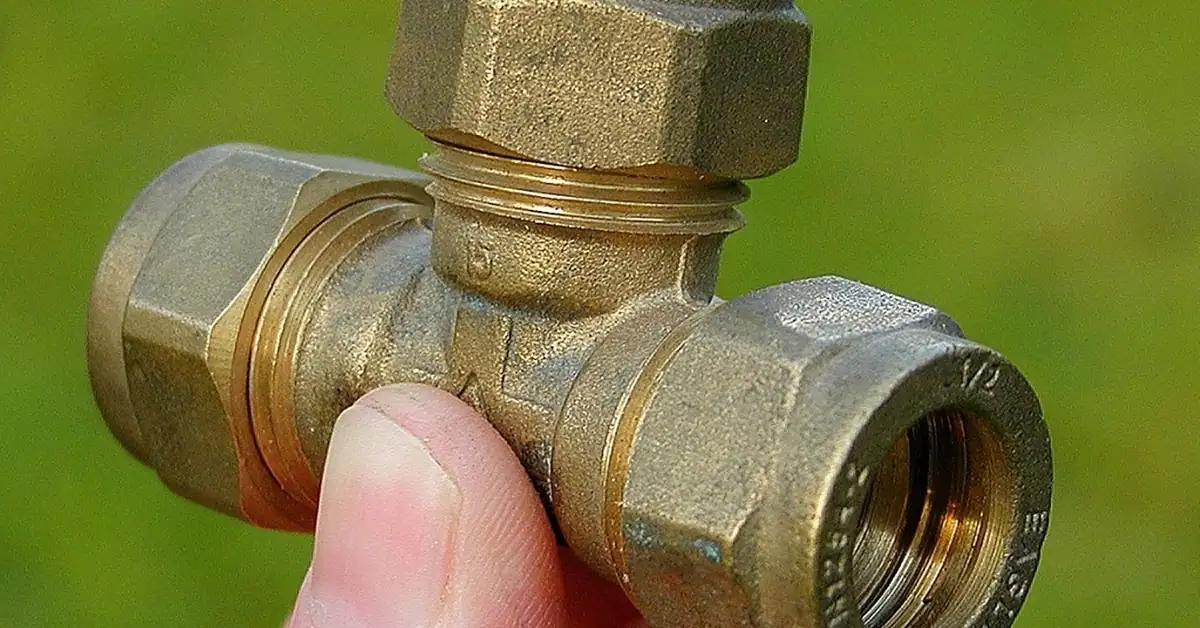
A transition fitting is a listed plumbing component with a solvent-weld or slip socket on one end for PVC and a threaded, compression, or push-to-connect end for copper on the other. Which type you need depends on whether the line is pressurized (supply) or gravity-fed (drain), and whether you want the connection to be serviceable later.
| Fitting Type | Best For | Solder Required? |
|---|---|---|
| Push-to-connect (SharkBite-style) | Fast supply-line repairs, no torch access | No |
| Threaded adapter | Serviceable connections you may need to open later | No |
| Compression fitting | Supply lines where a mechanical seal is preferred | No |
| No-hub rubber coupling | Drain, waste, and vent (DWV) lines only — never pressurized supply | No |
None of the four common methods require touching a flame to the PVC. If you’re also working on the supply side of your plumbing, our toilet water supply valve guide and shutting off water to a toilet cover related shutoff steps you’ll need before cutting into any line.
Tools and Materials You’ll Need
- PVC-to-copper transition fitting: Sized to match both pipes, rated for your line type (supply vs. drain).
- PVC primer and cement: Purple primer plus PVC cement, sized for your pipe diameter.
- Pipe cutter: For clean, square cuts on both PVC and copper.
- Deburring tool or utility knife: To remove burrs from cut pipe ends.
- Sandcloth or emery cloth: To clean the copper pipe end if you’ll be soldering the copper-only side.
- Flux, solder, and a propane torch: Only if your chosen fitting has a solder cup on the copper side — and only ever applied to the copper side, well away from the PVC.
- Adjustable wrench: For threaded and compression fittings.
- Teflon tape: For threaded connections.
- Safety glasses and gloves: For cutting, soldering, and cement work.
Best No-Solder Transition Pick
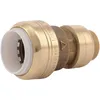
SharkBite Push-to-Connect Transition Coupling – $12.39
Connects copper directly to PVC with no solder and no cement on the copper side — exactly the no-torch method this guide recommends for supply lines.
- Best for: Supply-line repairs where soldering isn’t practical or safe
- Why we picked it: Push-fit onto copper, still needs standard primer/cement prep on the PVC end
- Main drawback: Costs more per fitting than a basic threaded adapter
Compare more transition options
 Option 1 Threaded Male x CPVC Adapter – $14.99
|
 Option 2 No-Hub Coupling, 1-1/2″ – $12.99
|
 Option 3 Oatey Primer & Cement Pack – $11.48
|
As an Amazon Associate we earn from qualifying purchases.
Connecting a Pressurized Supply Line
Step 1: Cut and Prep Both Pipes
Measure and mark both pipes, then cut square with a pipe cutter. Debur the PVC end with a utility knife or deburring tool, and clean the copper end with sandcloth if that end will be soldered or fluxed.
Step 2: Prep and Solder the Copper Side First (If Your Fitting Has a Solder Cup)
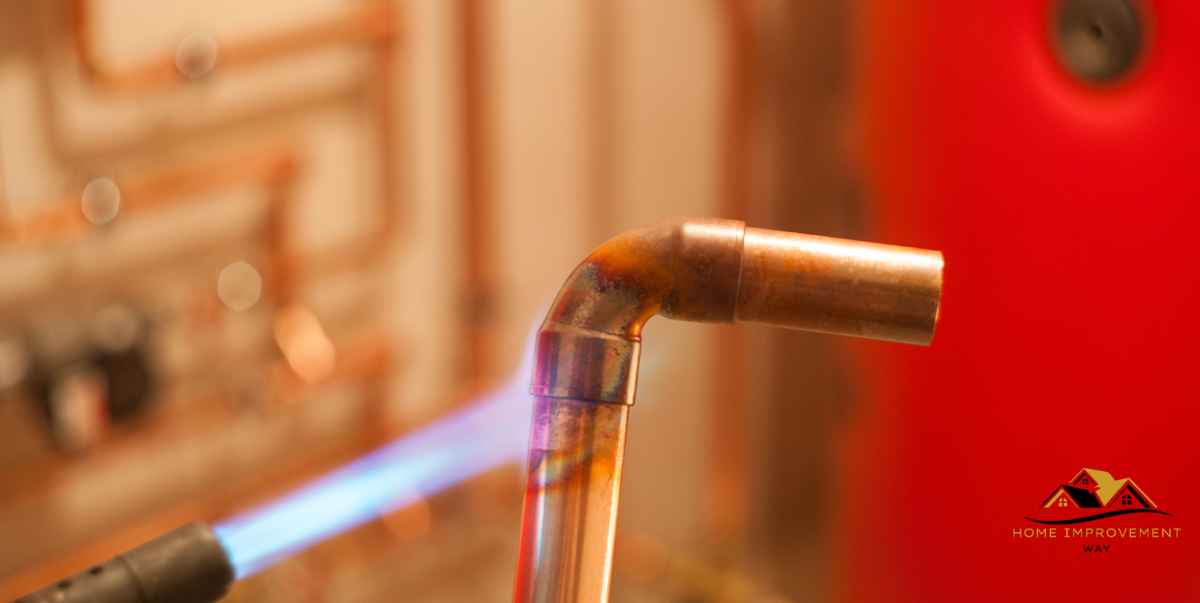
If your transition fitting has a solder-cup end for the copper pipe, do that joint before the PVC side is anywhere near it. Clean the copper pipe and the inside of the fitting’s solder cup with sandcloth, apply flux, then heat with a propane torch and feed solder into the joint until it wicks in fully. Let the fitting cool completely — several minutes, or faster if you wrap it in a wet rag — before moving on. Never solder a fitting that already has its PVC end glued on, and never point the torch flame toward the plastic end of the fitting even before assembly.
Step 3: Prime and Cement the PVC Side
Once the copper-side solder joint (if any) is fully cool, apply purple primer to both the PVC pipe end and the fitting’s PVC socket, then apply PVC cement to both surfaces. Push the pipe into the fitting with a quarter-turn twist and hold for about 30 seconds while the cement sets. Don’t disturb the joint — see our guide on how long PVC cement takes to cure — before pressurizing the line.
Step 4: For Push-Fit or Threaded Fittings, Skip Soldering Entirely
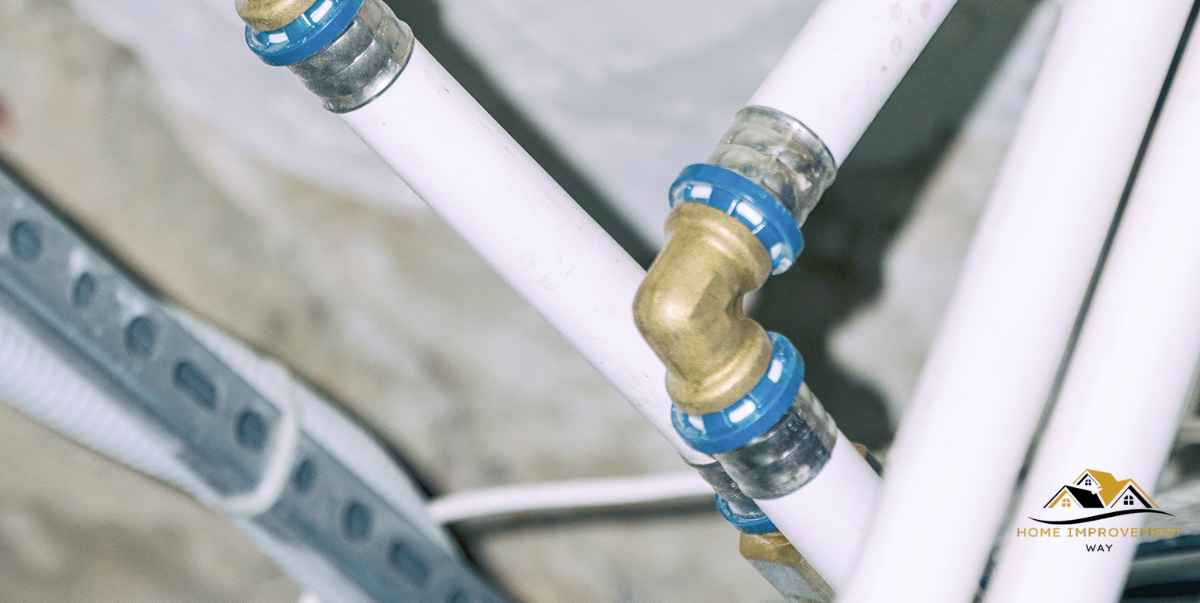
Push-to-connect fittings simply push onto a cleanly cut, deburred copper pipe until they click — no flux, solder, or torch needed. Threaded fittings need Teflon tape wrapped clockwise 3–4 times around the copper-side threads, then hand-tighten plus a quarter-turn with a wrench. Both methods let you finish the entire connection without ever bringing heat near the PVC.
Step 5: Pressure-Test the Joint
Turn the water back on slowly and check the fitting for drips under pressure before closing up any wall or floor. Recheck after a few hours — a slow weep often shows up only once the joint has been under sustained pressure.
Connecting a Drain Line (The Method Most Guides Skip)
Drain, waste, and vent (DWV) connections between PVC and copper use a completely different fitting than supply lines, because there’s no pressure to seal against — just gravity flow. A no-hub coupling is a neoprene rubber sleeve wrapped in a stainless steel shield, tightened with stainless clamps, that slips over the ends of both pipes without any cement or solder at all.
- Clean both pipe ends: Remove burrs, debris, and old pipe dope so the rubber sleeve seats evenly.
- Slide the coupling over the copper drain stub: Push it fully onto the copper first.
- Insert the PVC pipe into the other end: Line up both pipes so they’re not offset or angled.
- Center the rubber sleeve over the joint: Both clamps should sit evenly on each pipe, not on the gap itself.
- Tighten both stainless clamps evenly: Alternate a few turns on each screw with a nut driver or screwdriver until snug — overtightening can still leak if it’s uneven.
Check your local plumbing code before using an all-rubber coupler with no outer shield — many jurisdictions only approve the shielded, clamped no-hub style for this transition, not a bare rubber sleeve.
“The mistake we see most often is someone soldering the copper stub of a transition fitting while the PVC end is already glued on — the fitting body conducts enough heat to soften that fresh cement joint within seconds. Solder the copper side completely first, let it cool, then glue the PVC side last.”
Common Mistakes to Avoid
- Applying PVC cement directly to copper: It won’t bond — solvent cement only fuses plastic to plastic.
- Soldering with the PVC side already attached: Heat travels through the fitting and softens or melts the nearby plastic joint.
- Using an all-rubber coupler on a supply line: No-hub couplings are for drain lines only — they aren’t rated for water pressure.
- Skipping the pressure test: A joint that looks fine dry can still weep once it’s under real line pressure.
- Ignoring local code on fitting type: Some jurisdictions restrict which transition fittings are approved for potable water — check before you buy.
Frequently Asked Questions
Can you glue PVC to copper?
No. PVC cement and primer are solvents that chemically fuse plastic surfaces together — they have nothing to bond to on copper. You need a mechanical transition fitting (threaded, compression, or push-fit) instead.
Can you solder PVC directly to a copper fitting?
No, and don’t try. PVC begins softening around 140–180°F and will melt, deform, or ignite well before solder reaches its 400–600°F melting range, releasing hazardous chlorine-containing fumes. Only solder the copper-only side of a transition fitting, never PVC itself.
What fitting connects PVC to copper without soldering?
A push-to-connect (SharkBite-style) transition fitting or a threaded/compression adapter both work without any torch or solder. Push-fit fittings simply push onto a clean, deburred copper pipe end.
How do you connect PVC to a copper drain pipe?
Use a no-hub coupling — a rubber sleeve wrapped in a stainless steel shield with clamps on each end. It slips over both pipe ends and tightens down without any cement or solder, and it’s rated for drain, waste, and vent lines rather than pressurized supply.
Is connecting PVC to copper up to code?
Yes, as long as you use an approved transition fitting designed for that specific material combination — model plumbing codes require a listed adapter wherever plastic pipe joins another piping material. A direct solvent or solder joint between PVC and metal is not a recognized method.
Do you need a dielectric union between PVC and copper?
Not for galvanic corrosion protection — that’s a concern between two dissimilar metals (like copper and galvanized steel), and PVC is not a metal, so there’s no galvanic cell to form. Still use a listed transition fitting rated for the connection, since some incorporate brass or steel parts that carry their own fitting-specific requirements.
Conclusion
Connecting PVC to copper always comes down to one rule: use a listed transition fitting, never direct cement or solder between the two materials. Push-fit and threaded adapters handle most supply-line jobs without a torch; no-hub couplings handle drain lines. Solder only the copper-only side of a fitting, let it cool fully, then finish the PVC side last. Follow that order and the connection will hold, pass inspection, and never introduce an open flame near plastic pipe. If this project is part of a larger fixture swap, see our sink plumbing installation guide for the rest of the supply and drain hookups.
Sponsored / affiliate links. As an Amazon Associate I earn from qualifying purchases. I may earn additional commission from eligible campaigns.