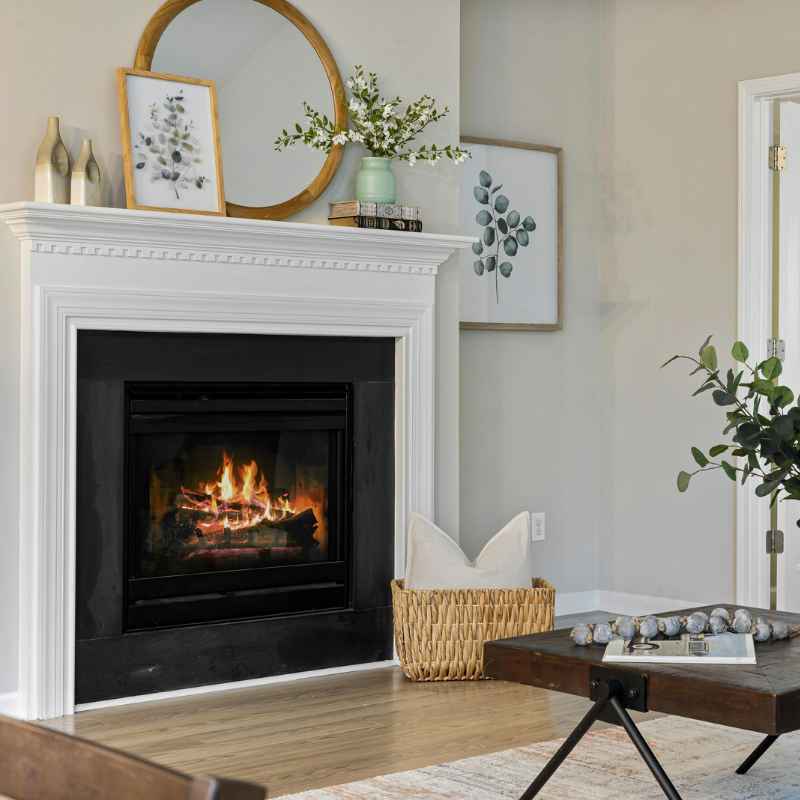
How To Install A Pellet Stove Insert In A Fireplace
Installing a pellet stove insert involves preparation, proper venting, electrical setup, and careful placement. It requires understanding local codes and ensuring safe operation for efficient heating of your home.
Understanding Pellet Stove Inserts
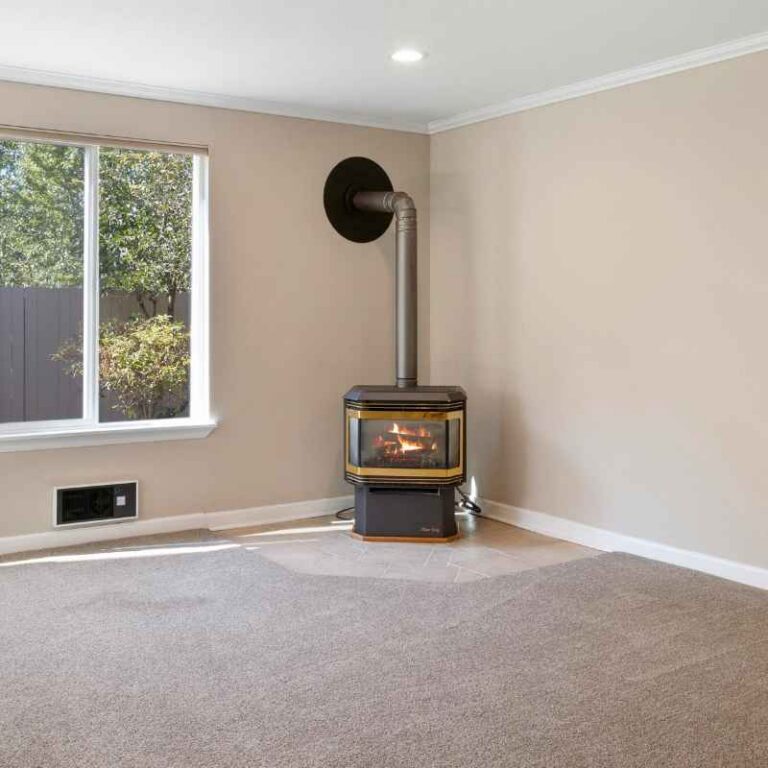
A pellet stove insert is a heating device. It burns compressed wood or biomass pellets. It is designed to fit inside an existing fireplace.
This turns your old, inefficient fireplace into a modern heat source. They offer much better heat than a traditional wood fire. They are also often easier to use and cleaner.
Think of it like this: your fireplace is a big, beautiful shell. A pellet stove insert is the high-tech engine that makes that shell work hard for you. It gives you steady heat.
It also uses fuel very efficiently. This makes it a smart choice for many homes looking for warmth and savings.
Pellet stoves burn fuel pellets. These pellets are made from sawdust and other organic matter. They are compressed into small, uniform cylinders.
This consistent size means they burn steadily. It also means less ash and smoke than wood. This makes them a greener heating option.
The insert itself has a hopper. This holds the pellets. An auger system moves the pellets into the burn pot.
An igniter starts the fire. A fan blows warm air into the room. This creates a powerful heating effect.
Many have thermostats. You can set a desired temperature. The stove then manages itself.
Why choose an insert over just a freestanding stove? It uses your existing fireplace structure. This means you don’t need a whole new hearth.
It looks integrated. It also uses your existing chimney for venting. This can save a lot of work and money during installation.
It’s a way to upgrade your current setup.
Why Install a Pellet Stove Insert?
Many people have old fireplaces. They look nice. But they don’t heat well.
They often lose more heat up the chimney than they put into the room. They can also be messy. Pellets are a cleaner fuel.
They are also easier to store than large logs. This makes them very convenient for home heating.
Pellet stoves are also very efficient. They burn their fuel almost completely. This means less waste.
It also means more heat for your home. The burn is controlled. This gives you consistent warmth.
It’s not like a wood fire that fades. You can set it and forget it, often. This is a big plus for busy families.
Another benefit is cost savings. While pellets have a cost, they are often cheaper than heating oil or propane. If you have access to local wood waste, the pellet cost can be even lower.
Over time, this adds up. It can significantly reduce your heating bills. This makes it a good investment for your home.
Pellet inserts also add value to a home. A modern, efficient heating source is attractive to buyers. It shows you’ve invested in upgrades.
It’s a feature that can make your home stand out. Plus, who doesn’t love a cozy fireplace feel? You get both style and function.
Safety is another big reason. Older fireplaces might have issues. Cracks in the masonry or a poor draft can be problems.
A pellet insert has its own engineered system. It’s designed to burn safely and vent properly. This often makes it a safer option than trying to burn wood in an older, less reliable fireplace.
Finally, they offer a way to supplement your main heating system. You can use the pellet stove for primary heat in milder weather. Or you can use it to warm a specific room.
This reduces the strain on your furnace. It also means you might not need to run your central heat as much. This saves energy and money.
Key Components of a Pellet Stove Insert Installation
Before you start, know the parts. The the fuel burns. It has an igniter to start the fire. A fan pushes hot air out.
You also need a way to vent the smoke. This is usually through your existing chimney.
Venting is super important. Most inserts need a specific type of vent pipe. This is often a flexible, insulated pipe.
It runs down your chimney. It carries the exhaust gases out. This pipe needs to be the right size.
It must be installed correctly. It needs to connect to the stove’s exhaust port.
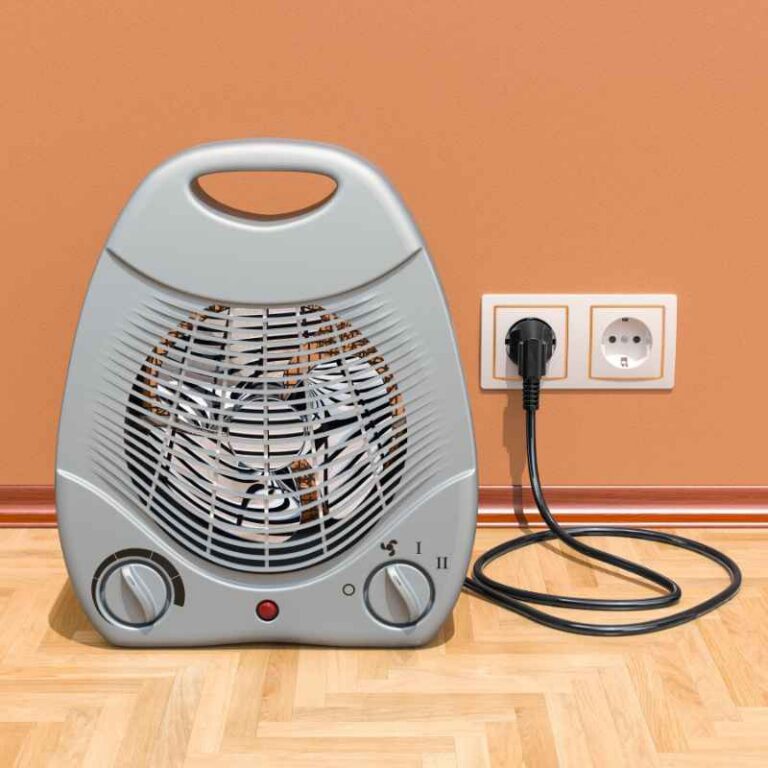
The stove also needs electricity. It uses power for the auger, igniter, and fans. You will need a nearby outlet.
It should be on a dedicated circuit if possible. This prevents other appliances from tripping your breaker. Make sure the cord can reach safely.
Avoid running it under rugs.
You’ll also need a way to get pellets into the hopper. This usually means a scoop or a special vacuum system. Think about how you will load the fuel.
This is part of the daily use. You want it to be easy. Access to the hopper is key.
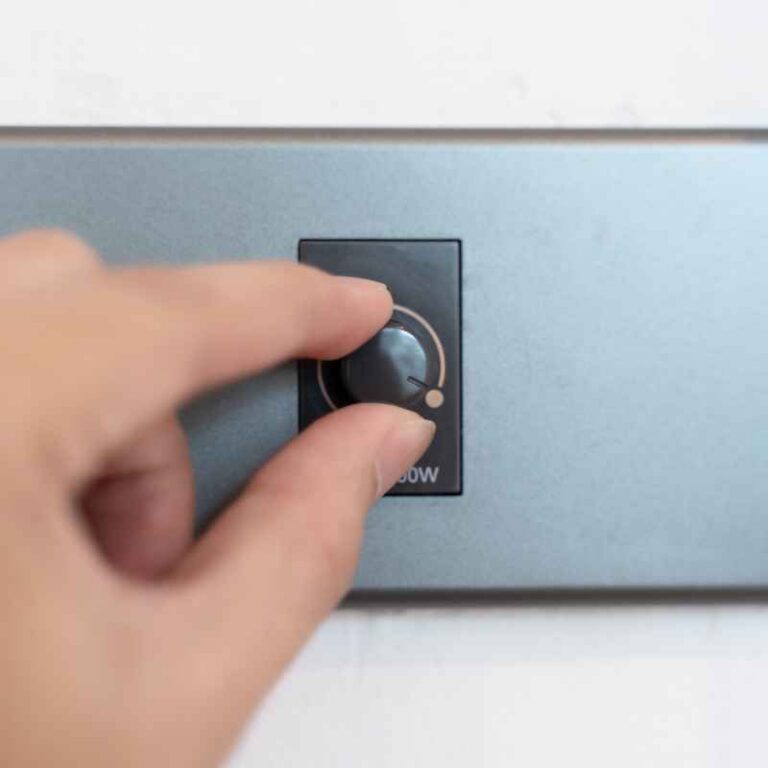
There’s also a control panel. This lets you set the heat level. You can control how often the auger feeds pellets.
You can set the fan speed. Modern inserts often have remote controls or even Wi-Fi capabilities. This adds convenience.
Finally, consider safety features. Most inserts have sensors. These detect if the fire goes out.
They can also monitor exhaust temperatures. These are critical for safe operation. Always read the manual for your specific model.
It will detail all its components and their functions.
Pre-Installation: Preparation is Everything
This is where you do your homework. It’s the most crucial step. Rushing this part leads to problems.
First, check your local building codes. Every town or city is different. Some have specific rules for pellet stoves.
Some might require inspections. Don’t skip this. It saves headaches later.
Next, inspect your fireplace and chimney. Is the fireplace structurally sound? Are there any cracks in the brick or mortar?
Your chimney needs to be clean. You should have it professionally swept. This removes creosote.
It ensures a clear path for exhaust. A dirty chimney is a fire hazard.
You also need to ensure proper ventilation. Most pellet stoves need a source of outside air. This is especially true if your home is very airtight.
Check your stove’s manual. It will specify if outside air is needed. If so, you might need to install a dedicated air intake kit.
This brings fresh air directly to the stove.
Measure your fireplace opening. You need to know the dimensions. This ensures the insert will fit.
You also need to know the depth. How far back will it sit? Will it block the damper?
The damper might need to be removed or sealed shut. Your insert manual will have clear dimensions to check against.
Consider the hearth and wall protection. Most codes require a non-combustible hearth extension. This protects your floor from stray embers.
It also protects the wall behind the stove from heat. Check the recommended clearances. These are listed in your stove’s manual.
They are very important for fire safety.
Gather your tools. You’ll likely need basic tools like screwdrivers, wrenches, and a level. You might need a drill.
You’ll also need safety gear. This includes gloves, safety glasses, and a dust mask. If you’re working with electrical wiring, know your limits.
If unsure, hire an electrician.
Read the stove’s installation manual. Read it cover to cover. Then read it again.
It contains vital information specific to your model. It will have diagrams. It will have step-by-step instructions.
This manual is your bible for the installation. Don’t try to guess your way through it.
Think about where the power cord will go. You need an outlet nearby. If there isn’t one, you’ll need to have one installed.
Running a new circuit might be necessary. Consult an electrician if you’re not comfortable with electrical work. It’s better to be safe than sorry.
Finally, plan for cleanup. Installing a stove can be dusty. Have tarps or drop cloths ready.
Have a vacuum cleaner handy. You’ll want to clean up as you go. This makes the final cleanup much easier.
Step-by-Step Installation Guide
Let’s get into the actual work. Remember, safety first. If any step feels beyond your skill, stop and call a professional.
It’s better to pay for help than risk injury or damage.
1. Prepare the Fireplace
Remove any grates, screens, or existing fireplace doors. You need a clear space. Clean out any ash or debris.
If your damper is operable and you’re not using it for venting, you may need to seal it. Some manuals suggest using a fireproof sealant or a metal plate. This prevents drafts.
It also stops heat from escaping up the chimney.
If your fireplace has a glass door, remove it. This is usually straightforward. You’ll want to keep it somewhere safe.
Make sure the firebox interior is clean and clear. You’ll be working in this space. A clean area makes the job much smoother.
2. Install the Venting System
This is a critical step. Most inserts use a flexible stainless-steel liner. This liner runs from the stove’s exhaust port all the way up and out your chimney.
First, attach the liner to the stove’s flue collar. This connection needs to be secure and airtight. Use the provided hardware or recommended sealant.
Next, feed the liner up through your chimney. This can be tricky. You might need a helper.
Guide it carefully. Avoid kinking the liner. You want a smooth path for the smoke.
Once it’s at the top, secure it. Use a chimney cap designed for pellet stove liners. This cap helps keep out rain and animals.
Some installations might require a rigid vent pipe or a chimney thimble. Follow your manual’s instructions precisely. The connection at the top of the chimney is vital.
It must be weather-tight. It must also allow for expansion and contraction due to heat.
Ensure the liner has the correct pitch. It should slope slightly downwards towards the stove. This helps condensation drain back into the stove.
This prevents it from freezing or causing corrosion in the chimney. Always consult the manual for specific venting requirements.
3. Place the Pellet Stove Insert
Carefully move the insert into position. It can be heavy. Use a hand truck or get help.
Slide it into the fireplace opening. Position it so it’s centered. Use a level to ensure it’s sitting straight.
Make sure it meets the manufacturer’s clearance requirements from the back and sides of the fireplace.
The should be no gaps around the edges where smoke could escape.
4. Connect the Electrical Power
Locate your power outlet. Plug in the stove’s power cord. If you had to run a new outlet, ensure it’s properly installed.
It should be grounded. The wiring should be to code. If you’re unsure about any electrical work, hire a qualified electrician.
This is non-negotiable for safety.
Make sure the power cord is not pinched or stressed. Route it neatly. Keep it away from heat sources.
Avoid running it under the stove itself if possible. Secure it so it doesn’t accidentally get unplugged. Some people use cable ties to manage the cord.
5. Install the Outside Air Kit (If Required)
If your stove needs outside air, follow these steps. You’ll typically drill a hole through the wall behind the fireplace. Or through the side of the fireplace structure.
This hole is for the air intake pipe. It brings fresh air directly to the stove. This prevents the stove from using up the air inside your home.
Run the air intake pipe from the outside to the stove. Connect it to the stove’s designated air intake port. Ensure all connections are sealed.
This prevents air leaks. It also stops pests from entering. The exterior vent cap should be screened.
It should also be protected from weather.
This step can be more involved. It often requires cutting into your house structure. Take your time.
Measure twice, cut once. If you’re not comfortable cutting into walls, this is another job for a professional.
6. Final Checks and Testing
Double-check all connections. Ensure the vent pipe is secure. Check that the electrical connection is stable.
Make sure clearances are met. Look for any loose parts. Ensure nothing is blocking the fans or air intakes.
Turn on the stove. Follow the initial startup procedure in the manual. This usually involves setting it to a low setting first.
Watch for any unusual noises or smells. Check that the fan is running. See that the auger is feeding pellets correctly.
Test the controls. Adjust the heat setting. See how the stove responds.
Monitor the exhaust vent. You should see a steady stream of visible exhaust. It shouldn’t be billowing smoke into the room.
If smoke enters the room, turn off the stove immediately. There’s likely a venting issue.
Run the stove for a while. Monitor the temperature. Check the ash pan.
See how much ash is produced. This initial run helps break in the stove. It also confirms everything is working as it should.
If you notice any problems, consult your manual. If problems persist, call the manufacturer or a qualified technician.
Personal Experience: The Chimney Liner Puzzle
I remember my first pellet stove installation vividly. I thought I had everything. The stove looked great.
I had the tools. I’d read the manual. I was ready to go.
The fireplace was clean. The clearances seemed fine. I attached the vent pipe to the stove.
Easy enough. Then came feeding it up the chimney.
This flexible liner was like a giant, stubborn snake. It just didn’t want to go where I wanted it. It kept snagging on the rough bricks inside the chimney.
I pushed. I pulled. I twisted.
My arms were getting tired. Dust was everywhere. I was starting to feel that familiar wave of frustration.
It was a warm summer day, but I was starting to sweat with exertion and worry.
I had a helper, my neighbor Dave. He was up on the roof, trying to guide it. But we were not communicating well.
He couldn’t see what I was doing. I couldn’t see what he was doing. It felt like a comedy of errors.
At one point, it got really stuck. I thought I had damaged it. I honestly considered giving up and calling a pro right then.
Then, Dave had an idea. He suggested we use a little bit of mild dish soap and water. Just a tiny bit, to lubricate the liner.
I was skeptical. Would that be safe? Would it damage anything?
I checked the liner manufacturer’s site online quickly. It said mild soap was okay for installation. So, we gave it a try.
We slowly poured a little soapy water down the chimney as I fed the liner. It was like magic. The liner started to slide more smoothly.
We worked together, feeding and guiding. Slowly, painstakingly, it went up. When we finally got the top secured, I felt this huge wave of relief.
That one part taught me so much about patience and problem-solving. It also showed me the value of a good helper and being willing to try new things, even if they seem a bit odd.
After that, connecting the electrical and testing felt almost easy. But that chimney liner struggle is a moment I won’t forget. It’s a reminder that even with good planning, real-world installations have their moments.
Sometimes, a little creativity is all you need.
Ventilation Quick Check
Is Your Chimney Ready?
- Has it been professionally cleaned?
- Are there any cracks or damage?
- Is the flue liner compatible with a pellet stove? (Some older clay liners might not be suitable.)
Outside Air Supply
Many modern homes are sealed tight. Pellet stoves need fresh air. Your manual will tell you if you need an outside air kit.
If you do, plan for it! It might involve drilling through a wall.
Real-World Considerations
When you install a pellet stove will the pellets be stored? They come in 40-pound bags.
You’ll need a dry place for them. A basement, garage, or shed works well. Keep them off the concrete floor to prevent moisture damage.
Consider the daily operation. You’ll need to clean the stove regularly. This means emptying the ash pan.
It means cleaning the burn pot. You’ll also need to wipe down the glass. How often depends on your usage.
But plan for a few minutes each day. And a more thorough cleaning weekly or bi-weekly.
The noise level is another factor. Pellet stoves have fans. These fans make noise.
Some are quieter than others. If your living room is very quiet, you might notice the hum. Newer models are often much quieter.
Check reviews for noise levels if this is a concern for you.
Think about maintenance. Like any appliance, pellet stoves need annual check-ups. A professional service can ensure everything is working safely.
They can clean parts you might miss. They can spot potential issues before they become big problems. Factor this into your yearly budget.
Your existing fireplace might have limitations. Some fireplaces are very shallow. This might limit the size of insert you can install.
Or it might mean the stove sticks out more than you’d like. Always measure carefully. Check manufacturer specs for minimum depth and width requirements.
The appearance is also important. Inserts come in different styles. Some have decorative fronts.
Some have cast iron doors. Think about how it will look in your room. Does it match your decor?
A well-chosen insert can enhance the look of your living space. It becomes a focal point.
Pellet Stove Insert vs. Traditional Fireplace
Pellet Stove Insert
- Efficiency: High (80%+)
- Fuel: Pellets (easy to store, consistent burn)
- Control: Thermostat-controlled, programmable
- Operation: Automated feeding, igniter
- Cleanliness: Low ash, less smoke
- Heat Output: Consistent, controllable
- Installation: Requires venting, electricity
Traditional Fireplace
- Efficiency: Low (10-30%)
- Fuel: Firewood (storage, drying, messy)
- Control: Manual adjustment, unpredictable
- Operation: Manual loading and lighting
- Cleanliness: High ash, smoke, creosote
- Heat Output: Variable, can be short-lived
- Installation: Usually existing chimney only
What This Means For Your Home
So, what’s the big takeaway? Installing a pellet stove insert is a practical upgrade. It can make your home warmer.
It can lower your heating bills. It can also be a great way to add ambiance to a room that previously had an underperforming fireplace.
When is it normal to install one? If you have an old fireplace that’s just sitting there. If you’re tired of high heating costs.
If you want a reliable secondary heat source. If you like the look of a fireplace but want modern efficiency. These are all good signs that an insert is for you.
When should you worry? If your fi
Simple checks you can do include: looking up your chimney with a flashlight (if safe), checking for obvious cracks in the firebox, and measuring your fireplace opening. Reviewing the manufacturer’s installation manual will give you a clear list of minimum requirements.
It’s important to remember that even with an insert, safety is paramount. Always follow the manual. Always respect clearances.
If you smell smoke, take action immediately. Don’t let a great heating solution become a safety hazard because of improper installation or use.
When to Call a Professional Installer
- Unsure about building codes: They vary widely.
- Chimney issues: Cracks, blockages, or structural concerns.
- Electrical work: If you need a new outlet or circuit.
- Home modifications: Cutting into walls for outside air.
- Lack of time or comfort: It’s a significant DIY project.
Quick Tips for a Smooth Installation
Have a helper. Seriously, don’t try to maneuver a heavy stove alone.
Get all your tools and materials ready before you start. Nothing slows you down like running to the store mid-job.
Read the manual multiple times. It’s the best resource you have.
Double-check all measurements. Fit is everything.
Wear safety gear. Dust masks and gloves are your friends.
Keep the work area clean. It’s much safer and more efficient.
Test the stove thoroughly after installation. Don’t skip the first few burns.
If you’re unsure about any step, stop and ask for help or advice. It’s better to ask now than fix a mistake later.
Frequently Asked Questions
Do I need a special liner for a pellet stove insert?
Yes, typically you do. Most pellet stove inserts require a stainless-steel flexible liner to vent exhaust gases safely up through your existing chimney. This liner is specifically designed for pellet stove exhaust.
Your stove’s manual will detail the correct type and size of liner needed.
Can I use my existing fireplace damper?
Generally, no. The existing damper in your fireplace is not designed for the venting needs of a pellet stove. It often needs to be sealed shut permanently to prevent heat loss and ensure proper draft for the stove.
Your installation manual will explain how to do this.
How much clearance do I need around a pellet stove insert?
Clearance requirements vary by manufacturer and model. You must follow the specific clearances listed in your stove’s installation manual. These clearances protect surrounding combustible materials from heat.
They are critical for fire safety.
What electrical requirements are there for a pellet stove insert?
Pellet stove inserts need electricity to power their igniter, auger, and fans. You will need a grounded electrical outlet within reach of the stove’s power cord. Many manufacturers recommend a dedicated circuit to prevent power interruptions.
How do I store pellet fuel?
Pellets should be stored in a dry place, off the concrete floor, to prevent moisture absorption. Bags of pellets are typically 40 pounds. A garage, basement, or shed is ideal.
Avoid storing them where they could be exposed to rain or high humidity.
Do pellet stoves require annual maintenance?
Yes, annual maintenance is highly recommended. This includes thorough cleaning of the burn pot, ash pan, heat exchanger, and exhaust venting. Many owners choose to have a professional service technician perform this maintenance to ensure the stove operates safely and efficiently.
Can I install a pellet stove insert in a mobile home?
Installation in mobile homes is highly regulated. Mobile homes have very specific construction and ventilation requirements. You must consult the stove manufacturer’s manual and local mobile home building codes.
Professional installation is almost always required and recommended for safety.
Conclusion
Installing a pellet stove insert can seem daunting. But with careful planning and attention to detail, it’s a very doable project. You gain a cozy, efficient heating source.
Remember to prioritize safety at every step. Read your manual. Check local codes.
And don’t hesitate to ask for help when you need it.