How to Install Lag Screws Into Studs Safely
Use a lag screw for heavy hardware into a wood stud only after drilling the correct pilot hole and matching the fastener to the wood species and the load path; choose a structural screw when the product listing allows it and the manufacturer’s instructions call for reduced predrilling or better head-drive control. Get it wrong, and you can split the stud, strip the head, or mount hardware that loosens under load. This guide shows how to find studs, size the pilot hole and fastener, and decide when lag screws or structural screws are the safer choice.
Lag screws in wood studs
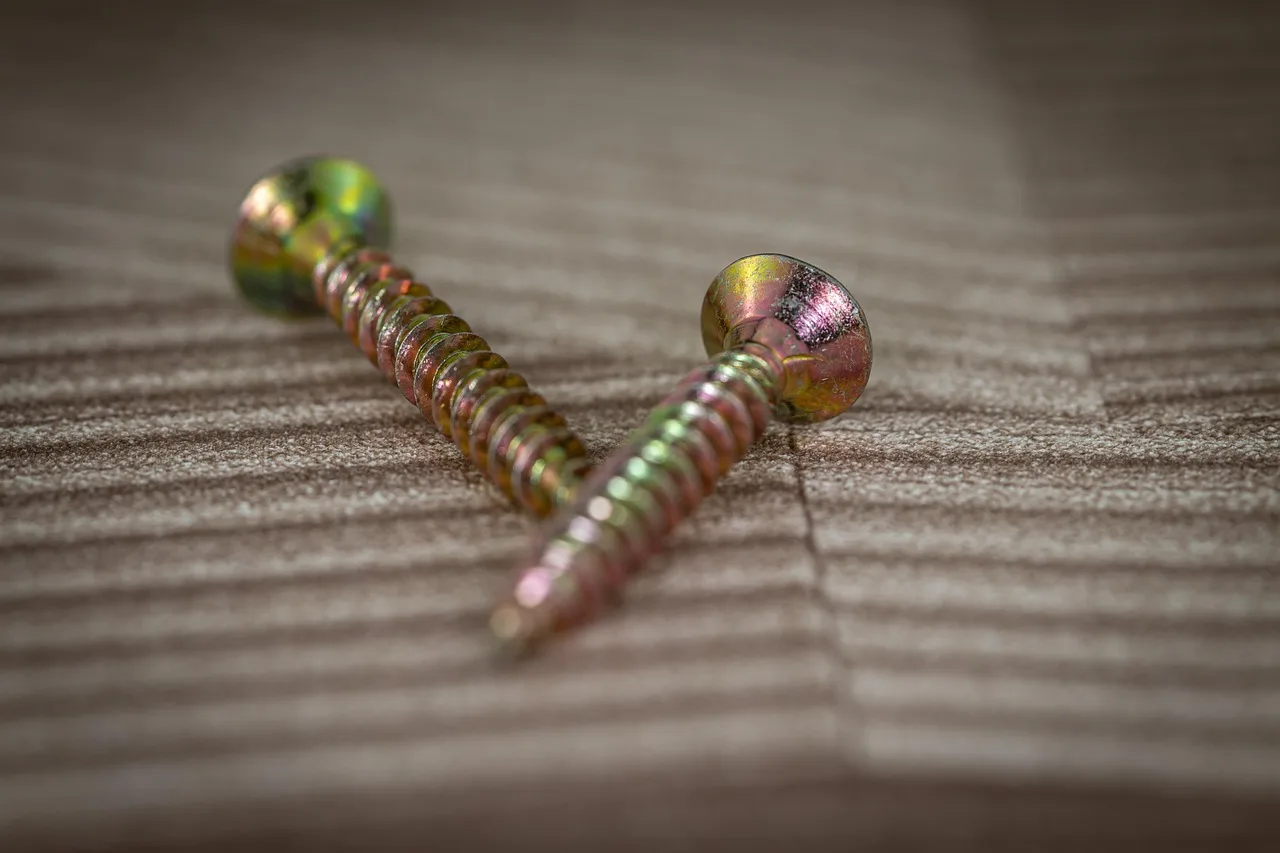


Lag screws are heavy-duty fasteners for wood construction, and they are also called lag bolts. They have coarse, sharp threading that only encompasses part of the bolt, and the head style is hex on the lag screws covered here. In a wood stud, the goal is firm thread bite without cracking the framing member. Pilot-hole and installation guidance should follow the fastener manufacturer’s chart and, where relevant, wood-framing code provisions and product listings.
A wood stud is the right substrate for this method when the stud is sound, properly sized, and fully accessible for drilling and driving. It is not the right place for a “close enough” hole. The pilot hole, washer choice, and screw length all need to match the load path, the bracket geometry, and the wood species. For load-bearing attachments, defer to the hardware listing or the fastener maker’s published withdrawal and shear tables rather than guessing at a universal capacity.
Lag screw versus structural screw
Lag screws are a traditional choice for wood fastening. Structural screws are a modern alternative that often reduce the need for a pilot hole and can lower the chance of head stripping when installed exactly as listed by the manufacturer. Many structural screws use Torx or Spider-style drive heads, but they are not simply “stronger than lags” in every situation. The correct choice depends on the fastener listing, the bracket, the wood species, and the load direction.
Pick the fastener around the job, not the other way around. A lag screw still makes sense when the hardware calls for a hex head and a through-hole with washer support. A structural screw often makes more sense when you want a faster install, less splitting risk, and a drive style that is easier to seat cleanly in framing lumber.
What to check before drilling
Before you drill, confirm the stud center, inspect the wood condition, and check for electrical wiring and plumbing in the wall cavity. Match the screw diameter and length to the hardware, and make sure the fastening location is clear of hidden utilities before any bit enters the wall. The safest lag screw install starts with clamping the parts in place, then marking the fastener location from that fixed position. That keeps the pilot hole aligned with the actual bracket or plate and helps the screw bear where the hardware expects it to.
Find the center of the stud
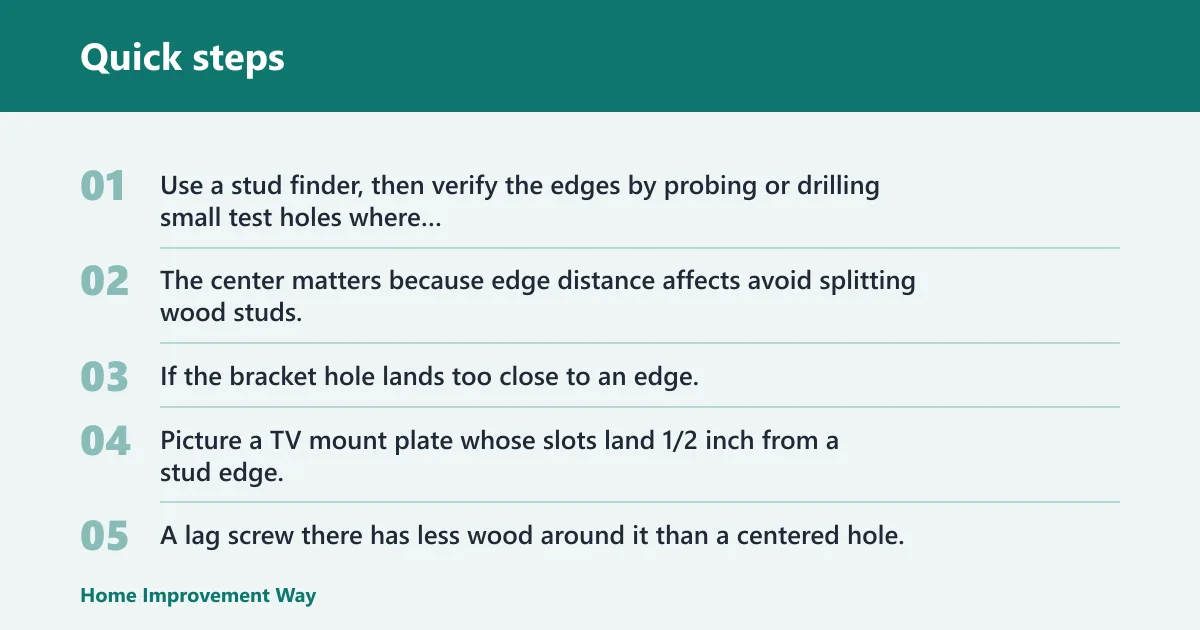
Use a stud finder, then verify the edges by probing or drilling small test holes where needed. The center matters because edge distance affects avoid splitting wood studs, especially near the sides of a stud. If the bracket hole lands too close to an edge, stop and rethink the layout instead of forcing the screw.
Picture a TV mount plate whose slots land 1/2 inch from a stud edge. A lag screw there has less wood around it than a centered hole, so the safer move is to shift the mount or pick a different fastening point rather than over-tightening a marginal location.
Inspect stud condition and edge distance
Do not fasten into a cracked, punky, notched, or obviously damaged stud. A split or weakened stud can fail before the fastener reaches full clamp. If the stud is compromised, repair or replace the framing member first. A lag screw does not fix bad wood.
Keep the hole away from the edge of the stud and from other holes already in the same member. Multiple fasteners can weaken the wood between them. If you are placing several screws in one stud, spread them out and avoid stacking holes in a tight vertical line.
Choose diameter, length, and finish
Lag screw diameter affects the pilot hole and the amount of thread engagement. Common sizes run from 1/4 to 7/8 inch, with the charted sizes including 1/4, 5/16, 3/8, 7/16, 1/2, 5/8, 3/4, and 7/8. Larger is not automatically better if the stud or hardware is not sized for it.
Use galvanized or stainless steel in damp or corrosive locations. That matters for bathrooms, exterior-adjacent walls, laundry spaces, and other places where bare steel is a poor choice. Match the finish to the environment before you drill the first hole; manufacturers typically publish finish and corrosion guidance for indoor dry, humid, treated-lumber, and exterior exposure conditions.
| Lag screw diameter | Typical pilot-hole range, softwood | Typical pilot-hole range, hardwood | Clearance-hole note for mounted material | Common washer pairing | Practical stud embedment target |
|---|---|---|---|---|---|
| 1/4 in. | 7/64 in. to 3/16 in. | 3/16 in. to 7/32 in. | Drill the mounted material to clearance size so the shank passes freely before the threads enter the stud | 1/4 in. flat washer | At least 1 to 1-1/2 in. into sound stud wood, or per listing |
| 5/16 in. | 9/64 in. to 7/32 in. | 7/32 in. to 1/4 in. | Keep the bracket hole larger than the shank but not larger than the washer bearing area | 5/16 in. flat washer | At least 1-1/2 in. into sound stud wood, or per listing |
| 3/8 in. | 5/32 in. to 1/4 in. | 1/4 in. to 9/32 in. | If the part is slotted, the slot should clear the screw shank and let the washer bridge the opening | 3/8 in. flat washer | About 1-1/2 in. to 2 in. into sound stud wood, or per listing |
| 1/2 in. | 3/16 in. to 17/64 in. | 1/4 in. to 5/16 in. | Use a true clearance hole in the mounted part when the head must clamp through a bracket or plate | 1/2 in. flat washer or larger bearing washer | About 2 in. into sound stud wood, or per listing |
| 5/8 in. and larger | Follow the manufacturer table closely | Follow the manufacturer table closely | Clearance-hole size becomes more important as the bracket thickness and load increase | Matched large-diameter washer | Use the listed embedment and approved hardware only |
How to size the pilot hole
The pilot hole must be drilled before a lag screw goes into a stud. It should be slightly smaller than the fastener, and it must be deep enough for the entire screw length that will enter the stud. That reduces splitting and lets the threads cut cleanly instead of binding. Manufacturer charts are the best source for exact bit sizes because they account for diameter, thread form, wood density, and the specific product design.
Why the pilot must be smaller than the screw
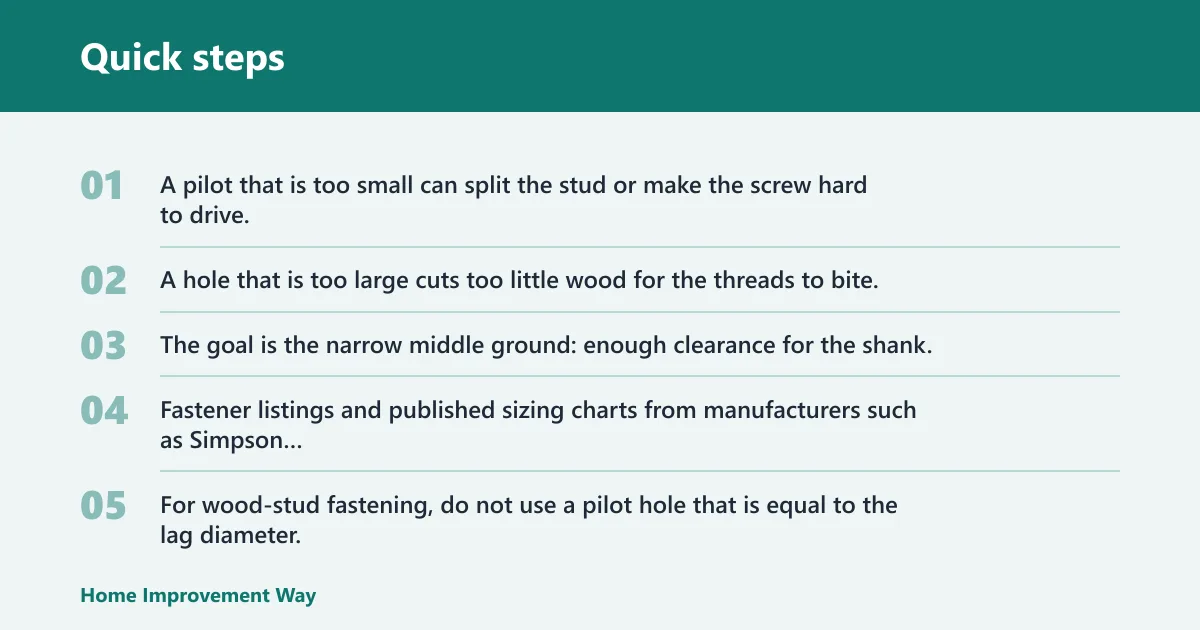
A pilot that is too small can split the stud or make the screw hard to drive. A hole that is too large cuts too little wood for the threads to bite. The goal is the narrow middle ground: enough clearance for the shank, but enough wood left for the threads to grip. Fastener listings and published sizing charts from manufacturers such as Simpson Strong-Tie, SPAX, GRK, and Fastenal are the right references for the exact bit size.
For wood-stud fastening, do not use a pilot hole that is equal to the lag diameter. That can leave weak thread engagement. The correct bit is slightly smaller than the lag screw you plan to use, with the exact bit choice adjusted to the screw diameter and the wood species.
How wood species changes the bit choice
Harder, denser wood usually needs a bit that is closer to the fastener size than very soft wood does, because the screw threads cut less easily. Softer framing lumber can split more readily if the pilot is too tight. This is why published tables separate softwood from hardwood and why the exact pilot size should come from the screw maker’s data rather than a one-size-fits-all rule.
A common first-timer mistake is mixing up “smaller” with “safer.” A pilot that is too small is not safer in wood studs. It can force the screw, twist the head, or split the member before the threads seat properly.
How deep to drill for full embedment
Drill the pilot hole deep enough for the full screw length that enters the stud. If the hole is shallow, the screw can bottom out early and jack the hardware away from the wall. That can leave the bracket loose even though the head feels tight.
Keep the bit square to the stud face and do not punch through the back of the stud unless the hardware and layout truly require it. Through-drilling can be acceptable when properly detailed, but you still need to verify that the path is clear and that the layout does not create a hazard behind the wall.
How to drive the screw without damage
Drive lag screws slowly with the correct hex socket or driver. The goal is steady torque, not speed. Clamp the parts in place first, keep the screw aligned with the pilot hole, and stop before the head strips or the wood crushes under the hardware.
- Mark the fastener points after the hardware is positioned.
- Clamp the materials in place so the bracket cannot shift.
- Drill the pilot hole slightly smaller than the lag screw.
- Set the hardware back in position with the hole aligned.
- Place the washer under the head if the hardware calls for one.
- Drive the screw with a proper hex socket or driver until snug.
- Stop as soon as the washer seats and the hardware is firm.
Use the right drive head size. A loose socket can round the hex head, and a bad fit can make you think the screw is tighter than it really is. If the head begins to deform, stop and correct the driver fit before continuing.
Suppose a cabinet cleat is clamped to a stud and the pilot is drilled correctly, but the screw starts binding halfway in. That usually points to a hole that is too shallow, a misaligned bracket, or a fastener that is being forced at an angle. Back out, check alignment, and fix the cause.
Common failure modes to avoid
Splitting the stud is the most obvious failure, but it is not the only one. Stripped heads, overdriving, and bottoming out in a shallow hole can all leave the attachment weaker than it looks. A screw that feels tight can still be wrong if the wood is crushed or the head is damaged.
If the lag screw finishes and sizes are long enough to risk punching through the back of the stud, verify the available depth before you drive. A longer screw is not automatically safer. In a wall cavity, excess length can create a new problem behind the framing.
Washers and load spread
A washer belongs under the head when the fastener is supporting a bracket, plate, or other hardware with a larger hole than the screw head. The washer spreads the load, protects the hardware surface, and helps the head bear on a wider area of wood or steel. For load-related hardware, this matters because bearing area, edge distance, and fastener count all affect real capacity.
When to use a washer
Use a washer for most heavy attachments, especially when the bracket hole is slotted or oversized. It gives the head a larger bearing surface and helps the screw clamp the hardware without crushing the material around the hole.
For a lag screw, the washer usually sits directly under the hex head and against the mounted part. It should be flat and sized to cover the hole without hanging so far past the edge that it interferes with the hardware fit.
When to skip a washer
Skip the washer only when the hardware design already provides its own bearing surface or the maker specifies a different fastener arrangement. Do not remove the washer just to make the assembly look cleaner. The washer is often part of the load path.
How washer size affects bearing
A washer that is too small can pull through a slotted or oversized hole. One that is too large can interfere with the bracket edge or sit unevenly. Match the washer to the hole size and the bracket shape so the head seats flat and the load spreads evenly.
Lag screw decision table
Use this decision path when choosing between a lag screw and a structural screw for a wood-stud connection. The right answer depends on diameter, embedment, wood species and grade, edge distance, number of fasteners, bracket geometry, and whether the connection is loaded in shear or in pull-out. If the hardware listing gives a specific fastener, follow that listing instead of substituting a different type.
Start with the load. If the connection is part of a safety-critical assembly, a handrail, ledger, structural restraint, or any mount with a published fastener schedule, defer to the listing or engineering documentation. If the connection is for general hardware, use the fastener chart, the bracket geometry, and the stud condition to decide whether a lag screw or a listed structural screw is the better fit.
| Application | Stud condition | Fastener choice | Pilot-hole approach | Washer use | Top failure risk |
|---|---|---|---|---|---|
| Shelf bracket | Sound wood stud, centered hole | Lag screw | Predrill slightly smaller than the screw; drill deep enough for the full screw length in wood | Yes, under the head | Stripped hex head from overtightening |
| Ledger-like light fixture | Sound stud, limited hardware depth | Structural screw | Follow the screw maker’s hole guidance; some are driven without a pilot hole | Usually no, unless the fixture hole is oversized | Shallow embedment or misalignment |
| TV mount | Sound wood stud, multiple fasteners | Structural screw or lag screw | Use a pilot hole that is slightly smaller than the lag screw if using lags | Yes for lag screws | Mounting plate shift during tightening |
| Cabinet cleat | Sound wood stud, repeated holes | Structural screw | Follow the screw instructions; keep spacing consistent | Usually no | Stud splitting from clustered holes |
| Heavy decorative hardware | Sound wood stud, thick bracket plate | Lag screw | Predrill before driving; keep hole centered | Yes, for load spread | Overdriving into soft wood |
| Handrail bracket | Sound wood stud, frequent user load | Structural screw | Use the manufacturer’s drill-size instruction | No unless specified by the bracket | Head stripping during final tightening |
| Wall hook cluster | Single stud with multiple points | Lag screw only if the hook base allows it | Predrill each hole; keep holes spaced apart | Yes if the base hole is larger than the head | Wood splitting between holes |
| Repairs on an old stud | Dry, brittle, or checked wood | Structural screw only if the wood is still sound enough; otherwise repair first | Use the smallest safe pilot the fastener requires | Maybe, depending on hardware | Stud failure at the edge or through the back |
Lag screws vs structural screws
Lag screws and structural screws both fasten hardware into wood studs, but they do not install the same way. Lag screws use a hex head and require a pilot hole. Structural screws are a separate category that may reduce predrilling and can improve drive control, but only when the specific fastener listing and manufacturer instructions allow that installation method.
Speed and drive style
Structural screws are usually faster to install because they reduce setup steps and often grip with a drive head that resists slipping better than a hex head under torque. Lag screws take a little more prep, especially when the bracket has to be clamped, drilled, and held steady while you tighten.
Thread engagement and holding strategy
Lag screws depend on a predrilled hole and partial-thread design to bite the wood cleanly. Structural screws are designed differently and may reduce splitting risk because the installation process is less demanding on the wood. The right choice depends on the fastener instructions and the wall hardware. Capacity also depends on embedment depth, stud species and grade, edge distance, fastener count, and whether the load is pulling straight out or acting mainly in shear.
For a shelf bracket, a lag screw can be a solid choice when the plate has a large hole and you want a washer under the head. For a cabinet cleat or a tight handrail bracket, a structural screw often makes more sense because it is easier to seat cleanly without chewing up the head.
When structural screws make more sense
Choose a structural screw when you want faster installation, less risk of stripping the drive head, and fewer steps in framing lumber. That is especially useful where several fasteners must go in one stud and the chance of splitting rises with every added hole.
If the hardware maker specifies a structural screw, follow that listing instead of substituting a lag screw. The two fasteners are not interchangeable just because they both go into wood. If the listing calls for a specific diameter, head type, or embedment depth, those details control the installation.
Frequently asked questions
How to screw in lag bolts
Lag bolts are another name for lag screws. The method is the same: clamp the part, predrill, and drive slowly with the proper hex head tool. Stop when the washer seats and the connection feels firm. Do not force the fastener if the stud starts to split or the head begins to round.
What size pilot hole do I need for a lag screw into a stud?
The pilot hole should be slightly smaller than the lag screw, not equal to it. The exact bit depends on the screw diameter and the wood species. The safe rule is to follow the fastener chart for that size and drill deep enough for the full screw length in the stud.
How deep should a lag screw go into a stud
The pilot hole must be deep enough for the entire screw length that will enter the stud. If the hole is too shallow, the screw can bottom out before the hardware is tight. That can leave the attachment loose, raise the torque on the head, and damage the wood fibers. For safety-critical work, use the manufacturer’s embedment requirement or an approved hardware listing rather than a generic depth rule.
Should I use a washer with a lag screw?
Yes, when the hardware hole is oversized, slotted, or carrying load over a larger area. A washer spreads the load under the head and helps the fastener bear on the bracket cleanly. Skip it only if the hardware maker specifies a different arrangement or the part already provides full bearing.
Can I use lag screws in a metal stud?
Do not apply wood-stud lag screw guidance to a metal stud. Metal studs are a different substrate with different fasteners and load behavior. If the wall is metal framing, use the fastening method listed for that product and do not assume a wood lag screw is appropriate.
Sponsored / affiliate links. As an Amazon Associate I earn from qualifying purchases. I may earn additional commission from eligible campaigns.