Why Does Window Insulation Film Wrinkle or Not Stick?
Window insulation film wrinkles or fails to stick when moisture, dirt, cold frames, or a poor seal keep the tape from bonding. If the film still looks loose after a full shrink, the cause is usually one of those four. Miss the cause and you waste film, lose heat, and may trap condensation against the glass. This guide shows how to diagnose each symptom and fix the problem during installation or after shrink-down.
What window insulation film is meant to do


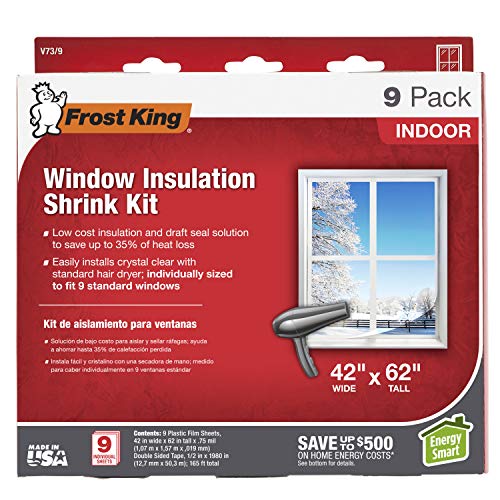

Window insulation film is a thin plastic sheet applied to the inside of windows. It traps a still air layer between the film and glass, which slows convection heat loss at the window surface. In winter, that means less drafty feel near the glass and less heat escape, not a permanent replacement for glazing.
Two product types matter. Convection-control winter kits are made to tighten over the opening after you secure the border with double-sided mounting tape. Solar-control films are a different product category and are chosen more for sun management, light transmission, and heat gain control. Do not treat them as the same install.
Some products list performance claims such as up to 34% heat-loss reduction, up to 54% radiated heat reflection, up to 99% UV protection, and up to 55% more heat retained. Those numbers depend on correct fit, intact tape, and a dry, clean frame.
What you’ll need
- Window insulation film kit with included double-sided mounting tape, if supplied
- Microfiber cloth
- Mild cleaner that leaves no residue
- Dry towel
- Scissors or a utility knife
- Hair dryer with low or medium heat
- Optional thermometer or hygrometer for room conditions
Window film troubleshooting matrix
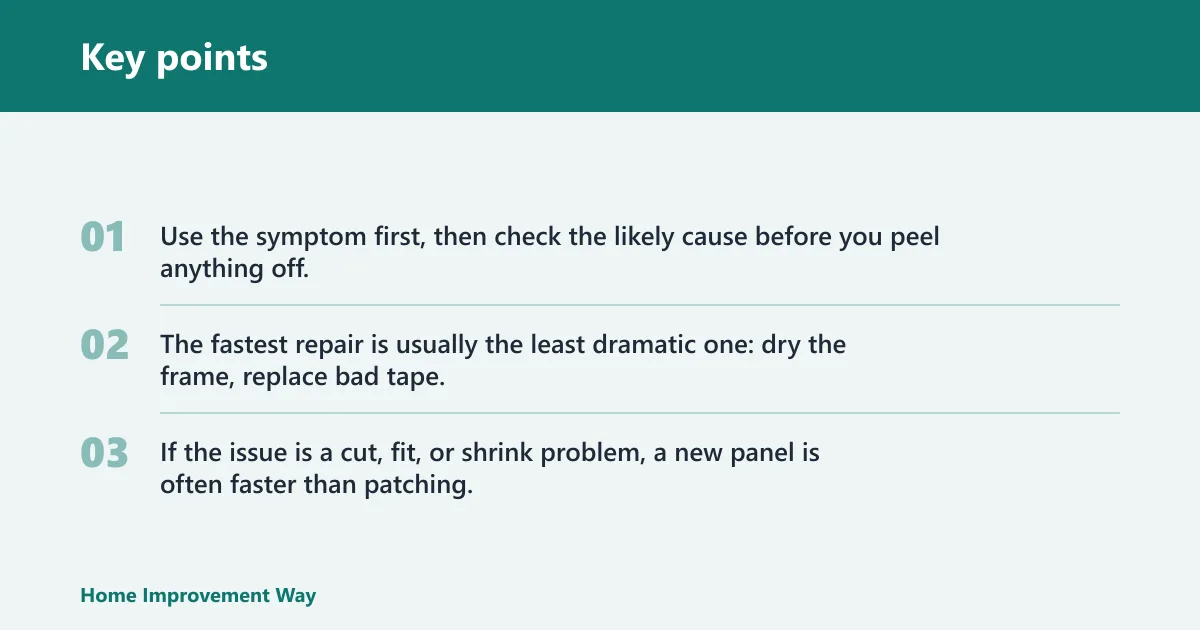
Use the symptom first, then check the likely cause before you peel anything off. The fastest repair is usually the least dramatic one: dry the frame, replace bad tape, or warm the room before you restretch the film. If the issue is a cut, fit, or shrink problem, a new panel is often faster than patching.
| Symptom | Likely cause | Diagnostic check | Exact fix |
|---|---|---|---|
| Wrinkles remain after shrinking | Film was stretched unevenly or shrunk too fast | Wrinkles sit in one corner or in a diagonal line | Reheat with low or medium air from about 6 to 10 inches away, moving constantly; if creases stay sharp, remove and reinstall. |
| Edge lift at a corner or seam | Tape did not bond fully | Lifted edge peels with light finger pressure | Press the tape border again, then replace any loose section with fresh tape on a clean, dry frame |
| Tape not sticking to metal frames | Cold metal, oxidation, or fresh condensation | The tape test lifts easily after a few seconds | Warm the room, dry the metal, and use fresh tape on a fully dry surface; if rust remains, smooth and prime or change products |
| Condensation under the film | Moist air trapped at installation or indoor humidity too high | Fogging appears between glass and film | Remove the panel, dry the glass, lower indoor humidity, and reinstall after the surface is clear |
| Dust or specks show through the film | Contamination on the frame or glass edge | Visible particles stay in place after smoothing | Lift the nearest edge, clean the area, dry it fully, and reinstall; do not try to press debris flat |
| Cold-weather application failure | Surface temperature is too low for the tape | Frame feels cold to the touch and the border releases quickly | Raise room temperature, warm the frame gently, and retry after the surface is dry |
| Loose paint or rust under tape | Poor substrate on wood or metal | Tape pulls off flakes instead of clean paint | Remove loose material, repair the surface, then retape only after the repair is cured and dry |
| Film cut too tight | No slack for shrink and thermal movement | Film pulls hard at the corners | Replace with a panel that leaves a narrow margin before trimming |
| Film cut too loose | Excess slack before shrinking | Large folds appear before heat is applied | Trim closer, keeping a narrow margin, then shrink evenly |
| Humidity too high indoors | Moisture load from humidifier, cooking, or wet cleaning | Glass fogs again after you wipe it clean | Turn down or off the humidifier, wait for surfaces to dry, then reinstall |
| Tape failure on damp wood | Wood absorbs moisture and blocks adhesion | Wood feels cool or slightly damp near the molding | Dry the wood longer, then retape; if the wood keeps wicking moisture, replace the tape and recheck the room humidity |
| Static cling or handling damage | Film snagged on hands, tools, or rough edges | Small tears or stretched spots appear during placement | Handle only by the edges, keep hard objects away, and replace damaged film because thin plastic tears easily |
Does window insulation film work?
Yes, when you install it on the inside with dry tape and a tight border, it can reduce heat loss through glass and cut the drafty feel near the window. The film works by trapping air, which slows convection. Solar-control versions are a different choice and are better judged by light transmission, LSG, and SHGC than by winter shrink performance.
Which film type fits cold weather?
For winter, choose an insulating kit meant for interior application. These kits are built for heat retention, while warmer-climate solar-control film is aimed more at sun control and visible light management. If the room needs winter comfort first, start with the insulating type and confirm the package is meant for cold-weather use.
When solar-control film is the wrong choice
A solar-control film can be the wrong pick when the problem is heat escape at the window in winter. It may change how much light passes through and may be specified by LSG and SHGC instead of shrink-style fit. If your goal is to reduce winter draft feel, use a winter insulation kit instead.
How do you install window insulation film without wrinkles?
Wrinkle-free installation starts with a clean, dry frame, then a loose fit, then controlled heat. Do not stretch the film hard during placement. Leave a narrow margin, seal the border with tape, and shrink only after the panel is centered and lightly attached. Smoothing alone will not fix a kit that still needs heat-shrinking.
- Clean the frame and the glass edge, then dry both completely.
- Apply the tape to the front of the molding and sill, not the film.
- Rub the tape down with firm pressure so the adhesive bonds.
- Peel the liner and hang the film with slight slack.
- Trim to fit, leaving a narrow margin around the border.
- Use low or medium heat from a hair dryer, moving it constantly until the film tightens.
Suppose a 36-by-60-inch living-room window looks smooth when installed but develops shallow ripples after heat is applied. That usually points to uneven tension or a cold, damp frame. Recheck the border first. If the tape still feels weak, replace it before you shrink the panel again.
Why does window insulation film not stick to the frame?
Poor adhesion usually means the tape never bonded to the frame, not that the film itself failed. Moisture, dust, grease, cold metal, loose paint, and rust all interfere. Metal frames are harder because cold metal attracts fresh moisture quickly, so a frame that looks dry can still be too damp for low-tack tape. (Wikihow)
How do you clean window frames before applying film?
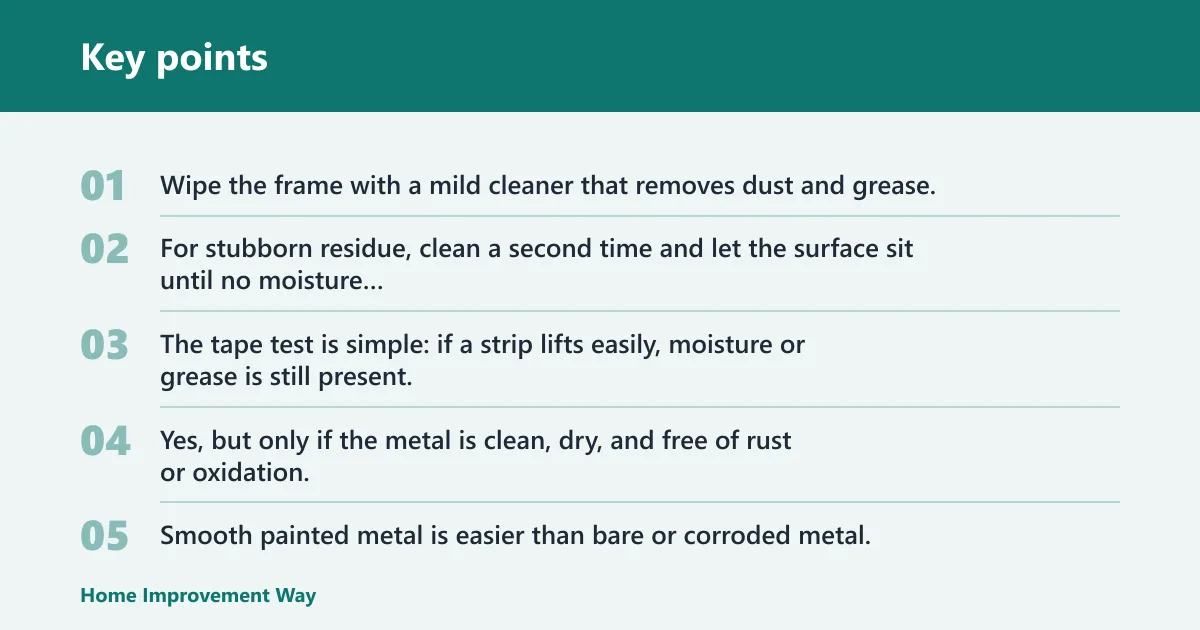
Wipe the frame with a mild cleaner that removes dust and grease, then dry it with a clean towel. For stubborn residue, clean a second time and let the surface sit until no moisture remains. The tape test is simple: if a strip lifts easily, moisture or grease is still present.
Can you use window insulation film on metal window frames?
Yes, but only if the metal is clean, dry, and free of rust or oxidation. Smooth painted metal is easier than bare or corroded metal. If the frame is cold, warm the room first or use gentle heat on the frame itself before retaping.
What should I do if the tape won’t adhere to the window frame?
Replace the tape after you fix the surface, not before. First, dry the frame, reduce indoor humidity if needed, and wipe off dust and grease. If the tape still lifts, switch to fresh tape from the kit or request replacement tape for your model. If the frame is rusty or flaking, repair that surface first.
Common mistakes
Most failed installs come from a few avoidable errors. Stretching the film while placing it can lock in wrinkles. Heating too soon can pull the panel out of alignment before the border bonds. Skipping drying time leaves moisture under the tape, which matters on both wood and metal.
- Do not smooth wrinkles on a shrink kit and stop there; shrink it with controlled heat.
- Do not apply tape over dust, grease, or wet paint.
- Do not place film on a frame that still feels damp or cold from condensation.
- Do not trim so tightly that the film cannot contract evenly.
- Do not assume one tape brand will work on every damaged frame; rough or rusty metal often needs a better surface first.
A common first-timer mistake is to install film in a room with the humidifier running and then wonder why the corner lifts overnight. Turn the humidifier down, dry the frame again, and retape before you blame the film itself.
Prevention: Keep the room dry during installation, warm the frame if it feels cold, and press the tape border firmly before you touch the film with heat.
How long does window insulation film last?
Life span varies by kit, exposure, and how well the border is sealed. Indoor shrink film is generally temporary by design and is usually replaced after about one heating season, or whenever it tears, loosens, or fogs badly. If the frame stays dry and the tape remains secure, the panel lasts longer.
How do you apply window insulation film?
Clean and dry the frame, place the tape on the molding or sill, hang the film with slight slack, trim the edges, and shrink it with low or medium heat from a hair dryer. The air gap is what helps with heat loss, so the border seal matters more than a hard stretch.
How do you install window insulation film without wrinkles?
Leave a narrow margin, keep the film centered, and use controlled heat after the tape has bonded. If wrinkles stay after shrinking, the panel likely needs more even heating or a fresh install. Sharp creases, torn corners, and dirty borders usually call for replacement, not more smoothing.
Frequently asked questions
What type of window film is best for cold climates?
Cold climates usually call for an insulating interior kit, not a solar-control film. Look for a product meant to reduce winter heat escape and check whether the listing discusses heat retention rather than sun management. If light transmission matters, compare the product details before buying.
Sponsored / affiliate links. As an Amazon Associate I earn from qualifying purchases. I may earn additional commission from eligible campaigns.