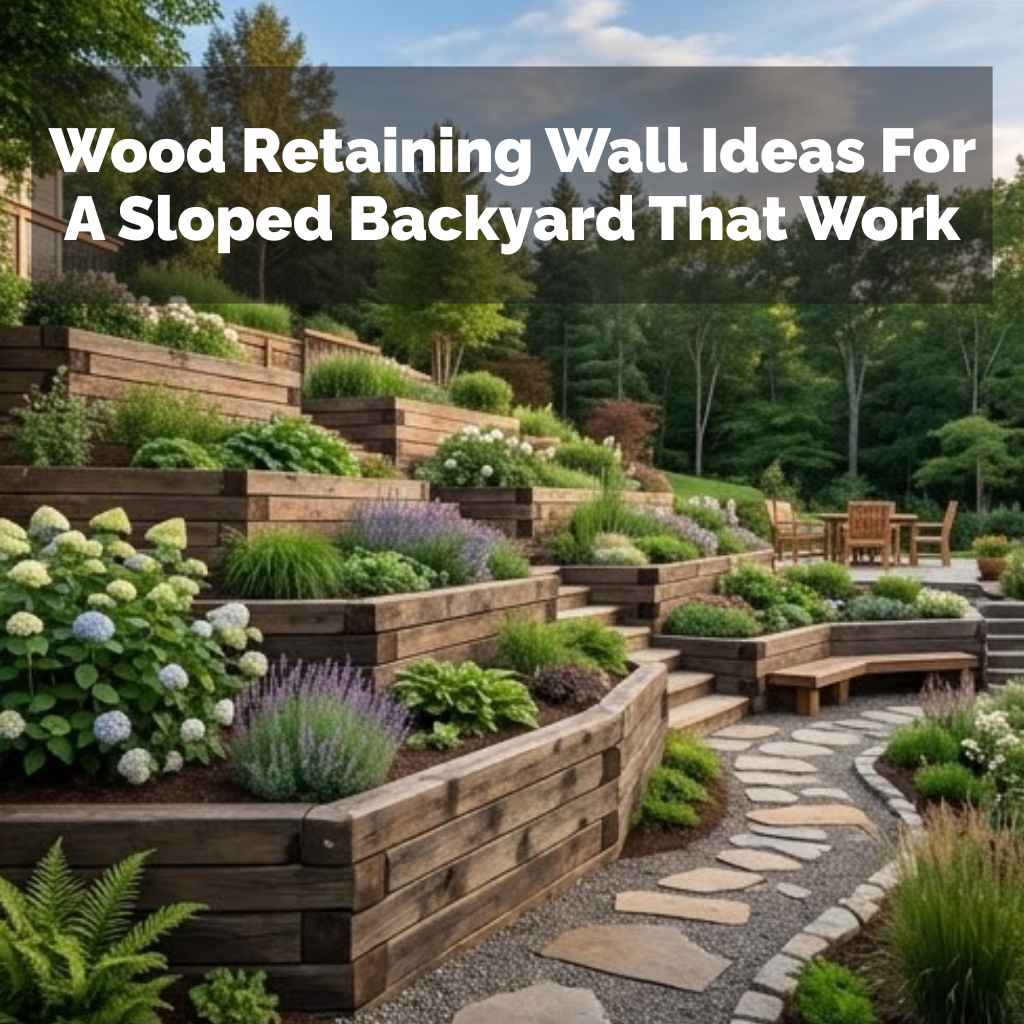
Wood Retaining Wall Ideas For A Sloped Backyard That Work
Tackling a sloped backyard can feel like a puzzle. You want to make the most of your outdoor space. But the hill can be a challenge.
Building a wood retaining wall is a popular choice. It can transform a steep area. It makes it usable and beautiful.
We will explore many ideas for these walls. You will find inspiration to fit your yard and needs.
A wood retaining wall can turn a tricky sloped backyard into a functional and lovely outdoor area. These walls hold back soil. They prevent erosion. They also add structure and charm. We’ll cover different designs, materials, and things to think about for your project.
Understanding Wood Retaining Walls for Slopes
A wood retaining wall is built to hold back soil on a slope. It stops the ground from sliding down. Think of it like a strong barrier.
It keeps your yard in place. This is super important for sloped areas. Without a wall, rain can wash away soil.
This causes erosion. It can also make parts of your yard unusable.
Wood is a common material for these walls. It looks natural. It can fit many backyard styles.
It is also easier to work with than stone or concrete for many DIYers. But it’s important to use the right kind of wood. You also need to build it strong.
Slopes put a lot of pressure on walls.
Why Slopes Need Retaining Walls
Slopes are natural. But they can cause problems in a yard. Rainwater runs downhill quickly.
It carries soil with it. This is called erosion. Over time, this can make your yard uneven.
It can damage plants. It might even affect your home’s foundation. A retaining wall stops this movement.
It creates level areas.
These level areas are very useful. You can plant flowers. You can put in a small garden.
You could even place outdoor furniture. It makes your yard more than just a hill. It adds usable space.
It also makes your yard look neater and more planned. It adds a sense of order to a natural slope.
Personal Experience: The Day the Hill Fought Back
I remember a summer after a really rainy spring. We had a gentle slope in our backyard. It led down to a small creek.
We had planted some nice bushes there. They looked good for a while. Then the heavy rains came.
I woke up one morning to a strange sound. It was like a soft groaning. I looked out the window.
The top of the slope looked different. Soil had washed down. It was piling up around the base of the bushes.
One of the larger bushes had tipped over. Its roots were exposed. It looked sad and muddy.
It was a wake-up call. That gentle slope was not so gentle when the water started moving it.
I felt a pang of worry. How much damage could this do? What if it got worse?
It made me realize how much we relied on nature to hold things. But sometimes, nature needs a little help. That’s when I started looking into how to build a retaining wall.
I wanted something that looked good but was also strong.
Wood Retaining Wall Design Ideas
There are many ways to build a wood retaining wall. The best design for you depends on your slope’s steepness. It also depends on how much soil you need to hold back.
And of course, how you want it to look.
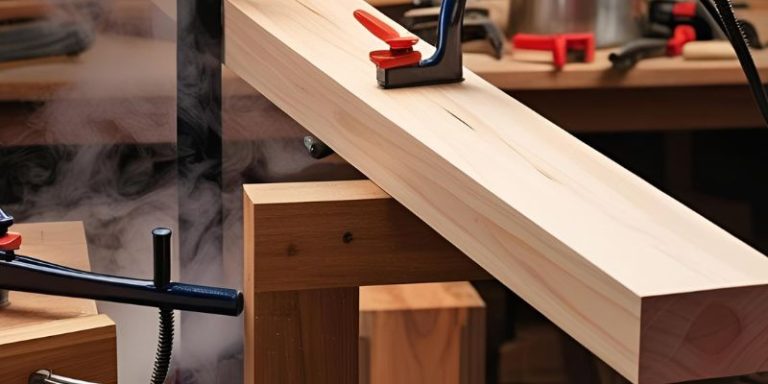
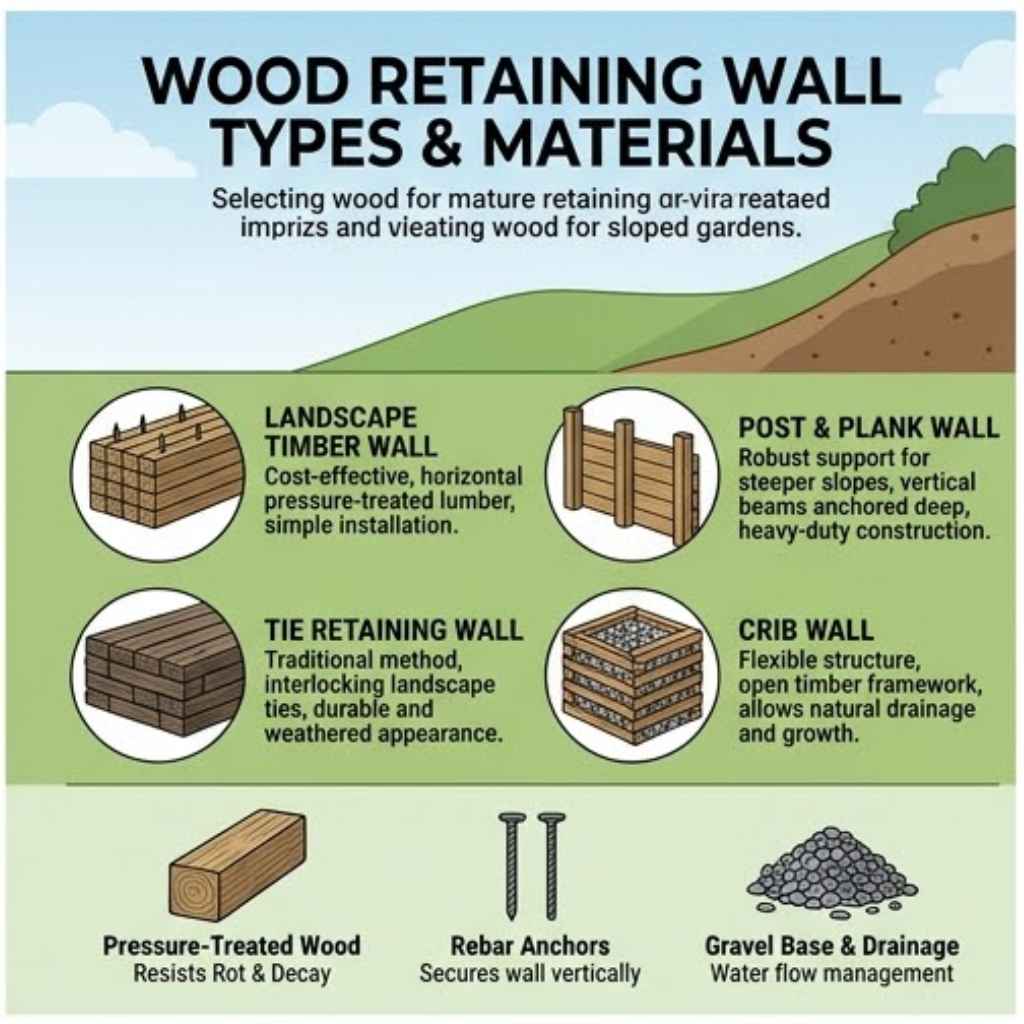
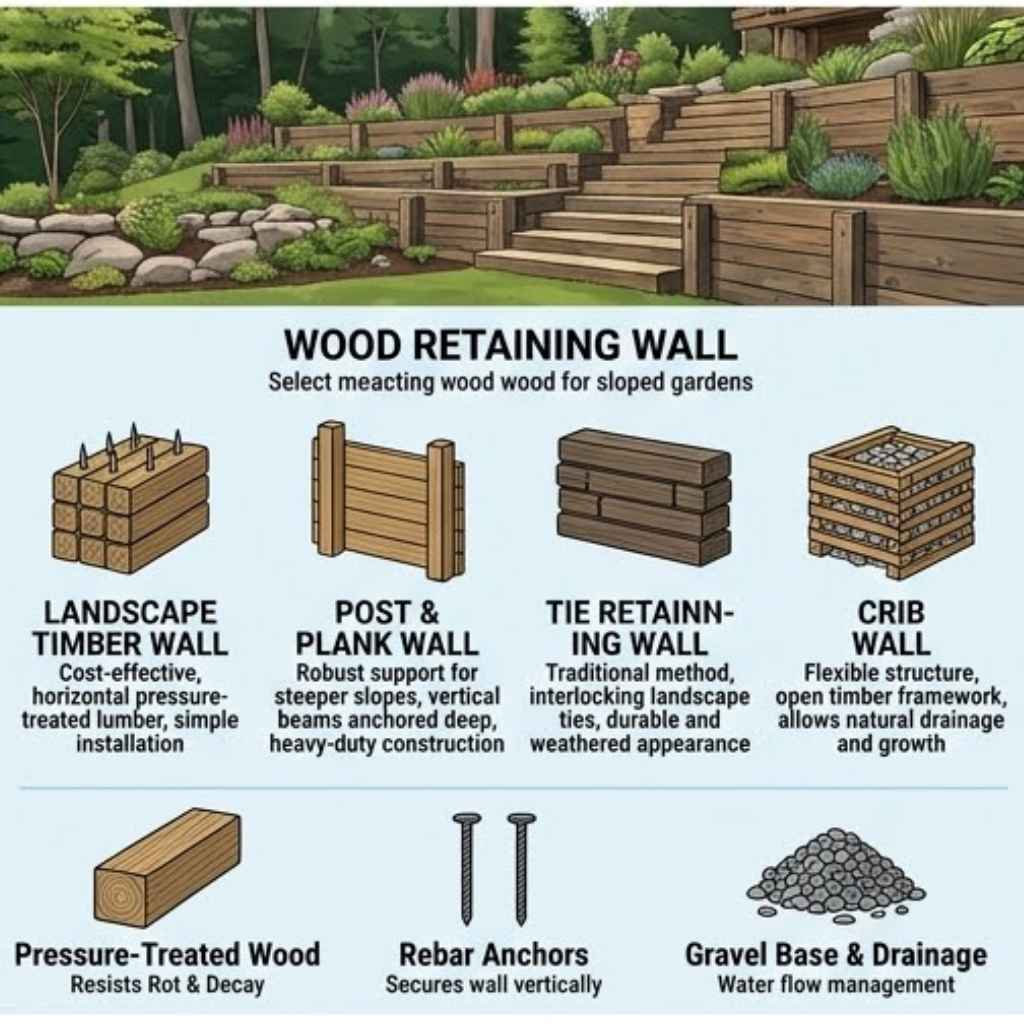
Simple Stacked Timbers
This is a classic look. You use large timbers. These could be 4x4s or 6x6s.
You stack them on top of each other. You usually secure them with rebar or long screws. They are often laid flat.
This makes a sturdy, rustic wall. It works well for smaller slopes. Or for creating small terraces.
Treated Lumber Walls
This involves using pressure-treated lumber. Think of common 2x6s or 2x8s. You might build a frame.
Then you attach the boards vertically or horizontally. This allows for more creative shapes. You can make curved walls.
Or walls with interesting patterns. It’s a sturdy option for medium slopes.
Natural Log Retaining Walls
For a very natural, woodland feel, use logs. You can use logs of varying diameters. Stack them against each other.
They can be partially buried. This creates a beautiful, organic look. It blends well with trees and nature.
It’s best for slopes that aren’t too steep. Or for decorative edging.
Pallet Wood Walls
If you’re on a budget, pallet wood can be an option. You’d need to take pallets apart. Then use the wood to build your wall.
This is often best for smaller, decorative walls. It might not be strong enough for major slopes. It requires careful selection of wood.
And good construction to last.
Choosing the Right Wood
Wood is great, but not all wood is the same. Especially when it’s going to be in the ground. It needs to resist rot and insects.
This is called decay resistance. You don’t want your wall to fall apart in a few years.
Pressure-Treated Lumber
This is the most common choice. It’s treated with chemicals. These chemicals protect it from decay and bugs.
Look for lumber rated for ground contact. This is usually marked. Common types are pine or fir.
They are treated to last a long time. It’s a reliable option for most retaining walls.
When buying, check for the treatment level. For retaining walls, you want the highest level. This means it’s designed for being in the soil.
It can handle moisture and ground contact. It’s a safe bet for longevity. But it’s important to handle it safely.
Wear gloves and a mask when cutting.
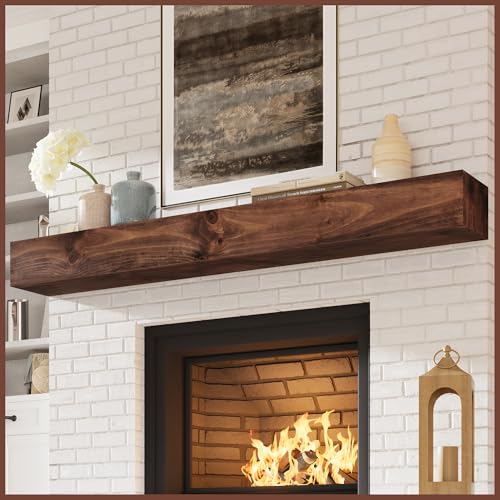
Naturally Rot-Resistant Woods
Some woods are naturally resistant to rot. Cedar and redwood are good examples. They contain natural oils.
These oils help them fight off decay. They are beautiful too. They have a rich color.
They don’t have the chemical smell of treated wood.
However, these woods are usually more expensive. They might not last as long as heavily treated lumber. Especially in very wet climates.
For a high-impact wall holding a lot of soil, treated wood might be a better investment. But for smaller, more decorative walls, cedar or redwood can be lovely.
Wood Alternatives
Sometimes, you might mix wood with other materials. For example, you could use wood timbers. But then add concrete blocks behind them for extra strength.
Or use gravel drainage behind the wood. This helps water escape. It reduces pressure on the wood.
This makes the wall last longer.
Quick Scan: Wood Durability Factors
- Treatment: Ground contact rated pressure-treated wood is best.
- Wood Type: Cedar and redwood offer natural resistance.
- Thickness: Thicker boards or timbers last longer.
- Drainage: Good drainage behind the wall is crucial.
- Contact: Keep wood away from constant dampness if possible.
Building Your Wood Retaining Wall: Key Steps
Building a retaining wall isn’t a simple weekend project. It requires planning. And some effort.
But if you get it right, it will serve you well for years.
Planning and Design
First, look at your slope. How high is it? How long does the wall need to be?
This helps decide the wall’s height. It also helps figure out how much material you need. It’s good to sketch out your idea.
Where will the wall go? Will it be straight or curved?
Consider local building codes. Some areas have rules about retaining walls. Especially for taller ones.
You might need a permit. Or your wall might need to be engineered. It’s always best to check first.
Safety is a big part of building. You want to build something that is safe.
Site Preparation
You need a solid base. Dig out the area for your wall. Remove any grass or plants.
You might need to dig a trench. This trench will be the foundation. It needs to be level.
The bottom of the trench should be stable.
For a taller wall, you might need to dig down. This is to anchor the wall firmly. It helps it resist the soil pushing against it.
Think about how the water will drain. You don’t want water building up behind the wall. This can cause it to fail.
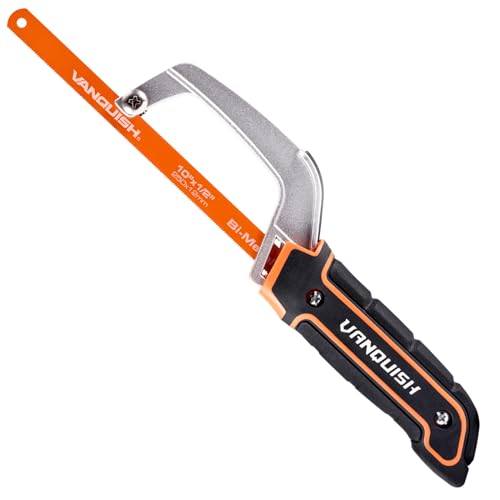
Construction Basics
Start with the base layer. Make sure it is perfectly level. Use a level tool.
Then add the next layer. Stagger the joints if you are using timbers or boards. This makes the wall stronger.
Like laying bricks. Use long, strong screws or rebar to connect the pieces.
For taller walls, you might need an internal drainage system. This could be a layer of gravel. It goes behind the wall.
You might also need a perforated pipe. This pipe collects water. It carries it away.
This stops pressure from building up.
Backfill the soil carefully. Don’t just dump it all in at once. Add soil in layers.
Compact each layer. This makes the soil dense. It reduces settling later.
It also adds strength to the wall.
Contrast Matrix: Wall Height vs. Complexity
| Wall Height | Complexity Level | Typical Considerations |
|---|---|---|
| Under 2 feet | Low | Basic leveling, simple wood stacking. Little need for extensive drainage. |
| 2 to 4 feet | Medium | Staggered joints, rebar or strong fasteners, basic drainage layer (gravel). |
| Over 4 feet | High | Requires robust engineering, proper footing, extensive drainage system (pipe + gravel), possible geogrid reinforcement. May need permits. |
Enhancing Your Wood Retaining Wall
A basic wood wall is functional. But you can make it look amazing. There are many ways to add style and flair.
Planting Around the Wall
Plants soften the look of a wall. They make it feel like part of the landscape. Choose plants that like slopes.
Or plants that can handle some shade if the wall casts it. Trailing plants can spill over the top. They add a charming touch.
Consider plants that help stabilize soil too. Ground cover plants with good root systems are excellent. They add a layer of protection.
And they make the wall look less harsh. Think about colors. Green foliage is always nice.
But add some flowering plants for pops of color. Match the plant colors to your home’s exterior.
Adding Cap Rails and Trim
A cap rail is a piece of wood that sits on top of the wall. It gives a finished look. It can be a nice place to rest a drink.
Or just to lean on. It protects the top edge of the wall too. You can use a wider board for the cap rail.
You can also add trim pieces. These can frame the wall. Or add decorative elements.
This makes the wall look more custom-built. It adds visual interest. It can elevate a simple wall to a feature in your yard.
Lighting
Nighttime is when a yard can really shine. Outdoor lighting can make your retaining wall look magical. You can install small lights along the top.
Or spotlights directed at the wall. Or lights that shine up from the bottom. This highlights the texture of the wood.
Lighting adds safety too. It helps you see where you are walking. It makes your outdoor space usable even after dark.
It creates a warm, inviting atmosphere. Consider solar lights for an easy option. Or low-voltage wired lights for more control.
Stacked Micro-Sections: Creative Additions
Built-in Seating: Some walls can be designed with integrated seating areas. Use wider timbers for benches.
Tiered Gardens: Create multiple levels. Each level is held by a short wall. This adds depth.
It also creates planting zones.
Water Features: Small, integrated water features can add sound and movement.
Decorative Inlays: Add natural stones or different wood types for patterns.
Real-World Context: Slopes in Different Climates
The climate where you live matters. A lot. In wetter areas, drainage is even more critical.
Water is the enemy of wood. And it’s the main force behind soil movement on slopes.
Wet Climates (Pacific Northwest, Southeast)
In places like Seattle or Atlanta, rain is frequent. You need to over-engineer your drainage. Use more gravel.
Ensure pipes are clear. The wood needs to be top-quality treated. Consider a slightly higher wall if possible.
This gives more room for gravel. And better water flow.
A natural look can still be achieved. But durability must be the top priority. You might even consider combining wood with stone.
Stone is less affected by constant moisture. Wood can be used for the visible face. Stone can be used for the structural support behind it.
Dry Climates (Southwest, Mountain West)
In drier areas like Arizona or Colorado, water is less of a constant issue. However, when it does rain, it can be intense. Think of flash floods.
The soil can become saturated quickly. So, drainage is still important. Just maybe not to the extreme needed in wet zones.
Wood can last longer in dry areas. It dries out between rains. However, sun exposure can also degrade wood.
Consider a good quality stain or sealant. This protects the wood from UV rays. It also helps keep it looking good.
Natural rot-resistant woods might be a good fit here.
Cold Climates (Northeast, Midwest)
In places with freezing and thawing cycles, walls can face stress. Water seeps into cracks. It freezes.
It expands. This can break down wood. And push soil.
Ensure your wall is well-built. And that it drains well. This prevents water from getting trapped and freezing.
Using thicker timbers can help. They are more robust. They can withstand more pressure.
Also, think about how snow melts. Does it create extra water flow near the wall? Plan for that.
A well-designed wall will handle these seasonal changes better.
Observational Flow: Building in Stages
Phase 1: Planning & Permits: Map your yard. Check codes.
Phase 2: Excavation: Dig the trench. Clear the area.
Phase 3: Base Layer: Add gravel. Compact it. Set the first timber/board.
Phase 4: Wall Construction: Stack timbers/boards. Secure them well.
Phase 5: Drainage: Add gravel behind the wall. Install drain pipe if needed.
Phase 6: Backfill & Compaction: Add soil in layers. Compact each layer.
Phase 7: Finishing Touches: Add cap rail, plants, lighting.
What This Means for Your Sloped Backyard
Having a sloped backyard doesn’t mean you’re stuck with a useless hill. A well-built wood retaining wall can change everything. It gives you usable space.
It adds beauty. And it protects your property from erosion.
When a Wood Wall is a Good Choice
Wood walls are often chosen for their look. They blend into natural settings. They can be more affordable than stone.
Especially if you are doing some of the work yourself. They are also easier to customize. You can shape them.
You can add features.
They are great for moderate slopes. Or for creating terraces. Or garden beds.
They can add a rustic charm. Or a clean, modern look depending on the design. They are a versatile option for many homeowners.
When to Consider Other Options
For very steep slopes, or walls over 4 feet high, wood might not be the best primary material. These situations often require more robust engineering. Stone, concrete blocks, or specialized retaining wall systems might be safer and last longer.
They can handle more soil pressure.
Also, if you live in an area with constant, high moisture, wood needs extra care. Or you might look at composite wood products. Or other non-wood materials.
These can be more resistant to rot and pests.
Always consider the long-term. Wood requires maintenance. It can rot over time.
Especially if it’s not cared for. If you want something that is virtually maintenance-free, wood might not be the ultimate choice.
Simple Checks for Your Wall
Once your wall is built, check it now and then. Look for leaning. Are any boards or timbers loose?
Is the soil behind the wall stable? Is water draining properly?
A quick check after heavy rain is smart. See if any new erosion is happening. Or if water is pooling.
A little bit of attention can prevent big problems later. It’s about keeping an eye on things. Like a good friend for your yard.
Quick Fixes and Tips
While major issues need rebuilding, small things can be addressed.
- Loose screws or nails: Tighten them up. Or replace them.
- Minor rot: If a small section is starting to rot, you might be able to replace just that piece.
- Plant roots: Keep plants trimmed so their roots don’t put too much pressure on the wall.
- Drainage clogs: Clear leaves or debris from drainage areas.
For more significant issues, it’s best to consult a professional. Or plan for a rebuild. Trying to fix a wall that’s about to fail can be dangerous.
And might not solve the underlying problem.
Frequent Questions About Wood Retaining Walls
How long do wood retaining walls usually last?
With good construction and maintenance, a pressure-treated wood retaining wall can last 15 to 25 years. Naturally rot-resistant woods like cedar or redwood might last 10 to 20 years. This depends heavily on the climate, soil conditions, and the quality of wood used.
What is the best type of wood for a retaining wall?
Pressure-treated lumber rated for ground contact is usually the best choice for durability and resistance to rot and insects. Cedar and redwood are good alternatives if you prefer natural resistance and a different aesthetic, but they may not last as long in harsh conditions.
Do I need drainage behind a wood retaining wall?
Yes, drainage is crucial for almost all retaining walls, especially wood ones. Water buildup behind the wall creates hydrostatic pressure, which can cause the wall to bow, crack, or fail. A layer of gravel behind the wall and a perforated drain pipe are common solutions.
Can I build a wood retaining wall myself?
Yes, many homeowners can build smaller, shorter wood retaining walls themselves. However, for walls over 4 feet high, or for very steep slopes, it’s often recommended to consult with a professional or an engineer. Proper construction is key to safety and longevity.
How do I prevent my wood retaining wall from rotting?
Use ground-contact rated pressure-treated wood. Ensure excellent drainage behind the wall to keep it from staying constantly wet. Consider applying a sealant or stain periodically.
Inspect the wall regularly for any signs of decay or insect damage.
What are some good plants to put on or around a retaining wall?
Trailing plants like creeping jenny, sedums, or vinca can spill over the top. For the face, consider plants with shallow root systems like ornamental grasses, hostas, or small shrubs. Ground covers help stabilize the soil.
Conclusion
Transforming a sloped backyard with a wood retaining wall is a rewarding project. It brings beauty and function. By understanding your slope and choosing the right materials, you can create a lasting structure.
This adds value and enjoyment to your outdoor living space for years to come.