Can You Dilute Wood Stain To Make It Lighter? Yes, Here’S How
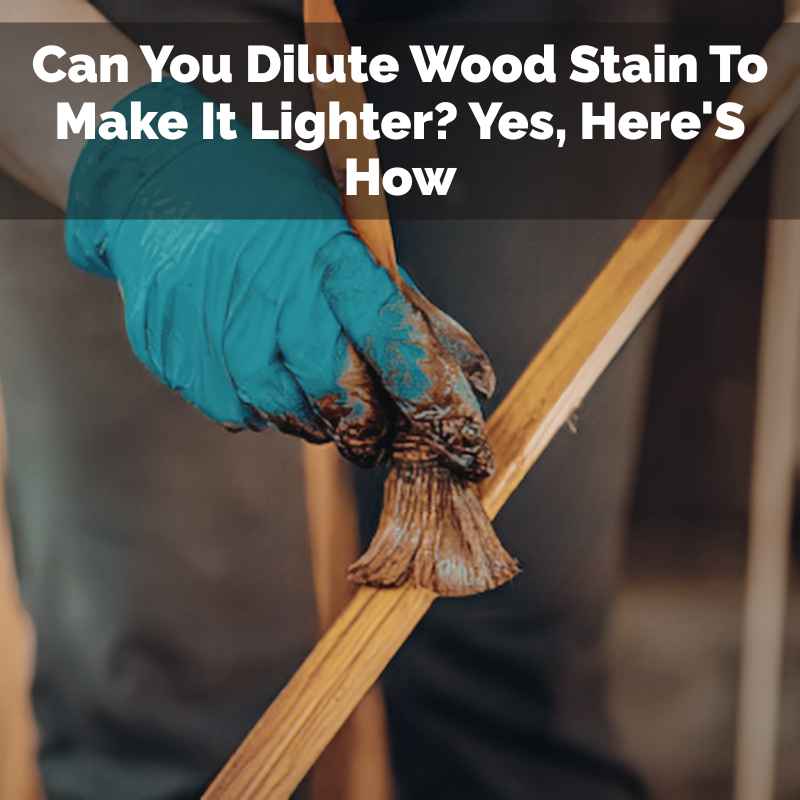
Wood stain adds color to wood. It’s not like paint, which sits on top. Stain soaks into the wood fibers.
This gives wood a natural, colored look. Many stains are made of color pigments or dyes. They are mixed with a liquid carrier.
This carrier is often oil, water, or alcohol. The carrier helps the color spread evenly. Then, it evaporates, leaving the color behind.
Diluting stain means adding more of this liquid carrier. The goal is to spread the color out more. This uses less pigment or dye per square inch.
So, you get a paler version of the original color. Think of it like watering down juice. The flavor gets weaker.
The color gets lighter. It’s a simple concept.
Can You Dilute Wood Stain to Make It Lighter?
Yes, you absolutely can dilute wood stain to make it lighter. This is a widely used technique. It gives you more control over the final color.
It’s especially useful when you want a subtle, natural look. Or when the stain you chose is a bit too intense. The method for dilution depends on the type of stain you have.
There are a few main types of wood stains. These are oil-based, water-based, and alcohol-based. Each type uses a different liquid.
So, you need to use the right liquid to dilute it. Using the wrong thinner can cause problems. It might not mix well.
It could affect how the stain applies or dries. It might even damage the wood finish.
Types of Wood Stain and Their Thinner
Knowing your stain type is key. It dictates what you should use to dilute it. This ensures the stain works as it should.
It also helps you get the best possible results for your project. We’ll break down the common types.
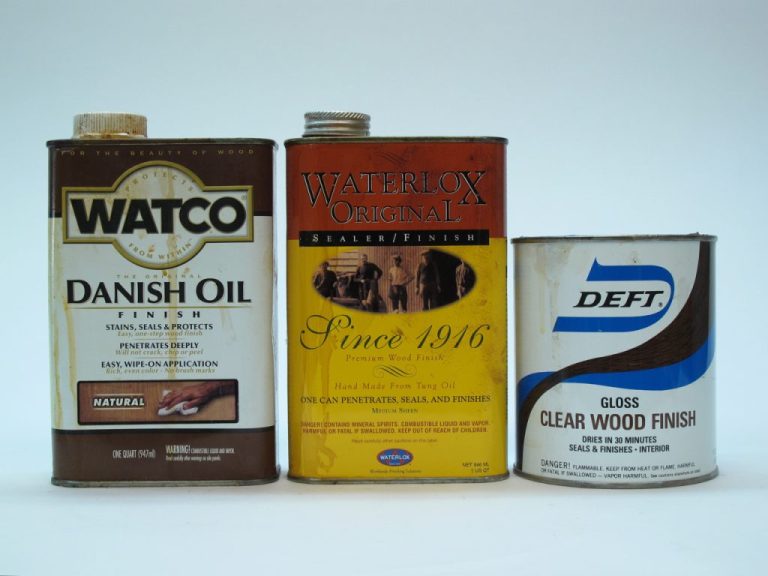
Oil-Based Wood Stain
Oil-based stains use oils as their carrier. These are very common. They penetrate wood well.
They offer a rich, deep color. For oil-based stains, you need an oil-based thinner. The most common thinner is mineral spirits.
You can also use paint thinner. Some people use denatured alcohol. However, mineral spirits are usually the best choice.
Mineral spirits are like a solvent. They break down the oil in the stain. This lets you spread the color thinner.
It helps it penetrate the wood more gently. It also slows down drying time a bit. This gives you more time to work with it.
You can wipe away excess more easily. This helps avoid dark streaks.
Water-Based Wood Stain
Water-based stains are becoming more popular. They are easier to clean up. They often have lower VOCs (volatile organic compounds).
This means they smell less strong. For water-based stains, the thinner is simple: water. Specifically, distilled water is best.
Tap water can sometimes have minerals. These minerals might affect the stain’s color.
Adding water to water-based stain thins it out. It spreads the colorant. This makes the final color lighter.
Water also helps the stain flow more smoothly. It can also extend the open time. This is the time you have to spread and wipe.
It allows for more even application. This is great for beginners.
Alcohol-Based Wood Stain
Alcohol-based stains dry very quickly. They are often used for small projects. They can also be used when you need a fast finish.
Their carrier is alcohol. So, you use alcohol to thin them. Denatured alcohol is the usual choice.
It’s readily available at hardware stores.
Diluting alcohol-based stain with more denatured alcohol makes it lighter. Because these stains dry so fast, dilution can help. It slows down the drying process slightly.
This gives you a little more time. It helps prevent blotching. Blotching happens when the stain dries too fast.
It leaves dark spots.
How to Dilute Wood Stain: Step-by-Step
Diluting stain is not hard. But you need to be careful. You want to get the right lightness.
You don’t want to make it too thin. Too thin, and it might not color the wood enough. Or it might look watery.
Here’s a general process. It works for most stain types.
First, gather your supplies. You’ll need your chosen stain. You’ll need the correct thinner.
Get a clean container for mixing. It should be larger than you think you need. You’ll also need stir sticks.
And you’ll need something to test your diluted stain on. Scrap wood is perfect for this.
Step 1: Choose Your Thinner
This step is crucial. As we discussed, use the right thinner for your stain.
- Oil-based stain: Mineral spirits or paint thinner.
- Water-based stain: Distilled water.
- Alcohol-based stain: Denatured alcohol.
Using the wrong thinner can cause a mess. It might not mix. It could make the stain sticky or uneven.
Always check the stain can for recommended thinners. If in doubt, ask at the store. They can guide you to the right product.
Step 2: Start with a Small Batch
Don’t try to dilute your whole can of stain at once. Start small. Mix only what you think you’ll need for a test.
This lets you experiment. You can find the perfect ratio. This way, you don’t waste a lot of stain if it doesn’t turn out right.
You can always mix more later.
For your first batch, try a 1:1 ratio. Use one part stain and one part thinner. This is a good starting point.
It will significantly lighten the color. You can then adjust from there. You might need less thinner.
Or you might need more.
Step 3: Mix Carefully
Pour your stain into the clean container. Then, add your chosen thinner. Use a stir stick to mix them together.
Stir slowly and thoroughly. You want the thinner to fully blend with the stain. Make sure there are no streaks.
Stir for a minute or two. Ensure everything looks uniform.
Avoid shaking the mixture vigorously. This can introduce air bubbles. Air bubbles can cause problems when you apply the stain.
They might show up as little spots. Or they can make the finish uneven. Gentle stirring is the best approach.
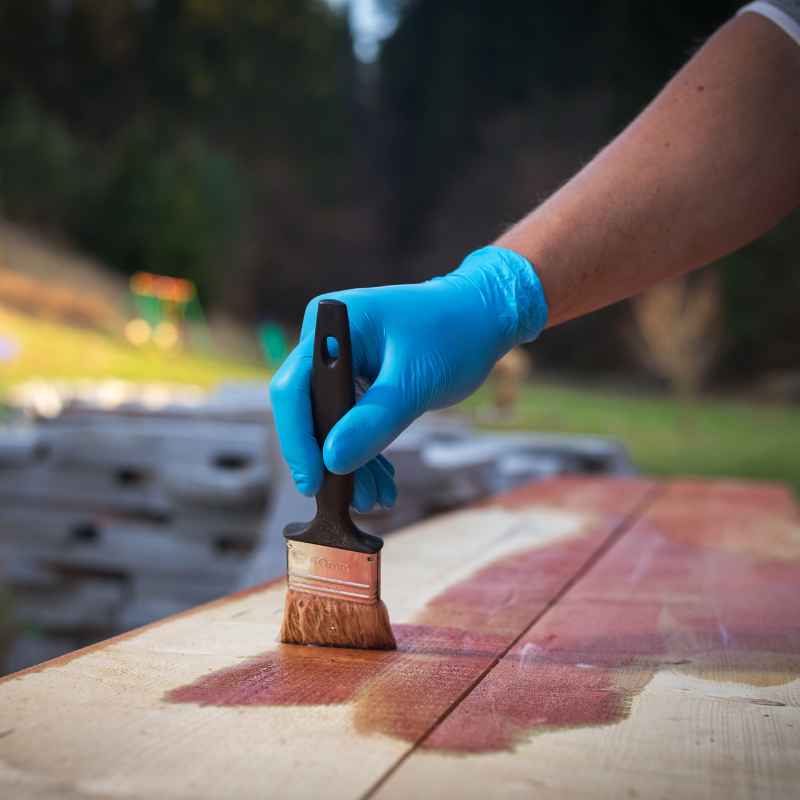
Step 4: Test Your Diluted Stain
This is the most important step. Never skip this. Get a piece of scrap wood.
It should be the same type of wood as your project. Sand it the same way you plan to sand your project. Apply your diluted stain to the scrap wood.
Use the same method you’ll use for the final piece.
Let it dry completely. Then, look at the color. Is it light enough?
Does it look good on the wood? If it’s still too dark, you can add more thinner. If it’s too light, you can add a little more stain.
Mix again and test again.
Most people aim for a certain lightness. You might want a ‘pre-finished’ look. Or a very subtle tint.
Testing on scrap wood shows you the true color. It won’t look the same in the can as it does on wood. Heat and the wood itself change how stain looks.
Step 5: Apply to Your Project
Once you have the color you want, you can use it. Apply it to your actual project. Follow your usual staining methods.
Wipe on, wipe off is common. Or you can brush it. Make sure to work in sections.
This helps prevent lap marks. Lap marks happen when you stain over an edge that has already started to dry.
Keep your mixed stain covered when not in use. This prevents the thinner from evaporating too quickly. You don’t want the ratio to change as you work.
Stir it occasionally. This keeps the pigment mixed well.
What stood out to me on my first attempt at dilution was how much the wood grain showed through. I expected a light color, but I got a lot of the wood’s natural beauty. It was a happy accident.
It made the piece look more natural.
Factors Affecting Stain Color After Dilution
Diluting stain is a great way to control color. But other things also affect how it looks. It’s good to know these.
They help you get closer to your desired outcome. Understanding them makes your project smoother.
The Type of Wood
Different woods take stain differently. Pine is very absorbent. It soaks up stain quickly.
This can make it look darker. Hardwoods like oak or maple are less porous. They absorb less stain.
They often appear lighter.
If you dilute stain for pine, you might need less thinner. The wood will drink up the diluted stain. It will still get darker than the wood itself.
For maple, you might need more thinner. The wood doesn’t absorb as much. A less diluted stain might be too dark.
I learned this the hard way. I tried the same diluted stain on a pine table. Then on a maple chair.
The pine looked great. The maple was too light. I had to go back and add another coat.
Or mix a new batch with less thinner for the maple.
Sanding and Surface Prep
How you prepare the wood matters a lot. Smooth, fine-grit sanding helps stain absorb evenly. Coarse sanding can leave pores open.
This can make the stain darker in spots. Very fine sanding, like 220 grit and above, can seal the wood a bit. This can make it harder for the stain to penetrate.
It might result in a lighter color.
Always sand your wood well. Use a medium grit first, then a finer grit. For light stains, you might even try sanding with a very fine grit.
Or use a pre-stain wood conditioner. This helps the stain absorb more uniformly. It prevents blotching.
It ensures your diluted stain color looks the same everywhere.
Application Method
The way you apply the stain makes a difference. Wiping on stain allows more control. You can wipe off excess.
This makes it easier to achieve a lighter, more even coat. Brushing can sometimes leave thicker patches. This might result in darker areas.
Spraying stain can give a very fine mist. This can lead to a light, even color. But it requires skill and equipment.
For most DIY projects, wiping is best. It offers good control. It works well with diluted stains.
Number of Coats
You can build up color with multiple thin coats. This is often better than one thick coat. Especially when using diluted stain.
You can apply one light coat. Let it dry. Then see the color.
If it’s too light, apply a second coat. This gives you very precise control.
This method is fantastic for achieving subtle variations. You can achieve a ‘washed’ look. Or just a hint of color.
It’s much safer than trying to get it perfect in one go. You can always add more color. It’s much harder to remove it.
I often tell people to think of it like watercolor painting. You start light. You add layers.
You can always add more color. But if you put too much on, it’s very hard to take off. It’s a good mindset to have.
When Dilution Might Not Be the Best Option
While diluting stain is useful, it’s not always the perfect solution. Sometimes, there are better ways to get the color you want. Or there might be issues with diluting certain types of stain.
Stains with Pigments
Some stains use pigments to color the wood. Pigments are tiny solid particles. When you dilute a pigmented stain, you spread these particles out.
This can lead to issues. The pigment might not suspend evenly in the thinner. It could settle at the bottom of your container.
Or it might not stick to the wood well.
This can result in a patchy or uneven color. The color might look chalky. It might rub off easily.
If your stain has a lot of pigment, dilution might be tricky. You might need to stir it constantly. Even then, results can be unpredictable.
Some people avoid diluting heavily pigmented stains.
Some modern stains have very fine pigments. They are designed to mix well. But older or coarser pigments can be a problem.
Always test first. If you see the pigment settling fast, be cautious.
Pre-Finished or Sealed Wood
If your wood already has a finish, stain might not penetrate. Diluted or not, the stain might just sit on top. It could bead up.
Or it might not adhere properly. This can lead to a streaky, uneven color. Or the finish might chip off later.
For pre-finished wood, you usually need to sand off the old finish. Or use a specific product designed for that purpose. Diluting the stain won’t magically make it soak through.
It needs a raw wood surface to grip.
Specific Stain Formulations
Some stains are made with specific additives. These additives help with durability, drying, or UV protection. Diluting these stains might alter those properties.
It could make the stain less effective. Or it could change how it performs over time.
If the stain manufacturer warns against thinning, it’s best to listen. They know their product best. There might be a specific reason.
Sometimes, they offer pre-mixed lighter versions. That’s a safer bet if dilution is not recommended.
Alternatives to Diluting Stain
If diluting seems too risky for your project, don’t worry! There are other ways to achieve a lighter wood color.
Use a Lighter Stain Product
This sounds obvious, but it’s the easiest. Many companies make stains in a wide range of colors. You can often find a lighter version of the color you want.
Look for names like “Natural,” “Light Oak,” “Pale Walnut,” or “White Wash.”
This ensures the stain is formulated correctly. It will apply evenly. It will dry properly.
It will offer the intended protection. It’s the most straightforward approach. You buy the color you want.
You apply it. Simple.
Apply Stain Over a Sealer
Using a wood conditioner or a clear sealer first can help. This “seals” the wood surface slightly. It prevents the stain from soaking in too deeply.
The result is a lighter, more even color. This is especially useful for soft woods like pine. They tend to blotch easily.
Apply the conditioner or sealer according to its instructions. Let it dry completely. Then, apply your stain.
You might still want to dilute it a bit. But the sealer helps control absorption. It prevents dark spots.
It gives you a lighter, more uniform look.
Use a Stain Glaze
Stain glazes are different from regular stains. They are thinner. They are designed to be wiped off almost completely.
Glazes add color to the surface. They don’t soak in as deeply. This makes them great for creating a very subtle tint.
You apply the glaze. Then, you wipe it off quickly. The color that remains is very light.
You can build it up slowly. Glazes are often used over existing finishes. Or over a clear coat.
They are perfect for achieving an antique look or a soft wash of color.
I used a glaze on an old dresser once. I wanted a hint of gray. The actual gray stain was too dark.
The glaze gave me just that subtle hue. It looked like the wood had aged naturally.
Bleaching the Wood
For a truly dramatic change, you can bleach the wood. Wood bleach can lighten the wood itself. It removes some of the natural color.
After bleaching, you can apply a very light stain. Or you can leave the wood its natural bleached color. This is a more involved process.
It requires careful handling of chemicals.
There are different types of wood bleach. Two-part bleaches are common. They are very effective.
But they are also strong. Always follow safety instructions. Wear gloves and eye protection.
Work in a well-ventilated area. Bleaching is a good option if you want a very pale, almost white wood look.
A word of caution: Bleaching can sometimes bring out the wood’s natural undertones. You might end up with a pinkish or yellowish hue. You may need to neutralize the bleach properly.
Or use a stain to correct the color afterwards.
Tips for Success When Diluting Stain
Here are some extra tips to help you get the best results. These are things I’ve learned over time. They can make a big difference.
- Always use scrap wood. I can’t say this enough. Test your diluted stain on scrap wood. It’s the only way to know how it will look.
- Work in good light. Natural light is best. It shows the true color. Artificial light can sometimes distort colors.
- Stir often. Even with water-based stains, pigments can settle. Stir your mixture frequently. This keeps the color uniform.
- Apply thin coats. It’s easier to add more color than to take it away. Build up the color slowly.
- Wipe off excess stain. Most stains look best when you wipe off the excess. This is especially true for diluted stains. It prevents a gummy finish.
- Consider a pre-stain conditioner. This helps with even absorption. It’s great for soft woods. It helps your diluted stain color look its best.
- Check the stain can. Always read the instructions on your stain can. It will tell you the best way to use it. It might also suggest thinners.
- Be patient. Let each coat dry completely. You need to see the final color. Rushing the process can lead to mistakes.
I remember working on a coffee table once. I diluted a dark walnut stain. I wanted a light brown.
I applied it. It looked okay when wet. But when it dried, it was still too dark.
I panicked a bit. But I waited. Then I applied another thin coat of the same diluted stain.
It was perfect. Patience is key.
Common Problems and How to Fix Them
Sometimes things don’t go as planned. Here are common issues when diluting stain and how to handle them.
Problem: Stain is too dark even after diluting.
Fix: Add more thinner. Mix again. Test on scrap wood.
You might need a much higher thinner-to-stain ratio. For very light colors, you might use 3 or 4 parts thinner to 1 part stain. Or even more.
Problem: Stain is too light and doesn’t show up.
Fix: Add more stain to your mixture. Stir well. Test again.
If you’ve added too much thinner, you can always add more stain. Just be careful not to make it too dark. You can also apply a second coat.
Problem: The color is uneven or blotchy.
Fix: This often happens if the stain dried too quickly. Or if the wood wasn’t prepped well. For oil-based stains, you might try lightly wiping with mineral spirits after wiping off the excess.
This can help blend unevenness. For water-based stains, a bit of water can help. For future projects, use a pre-stain conditioner.
Sand evenly. Work in smaller sections.
Problem: The diluted stain doesn’t seem to penetrate.
Fix: The wood might be too sealed. Try a finer grit sandpaper or a wood conditioner. If it’s an oil-based stain, ensure you’re using the right thinner.
If it’s a water-based stain, ensure you’re using water. Sometimes, too much thinner can reduce the stain’s ability to penetrate. Try a bit less thinner.
Problem: The diluted stain looks milky or chalky.
Fix: This can happen with heavily pigmented stains. The pigment isn’t suspending well. Try stirring the stain mixture very often while you apply it.
If it persists, you might need to try a different stain. Or a different method, like a glaze.
What This Means for Your Project
Knowing how to dilute wood stain gives you power. It lets you customize colors. You’re not stuck with what’s on the shelf.
You can achieve a look that’s perfect for your home. It’s a skill that saves time and money. You can reuse stain you already have.
It means you can match existing furniture. Or create a unique color. You can get that subtle, weathered look.
Or a soft, natural tint. It makes your projects more personal. It adds value to your DIY efforts.
You become more confident. You can tackle more complex finishing jobs.
Frequently Asked Questions
Can I dilute any type of wood stain?
You can dilute most wood stains, but you must use the correct thinner for the stain type. Oil-based stains need mineral spirits. Water-based stains need water.
Alcohol-based stains need denatured alcohol. Using the wrong thinner can ruin the stain.
How much thinner should I add?
Start with a 1:1 ratio (one part stain to one part thinner). Test this on scrap wood. If it’s still too dark, add more thinner.
If it’s too light, add more stain. The exact amount depends on the wood and the stain.
Will diluted stain last as long as regular stain?
Generally, yes. As long as you use the correct thinner and the stain is applied properly, diluted stain should be just as durable. However, avoid diluting stains that are not meant to be thinned.
Check the product label.
What is the best way to test diluted stain?
Use a piece of scrap wood that is the same type as your project. Sand it the same way. Apply the diluted stain using the same method (wiping, brushing, etc.) you’ll use on your project.
Let it dry completely to see the true color.
Can I dilute stain to get a white wash look?
Yes, you can dilute a white stain or a semi-transparent stain. You can also use a glaze. For a true white wash, you might use a very diluted white stain.
Apply it and wipe off most of it. This leaves a light tint. A dedicated white wash product might be easier.
What happens if I use too much thinner?
If you use too much thinner, the stain may become too transparent. It might not color the wood enough. It could also affect its adhesion.
The color might appear weak or washed out. You can try adding more stain back to the mixture. But test it first.
Conclusion
Diluting wood stain is a fantastic way to achieve custom colors. It gives you more control. It lets you lighten dark stains.
Just remember to use the right thinner for your stain type. Always test on scrap wood. With a little practice, you can get the perfect shade for your next project.