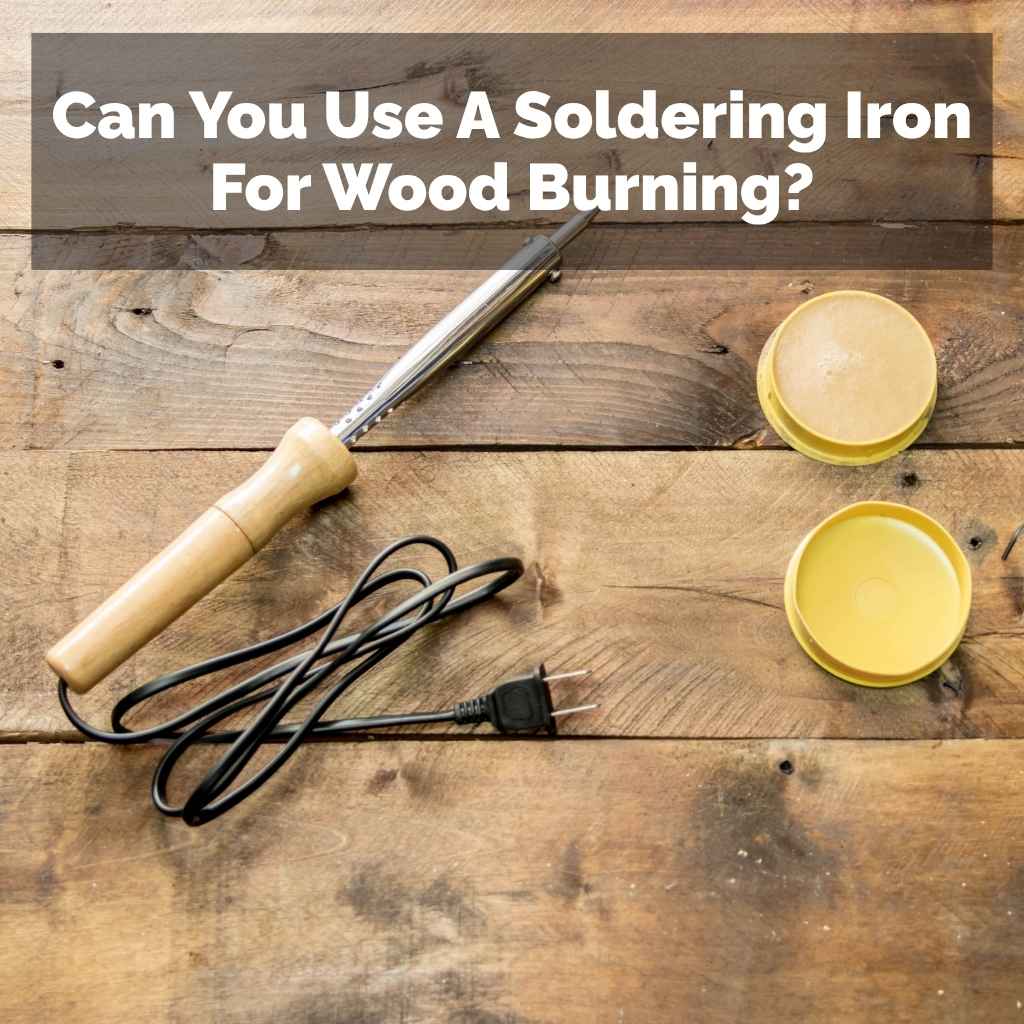
Can You Use A Soldering Iron For Wood Burning?
Wood burning, or pyrography, can create beautiful art. It uses heat to make designs on wood. But using the wrong tool can lead to frustration.
It might not give you the look you want. Safety is also a big concern. Let’s dive into whether a soldering iron is up to the task.
A soldering iron can be used for very basic wood burning. However, it lacks the control and temperature variation needed for detailed artwork. Dedicated wood burning tools offer better results and safety for most projects.
What is Wood Burning?
Wood burning is an art form. It uses a heated tool to draw on wood. The heat scorches the wood.
This makes lines and shades. People have been doing this for a long time. It’s a way to add designs to wood crafts.
The tool used is important. It needs to get hot enough. It also needs to be easy to hold.
Different tips can make different marks. This allows for a range of effects. Think of fine lines, dots, or shaded areas.
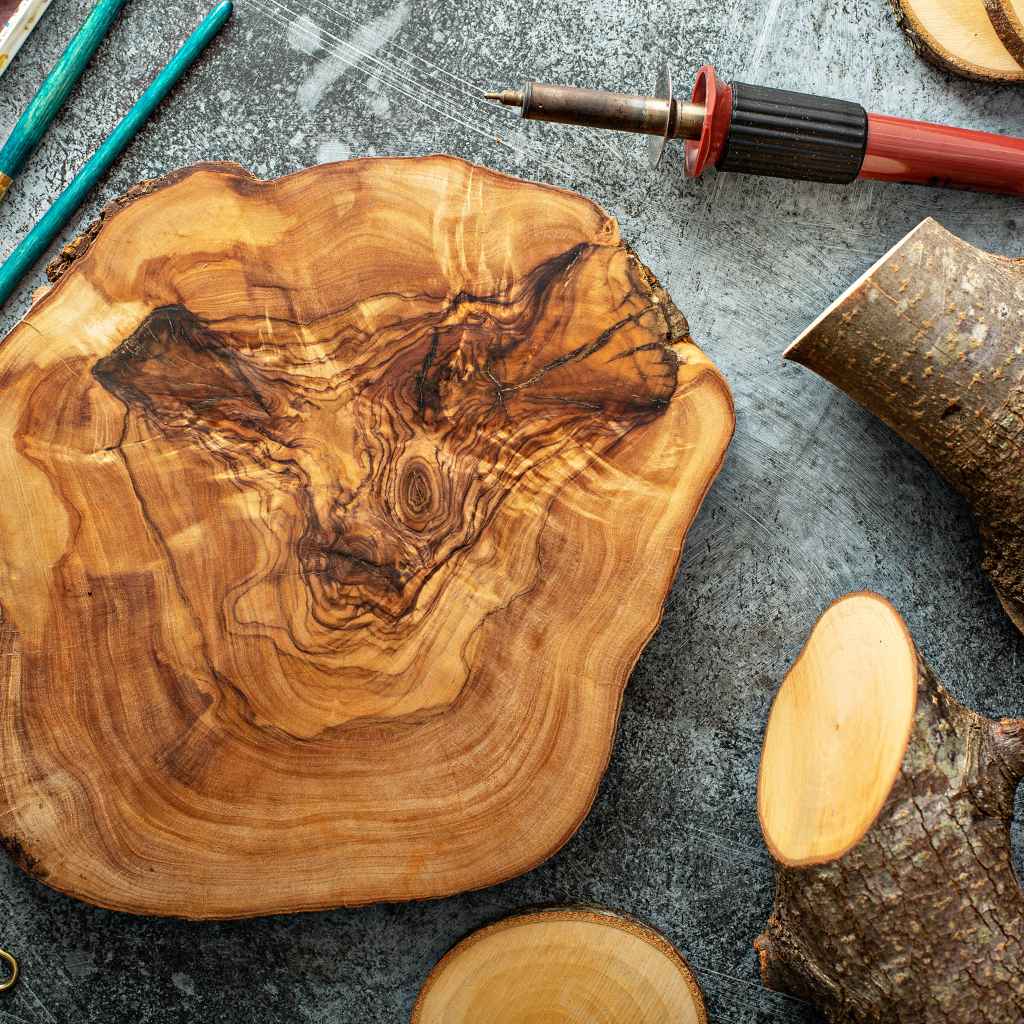
The type of wood also plays a role.
The main idea is heat control. You want to control how dark the marks get. This is done by how long you hold the tool.
It’s also about how hot the tool is. The wood type matters too. Soft woods burn faster than hard woods.
Can You Use a Soldering Iron for Wood Burning?
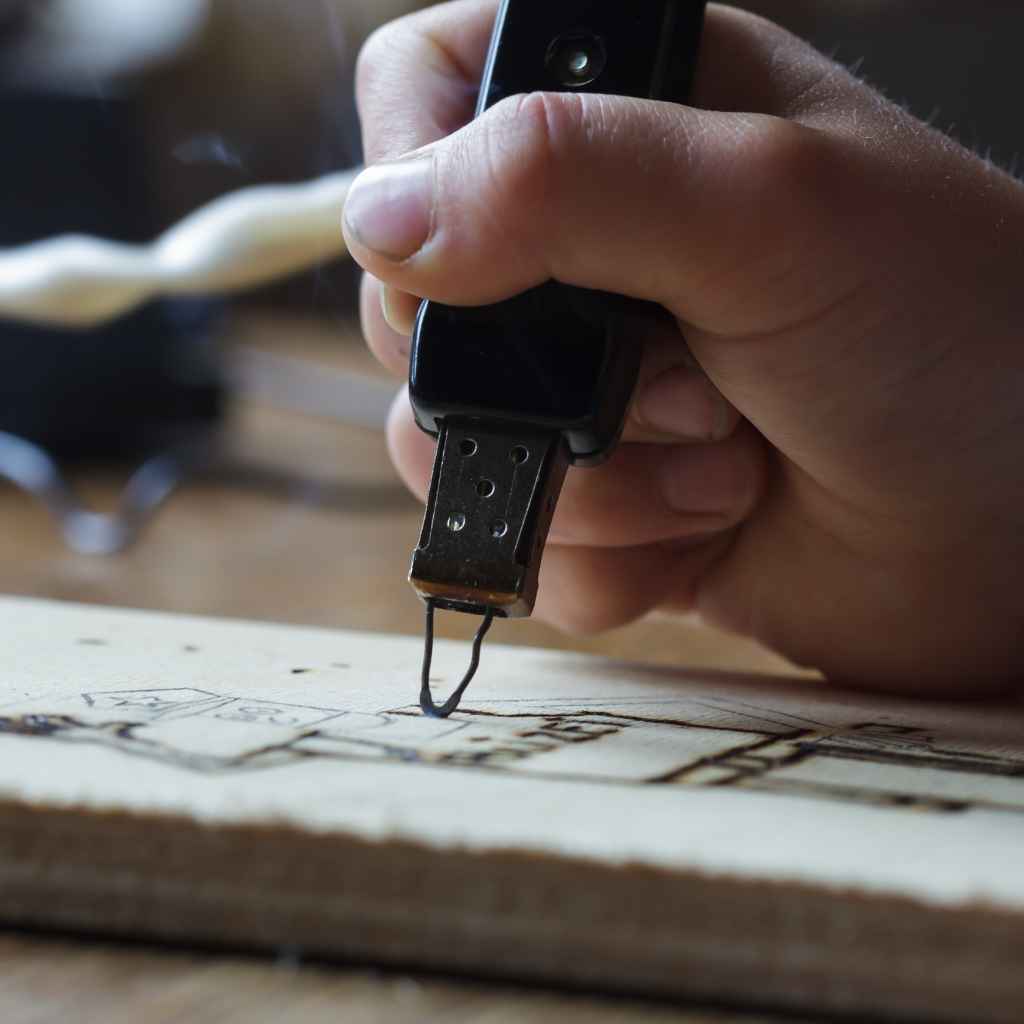
So, can a soldering iron do the job? Yes, but with big limits. A soldering iron heats up to melt solder.
It gets quite hot. This heat can indeed burn wood. You can press the hot tip onto the wood.
This will leave a mark.
However, most soldering irons have one main tip. They are designed for metal work. They often have a thick, pointed tip.
This tip is not made for drawing fine lines. It’s also hard to get different shades with it.
The temperature is another issue. Soldering irons get very hot. They don’t have adjustable heat settings.
This means you have less control. You might burn the wood too much. Or you might not burn it enough.
Getting subtle shading is very hard.
My First “Wood Burning” Attempt (And What I Learned)
I remember the first time I thought about wood burning. I saw these amazing pieces online. They had delicate lines and soft shadows.
I looked around my garage. I spotted my dad’s old soldering iron. It looked pretty simple.
“This must work,” I thought. I grabbed a scrap piece of pine. I plugged it in and waited for it to heat up.
The tip got hot. I touched it to the wood. Poof! A dark, angry black line appeared.
It was much darker than I expected. I tried to lift it quickly. But the tip was so wide.
It left a wide, messy burn. I tried to make a curve. It looked more like a shaky squiggle.
Then I tried to shade. I just ended up with a big dark patch. My hands felt clumsy.
The iron felt heavy. I felt so frustrated. This wasn’t the beautiful art I imagined.
It was messy and crude. That’s when I realized a dedicated tool might be needed.
Soldering Iron vs. Wood Burning Tool: A Quick Look
Soldering Iron:
- Main Use: Melting solder for electronics.
- Temperature: Very high, usually not adjustable.
- Tips: Mostly one thick, durable tip.
- Control: Low for fine details and shading.
Wood Burning Tool:
- Main Use: Pyrography (wood burning).
- Temperature: Often adjustable for precision.
- Tips: Many different tips for various effects (lines, dots, shading).
- Control: High for detailed work.
Why Dedicated Wood Burning Tools Are Different
Wood burning tools are made just for this art. They have special features. One big difference is the tips.
You can get tips that are very fine. They are shaped like needles. These are great for drawing thin lines.
There are also tips that look like small spoons. These are good for shading large areas.
Many of these tools have adjustable heat. This is a game-changer. You can set the temperature precisely.
Lower heat is for light marks. Higher heat is for darker marks. This allows for a wide range of tones.
You can go from a light tan to a deep black. This control is key for creating depth in your art.
The handles are also designed differently. They are often lighter. They are shaped to be comfortable for long periods.
This makes it easier to hold steady. Steady hands mean more control over your lines. You can draw more smoothly.
The Physics of Burning Wood
Wood burning is all about heat transfer. When a hot tool touches wood, heat moves. This heat breaks down the wood’s cell structure.
It changes the wood’s color. It turns brown or black.
The darkness of the burn depends on a few things. It depends on the temperature of the tool. Higher temperatures make darker marks faster.
It also depends on how long the tool touches the wood. Longer contact means more burning. The type of wood is also a factor.
Some woods have more oils. They might burn darker or differently.
A soldering iron gets very hot. It transfers a lot of heat quickly. This can lead to deep burns.
It can be hard to stop the burn at the right point. Wood burning tools with adjustable heat let you manage this. You can find the sweet spot for the wood you are using.
When Can a Soldering Iron Barely Work?
Simple Stamping: If you just need to make a small, dark mark, like a initial or a simple dot, a soldering iron might be okay. You just press it down and lift it off quickly.
Very Basic Lines: For extremely simple, rustic lines on a project where precision isn’t needed, you might manage. But expect thick, dark marks.
Practice on Scraps: It’s a way to feel the heat and see how wood reacts. But don’t expect art-level results.
Real-World Scenarios Where a Soldering Iron Falls Short
Imagine you want to draw a face on a wooden box. You need fine details for the eyes. You need subtle shading for the cheeks.
A soldering iron’s thick tip won’t do this. It will make thick, black gashes for the eyes. Shading would be a smudged mess.
Think about creating a wood-burned sign. You want elegant lettering. You want some soft shadows under the letters.
A soldering iron is too blunt. It can’t make thin, crisp lines. It can’t create gentle gradients.
The result will look crude. It won’t have the finesse of professional work.
Even simple patterns can be tricky. Wood grain can be uneven. A precise tool can work with the grain.
It can create flowing lines that follow the wood’s natural look. A soldering iron tends to fight the grain. It makes harsh, direct marks.
This can make the wood look damaged, not decorated.
Safety First: Why Tools Matter
Safety is super important with heat. Soldering irons get extremely hot. They can cause serious burns if you touch them.
They can also scorch surfaces if you set them down carelessly.
Dedicated wood burning tools often come with stands. These stands keep the hot tip away from your work surface. They also make it easier to put the tool down between uses.
This reduces the risk of accidental burns or fires.
The tips on wood burning tools are often made to be replaced. You can swap them out safely. Soldering iron tips are usually fixed.
If they get damaged, it’s more complex to fix. Also, the fumes from burning wood can be harmful. Good ventilation is always needed.
A dedicated tool might have better-designed handles and components for safer use over time.
Key Safety Tips for Any Hot Tool
Ventilation: Always work in a well-ventilated area. Open windows or use a fan. Wood fumes can be unhealthy.
Stable Surface: Place your hot tool on a heat-resistant surface. A ceramic tile or a metal tray works well.
Tool Stand: Use a stand if your tool comes with one. This keeps the hot tip elevated.
Awareness: Never leave a hot tool unattended. Be mindful of where the cord is to avoid tripping.
Cool Down: Let the tool cool down completely before storing it.
Exploring Alternative Tools
If a soldering iron isn’t ideal, what is? The best choice is a wood burning pen or pyrography tool. These come in many forms.
Some are simple, pencil-like devices. They heat up quickly. They usually come with a few basic tips.
More advanced tools have a power unit. This unit controls the temperature. The pen itself is lighter.
It’s easier to hold for long periods. These tools offer a huge range of tips. You can buy sets with many shapes.
This lets you experiment with different effects.
For those who want the ultimate control, there are wood burning brands that offer solid-state tools. These have digital displays for precise temperature. They have comfortable, interchangeable pens.
They are an investment, but they offer professional results.
You might also see wood burning kits. These often include a tool, a set of tips, and sometimes a practice board. They are a great way to start.
They give you everything you need in one package.
Types of Wood Burning Tools
- Basic Wood Burner: A single pen that heats up. Limited tips. Good for beginners or simple tasks.
- Temperature-Controlled Wood Burner: A power unit with a pen. Offers adjustable heat. Comes with more tip options.
- Professional Pyrography Machine: High-end units with digital controls and multiple pens. For serious artists.
What Kind of Wood Works Best?
The type of wood you use matters. Some woods are easier to burn than others. Hardwoods are generally better.
They have a tighter grain. This means the wood is less likely to char too deeply. It also helps you get cleaner lines.
Good choices include basswood, birch, poplar, and maple. These are light in color. They have a fine, even grain.
This makes them perfect for detailed work. They take the heat well. You can get smooth shading on them.
Softwoods like pine can be tricky. They have a very open grain. The softer parts burn faster.
The harder parts burn slower. This can create a bumpy or uneven effect. It’s harder to get smooth lines.
Pine is good for practice, though. It’s often cheaper.
Always use unfinished wood. Varnish, paint, or stains will burn too. They can release toxic fumes.
They will also mess up your design. Make sure the wood is smooth. Sand it well before you start burning.
This helps create a clean surface for your art.
Techniques You Can’t Easily Do with a Soldering Iron
There are many techniques in wood burning. A soldering iron struggles with most of them. For example, stippling uses dots to create shading.
You tap the tip repeatedly. Each tap makes a small dot. You can make areas darker by placing dots closer together.
A soldering iron’s thick tip makes this very difficult.
Lettering requires precision. You need to control the thickness of lines. You need to create smooth curves.
A soldering iron tip is too broad. It makes everything look chunky.
Shading is another big one. Good shading creates depth and form. It involves blending tones.
You use special shading tips. Or you can use the side of a tip. You move it in smooth strokes.
A soldering iron’s single, hot tip just burns. It doesn’t blend well. You end up with harsh lines or dark blobs.
Quick Comparison Table: What You CAN and CAN’T Do
| Feature | Soldering Iron (Limited) | Wood Burning Tool (Ideal) |
|---|---|---|
| Fine Lines | Very Difficult | Easy with right tip |
| Shading | Almost Impossible | Achievable |
| Temperature Control | No | Yes (on most models) |
| Tip Variety | Minimal (usually one) | Extensive |
| Comfort for Long Use | Poor | Good |
What This Means for Your Projects
If your project is very simple, a soldering iron might be a starting point. Maybe you want to brand a cutting board with a single letter. Or add a few basic dots to a craft project.
In these cases, you might get by.
However, for anything more detailed, you’ll likely be disappointed. You won’t achieve the results you see in skilled pyrography. You might get frustrated.
This can stop you from exploring the art form further.
If you’re serious about wood burning, even as a hobby, investing in a proper tool is wise. It will make the process much easier. It will allow you to learn and grow.
You’ll be able to create the art you envision.
Think about the cost. A basic wood burning kit is not very expensive. It’s a small price to pay for better results.
And it’s much safer than trying to force a tool to do something it’s not meant for.
Quick Tips for Getting Started (Even with Limited Tools)
If you are determined to try a soldering iron, here’s how to get the most from it:
- Practice First: Use scrap wood. Get a feel for the heat. See how quickly it burns.
- Light Touch: Don’t press hard. Let the heat do the work.
- Quick Strokes: Move the iron quickly. This helps prevent deep, dark burns.
- Multiple Passes: Instead of one deep burn, make several light passes. This gives more control.
- Cool Down Wisely: When you need a lighter mark, let the iron cool slightly. Or lift it off the wood sooner.
If you can get a dedicated tool, even a basic one, you’ll notice a huge difference. Many starter kits are very affordable. They offer better control and more safety features.
Frequently Asked Questions
Is it safe to use a soldering iron for wood burning?
It can be done, but it’s not ideal. Soldering irons get very hot and lack temperature control, which makes them harder to manage safely for wood burning. Dedicated wood burning tools are designed for this purpose and offer better safety features and control.
What is the difference between soldering and wood burning?
Soldering uses heat to melt metal (solder) to join two metal pieces. Wood burning, or pyrography, uses heat to create designs by scorching designs onto wood. The tools look similar but are designed for different tasks and materials.
Can I use a wood burning tool for soldering?
No, a wood burning tool is not designed for soldering. It typically doesn’t get hot enough, and its tips are not suited for melting solder onto metal components.
What type of wood is best for burning?
Hardwoods with a fine, even grain are best. Basswood, birch, poplar, and maple are excellent choices. They allow for detailed work and smooth shading.
Softwoods like pine can be challenging due to their uneven grain.
Do I need special safety gear for wood burning?
Yes, basic safety gear is recommended. This includes working in a well-ventilated area to avoid inhaling fumes. Wearing heat-resistant gloves can protect your hands from accidental contact with the hot tool.
Eye protection is also a good idea.
How do I get different shades when wood burning?
Shades are achieved through a combination of factors. These include the temperature of the tool (if adjustable), the speed at which you move the tool, and the duration of contact with the wood. Different tips also help create varied effects.
Practice is key to mastering shading.
Final Thoughts on Using a Soldering Iron for Wood Burning
While you can technically use a soldering iron to burn wood, it’s not the best tool for the job. It lacks the control and precision needed for art. You’ll likely struggle to achieve good results.
Investing in a dedicated wood burning tool will open up a world of creative possibilities. It makes the process safer and much more enjoyable. Happy crafting!