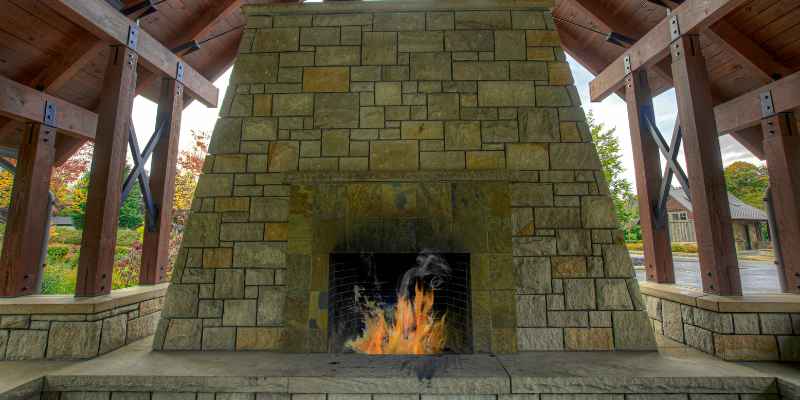
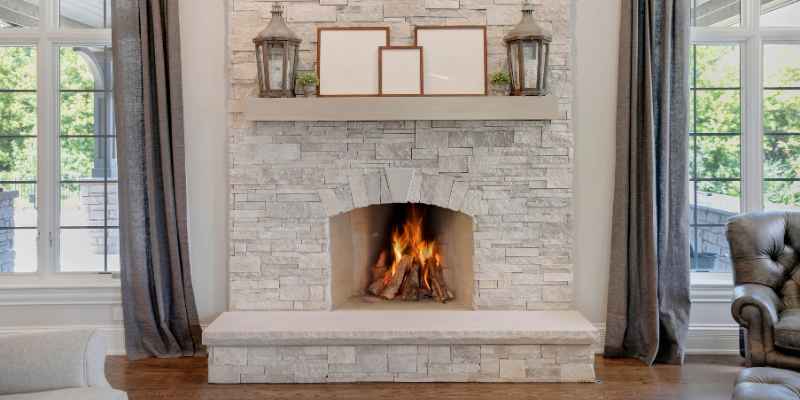
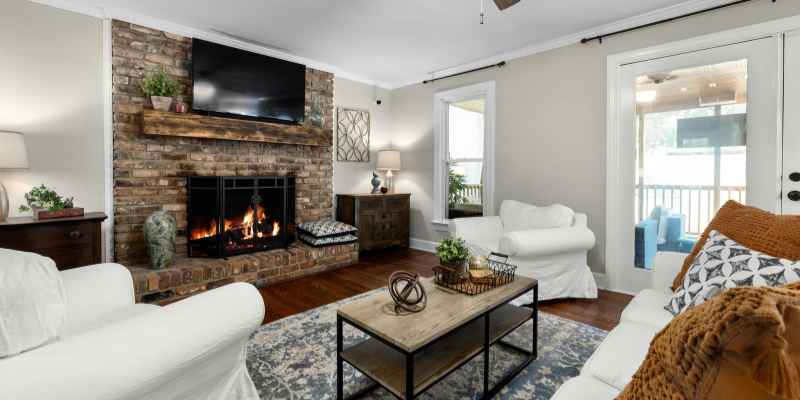
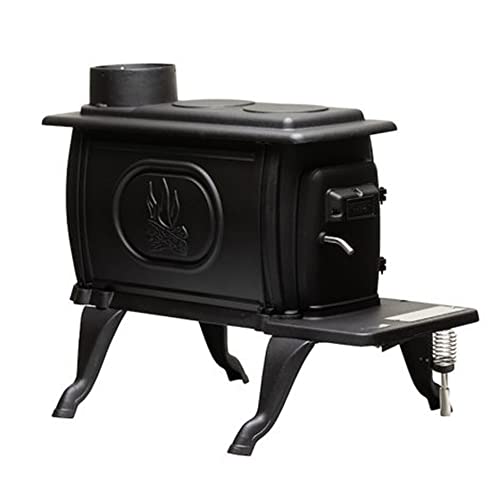
Brick fireplaces are beautiful. They add warmth and character to a home. But they also see a lot of action.
Smoke, soot, creosote, and dust can build up over time. This build-up isn’t just unsightly. It also creates a surface that paint can’t stick to properly.
Think of it like trying to stick a sticker onto a greasy window. It just won’t hold on for long. The same happens with paint.
The cleaner and more porous the brick, the better the paint will bond. This means a longer-lasting, beautiful finish for your newly painted fireplace.
We’re going to go through this together, step by step. You’ll learn what you need. You’ll see how to deal with different kinds of dirt.
And you’ll feel confident when you’re done.
Gathering Your Cleaning Supplies
Before you start, make sure you have everything you need. This makes the job go much smoother. You don’t want to stop halfway because you’re missing something.
It breaks your flow. And nobody wants that.
Here’s a list to get you ready:
Safety Gear: Gloves, eye protection (goggles), and a dust mask are a must.
Drop Cloths or Plastic Sheeting: To protect your floors and nearby furniture from dust and cleaning solutions.
Stiff Bristle Brush: A wire brush is good for tougher spots, but a stiff nylon brush works for most jobs.
Vacuum Cleaner with Hose Attachment: For removing loose debris.
Buckets: You’ll need at least two. One for your cleaning solution and one for clean rinse water.
Cleaning Solutions: We’ll talk about these more. Mild soap, vinegar, or specialized fireplace cleaners are common.
Sponges and Rags: For wiping and scrubbing.
Hose or Spray Bottle: For rinsing.
Optional: A degreaser for stubborn greasy spots.
Having all this ready means you can focus on the cleaning itself. No running back and forth to the store.
This is so important. Fireplaces are messy. Dust and soot love to fly everywhere.
You don’t want to spend hours cleaning your living room after you finish the fireplace. That would be frustrating!
Spread drop cloths or plastic sheeting around the base of the fireplace. Extend them out several feet. Cover any furniture nearby.
Make sure the hearth and floor are completely protected. This makes cleanup at the end so much easier. Trust me on this one.
It’s a game-changer.
Close any vents in the room too. This helps stop dust from spreading through your HVAC system. It’s a small step that makes a big difference.
Step 2: Removing Loose Debris
The first real cleaning step is to get rid of anything loose. This includes ash, dust, and any fallen bits of mortar. Start by carefully scooping out the loose ash from the firebox.
Put it in a metal container. Never use a plastic trash bag for hot ash. It can melt or even catch fire.
Let the ash cool completely before disposing of it.
Next, use your vacuum cleaner. Attach the hose. Gently vacuum the inside of the firebox.
Get into all the corners. Then, vacuum the hearth. Don’t forget the area around the fireplace opening.
This gets rid of the fine dust. It prevents it from turning into mud when you add water later.
A good vacuuming here sets you up for success. It removes the bulk of the dry dirt. This means less scrubbing later.
Step 3: Tackling Soot and Stains
This is where the real cleaning happens. Soot is stubborn. It’s made of burnt particles.
It loves to cling to brick. There are a few ways to handle it. The best method depends on how bad the build-up is.
Mild Soap and Water: For light soot and general dirt, a mix of mild dish soap and warm water is a good start. Mix it in a bucket. Dip your stiff brush into the soapy water.
Scrub the brick surface in a circular motion. Work in small sections. Don’t let the soap dry on the brick.
Vinegar Solution: For tougher soot, white vinegar can be very effective. Mix equal parts white vinegar and warm water in a bucket. Use this solution with your brush.
Vinegar is acidic. It helps to break down the soot. Be sure to rinse well after using vinegar.
Specialized Fi
Degreaser for Greasy Stains: Sometimes, cooking grease or other oily substances can get on the hearth or lower bricks. A good degreaser can help here. Apply it to the stain.
Let it sit for a few minutes. Then scrub and rinse. Always test any cleaner in an inconspicuous spot first.
This is especially true for colored bricks.
I remember one time, I was cleaning a fireplace in an old house. The soot was ancient and thick. I tried just soap and water.
It barely made a dent. I almost gave up. But then I tried a mix of vinegar and a little bit of baking soda.
It made a paste. That paste worked wonders. It lifted the soot right off the brick.
It took time, but the results were amazing. The brick looked almost new underneath.
When scrubbing, don’t be afraid to put a little elbow grease into it. Work from the top down. This way, dirty water runs over areas you haven’t cleaned yet.
You can rinse those areas as you go.
Stubborn Stain Buster Tips
For Tar-like Stains: A paste of baking soda and water can lift these. Apply it, let it dry, then brush it off.
For White or Efflorescence Stains: This is a salt deposit. A mild acid like diluted vinegar can help. Scrub gently.
Rinse well.
For Smoke Stains: Specialized fireplace cleaners are often best. They are made for this specific problem.
Always Test: Before using any strong cleaner, test it on a small, hidden brick. This prevents damage or discoloration.
After scrubbing, it’s crucial to rinse away all the cleaning solution and loosened dirt. If you leave soap or cleaner residue, it can affect how the paint sticks. It can also show through the paint as streaks or dull spots.
Use clean water. A hose with a gentle spray is ideal if you can do it outside or have a way to manage the water. If not, use a spray bottle filled with clean water.
You can also use a sponge dipped in clean water. Rinse thoroughly. Make sure to get into the mortar lines.
You might need to rinse multiple times. Keep rinsing until the water coming off the brick runs clear. This tells you that all the soap and dirt are gone.
It’s a vital step for a perfect paint job.
I once skipped a thorough rinse on a small project. I thought it looked clean enough. Big mistake.
When I painted, I saw faint white streaks appear later. It was the dried soap. I had to re-wash and re-paint.
Lesson learned!
Rinse Like a Pro
Use plenty of clean water.
Rinse until the water runs clear.
Pay attention to the grout lines.
Multiple rinses are better than one.
Step 5: Letting the Brick Dry Completely
This is probably the hardest part. You want to paint. You’re excited.
But you must let the brick dry completely. Painting on damp brick is a recipe for disaster. Moisture trapped under the paint can cause it to bubble, peel, or blister.
It can also lead to mold or mildew problems later.
How long does it take? It depends. On a warm, dry day with good air circulation, it might take 24 to 48 hours.
In humid or cold weather, it could take several days. Or even a week.
You can help speed up the drying process. Open windows and doors if the weather permits. Use fans to circulate air around the fireplace.
If it’s a cold day, you can even run your heating system gently to help dry the air. But make sure the heat isn’t so high that it dries the surface too fast, trapping moisture inside.
How do you know it’s dry? The brick should look uniformly lighter in color. It will feel dry to the touch.
You can also place a piece of plastic wrap tightly against the brick with tape. Leave it for 24 hours. If there’s no condensation on the underside of the plastic, the brick is dry.
This is a great test. It checks for trapped moisture.
Patience here is rewarded. A dry surface means the paint will adhere as it should. It creates a strong bond for a beautiful, lasting finish.
What to do: Tape a 2×2 foot piece of clear plastic wrap firmly to the brick surface.
How to check: Leave it for 24 hours. Inspect the plastic wrap.
What it means: If there is no moisture (fogging or water droplets) on the underside of the plastic, your brick is dry.
If there is moisture: The brick is still too damp. You need to wait longer and possibly use fans to improve air circulation.
Dealing with Specific Fireplace Issues
Sometimes, your fireplace might have specific problems that need extra attention. We’ve touched on some, but let’s look at them more closely.
Creosote Buildup
Creosote is a black, tar-like substance. It forms when wood smoke cools in the chimney. It’s flammable.
Cleaning it from the firebox and hearth requires specific effort. For heavy creosote, a chemical cleaner designed for fireplaces is often the best solution. Apply it according to the instructions.
Scrub well. Rinse thoroughly.
If the creosote is very thick and hardened, it might be hard to remove completely with just cleaning. In these cases, sometimes a light sanding with a coarse grit sandpaper or a wire brush is needed after the chemical cleaner has softened it. Remember to wear your mask for dust protection.
Mold or Mildew
If your fireplace is in a damp basement or has had water issues, you might find mold or mildew. This is usually greenish, black, or grey fuzzy growth. You need to kill it.
A solution of one part bleach to ten parts water is effective. Or use a commercial mold and mildew remover. Apply it, let it sit for about 15-20 minutes.
Then scrub it off. Rinse the area very well. Ensure good ventilation when using bleach.
Let the area dry completely afterwards.
Efflorescence (White Powdery Stains)
This is a white, powdery or crystalline substance that can appear on brick. It’s caused by salts in the brick or mortar that are drawn to the surface by moisture. When the moisture evaporates, the salts are left behind.
To remove it, use a stiff brush to brush off the dry powder. Then, you can use a solution of diluted white vinegar (1 part vinegar to 5 parts water) and scrub the area. Rinse thoroughly.
Sometimes it means there is a moisture issue behind the brick that needs addressing long-term.
In my own home, I noticed these white dusty spots on my outdoor patio brick. I used a vinegar solution and a scrub brush. It worked well.
It took a few passes. But the bricks looked so much better. It made a big difference to the whole look of the patio.
If previous attempts to seal or paint the brick were done without proper cleaning, you might have old paint chips or sealer residue. This can be tricky. For loose chips, you can often scrape them off.
For stubborn old paint or sealers, you might need a paint stripper specifically designed for masonry. Follow the product directions carefully. This can be a more involved process.
Always test strippers in a small area first.
Step 6: Final Inspection and Prep
Once the brick is completely dry, take a close look. Walk around the fireplace. Shine a light on it.
Are there any spots you missed? Any lingering stains or dark patches? Now is the time to touch them up.
Go back to the relevant cleaning steps if needed.
Also, check the mortar lines. Are they in good condition? If you have crumbling mortar, you might need to do some minor repairs before painting.
Loose mortar will just get painted over, and it won’t look good or last. You can often use a masonry repair caulk or a small amount of patching compound for small fixes.
Once you are absolutely sure the brick is clean and dry, you can proceed with priming and painting. A good primer designed for masonry will help the paint adhere even better. It also ensures a more even color.
This final check is like the chef tasting the soup before serving. It ensures everything is just right. It prevents surprises down the line.
And it guarantees your hard work pays off.
Pre-Paint Checklist
Is the brick completely dry? (Use the plastic wrap test if unsure.)
Are all visible stains gone?
Is loose debris removed?
Are any mortar repairs needed?
Is the area around the fireplace protected?
What This Means for Your Painting Project
Cleaning your brick fireplace properly before painting is not just about looks. It’s about making sure your paint job lasts. It’s about achieving a professional-looking finish that you can be proud of.
When you paint over clean, dry brick:
Paint Adhesion: The paint will bond directly to the brick surface. This means no peeling or flaking.
Even Finish: You’ll get a uniform color. No patchy spots where dirt was left behind.
Durability: The paint will stand up better to heat and normal wear and tear.
Easier Future Cleaning: A well-applied paint job on clean brick is often easier to wipe down than raw, dirty brick.
Think about the opposite. If you don’t clean, paint might only stick to the dirt. The dirt can then detach from the brick.
And it takes the paint with it! This is why so many DIY paint jobs fail. They skip this crucial prep work.
It’s the invisible step that makes all the visible difference.
If the brickwork is severely damaged, crumbling, or has major structural issues, it’s wise to consult a mason. They can assess the damage and perform necessary repairs before you even think about painting.
For very old or historically significant fireplaces, you might want expert advice on cleaning methods. Some materials are delicate. You don’t want to cause irreversible damage.
But for a standard soot build-up and general grime, you absolutely can do this yourself. And you will be so happy with the results.
Frequently Asked Questions About Cleaning Brick Fireplaces
What is the best cleaner for brick fireplace soot?
For light soot, mild dish soap and warm water is often enough. For tougher soot, a solution of equal parts white vinegar and water works well. For very heavy or baked-on soot and creosote, a specialized fireplace cleaner designed to break down these substances is usually the most effective.
Always follow product instructions and test in a small area first.
It’s generally not recommended to use a pressure washer on brick fi
How long does it take for brick to dry after cleaning?
Drying time varies greatly depending on humidity, temperature, and airflow. On a warm, dry day with good ventilation, it might take 24-48 hours. In cooler or more humid conditions, it can take several days or even a week.
The plastic wrap test is a reliable way to confirm if the brick is fully dry and ready for paint.
Do I need to seal brick before painting?
While you don’t necessarily need to seal brick before painting, using a good quality primer specifically formulated for masonry is highly recommended. A primer helps the paint adhere better, seals porous surfaces, and ensures a more uniform color. Some people choose to seal after painting for added protection, but the key prep step is thorough cleaning and drying.
What if I have painted brick already and want to clean it?
If you have existing paint on your brick fi
Can I paint over soot stains that won’t come off?
If you’ve tried multiple cleaning methods and there are still some stubborn soot stains that won’t budge, you should use a high-quality stain-blocking primer designed for masonry. This primer will seal in the stains so they don’t bleed through your top coat of paint. However, it’s always best to remove as much soot as possible through cleaning for the most durable and aesthetically pleasing result.
Conclusion
Cleaning your brick fireplace before painting is a vital step. It ensures your new paint job looks great and lasts for years to come. Take your time.
Gather your supplies. Protect your space. Scrub away the soot and grime.
Rinse thoroughly. And most importantly, let it dry completely. This preparation is the secret to a beautiful, professional-looking finish.