How To Remove A Wood Burning Fireplace Insert Safely
Removing a wood burning fireplace insert involves careful preparation and execution to ensure safety. This process requires shutting off gas lines, disconnecting vents, securing the unit, and often professional assistance for heavy components. Following these steps helps prevent injuries and property damage.
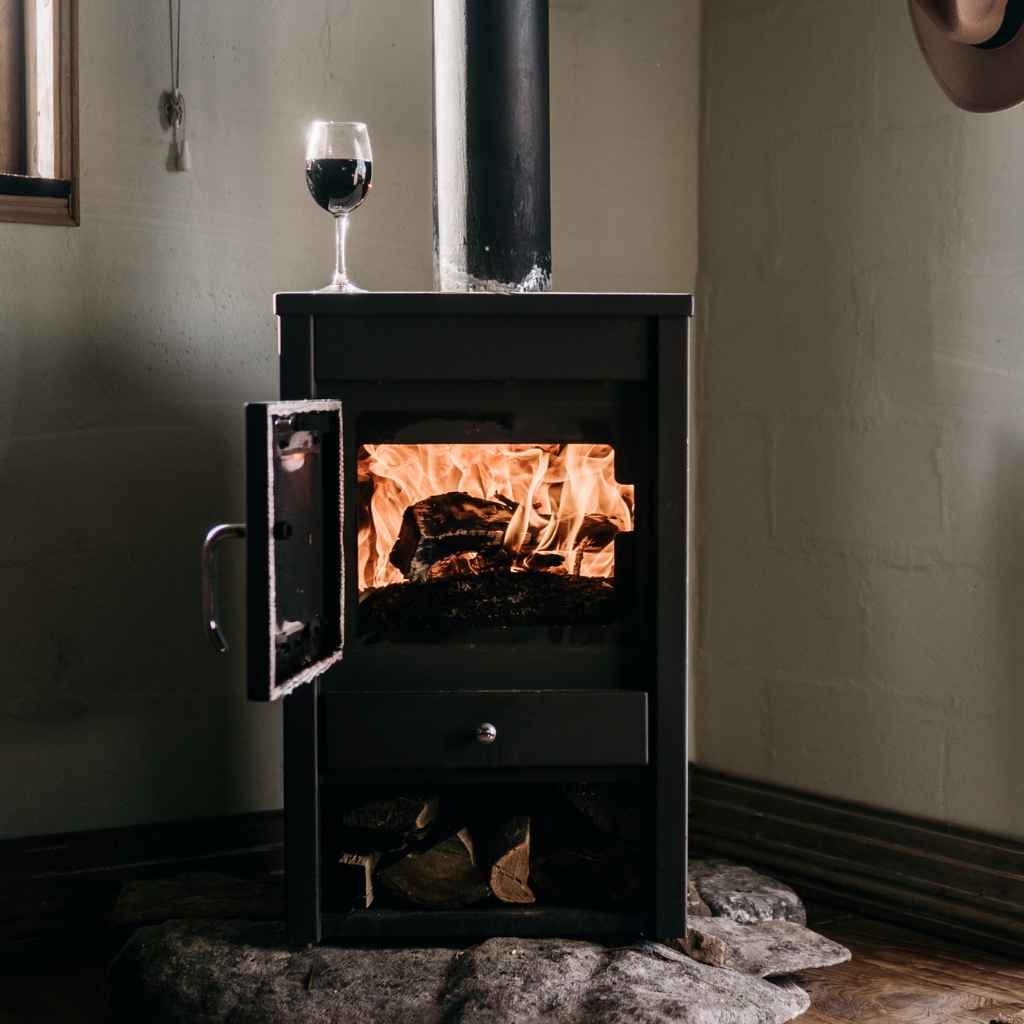
Understanding Your Wood Burning Fireplace Insert
A wood burning fi
Before you even think about touching it, know your ? Or is it sealed in place?
Most inserts are sealed around the edges with fireproof caulk or metal flashing. This seals them to the fi
Some inserts have blowers to push warm air into the room. If yours has an electrical connection for a blower, you’ll need to safely disconnect that power source too. Always find the breaker switch for your fi
Gathering Your Tools and Safety Gear
Getting ready is key. Having the right tools makes the job smoother and safer. You don’t want to be halfway through and realize you’re missing something vital.
Think about what you’ll be doing: lifting, prying, cutting, and cleaning. Each step needs a specific tool.
First, safety gear is a must. You’ll need sturdy work gloves. These protect your hands from sharp edges and heavy lifting.
Safety glasses are important to keep dust and debris out of your eyes. A dust mask is also a good idea, especially if the insert hasn’t been cleaned in a while. You’ll be stirring up old soot and dust.
For the actual removal, you’ll likely need a pry bar. A medium-sized one works well. You might also need a flathead screwdriver set.
These help pry away seals and loosen parts. A utility knife is great for cutting through old caulk or sealant. You’ll want a shop vacuum for cleaning up dust and debris as you go.
A flashlight will help you see into dark corners.
If the insert is very heavy, you might need a furniture dolly or a hand truck. Some inserts are incredibly dense. It’s wise to have help.
A friend or family member can lend a hand, which is also safer. Make sure anyone helping knows the plan.
You might also need a bucket and some rags for cleaning. If you have to cut any parts, a reciprocating saw with a metal-cutting blade could be useful. But try to avoid cutting if possible.
Sometimes, inserts are designed to be removed in one piece. Always check your insert’s manual if you still have it. It might offer specific removal tips.
Essential Safety Gear Checklist
Work Gloves: Protect your hands from cuts and splinters.
Safety Glasses: Keep dust and debris out of your eyes.
Dust Mask: Avoid inhaling soot and insulation particles.
Sturdy Shoes: Protect your feet from falling objects.
Durable Clothing: Wear old clothes you don’t mind getting dirty.
Step-by-Step: Safely Removing the Insert
Now, let’s get into the nitty-gritty. This is the part where we actually take the .
Rushing can lead to mistakes or injuries. Take your time and follow each step carefully.
Step 1: Shut Off Power and Gas
First things first. If your insert has an electric blower or any other electrical components, find the circuit breaker that controls it and switch it off. You don’t want any surprises.
For gas inserts, you’ll need to shut off the gas supply. Look for a shut-off valve on the gas line leading to the insert. Usually, it’s behind the fireplace or in the basement below.
Turn the valve so it’s perpendicular to the pipe. If you’re unsure, call a gas professional. It’s very important to do this correctly.
Step 2: Let the Fireplace Cool Down Completely
This might seem obvious, but it’s crucial. Make sure there hasn’t been a fire for at least 24 hours. The metal parts can stay hot for a very long time.
Touching a hot insert can cause serious burns. Give it plenty of time to cool to room temperature. Check the surfaces with your hand, carefully.
Step 3: Remove the Glass Doors or Grate
Most inserts have glass doors or a front grate. These usually lift out or unlatch. Carefully remove them and set them aside.
This gives you better access to the inside of the insert and its connections.
Step 4: Break the Seal
Look around the edges of the it meets the fireplace opening. You’ll likely find a seal made of high-temperature caulk or a metal flashing strip. Use your utility knife to carefully cut through the caulk.
If it’s a metal flashing, you might need a screwdriver or pry bar to gently loosen it. Work your way around the entire perimeter. Be patient; old sealant can be stubborn.
Step 5: Disconnect the Flue Collar
This is a critical step. The insert’s exhaust pipe, called a flue collar, connects to your chimney’s flue. This connection is often secured with screws or a clamp.
You’ll need to access this from inside the fireplace opening. Look up into the chimney opening from the front of the insert. You might need a flashlight.
Loosen the screws or clamp holding the flue collar to the chimney liner. Once loose, carefully pull the flue collar away from the chimney. Be ready for some dust to fall down.
Have your shop vacuum nearby.
Step 6: Detach Any Blowers or Electrical Components
If your insert has a blower, you’ll need to disconnect it. This usually involves reaching behind the insert. You might have to remove a small access panel.
Find the wiring harness that connects the blower to the insert’s power. Gently unplug it. If you are not comfortable with electrical work, this is a good place to call a professional.
Step 7: Gently Pry the Insert Out
Now comes the physical part. With the seal broken and the flue disconnected, the insert should be ready to move. Use your pry bar and screwdrivers to gently work it away from the fireplace opening.
Start at the top corners and work your way down. Don’t force it too hard. If it feels stuck, recheck for any missed screws or sealant.
You want to avoid damaging your fireplace or the insert if you plan to sell it.
Step 8: Remove the Insert with Help
Most wood burning inserts are very heavy. It’s highly recommended to have at least one helper for this step. Position your dolly or hand truck in front of the insert.
Carefully tilt the insert onto the dolly. Slowly roll it out of the fi
Step 9: Clean Up the Area
Once the insert is out, you’ll have a mess of dust, soot, and debris in your fireplace. Use your shop vacuum to clean everything thoroughly. You can also use a brush and dustpan.
Inspect the fireplace opening for any damage and make any necessary repairs. If the insert was sealed, you’ll have an opening that needs to be addressed. You might want to cover it temporarily.
Key Steps for Insert Removal
1. Power & Gas Off: Ensure all utilities are safely disconnected.
2. Cool Down: Wait at least 24 hours after the last fire.
3. Remove Doors/Grate: Gain access to the interior and connections.
4. Break Seal: Cut caulk or loosen flashing around the edges.
5. Disconnect Flue: Separate the insert’s exhaust from the chimney liner.
6. Detach Electronics: Unplug any blowers or power cords.
7. Gentle Prying: Loosen the insert using tools without force.
8. Heavy Lifting: Use a dolly or helpers to move the insert.
9. Cleanup: Vacuum all dust and debris from the fireplace.
When to Call a Professional
There are times when this job is best left to the experts. If you’re not comfortable with any of the steps, or if your insert seems unusually complicated, don’t hesitate to call for help. Professionals have the experience and specialized tools to handle difficult removals.
If your is paramount.
Also, if the insert is extremely heavy or seems very firmly attached, a professional chimney sweep or fi
Sometimes, old fi
Don’t feel bad about calling a pro. It shows you’re prioritizing safety. The cost of hiring someone is much lower than the potential cost of an accident or damage to your home.
Think of it as an investment in peace of mind.
Real-World Scenarios and Considerations
In my own home, about five years ago, I decided to replace an old, inefficient wood burning insert. It was a massive cast iron beast. It had been in place for over 20 years.
I thought it would be a simple swap. I had all the tools and watched a few online videos. The first few steps were easy enough.
I removed the doors, found the screws holding the flue collar.
But when it came time to actually pull it out, it was stuck. Really stuck. I’d broken the caulk seal, but it felt like it was wedged in.
I tried prying gently, then a little harder. I heard a concerning creak from the brickwork. That’s when I stopped.
I realized I was about to do more harm than good. I called a local chimney sweep who specialized in insert removal. He showed up with a special hydraulic jacking system.
Within an hour, that heavy old thing was out. He explained that sometimes the metal expands or shifts over time, or debris gets lodged. It was a lesson learned: know when to ask for help.
Another time, a friend was removing a smaller, lighter insert. They managed to get it out themselves. But they didn’t realize the flue liner had a crack higher up.
After the insert was gone, the draft was awful, and they started smelling soot in their living room even with no fire. They had to get a chimney repair company to fix the flue liner. It was an unexpected expense.
This highlights the importance of inspecting the chimney itself after removal.
Think about what happens next. Once the insert is out, you have an empty fi
Common Insert Removal Challenges
Stubborn Seals: Old caulk or metal can be hard to break free.
Heavy Weight: Inserts can weigh hundreds of pounds, requiring multiple people or equipment.
Hidden Fasteners: Screws or brackets might be in hard-to-see places.
Chimney Damage: Old flues can be brittle or cracked, needing repair.
Dust and Debris: Expect soot and insulation to make a mess.
What This Means for Your Home
Removing a wood burning fireplace insert can have several implications for your home. The most immediate is the change in heating. If the insert was your primary heat source, you’ll need to make other arrangements.
Your heating bills might increase if you rely on other systems more heavily.
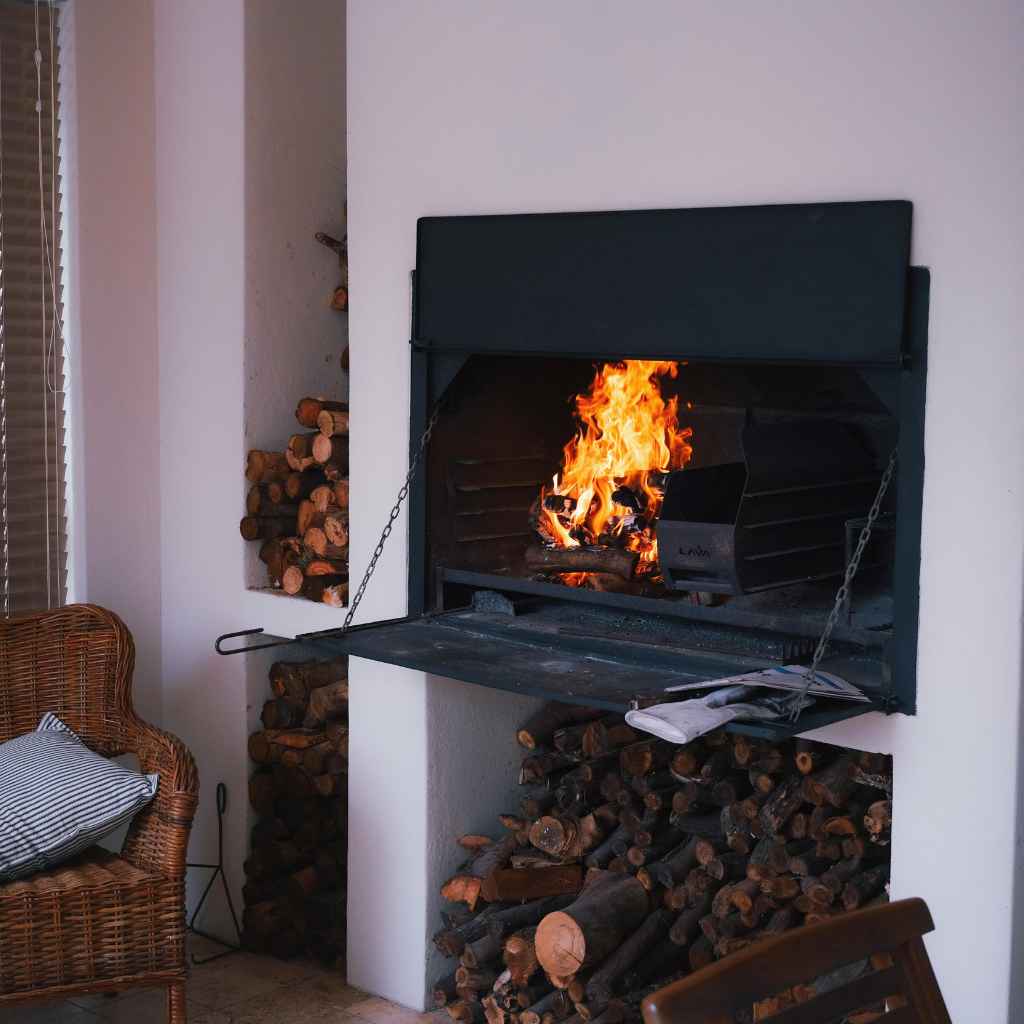
The appearance of your living space will also change. An empty fi
If the insert was poorly installed or very old, its removal might reveal underlying issues with your fireplace or chimney. It’s a good time to have your chimney inspected by a certified sweep. They can check for cracks, blockages, or structural damage that could be a fire hazard or allow dangerous gases into your home.
You also need to consider the resale value of your home. A beautiful, functional fireplace can be a selling point. If you remove a beloved insert, you might want to plan for its replacement or a good way to finish the opening.
If the insert was the only source of heat, buyers might see that as a drawback.
Finally, think about the environmental aspect. Wood burning can produce particulate matter. Removing an old, inefficient insert might be a step towards cleaner air in your home and neighborhood.
Modern heating options often have a lower environmental impact.
Quick Tips for a Smooth Removal
Here are some quick pointers to help make your insert removal go as smoothly as possible. These are based on common experiences and best practices.
Take Pictures: Before you start, take photos of how the insert is installed. This can be helpful if you need to re-install something similar or if you need to explain the setup to a professional.
Read Your Manual: If you still have the owner’s manual for your insert, read it thoroughly. It often contains specific instructions for installation and removal.
Work in Sections: Break down the job into smaller, manageable tasks. This prevents you from feeling overwhelmed.
Have a Plan for Disposal: Old you’ll take it for recycling or disposal before you start. Check with your local waste management facility for options.
Protect Your Floors: Lay down drop cloths or old blankets in front of the fireplace and on the path you’ll use to move the insert. This protects your flooring from scratches and soot.
Ventilate the Area: Open windows and doors during the removal process, especially when breaking seals and dealing with dust. This helps with air quality and reduces the concentration of airborne particles.
Double-Check for Stubborn Parts: Before you attempt to lift the insert, do one last sweep around the edges and the top to ensure no screws, clips, or sealant were missed.
Have Your Helper Ready: Make sure your helper is in position and understands the plan for lifting and moving the insert before you start to pry it loose.
Quick Checklist Before You Start
1. Tools: All necessary tools gathered?
2. Safety Gear: Gloves, glasses, mask ready?
3. Power/Gas: Utility shut-offs confirmed?
4. Cool Down: Insert completely cool?
5. Helper: Friend available and briefed?
6. Disposal Plan: Know where insert will go?
7. Photos: Documented the installation?
Frequently Asked Questions
How heavy is a typical wood burning fireplace insert?
Wood burning fireplace from 300 to over 500 pounds.
It’s always best to assume they are heavier than they look and plan for assistance.
Can I remove a fireplace insert myself?
Yes, many people successfully remove fi
What if the insert is sealed very tightly?
If the insert is sealed tightly with caulk or metal flashing, you will need to break that seal. Use a sharp utility knife to cut through caulk. For metal flashing, a pry bar or flathead screwdriver might be needed to gently loosen it.
Be patient, as old sealant can be very stubborn. Avoid excessive force that could damage your fireplace.
Do I need to clean the chimney after removing the insert?
It is highly recommended to have your chimney inspected by a certified chimney sweep after removing an insert. The removal process can dislodge debris. An inspection can also reveal any pre-existing issues with the chimney liner or structure that were hidden by the insert.
This ensures the chimney is safe for future use or proper sealing.
What should I do with the old fireplace insert?
Many metal recycling centers will accept old fi
How do I seal the fireplace opening after the insert is removed?
Once the insert is out, the opening needs to be sealed to prevent drafts and pests. You can use fire-rated materials like drywall and cement board to create a sealed barrier. Some people opt for a decorative metal screen or a custom-made wooden cover.
Consult with a fireplace professional for the best sealing method for your home.
Conclusion
Removing a wood burning fireplace insert is a project that demands respect for its weight and the systems it connects to. By following these steps, gathering your tools, and prioritizing safety, you can tackle this task. Remember that professional help is always an option.
Taking your time and being thorough will ensure a safe and successful removal, leaving your fireplace ready for its next chapter.