Cost To Sand Hardwood Floors In The Us (2026 Guide)
Understanding the cost to sand hardwood floors in the US involves looking at area size, floor condition, wood type, and whether you hire a pro or DIY. Prices vary widely but can range from $1,000 to $4,000 or more for professional services. DIY can save money but requires tools and time.
What Goes Into Sanding Hardwood Floors?
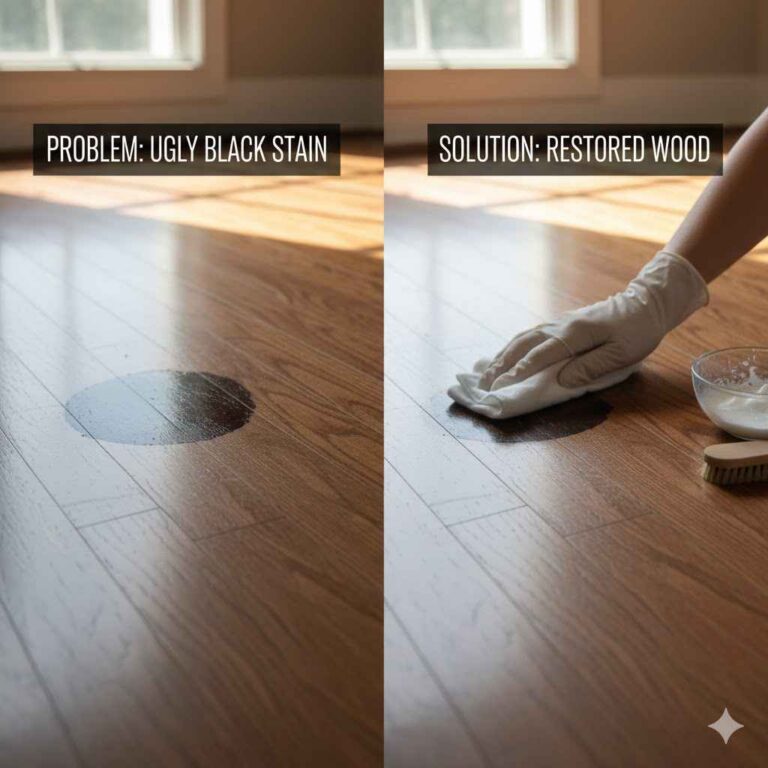
Sanding hardwood floors is a process. It removes the old finish and any scratches or dents. Then, you can apply a new stain and protective coating.
This gives your floors a fresh, new look. It’s like giving your home a facelift from the ground up.
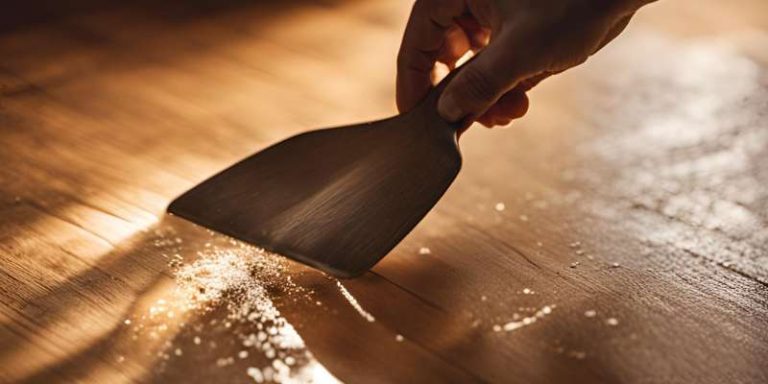
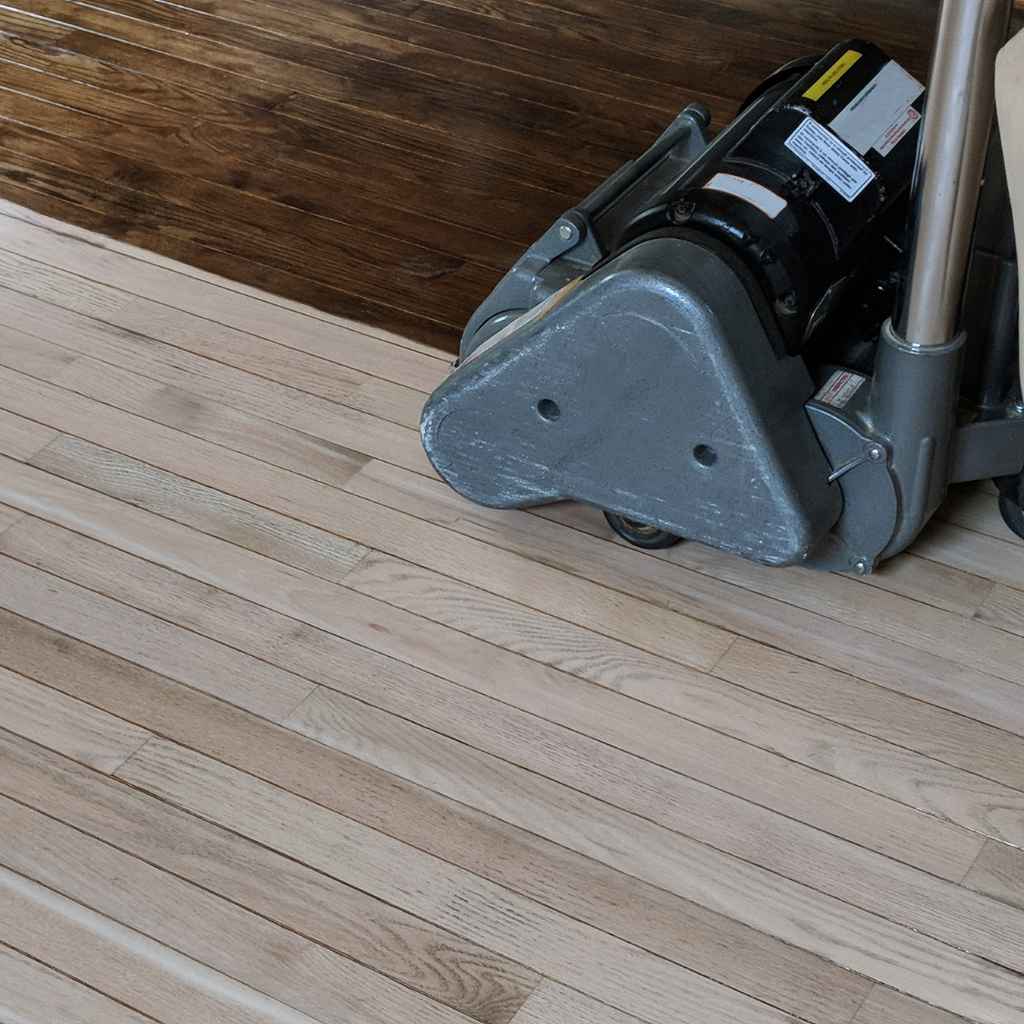
There are usually three main steps. First, you use a coarse grit sandpaper. This takes off the old finish.
Second, you move to a medium grit. This smooths out the wood. Third, you use a fine grit.
This makes the floor super smooth and ready for finishing.
Several things affect how much this whole process costs. The size of the area is a big one. More square feet mean more time and more materials.
The condition of the floor matters too. Deep scratches or old, tough finishes might need more work. This means more sanding time and effort.
The type of wood can also play a role. Some hardwoods are softer. They sand more easily.
Others are harder. They take longer to sand. The type of finish you want also adds to the cost.
A simple clear coat is usually cheaper than a dark stain or a special matte finish.
My Own Floor Sanding Story: A Lesson in Patience
I remember the first time I decided to sand my own hardwood floors. It was in a small apartment I owned years ago. The floors were a lovely oak, but they were dull and scratched.
I’d seen DIY tutorials online. They made it look so simple. “Just rent a sander and go for it!” they seemed to say.
So, I rented a big drum sander and an edger. The rental cost felt manageable. I was excited.
I started with the coarse sandpaper. The machine was heavy and awkward. Dust flew everywhere, coating every surface in the room.
It felt like a mini dust storm inside my home. I worked for hours. By the end of the first day, my arms ached.
My back screamed. The floor looked better, but it was far from smooth.
Then came the medium grit. And then the fine grit. Each pass took time.
My progress felt slow. I learned that evening that the sander could leave marks if I wasn’t careful. A few gouges appeared where I hadn’t steered it perfectly straight.
Panic set in. This was not the smooth, perfect floor I had imagined. It felt like a huge, expensive mistake was unfolding before my eyes.
This experience taught me that while DIY can save money, it demands serious physical effort and a good amount of skill. The actual cost wasn’t just the rental. It was also the time, the physical toll, and the potential for costly mistakes.
I eventually got it done, but it was a much harder job than I expected. I learned to respect the professionals.
Cost Breakdown: Where Does Your Money Go?
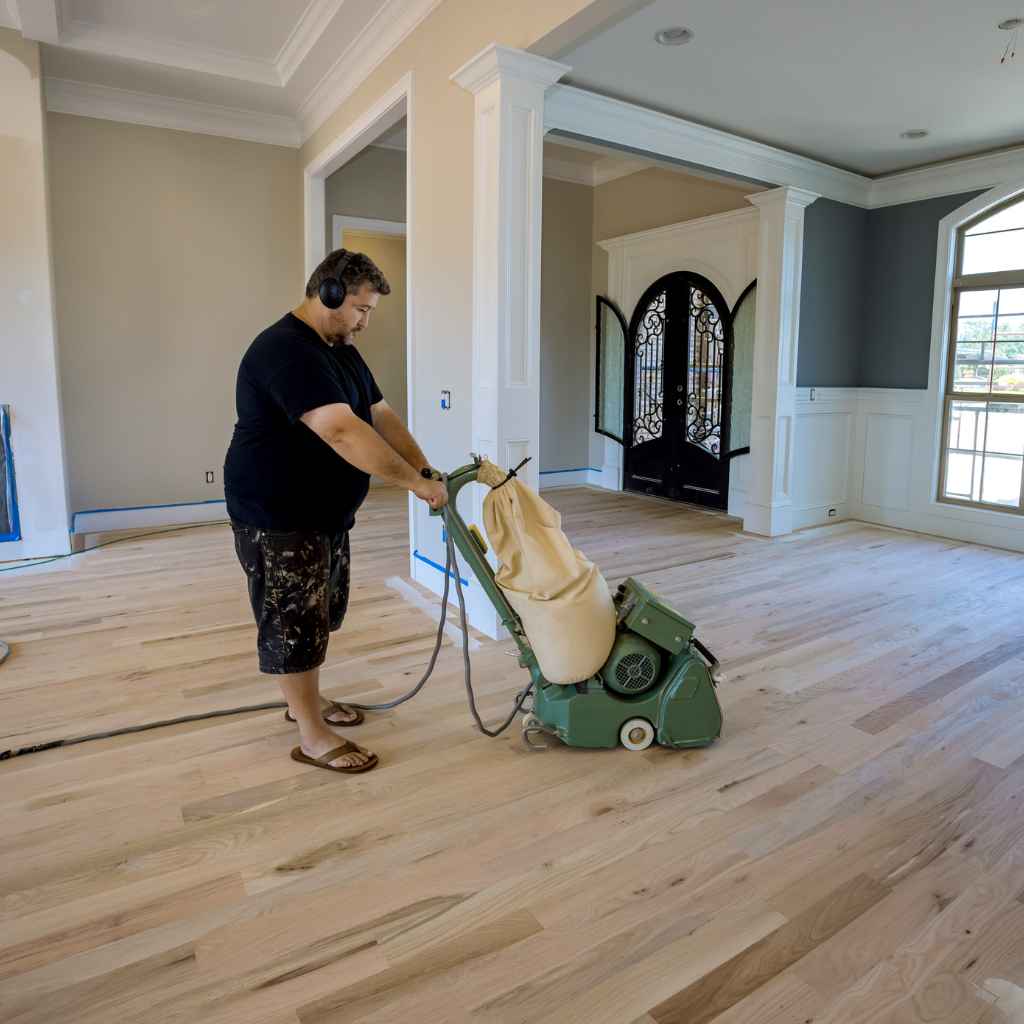
Labor: This is often the biggest part. Skilled workers charge for their time and expertise. They know how to operate the machines safely and effectively.
Materials: This includes sandpaper of different grits. It also covers the stain and the top coat (polyurethane, oil, etc.). Different finishes have different price tags.
Equipment Rental (DIY): If you do it yourself, renting the sander, edger, and vacuum costs money. These machines can be expensive to buy outright.
Site Prep & Cleanup: Moving furniture, protecting walls, and thorough cleanup after sanding are part of the job.
Factors Affecting Your Hardwood Floor Sanding Estimate
When you get a quote for sanding your floors, many things can make that number go up or down. It’s not just a simple price per square foot. You have to look at the details of your specific project.
One major factor is the square footage of the area you need sanded. A small bedroom will cost much less than a large living room or an entire house. It’s a direct relationship: more space means more time, more materials, and more effort for the crew.
The condition of your existing floors is also key. Are they just worn down with a few minor scuffs? Or are they deeply scratched, dented, or have old, thick finishes that are hard to remove?
Floors that need a lot of heavy-duty sanding will cost more. They require more aggressive sandpaper and more passes with the machines.
Wood type can influence the price. Solid hardwood floors are typically what people mean. But engineered hardwood might have different sanding needs.
Some woods are harder than others. Oak is common and sands well. Exotic hardwoods might be more brittle or require special techniques, leading to higher costs.
The type of finish you choose plays a part too. Basic polyurethane finishes are standard and affordable. If you want a specific color stain, that adds a material cost.
High-end finishes like hardwax oils or custom color tints can increase the overall price of the project.
Accessibility is another point. Can the crew easily get their equipment into the space? Are there many tight corners or stairs?
Projects in hard-to-reach areas might incur additional labor charges. It takes more time and careful handling.
Finally, the company you choose matters. Larger companies with more overhead might charge more than a small, local contractor. However, a higher price doesn’t always guarantee better quality.
It’s wise to get multiple quotes and check reviews.
Understanding Wood Types and Sanding
Common U.S. Hardwood Types:
- Oak (Red & White): Very common, durable, sands well.
- Maple: Harder wood, can be tricky to stain evenly but sands smoothly.
- Hickory: Very hard, strong, requires more effort to sand.
- Pine: Softer wood, scratches easily, sands quickly but can dent.
- Cherry: Beautiful wood, but softer and needs careful sanding to avoid issues.
Impact on Cost: Harder woods generally take longer to sand, increasing labor costs. Softer woods can be sanded faster but may show wear more easily.
DIY vs. Professional Sanding: Weighing the Costs
Deciding whether to tackle floor sanding yourself or hire a professional is a big decision. It often comes down to budget, time, and your comfort level with manual labor and machinery.
DIY Sanding:
- Pros: The main draw is significant cost savings. You only pay for sandpaper, stain, and finish, plus rental fees for the equipment. If you have the time and physical stamina, this can be very rewarding.
- Cons: It’s physically demanding work. Renting the right equipment is crucial, and using it incorrectly can damage your floors. This can lead to costly repairs or hiring a professional anyway. Dust control is also a major challenge. You need proper masks and sealing of the room. The learning curve can be steep.
Professional Sanding:
- Pros: Professionals have the experience, the right tools, and the knowledge to do the job efficiently and effectively. They can achieve a consistently smooth finish and apply the stain and top coat evenly. They also handle dust containment better. It saves you a lot of time and physical strain.
- Cons: The upfront cost is much higher. You are paying for their expertise, labor, and business expenses. It can be difficult to find a truly reliable and skilled contractor.
The Real Cost Comparison:
Quick Scan: DIY vs. Pro Cost Factors
| Factor | DIY Cost | Professional Cost |
|---|---|---|
| Equipment Rental | Moderate (per day/week) | Included in Service Fee |
| Sandpaper, Stain, Finish | Direct Material Cost | Included in Service Fee |
| Labor | Your Time & Effort (Free) | Significant Portion of Fee |
| Risk of Damage | High (Potential repair costs) | Low (Warranty/insurance) |
| Time Investment | High (Days/Weeks) | Moderate (Days) |
If you’re on a very tight budget and have plenty of free time, DIY might seem appealing. However, many people find the reality of the physical labor and the precision required is more than they anticipated. Often, the peace of mind and guaranteed results from a professional are worth the higher cost.
Consider the overall value. A professional job can add more value to your home than a DIY attempt that might have visible flaws. The cost of fixing mistakes can quickly outweigh the initial savings.
Average Costs in the US (2026 Estimates)
Estimating the exact cost to sand hardwood floors is tricky. Prices vary by region, contractor, and the specifics of the job. However, we can provide a general range based on current trends and expected 2026 figures.
Remember, these are estimates.
For professional floor sanding and refinishing, you can expect to pay anywhere from $1,000 to $4,000 for a typical room or a small to medium-sized house. This usually includes the sanding, staining (if chosen), and application of multiple coats of a durable finish like polyurethane.
Broken down by square foot, professional services often range from $3 to $8 per square foot. This price can go higher for more complex jobs. For example, if your floors have very deep damage or require specialized finishes, the cost per square foot could reach $10 or more.
DIY costs are harder to pin down precisely. If you rent the equipment for a weekend and buy mid-range materials, you might spend $200 to $700. This can be for a single room.
However, this doesn’t account for the value of your time or the potential cost of fixing mistakes. If you mess up, you might end up paying a professional anyway.
What influences these ranges?
Cost Factors & Price Tiers
Tier 1: Basic Sanding & Clear Coat (Lowest Cost)
- Covers minor scuffs.
- Uses standard polyurethane.
- Minimal repair needed.
- Estimate: $3 – $5 per sq ft.
Tier 2: Sanding, Stain & Standard Finish (Mid-Range Cost)
- Removes moderate wear and scratches.
- Includes a chosen stain color.
- Standard, durable top coat.
- Estimate: $5 – $7 per sq ft.
Tier 3: Heavy Duty Sanding, Custom Stain & Premium Finish (Highest Cost)
- Deep scratches, significant wear.
- Specialty stains or custom color matching.
- Premium finishes (e.g., hardwax oils, matte finishes).
- Estimate: $7 – $10+ per sq ft.
Geographic location plays a role. Costs can be higher in major metropolitan areas with a higher cost of living. Conversely, they might be lower in rural areas.
The age of your home can also matter. Older homes might have original hardwood that requires more delicate handling or has unique challenges. This can affect pricing.
Always get detailed quotes from several reputable local contractors to understand the pricing in your specific area.
When to Worry: Signs Your Floors Need More Than Just a Sanding
While sanding and refinishing can fix many issues, there are times when the problem goes deeper. It’s important to know when a floor might need more intensive repair or even replacement. This can save you money in the long run by avoiding unnecessary sanding on severely damaged wood.
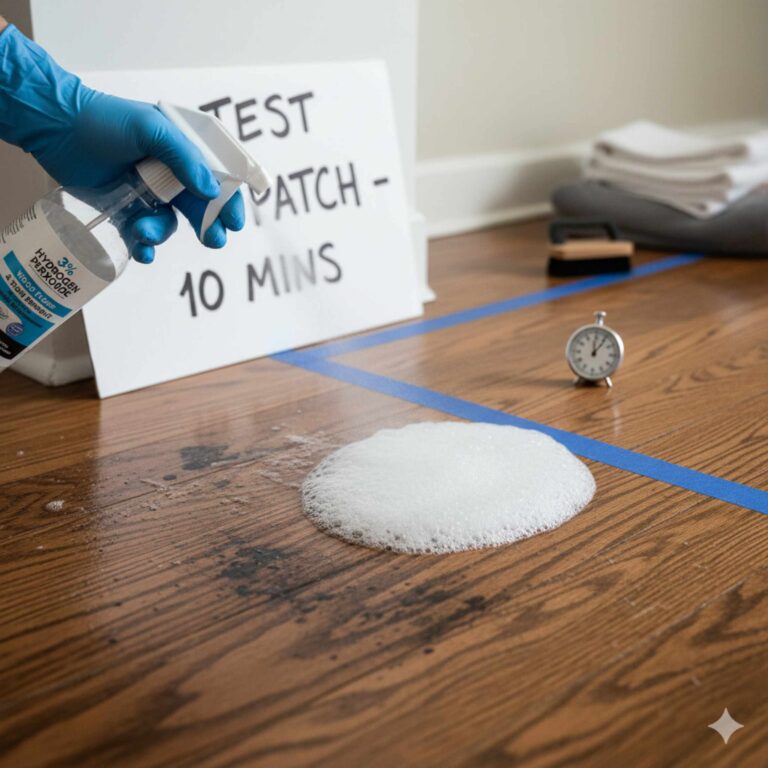
Cupping or Crowning: If your floorboards look like they are curving upwards at the edges (cupping) or in the center (crowning), it usually indicates a moisture problem. Sanding won’t fix this. You need to address the moisture source first.
This might involve a dehumidifier, checking for leaks, or improving ventilation.
Warping or Buckling: Severely warped or buckled boards are a sign of significant moisture damage or improper installation. These boards are often beyond repair through sanding. They may need to be replaced individually or in sections.
Extensive Gaps: Large gaps between floorboards can be caused by humidity changes or structural issues. While minor gaps can sometimes be filled during refinishing, very wide or uneven gaps might mean the subfloor is uneven or the boards are shrinking excessively. This could require subfloor repair or board replacement.
Rot or Mold: If you see signs of rot, mold, or mildew on your hardwood floors, especially in damp areas like basements or kitchens, this is a serious concern. Sanding won’t remove mold spores. You’ll need to address the source of the moisture and treat or replace the affected wood.
Deep, Persistent Damage: If your floors have very deep gouges, nail holes that go all the way through, or significant structural damage, sanding might not be enough to make them look good. These areas may still be visible after refinishing. In such cases, individual board replacement or even a full refinish might be considered.
Uneven Subfloor: If the subfloor beneath your hardwood is uneven, the hardwood itself will also be uneven. Sanding can only do so much to smooth out the surface. Major subfloor issues need to be fixed before refinishing to ensure a level and stable final product.
Signs Your Floors Might Need More Than Sanding
- Moisture Issues: Cupping, crowning, or buckling of boards.
- Structural Damage: Loose boards, large gaps, significant warping.
- Pest Infestation: Holes or damage from termites or other wood-boring insects.
- Severe Wear: Incredibly thin boards that cannot withstand further sanding.
- Subfloor Problems: Squeaks, sponginess, or visible damage from below.
Action: If you notice any of these, consult with a flooring professional for a thorough inspection before proceeding with sanding.
It’s always a good idea to have a professional inspect your floors if you’re unsure. They can identify underlying problems that sanding alone won’t solve. Sometimes, a repair might add to the cost, but it’s cheaper than sanding floors that are destined to fail.
Tips to Save Money on Floor Sanding
While professional floor sanding is an investment, there are smart ways to manage the costs without sacrificing quality. Here are some tips that can help you save money.
1. Get Multiple Quotes: This is perhaps the most crucial step. Contact at least three to four reputable flooring contractors.
Compare their estimates carefully. Don’t just look at the lowest price. Consider their reviews, experience, and what’s included in their quote.
2. Do Some Prep Work Yourself: Before the professionals arrive, clear all furniture and belongings from the rooms being worked on. Remove any floor vents or hardware.
This saves the contractor time, and they may offer a small discount for your help. Also, protect adjacent areas from dust with plastic sheeting.
3. Consider Timing: If you’re not in a rush, ask contractors if there are slower periods in their schedule. Sometimes, booking during an off-peak season might lead to a slightly better price.
Also, if you’re remodeling, try to schedule floor work after dusty construction phases but before installing cabinets or final finishes.
4. Opt for Standard Finishes: High-end or specialty stains and finishes can add significantly to the cost. If budget is a concern, stick with standard polyurethane finishes.
They are durable, widely available, and generally more affordable. Clear coats are also usually cheaper than tinted stains.
5. Discuss the Scope of Work: Be very clear about what you want done. Do all your floors need a full sanding and refinish?
Or can some areas get away with a screen and recoat (a lighter process that refreshes the existing finish)? A screen and recoat is much cheaper but only works on floors that are not heavily scratched or worn.
6. Ask About Their Dust Containment System: While not directly a cost-saving measure, a good dust containment system can save you money on cleaning. It also means less disruption to your home.
Some contractors include advanced dust control as standard, while others charge extra. It’s worth inquiring about.
7. Consider DIY for Minor Repairs: If you have only a few deep scratches, you might be able to fix them yourself with wood filler or a repair kit before the professionals arrive. This reduces the amount of heavy sanding needed.
Money-Saving Checklist
- Compare Quotes: Get at least 3-4 estimates.
- DIY Prep: Move furniture, remove vents.
- Off-Peak Booking: Inquire about slower times.
- Standard Finishes: Avoid custom or premium options.
- Screen & Recoat: If applicable, it’s cheaper.
- Minor Repairs: Handle small dents yourself.
Remember, the cheapest option isn’t always the best. A slightly higher price for a reputable contractor with good reviews and a solid dust containment system might save you headaches and future costs.
The Lifespan of Sanded Hardwood Floors
Once your hardwood floors are beautifully sanded and refinished, how long can you expect them to last? The lifespan of your newly refreshed floors depends on several factors. These include the quality of the work, the type of finish applied, and how well you maintain them.
A well-sanded and finished hardwood floor can last for many, many years. The actual wood planks themselves can last for decades, even centuries, if cared for. The finish is the layer that wears down over time.
It’s the finish that gets scratched, scuffed, and dull. This is why refinishing is needed.
With a good quality polyurethane finish, you can typically expect it to hold up well for 5 to 10 years before it starts showing significant wear. This is an average. Some high-traffic areas might show wear sooner, while low-traffic areas will look good for longer.
Factors affecting lifespan:
- Foot Traffic: Homes with lots of people, pets, or kids will wear down the finish faster.
- Pet Nails: Dog claws can scratch even the hardest finishes.
- High Heels & Hard Soled Shoes: These can cause dents and scratches.
- Dirt & Grit: Sand and small stones tracked in from outside act like sandpaper on your floors.
- Sunlight: Direct sunlight can fade wood and finishes over time.
- Moisture: Spills that aren’t cleaned up quickly can damage the finish and the wood.
Can You Extend the Life? Absolutely! Regular maintenance is key.
Extending Your Floor’s Life
- Use Doormats: Place mats at all entrances to catch dirt and grit.
- Area Rugs: Use rugs in high-traffic areas like hallways and living rooms.
- Protective Pads: Put felt pads on the legs of all furniture.
- Clean Spills Immediately: Wipe up any liquids right away.
- Sweep/Vacuum Regularly: Use a soft brush attachment for vacuuming.
- Avoid Harsh Cleaners: Use only recommended wood floor cleaners.
- Trim Pet Nails: Keep pet nails short to minimize scratches.
When the finish starts to wear thin, you might notice it looks dull in high-traffic areas. It might start showing light scratches. This is the point where you might consider a “screen and recoat.” This is a less intensive process than a full sanding.
It lightly abrades the existing finish and applies a new top coat.
A screen and recoat can extend the life of your current finish for another 5 to 7 years. It’s a great way to refresh your floors between full sandings and saves you money in the long run. Eventually, even this will not be enough, and a full sanding and refinishing will be necessary again.
Frequently Asked Questions About Floor Sanding Costs
What is the average cost to sand and refinish hardwood floors per square foot in the US?
The average cost to sand and refinish hardwood floors in the US typically ranges from $3 to $8 per square foot for professional services. This price can vary based on your location, the complexity of the job, and the type of finish you choose.
How much does it cost to rent a floor sander?
Renting a floor sander typically costs between $50 to $150 per day, depending on the type of sander (drum sander, orbital sander) and the rental company. You’ll also need to factor in the cost of sandpaper, edger rentals, and potentially a buffer.
Is it cheaper to refinish hardwood floors yourself?
While DIY floor refinishing can save money on labor costs, it is not always cheaper when you consider the cost of equipment rental, materials, and the significant time and physical effort required. Mistakes can also lead to costly repairs, sometimes making professional help more economical.
What is included in the cost of professional floor sanding?
Professional floor sanding costs usually include the labor for sanding the floors with multiple grits of sandpaper, applying your chosen stain (if any), and applying multiple coats of a protective finish like polyurethane. It also covers dust containment measures and cleanup. Always confirm specifics with your contractor.
How long does it take to sand and refinish hardwood floors?
The process typically takes 3 to 5 days for a standard-sized home. This includes sanding, applying stain, drying time between coats of finish, and the final curing period before you can move furniture back.
Can you sand engineered hardwood floors?
Yes, but only if the wear layer (the top layer of real wood) is thick enough. Thicker wear layers (3mm or more) can usually be sanded once or twice. Thin wear layers on engineered hardwood cannot be sanded without damaging the floor.
Always check your manufacturer’s specifications.
What is a ‘screen and recoat’ and how does it differ from sanding?
A ‘screen and recoat’ is a lighter maintenance process. It involves lightly abrading the existing finish with a buffer and screen, then applying a new coat of finish. It’s faster and cheaper than full sanding, but only works if the original finish is intact and not deeply scratched.
Full sanding removes the old finish entirely.
Bringing It All Together: Your Floor Sanding Journey
Sanding your hardwood floors is a wonderful way to refresh your home. Understanding the costs involved is a big step. It helps you plan and make smart decisions.
We’ve covered the factors that affect price. We’ve looked at DIY versus professional work. We’ve explored average costs and how to save money.
Remember, the goal is beautiful, durable floors. Whether you choose to do it yourself or hire an expert, take your time. Research your options.
And enjoy the process of transforming your space. Your floors will thank you for it for years to come.