How to Keep a Tankless Water Heater From Freezing
Use the heater’s built-in freeze protection, keep power on, insulate exposed hot and cold pipes, and add the manufacturer’s approved cover or drain-down kit on outdoor units before temperatures drop below 32°F. Skip the right layer, and frozen water can split valves, crack heat exchangers, and leave you without hot water. This guide shows which freeze-prevention steps fit indoor, outdoor, power-vented, and recirculating tankless installations.
What you’ll need


- Owner’s manual and model number
- Closed-cell foam pipe insulation
- Self-regulating heat cable or heat tape rated for the pipe and location
- Access to isolation valves and drain ports
- Flashlight and basic inspection tools
Do tankless water heaters need freeze protection?
Yes. Tankless units usually hold less than 1 quart of water, but that water can still freeze and crack parts. Built-in freeze protection often activates around 37–40°F, and it only works when the unit has continuous electrical power. In ASHRAE Climate Zones 5 through 8, using more than one protection layer is commonly recommended.
Check the built-in freeze protection first
Most gas-fired condensing units include an internal heater or control that protects the cabinet and water path when energized. Some outdoor-rated units are specified as effective down to –22°F when powered. That rating does not protect every exposed pipe, valve, or drain port outside the cabinet.
Match the risk to the installation, not just the brand
Indoor heated spaces need less help than garages, crawlspaces, and exterior closets. Outdoor wall-mounted units face wind, snow, and exposed piping. Seasonal homes need drain-down, because electricity-based protection cannot help if the power is off during an outage.
Freeze-prevention decision table
| Installation type | Required protection layers | Power dependency | Drain-down steps | Common failure points |
|---|---|---|---|---|
| Indoor heated | Built-in freeze protection, pipe insulation on any exposed runs, isolation valves for service | Yes, for internal freeze protection | Usually not needed if the space stays heated | Uninsulated inlet/outlet piping, power loss, blocked condensate drain |
| Garage or unheated | Built-in freeze protection, pipe insulation, heat cable on exposed runs, isolation valves | Yes | Needed if the space may go below freezing for long periods or power may be lost | Cold air around valves, exposed supply lines, drain ports that trap water |
| Outdoor wall-mounted | Outdoor-rated enclosure, powered freeze protection, pipe insulation, heat trace on exposed piping | Yes | Use if the home is vacant or service will be shut off | Wind exposure, snow blocking vents, frozen inlet/outlet piping, exposed gas or condensate lines |
| Seasonal or vacation home | Complete drain-down, isolation valves, drain ports, optional pipe insulation for remaining exposed lines | No, if fully drained | Yes, drain the unit and connected water lines before leaving | Power cut during vacancy, trapped water in valves, forgotten branch lines |
How do you protect an indoor or garage unit?
For an indoor heated unit, keep power on and protect the piping first. For a garage or other unheated space, add heat cable to exposed runs because built-in protection only helps the heater itself. In both cases, isolation valves and drain ports matter because they let you service or winterize the unit without guesswork.
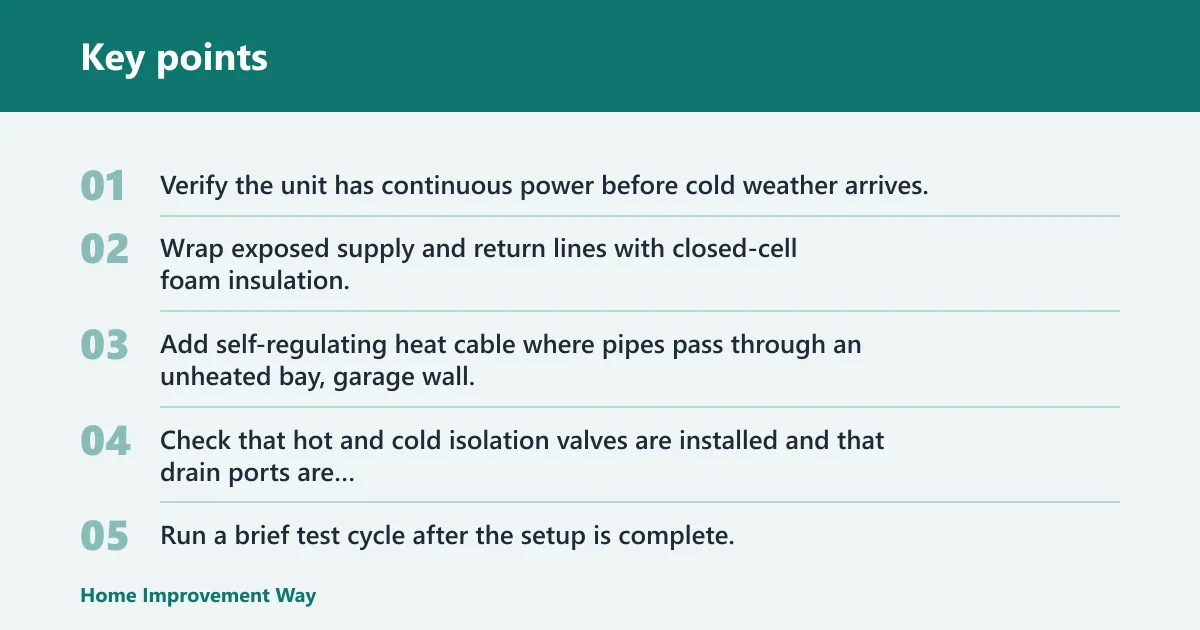
- Verify the unit has continuous power before cold weather arrives.
- Wrap exposed supply and return lines with closed-cell foam insulation, including fittings that sit in cold air.
- Add self-regulating heat cable where pipes pass through an unheated bay, garage wall, or crawlspace.
- Check that hot and cold isolation valves are installed and that drain ports are accessible.
- Run a brief test cycle after the setup is complete, then recheck for cold spots around pipes and valves.
What fails first in a garage setup
The first cold points are usually the exposed inlet and outlet lines, then valve bodies and drain ports. The cabinet can still have freeze protection while the piping outside the cabinet freezes. A common first-timer mistake is insulating the heater face and leaving about a 3-foot exposed pipe run bare.
How do you protect an outdoor tankless heater?
An outdoor-rated tankless water heater still needs support from the rest of the installation. The sealed enclosure is built for exterior mounting, but wind-exposed northern climates can freeze connected piping and fittings even when the unit itself is rated for outdoor use. Heat trace on exposed pipes is often the missing layer.
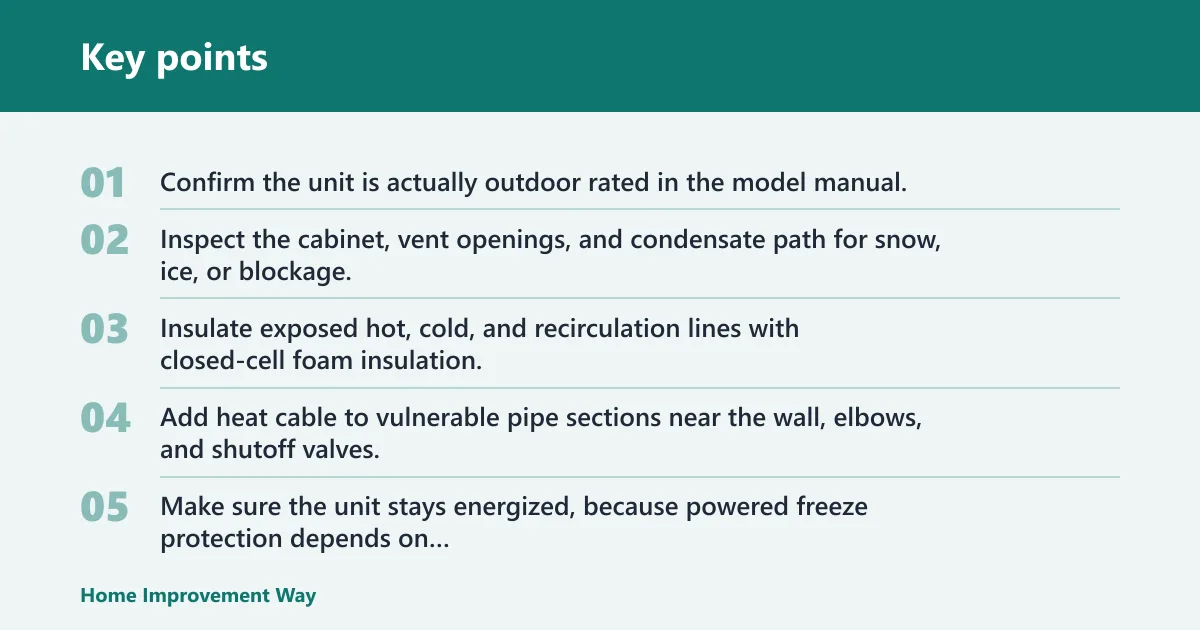
- Confirm the unit is actually outdoor rated in the model manual.
- Inspect the cabinet, vent openings, and condensate path for snow, ice, or blockage.
- Insulate exposed hot, cold, and recirculation lines with closed-cell foam insulation.
- Add heat cable to vulnerable pipe sections near the wall, elbows, and shutoff valves.
- Make sure the unit stays energized, because powered freeze protection depends on electricity.
Watch the wind side of the house
If an outdoor heater sits on a north wall with about a 6-foot pipe run exposed to wind, take that exposure into account. The heater may still be protected, but the inlet line and drain fitting can freeze first. That is why outdoor units often need pipe heat trace even when the cabinet itself is rated for freezing weather.
How to winterize a seasonal home
For a vacation or seasonal home, drain-down is the safest setup when power may be cut. That matters because a powered freeze-protection system cannot help once electricity is gone. Fully emptying the unit and the connected water lines is the cleanest way to avoid freeze damage during a long shutdown.
- Shut off the water supply at the main valve.
- Turn off the heater and follow the manual’s shutdown sequence.
- Open the hot and cold isolation valves as directed by the manufacturer.
- Drain the unit through the drain ports until no water remains.
- Leave the system empty until the home is occupied again.
Drain-down needs the right hardware
Drain-down works only if the unit has accessible isolation valves and drain ports. If a branch line or accessory loop still traps water, that water can freeze later. This is why seasonal shutdown is a setup problem, not just a shutoff switch problem.
What should you check before the first hard freeze?
A pre-freeze inspection should focus on power, vents, valves, and exposed lines. This catches the failure points that freezing weather exposes first. Hot water heater maintenance guidance also recommends annual or bi-annual flushing depending on water quality, so the pre-winter check is a good time to do that if the manual calls for it.
- Confirm that the unit powers on and that its freeze-protection function is available.
- Inspect venting and intake areas for blockages, snow, or debris.
- Check that hot and cold isolation valves move freely.
- Look for exposed pipe sections, gaps in insulation, and damaged heat cable.
- Verify that condensate drains and drain ports are open and not trapped in ice.
Use climate zone as a planning cue
ASHRAE Climate Zones 5 through 8 are commonly used as cold-climate references because they point to design temperatures below freezing. In those zones, a single layer often is not enough. Pipe insulation plus heat cable, or powered freeze protection plus a drain plan, is a more realistic setup.
Common mistakes
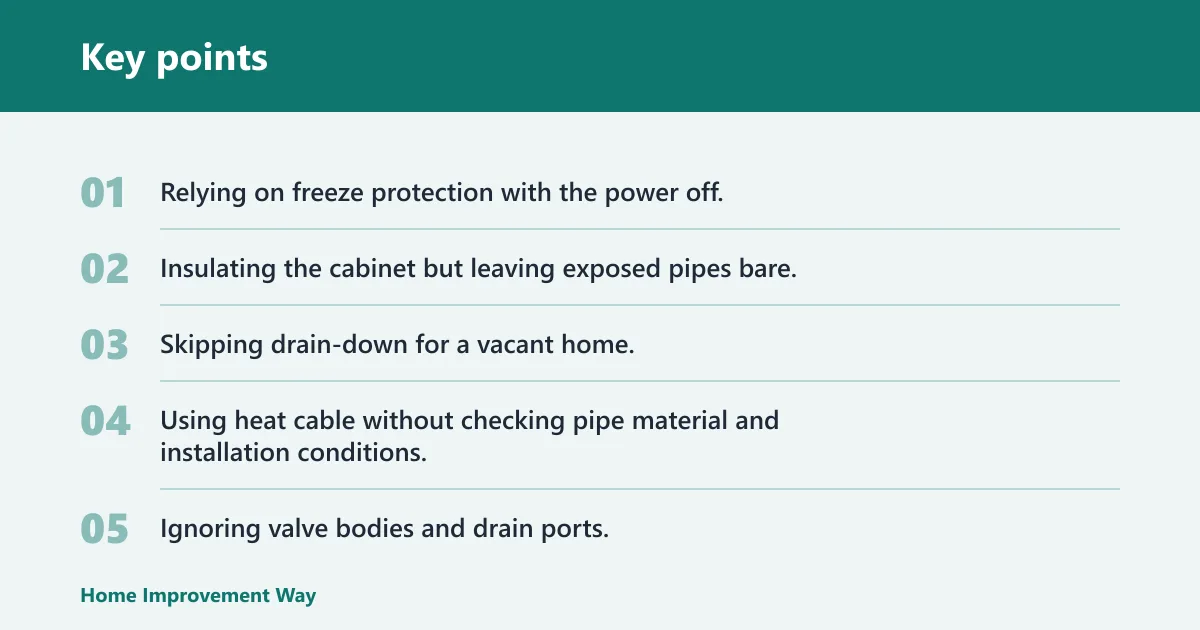
- Relying on freeze protection with the power off. Built-in protection needs continuous electrical power.
- Insulating the cabinet but leaving exposed pipes bare. Insulation helps the line, not the heater body alone.
- Skipping drain-down for a vacant home. If power is cut, the water left in the system can freeze.
- Using heat cable without checking pipe material and installation conditions. Match the cable to the pipe and follow the rating for the space.
- Ignoring valve bodies and drain ports. Those small parts often freeze before the main cabinet does.
If a tankless unit is already frozen
Turn off power to the unit, then inspect for burst fittings, cracked valves, or leaked water before trying to restart it. If the cabinet or pipes are ice-bound, do not force the system on. Let the space thaw naturally, then check the manual for the restart sequence and replace any damaged parts before use.
- Shut off electrical power to the heater.
- Close the water supply if a leak is visible.
- Inspect the inlet, outlet, drain ports, and exposed piping for cracks or water.
- After thawing, follow the manual’s restart and leak-check steps.
Frequently asked questions
How to keep a gas tankless water heater from freezing
Gas-fired units often include internal freeze protection, but that protection needs electricity. Keep power on, insulate the hot and cold lines, and check the drain ports and condensate path. If the unit sits in a garage or exterior closet, add heat cable to the exposed runs.
How do you keep a tankless hot water heater from freezing?
Start with the installation type. Heated indoor spaces usually need powered freeze protection and pipe insulation. Unheated rooms and outdoor units need heat cable on exposed runs. Seasonal homes should be fully drained, because a powered system cannot help if the electricity is shut off.
Do tankless water heaters need freeze protection: yes, especially?
Yes, especially in colder climates. Tankless units hold little water, but that small amount can still freeze and crack components. In ASHRAE Climate Zones 5 through 8, plan for a layered setup that may include power, insulation, heat cable, or drain-down.
What should I do with a tankless water heater during a winter shutdown?
Shut off the water supply, turn off the heater, open the isolation valves as the manual directs, and drain the unit through its drain ports. Leave the system empty until the property is occupied again. That approach matters most when power may be cut during the shutdown.
Sponsored / affiliate links. As an Amazon Associate I earn from qualifying purchases. I may earn additional commission from eligible campaigns.