How To Get Rid Of Scratches On Hardwood Floor Permanently
It’s a moment that makes your stomach drop. You’re moving a chair, or maybe a pet zoomies past, and then you see it. A scratch.
On your beautiful hardwood floor. It’s like a tiny scar, reminding you that perfection is fleeting. You want those floors to look amazing again.
But how do you fix it? And can you really make those scratches disappear for good?
Addressing scratches on hardwood floors involves understanding their depth and then choosing the right repair method. Simple surface scratches can often be buffed out or filled with wax sticks, while deeper gouges may require wood fillers, stain matching, or even refinishing. The key is to act promptly to prevent further damage and ensure a lasting repair.
What Causes Hardwood Floor Scratches?
Hardwood floors are lovely. But they can get scratched easily. What makes this happen?
It’s usually simple things we do every day. Small pebbles stuck in shoe soles can act like sandpaper. Furniture that isn’t on felt pads can drag and leave marks.
Pets, with their sharp nails, are another big culprit. Even dragging heavy items, like a vacuum cleaner, can cause damage. Sometimes, it’s just grit and dirt that gets tracked in.
These tiny particles are everywhere. They get on our shoes. They get on pet paws.
When we walk or move things, these particles get ground into the wood’s finish. This is what causes those fine, annoying scratches. The harder the wood, the more it can resist.
But even the toughest wood can’t fight off constant friction. It’s like rubbing a balloon over rough concrete. Eventually, it will show wear.
Understanding Scratch Depths
Not all scratches are created equal. This is super important. Some are just on the surface.
Others go much deeper. Knowing the difference helps you pick the best way to fix them. This is where many people get stuck.
They try a fix for a deep scratch on a shallow one, or vice versa. This often leads to more work or a less-than-perfect result.
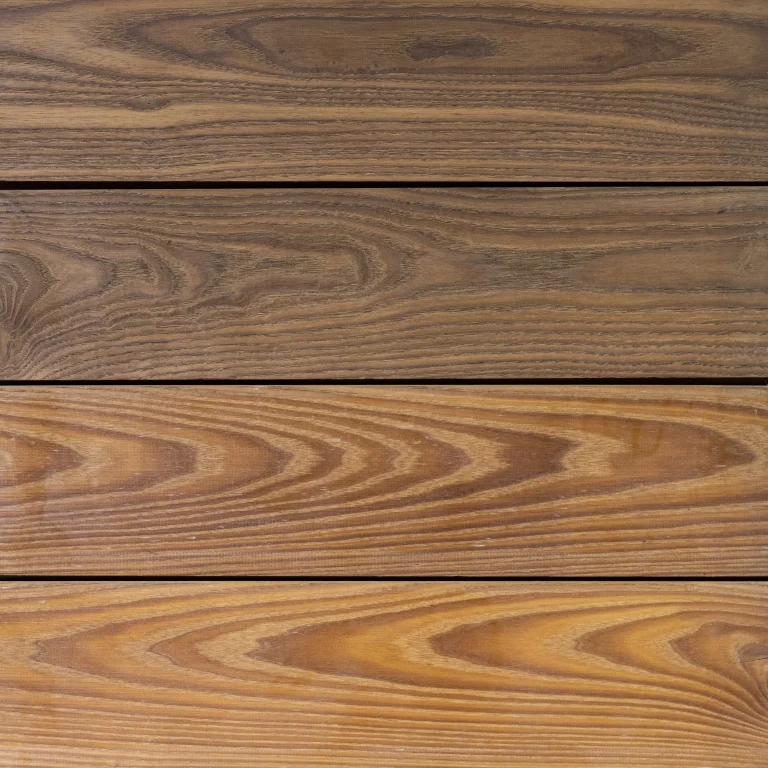
Let’s break it down. Think of the wood floor like a layer cake. First, there’s the finish.
This is the protective top coat. It’s often polyurethane or a similar sealant. If a scratch only goes through this top layer, it looks lighter.
It might be a white or dull line. You can often feel it a little with your fingernail. These are usually the easiest to fix.
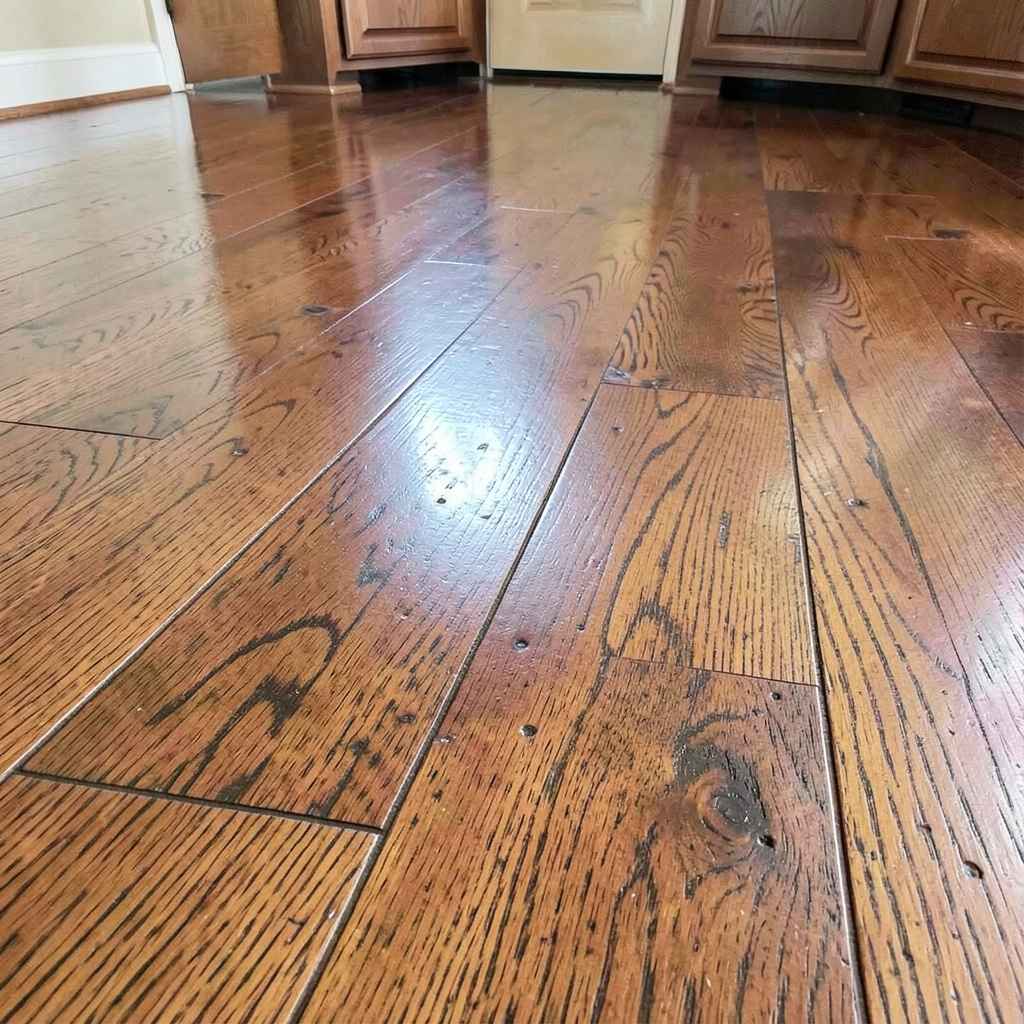
Then there are scratches that go deeper. They might reach the actual wood color. These are harder to hide.
They show up as a distinct line of a different color. If you run your fingernail across it, you’ll likely feel a definite groove. This means the wood itself has been cut or gouged.
These need more than just a simple buff.
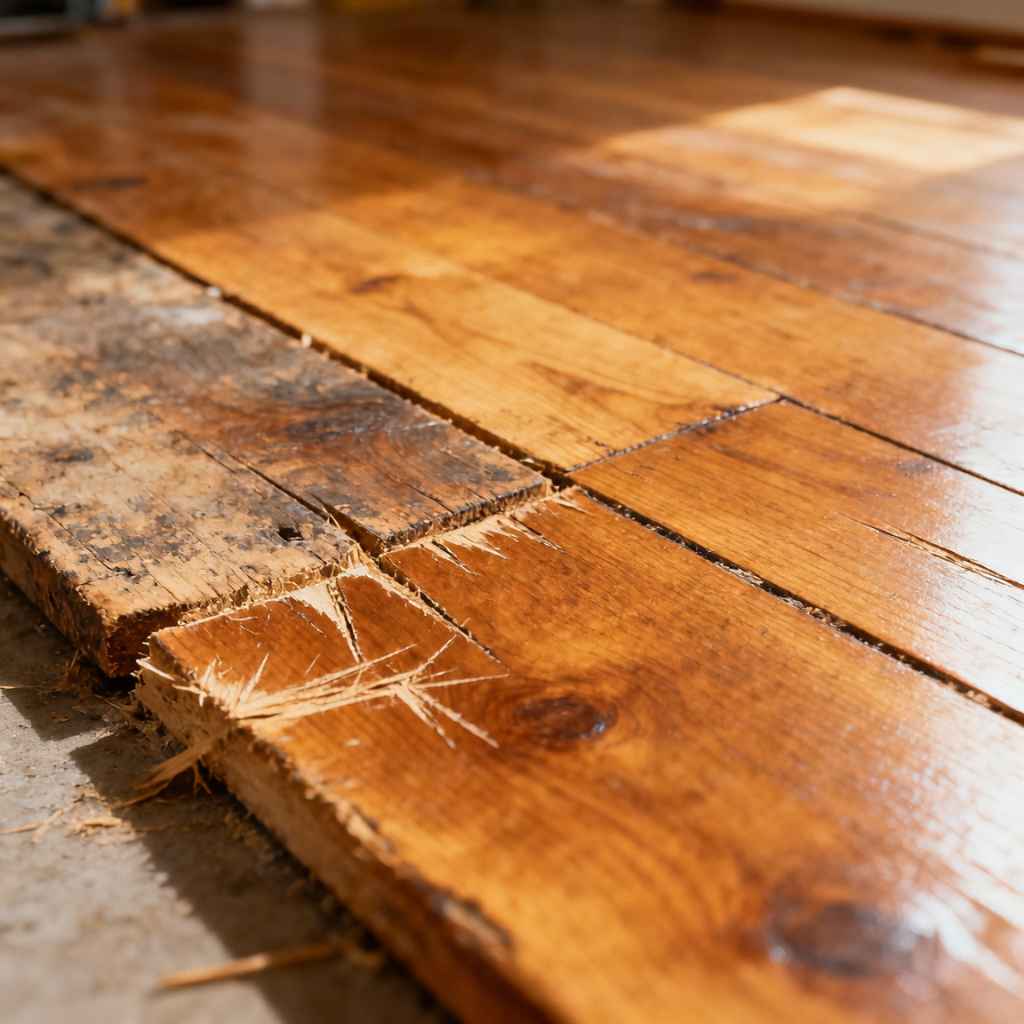
The deepest scratches can go through the wood color. You might even see the subfloor underneath if it’s very bad. This is rare but happens with severe impacts.
These are the hardest to fix without professional help. They often need more than just a touch-up. They might need new wood or a full refinish.
How to Get Rid of Surface Scratches on Hardwood Floor
So, you found a scratch. It looks like it’s just in the shiny top layer. Good news!
These are the simplest to fix. You don’t need to be a pro for these. Many common household items can do the trick.
Or you can get a special product. The goal here is to fill or buff out that slight damage.
One popular method is using a toothbrush and toothpaste. Yes, toothpaste! Use a white, non-gel kind.
Put a small dab on a soft cloth or your toothbrush. Gently rub it into the scratch. Go with the grain of the wood.
Don’t scrub too hard. After a few minutes, wipe it clean with a damp cloth. Then dry it.
This can help smooth out minor abrasions.
Another trick involves walnuts. Seriously! Take a walnut (the nut itself).
Rub the meat of the walnut over the scratch. The natural oils in the walnut can help fill and hide the scratch. It works best on lighter wood colors.
Rub it in, let it sit for a bit, then buff it with a soft cloth. This is a very gentle, natural approach.
There are also specialized hardwood scratch repair kits. These often come with a colored polish or a wax crayon. You pick the color that matches your floor.
You rub it into the scratch. It fills the void and often blends in the color. These are great because they are designed for wood floors.
They are made to match the finish.
Lemon oil or orange oil can also work wonders. These oils can help restore moisture to the finish. They can also help blend minor scratches.
Put a small amount on a soft cloth. Rub it into the scratch gently. Then buff the area.
This makes the scratch less noticeable. It also adds a nice shine.
Quick Fixes for Surface Scratches
Method: Toothpaste (white, non-gel)
How: Apply to cloth, rub gently, wipe clean, dry.
Method: Walnut meat
How: Rub over scratch, let sit, buff with cloth.
Method: Specialized Repair Kit (wax crayon/polish)
How: Match color, apply to scratch, buff.
Method: Lemon/Orange Oil
How: Apply to cloth, rub gently, buff.
Dealing with Deeper Scratches and Gouges
Okay, what if the scratch is more than just a surface blemish? What if it’s a real groove? These are tougher.
They go down into the wood color. You can’t just buff these out. You need to fill them.
This is where wood filler or repair sticks come in.
Wood filler is a putty-like substance. You can buy it in many wood tones. Or you can buy it natural and stain it yourself.
For a deeper scratch, you need to clean it out first. Make sure there’s no dirt or debris. Then, use a putty knife to press the wood filler into the scratch.
Pack it in well.
You want to fill it slightly above the surface. Why? Because when it dries, it shrinks a little.
Once it’s dry (follow the product directions), you’ll need to sand it smooth. Use fine-grit sandpaper. Sand it down until it’s flush with the rest of the floor.
Then, you’ll need to color match. This is the tricky part.
You might need to use a stain pen or a touch-up kit. Find a color that closely matches your floor. Apply it carefully to the filled area.
You might need a few thin coats. Let each coat dry. Then, you might need to seal it.
A clear coat of polyurethane can protect the repair. This needs patience.
Another option for deeper scratches is a wood repair crayon or putty stick. These are like solid wax. You melt them into the scratch.
They fill the groove and blend the color. They are often easier to use than traditional wood filler. You can buy kits with multiple colors.
You can even mix colors to get the perfect match. Rub the crayon into the scratch. Then, use a plastic scraper or an old credit card to remove the excess.
Buff with a soft cloth.
Using Wood Filler for Deeper Scratches
Step 1: Clean the scratch. Remove all dirt and debris.
Step 2: Apply wood filler. Pack it into the scratch using a putty knife. Slightly overfill.
Step 3: Let it dry. Follow the product’s instructions.
Step 4: Sand smooth. Use fine-grit sandpaper until flush with the floor.
Step 5: Color match. Use stain pens or touch-up kits. Apply thin coats.
Step 6: Seal the repair. Apply a clear coat of polyurethane.
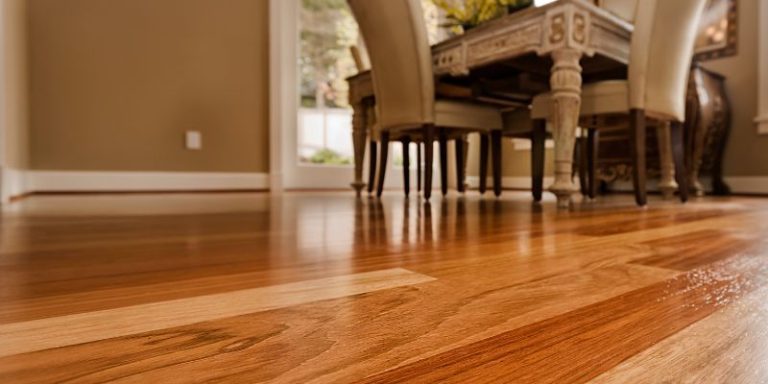
The Ultimate Solution: Refinishing Your Hardwood Floors
Sometimes, scratches are just too much. They cover a large area. Or they are very deep and widespread.
Trying to fix each one individually can be overwhelming. This is when refinishing is the best option. It’s a bigger project.
But it makes your floors look brand new again. It’s the closest you’ll get to a permanent fix.
Refinishing involves sanding down the entire floor. A professional sander removes the top layer of wood. This takes away all the scratches, dents, and old finish.
It’s dusty work, but the result is worth it. They use different grits of sandpaper. They start coarse and move to fine.
This makes the wood smooth and ready for a new finish.
After sanding, the floor is clean. Then, they apply a new stain, if you want one. You can change the color or keep the original.
Many people opt for a richer tone. After the stain dries, they apply several coats of protective finish. This is usually polyurethane.
It comes in different sheens: matte, satin, semi-gloss, and gloss.
This process removes ALL the damage. It’s like hitting a reset button for your floors. It’s an investment.
But it also adds value to your home. A newly refinished floor looks stunning. It can last for many years, often 10 to 20, with proper care.
This is the permanent solution for widespread scratch issues.
I remember a time when I had an old rental property. The hardwood floors were a mess. Deep scratches everywhere.
Someone had tried to paint over them! It looked awful. I hired a crew to refinish them.
Watching them sand away the old, damaged wood was amazing. When they finished, the floors gleamed. It was like a completely different house.
That’s the power of refinishing.
The cost of refinishing varies. It depends on the size of the area and the type of finish you choose. But compared to replacing the whole floor, it’s a much more budget-friendly option.
And it brings back that beautiful, natural wood look you love.
Preventing Scratches for Long-Term Beauty
Now that you know how to fix scratches, let’s talk about stopping them before they start. Prevention is always better than repair, right? Keeping your hardwood floors looking pristine long-term is all about a few smart habits.
It’s not hard, but it does take a little attention.
The most important thing is to protect your furniture legs. Use felt pads. These are cheap and easy to stick on.
Put them on every chair, table, and sofa leg. Make sure they are still there. Replace them when they get worn down or dirty.
This is probably the single best way to prevent scratches from furniture movement.
Be mindful of shoes. Ask people to remove their shoes at the door. This is a common practice in many homes.
Shoes track in dirt, grit, and small stones. These are the tiny weapons that scratch your floor. Keep a shoe rack or basket by the entrance.
Have some nice slippers available for guests.
For pets, keep their nails trimmed. Regular nail trims make a big difference. Even if they have claws, shorter nails are less likely to dig deep into the wood.
If your pet has long nails, consider putting down rugs in high-traffic areas where they play or run. This gives them a softer surface.
Pet-Proofing Your Floors
Nail Trims: Keep pet nails short and smooth.
Rugs & Mats: Use rugs in play areas or walkways.
Training: Encourage gentle play on the floor.
Protective Gear: Consider dog booties for very active pets (if they tolerate them).
Clean your floors regularly. But do it the right way. Sweep or vacuum often.
Use a soft-bristle vacuum attachment. Avoid vacuums with beater bars that can spin and scratch. Dry mops or microfiber dust mops are excellent for picking up fine dust and debris without scratching.
When you do need to damp mop, use a cleaner specifically made for hardwood floors. Use a well-wrung-out mop. You don’t want excess water.
Water can damage the wood and the finish over time. It can cause swelling or discoloration. Always dry the floor after mopping.
Be careful when moving heavy items. If you have to move a refrigerator or a heavy dresser, use furniture sliders. These are like smooth pads that go under the legs.
They allow you to slide heavy objects without dragging them. If you don’t have sliders, try putting down thick blankets or towels first.
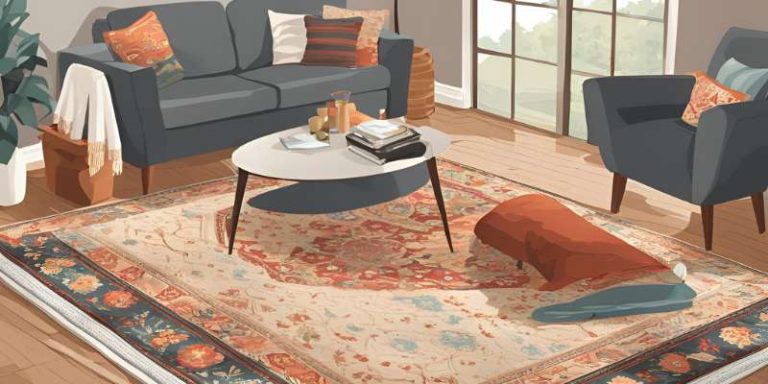
Consider area rugs. Place rugs in high-traffic areas. This includes entryways, hallways, and under dining tables.
These areas get the most wear and tear. A good rug can protect the wood underneath. Make sure the rug itself doesn’t have a rough backing that could scratch.
Real-World Scenarios and What to Watch For
Let’s look at some real situations. This helps you understand when to act. And when you might be overreacting.
Most homes have a mix of these. Knowing what’s normal helps a lot.
Scenario 1: The New Puppy. Puppies explore with their teeth and claws. They might scratch the floor while playing.
Or their nails might be sharp enough to leave tiny marks. This is common. The good news is puppy scratches are often shallow.
They are usually on the surface finish. You can often use the toothpaste or walnut method here.
Scenario 2: Moving Day Mishaps. Moving is hard on floors. A heavy sofa being dragged?
A dresser corner catching? These can cause deep scratches. Sometimes, even gouges.
If a scratch is deep enough to catch your fingernail, it’s probably more than a surface issue. This might need wood filler. Or, if it’s a big mess, it might signal it’s time to think about refinishing.
Scenario 3: The Kid Zone. Kids play hard. Toys can be dropped.
Toy cars zoom across the floor. This can lead to many small scratches. Sometimes, one kid might use a toy to dig into the floor.
This is where mats or rugs are your best friend. A playmat can create a safe zone for toys.
Quick Scan: Scratch Severity
Surface Scratch: Looks lighter, feels smooth or slightly rough. Often repairable with polish or wax.
Medium Scratch: Shows wood color, can feel a groove. May need wood filler or repair crayon.
Deep Gouge: Significant groove, down to raw wood. Requires careful filling and staining, or refinishing.
Widespread Damage: Many scratches across a large area. Refinishing is usually the best permanent fix.
Scenario 4: The Pet Owner’s Reality. Even with trimmed nails, pets can cause wear. Their paws can drag dirt.
They might scratch when excited. Older pets might have trouble walking and could slide. Again, rugs are helpful.
Especially in hallways or near their food bowls.
Scenario 5: General Wear and Tear. Over years, even with care, floors get a bit dull. Fine scratches appear from daily living.
Dust, grit, and everyday movement. This is normal. This is when a deep clean and maybe a polish can help.
Or, after 10-15 years, it might be time for a refresh with refinishing.
When to Call a Professional
While many scratch repairs are DIY-friendly, there are times when you should call in the experts. Trying to fix something beyond your skill level can sometimes make it worse. This costs more in the long run.
So, when is it time to get professional help?
Large Areas of Damage: If your entire floor is covered in scratches, or if there are many deep gouges spread out, a DIY approach will take forever. Professionals have the right equipment to sand and refinish your floors quickly and evenly. This is the most efficient way to get a flawless finish.
Deep Cuts or Dents: If you have a significant indentation or a cut that has gone deep into the wood, it might be beyond simple filling. Professionals can assess the damage and determine if that section of wood needs to be replaced or if a more involved repair is needed.
Color Matching Difficulties: Staining and color matching can be very tricky. If your floor has a complex or unique stain color, or if you’re worried about making the repair look obvious, a pro can match the color perfectly. They have a wider range of stains and experience in blending.
Water Damage or Stains: If scratches are accompanied by water stains or dark spots, it suggests deeper issues. This could be rot or damage to the wood itself. These problems need professional assessment and repair.
Trying to cover them up won’t solve the underlying issue.
Desire for a Perfect Finish: If you want your floors to look absolutely perfect, like they did when they were first installed, hire a professional. They have the skill and tools to achieve a showroom finish. They can also advise on the best type of finish for your lifestyle.
I once tried to repair a deep scratch myself. I used wood filler and stain. I thought I did a good job.
But the color was just a little off. And the texture was different. It looked okay from a distance.
But up close, you could totally see my repair. It bugged me for months. Eventually, I had a pro come in to fix my fix.
It was much more expensive than hiring them from the start.
Frequently Asked Questions About Hardwood Scratches
Can I really make hardwood scratches disappear forever?
For surface scratches, yes, with the right techniques, you can make them disappear. For deeper scratches, repair methods can make them nearly invisible. The most permanent solution for widespread damage is refinishing the entire floor.
What is the best way to fix a deep scratch on my hardwood floor?
For deep scratches, you’ll likely need to use wood filler or a repair crayon. Clean the scratch well, fill it, let it dry, sand it smooth, and then carefully match the color with stain pens. Sealing the repair is also important.
How do I prevent my dog from scratching my hardwood floors?
Keep your dog’s nails trimmed regularly. Use area rugs in high-traffic spots. You can also consider dog booties if your dog tolerates them.
Clean up any accidents quickly as moisture can weaken the wood.
Is it okay to use a magic eraser on hardwood floor scratches?
No, it is generally not recommended to use a magic eraser on hardwood floors. Magic erasers are abrasive and can remove the protective finish or even the wood color itself, causing more damage than they fix.
What if my hardwood floor has white scratches?
White scratches usually mean the damage is only in the top finish layer. These are often the easiest to fix. You can try using a white non-gel toothpaste, a hardwood scratch repair kit, or a furniture polish designed for wood.
How often should I refinish my hardwood floors?
Typically, hardwood floors can be refinished every 10 to 15 years, depending on traffic and wear. If you have deep scratches or the finish is very worn, you might need to refinish sooner.
Can I use olive oil to fix scratches on my hardwood floor?
While oils like lemon or orange oil can help buff out minor surface scratches, olive oil is not specifically recommended. It can leave a greasy residue and may not effectively fill or blend the scratch like specialized products or natural oils designed for wood.
Conclusion
Seeing scratches on your beautiful hardwood floors can be disheartening. But with the right knowledge and a bit of effort, you can tackle them. From simple surface fixes to full floor refinishing, there are options for every level of damage.
Remember, prevention is key. Simple steps like felt pads and regular cleaning can save you a lot of work down the road. Your floors can look fantastic for years to come!