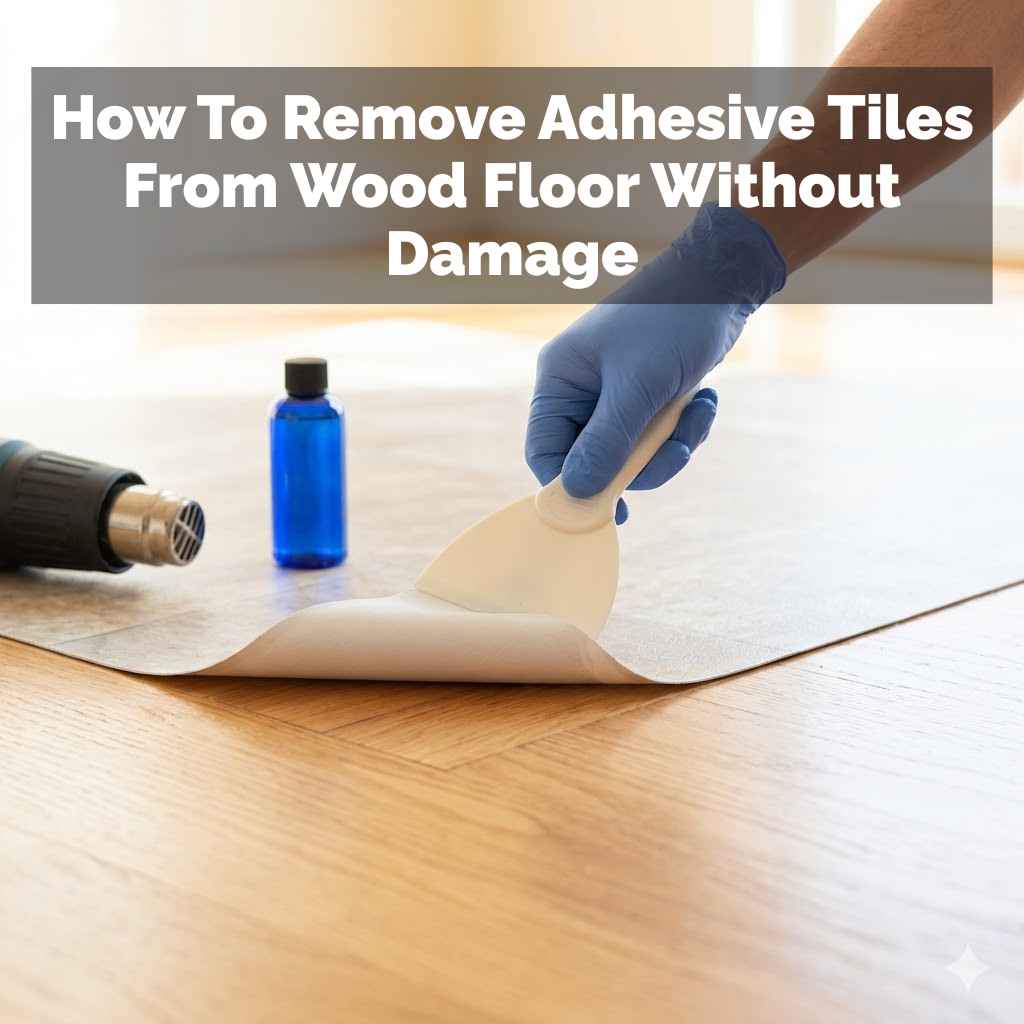
How To Remove Adhesive Tiles From Wood Floor Without Damage
Removing adhesive tiles from a wood floor requires gentle heat, careful scraping, and appropriate cleaning solutions. The goal is to soften the adhesive just enough to lift the tile and then remove any sticky residue without harming the wood’s finish. Always test methods in an inconspicuous area first to ensure they don’t cause discoloration or damage to your specific wood flooring type.
Understanding the Adhesive Tile Removal Process
Adhesive tiles, often called peel-and-stick tiles, are popular for DIY projects. They have a sticky backing that bonds directly to your floor. When it’s time to remove them, the main challenge is separating this strong glue from the wood. The glue can be tough. It often leaves a sticky residue behind. This residue can attract dirt. It can also make the floor feel tacky. The wood itself is a natural material. It can be sensitive to heat, moisture, and sharp tools. So, the method you choose needs to be safe for the wood.
Most adhesive tiles use a water-based or solvent-based adhesive. The type of adhesive can affect how easy or hard it is to remove. Older tiles might have a stronger, more permanent adhesive. Newer ones might be designed for easier removal. Understanding this helps you pick the right approach. You want to weaken the glue’s grip. But you don’t want to damage the wood underneath. It’s a balancing act. We’ll focus on methods that are kind to your wood floor. This means avoiding harsh chemicals. It also means being very careful with your tools.
Key Challenges with Adhesive Tiles
Sticky Residue: This is the most common problem. The glue doesn’t always come up with the tile. It stays stuck to the wood. This can be very hard to remove. It feels gross. It looks bad too.
Wood Damage: Using the wrong tools is risky. A sharp scraper can easily scratch the wood. Too much heat can warp the wood. Too much water can cause swelling or staining. This is a big worry for homeowners.
Tile Breakage: Some tiles can be brittle. They might break as you try to lift them. This leaves smaller pieces stuck to the floor. It makes the job even harder. You then have to pick off tiny bits.
My Own Sticky Tile Nightmare
I remember vividly the first time I tackled removing adhesive tiles from a real wood floor. It was in my first apartment, a charming place with beautiful, but dated, oak floors. The previous tenant had installed these awful, textured vinyl tiles in the kitchen. They were a hideous shade of avocado green. I was so excited to get rid of them. I watched a few quick videos online. They made it look so easy. Just peel and go, right? Wrong.
I started peeling. Some came up cleanly. Others… did not. They shattered into pieces. And the glue. Oh, the glue. It was like cement. It clung to the wood with a vengeance. I tried a putty knife. Big mistake. I nearly gouged the floor. Panic set in. The avocado green was gone, but now I had a patchy, sticky mess. I spent hours trying to scrape and scrub. My hands were sore. I was breathing in fumes from some cleaner I found under the sink. It felt hopeless. I almost called a professional. That’s when I slowed down. I started researching again, this time looking for gentle methods. I learned about heat. I learned about specific solvents. It took more time, but I finally got them up without ruining my floor. It was a huge relief, and a valuable lesson learned.
Gathering Your Gentle Removal Toolkit
Before you start, let’s make sure you have the right tools. This isn’t a job for brute force. It’s a job for patience and the right equipment. Having everything ready will make the process smoother. It will also help you avoid mistakes. Think of it as being prepared. It saves frustration later.
You’ll need things to loosen the glue. You’ll need things to lift the tiles. And you’ll need things to clean up the mess. Safety first is always a good idea too. Wear gloves. Protect your eyes. Good ventilation is also important, especially if you use any mild cleaners.
Essential Tools for Safe Tile Removal
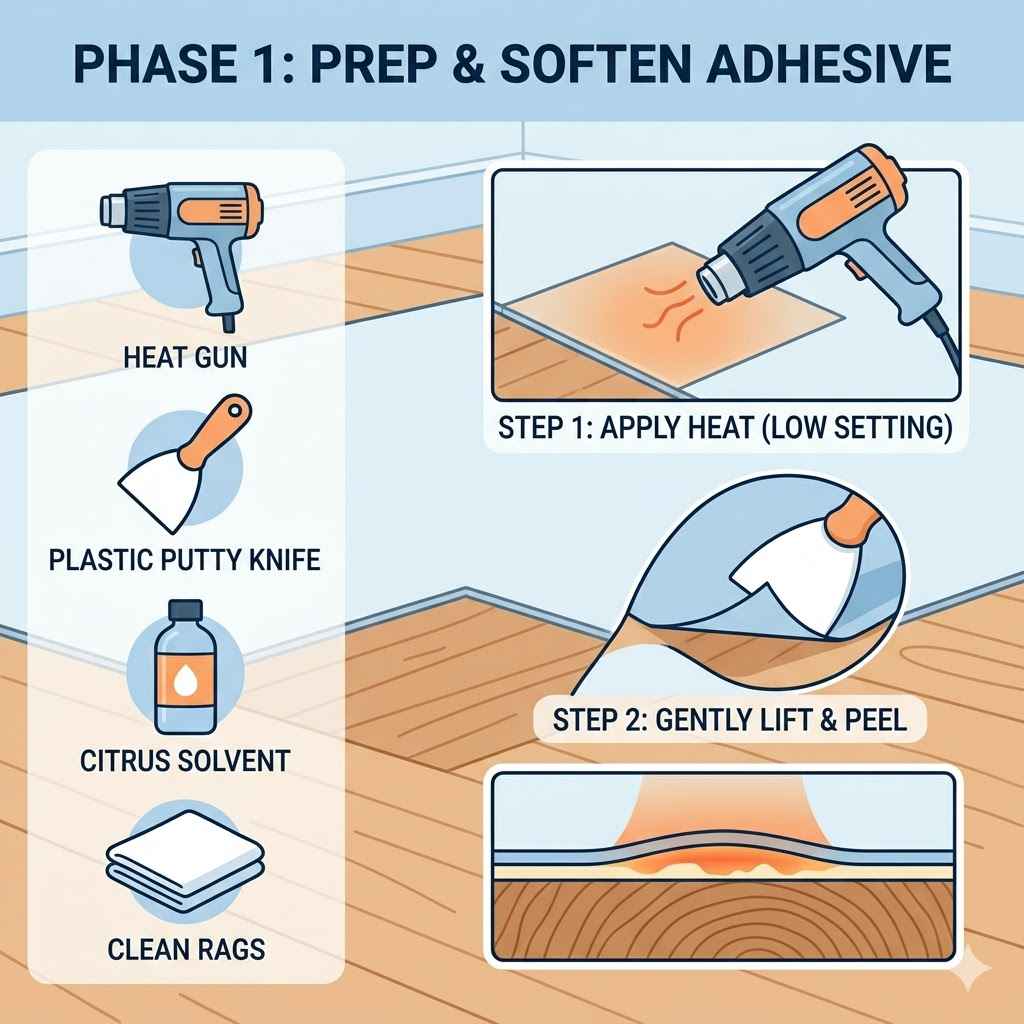
- Hair Dryer or Heat Gun: This is your secret weapon. Gentle heat softens the adhesive. It makes it much easier to lift. A hair dryer is usually enough. Be careful with a heat gun. It can get very hot. Keep it moving.
- Plastic Scrapers or Putty Knives: Avoid metal tools if possible. Plastic ones are much less likely to scratch your wood. If you must use metal, ensure it has a dull edge. Or wrap the edge in tape.
- Gloves: Protect your hands. Some cleaners can be drying. You’ll be touching sticky stuff too.
- Safety Glasses: Just in case any small pieces fly off.
- Mild Soap and Water: For general cleanup after the tiles are up.
- Specialized Adhesive Remover: If needed. Look for wood-safe options. Citrus-based removers are often good.
- Microfiber Cloths or Rags: For cleaning up residue.
- Trash Bags: For the old tiles.
- Painter’s Tape: To mask off edges if needed.
Step-by-Step: Lifting the Tiles Gently
Now for the action part. This is where patience really pays off. We’re going to take it slow and steady. We want to lift each tile without pulling up the wood finish or scratching the surface. Start in a corner or along an edge. This usually gives you a place to get under the tile.
First, assess a small section. Can you get a fingernail or the edge of a plastic scraper under a corner? If it lifts easily, great! If not, it’s time for heat.
Using Heat: Hold your hair dryer about 6 inches from the tile. Move it back and forth in a small area for about 30-60 seconds. The goal is to warm the adhesive, not cook the wood. You should feel it get a little softer. Test with your scraper. Gently try to lift an edge.
Lifting the Tile: Once you have an edge lifted, slide your plastic scraper underneath. Work slowly. Try to lift the tile upwards. If it’s still stuck, apply a little more heat. Move the scraper along the edge. Don’t force it. If you feel a lot of resistance, apply more heat. Sometimes, you might need to work from multiple sides of the tile.
Dealing with Stubborn Tiles: If a tile just won’t budge, don’t get aggressive. Apply heat for a bit longer. You might try a specialized adhesive remover at this stage. Apply a small amount to the edges. Let it sit for a few minutes. Then try heating and lifting again. Remember to test any remover in a hidden spot first.
Pro Tip: Work in Small Sections
Never try to heat a huge area at once. The heat will dissipate too quickly. Focus on one tile, or even just one edge of a tile. This keeps the heat concentrated. It works much better to soften the glue right where you need it.
Tackling That Pesky Adhesive Residue
Once all the tiles are off, you’ll likely have sticky spots. This is the part that most people find the most annoying. It can look like the floor is stained. But it’s just dried-on glue. We need to get this off without damaging the wood’s finish. This is crucial for the floor’s appearance. It also prevents future dirt traps.
Start with the gentlest methods. Sometimes, warm water and a little mild dish soap can work wonders. Dampen a microfiber cloth. You don’t want to soak the wood. Just make it damp. Gently rub the sticky areas. You might see small bits of glue start to roll up. Pick these up with the cloth or a paper towel. You can also use your plastic scraper here.
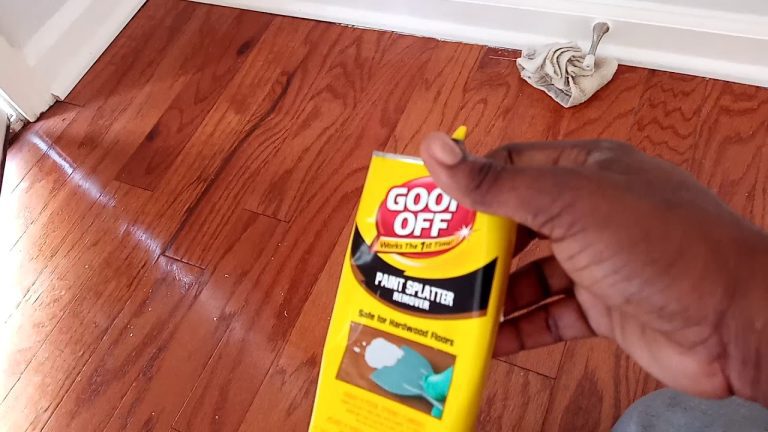
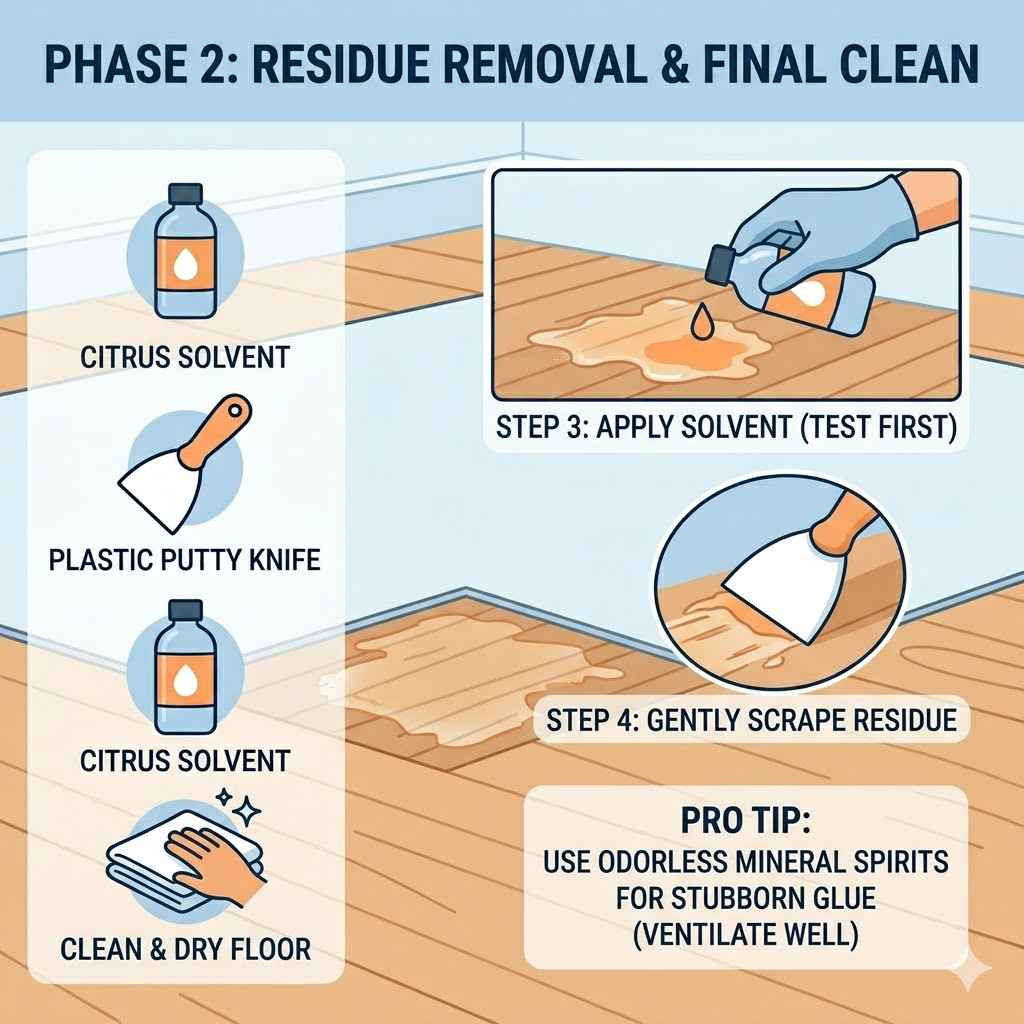
If soap and water aren’t cutting it, it’s time for a specialized remover. Many citrus-based cleaners are effective. They break down the adhesive without being too harsh on wood finishes. Look for products specifically designed for removing adhesive residue from wood floors. Always follow the product instructions carefully. Apply the remover to a cloth first. Then rub the sticky area. Don’t pour it directly onto the floor. Let it sit for the recommended time. Then wipe it away.
Residue Removal Methods
- Method 1: Warm Water and Mild Soap: Damp cloth, gentle rubbing. Good for light residue.
- Method 2: Citrus-Based Adhesive Remover: Apply to cloth, then to residue. Let sit. Wipe clean.
- Method 3: Rubbing Alcohol (Isopropyl Alcohol): Use sparingly. Test first. Can dull some finishes. Apply to cloth, dab residue, wipe.
- Method 4: Mineral Spirits (Paint Thinner): Use with extreme caution. Test thoroughly. Very effective but can damage finishes. Ensure good ventilation.
After you’ve removed the residue, give the entire area a final wipe down with a clean, damp cloth. Make sure to dry the wood surface thoroughly with a clean, dry microfiber cloth. This step is vital. It removes any remaining cleaner. It prevents moisture from sitting on the wood. It also restores the natural sheen to your floor. You should now see the beautiful wood surface underneath.
Real-World Scenarios and Considerations
The approach to removing adhesive tiles can vary based on your floor type and the age of the adhesive. Not all wood floors are the same. Some have a very durable polyurethane finish. Others might have a more delicate oil finish. Knowing your floor type is a big help. Always test in a hidden spot. This is especially true for antique or refinished floors.
Consider the climate. In very dry climates, wood can be more brittle. In humid areas, wood might be more susceptible to moisture damage. This means being extra careful with any liquid solutions. The age of the house matters too. Older homes might have lead paint dust if tiles were installed over painted wood. Always prioritize safety and ventilation.
Factors Affecting Removal
- Wood Type: Hardwoods like oak or maple are generally more durable. Softer woods like pine are more easily damaged.
- Finish Type: Polyurethane finishes are very common and quite tough. Older varnish or wax finishes might be more sensitive.
- Adhesive Age: Older adhesives can become harder and more brittle. Or they can become incredibly strong over time.
- Tile Material: Vinyl tiles are common. But you might encounter linoleum or even fabric-backed tiles.
- Subfloor: Is the wood flooring directly over joists, or is it a plywood subfloor? This can affect how much moisture the floor can handle.
If you have engineered wood flooring, the top layer is real wood. But it’s thin. You need to be extra cautious not to sand through it. Or use harsh chemicals that might affect the veneer. Always check the manufacturer’s recommendations for your flooring if you can find them. This knowledge is power. It helps you make the best choices for your specific floor.
What This Means for Your Wood Floor
So, what’s the takeaway from all this? It means you can absolutely remove adhesive tiles without ruining your wood floor. The key is a gentle, patient approach. It’s about working with the adhesive, not against it. Think of it as coaxing it to let go, rather than forcing it.
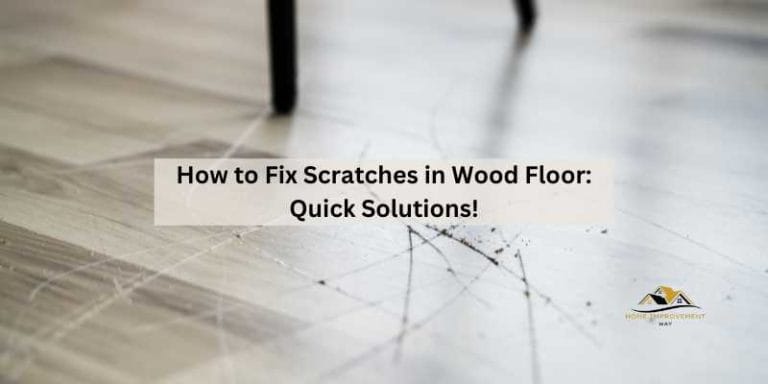
When is this process normal? If you follow the steps, it’s entirely normal to end up with a clean, beautiful wood floor. You might see faint outlines where the tiles were for a short time. These usually fade as the wood settles. If you notice significant scratching, gouges, or discoloration, that’s a sign something went wrong. It’s important to address these issues promptly. You might need a wood floor repair specialist for deep scratches. For minor issues, sometimes a wood floor polish can help.
When should you worry? Worry if you’re using excessive force. Worry if you’re seeing deep scratches appearing. Worry if the wood starts to look bleached or darkened from a cleaner. Worry if the wood starts to swell or warp from too much moisture. These are indicators that your current method is too harsh. You should stop immediately. Re-evaluate your approach. Maybe try a different, even gentler, product or tool. In severe cases, professional restoration might be needed.
Simple checks you can do: After cleaning, run your hand over the floor. Does it feel smooth and dry? Look at the floor from different angles in good light. Are there any obvious marks or damage? If it looks good and feels good, you’ve likely succeeded. The next step is usually to clean your wood floor as you normally would.
Quick Tips for a Smooth Removal
Here are some quick wins to keep in mind. These little tricks can make a big difference. They are easy to remember and apply. They focus on prevention and gentle action.
- Test First: Always test any heat, cleaner, or tool in a very small, hidden area. Wait to see the results. This is the most important rule.
- Be Patient: Rushing is the enemy. Take your time. Work in small sections. This is not a race.
- Layer Your Approach: Start with heat. If that’s not enough, try soap and water. Then move to specialized cleaners if needed. Don’t jump to the strongest option first.
- Protect Your Edges: If you’re worried about scraping adjacent flooring, use painter’s tape. This creates a barrier.
- Ventilate Well: If you use any cleaners, open windows. Get fresh air circulating. This is good for your health.
- Clean as You Go: Don’t let residue dry out further. Wipe up small bits as they come loose.
- Follow Up Clean: Once all tiles and residue are gone, a final clean is essential. Use a damp cloth and then dry thoroughly.
These simple steps will help ensure a successful outcome. They help maintain the beauty of your wood floor. They make the whole process less stressful. Remember, your floor is an investment. Treat it with care.
Frequently Asked Questions
Can I use a wallpaper steamer to remove adhesive tiles?
A wallpaper steamer can be too aggressive. The amount of steam and moisture can warp or damage wood floors. A hair dryer or a low-heat setting on a heat gun is generally safer. Always err on the side of caution with moisture and heat on wood.
What if the adhesive is extremely tough and won’t budge?
If gentle heat and safe solvents aren’t working, it might be time to call a professional. They have specialized tools and knowledge for tough adhesive removal. Trying too hard yourself could lead to costly damage. It’s often worth the peace of mind.
How do I clean up sticky residue from grout lines between wood planks?
Use a plastic scraper or an old toothbrush to gently work the residue out of grout lines. Apply your chosen cleaner to the cloth or toothbrush, not directly into the line. Work carefully to avoid spreading the goo or damaging the grout.
Will removing adhesive tiles affect my floor warranty?
Yes, it can. Most flooring warranties do not cover damage caused by DIY removal of modifications like adhesive tiles. It’s always best to check your specific warranty details. Proceed with caution if your floor is still under warranty.
Can I just paint over the adhesive tiles if I can’t remove them?
Painting over adhesive tiles is generally not recommended. The adhesive can break down over time. The paint might start to peel or bubble. It can also create an uneven surface. It’s a temporary fix at best and can cause more problems later.
What kind of wood floor finish is most sensitive to damage?
Older finishes like wax or oil-based finishes are generally more sensitive than modern polyurethane. These older finishes can be easily dulled or stripped by solvents or even excessive rubbing. Always test in an inconspicuous spot.
Conclusion: A Beautiful Floor Awaits
So there you have it. Removing adhesive tiles from your wood floor doesn’t have to be a daunting task. With the right approach and a bit of patience, you can reveal the beautiful wood beneath. Remember to always be gentle. Test your methods first. Take your time. Your wood floor will thank you for it. Soon, you’ll be enjoying a refreshed space.