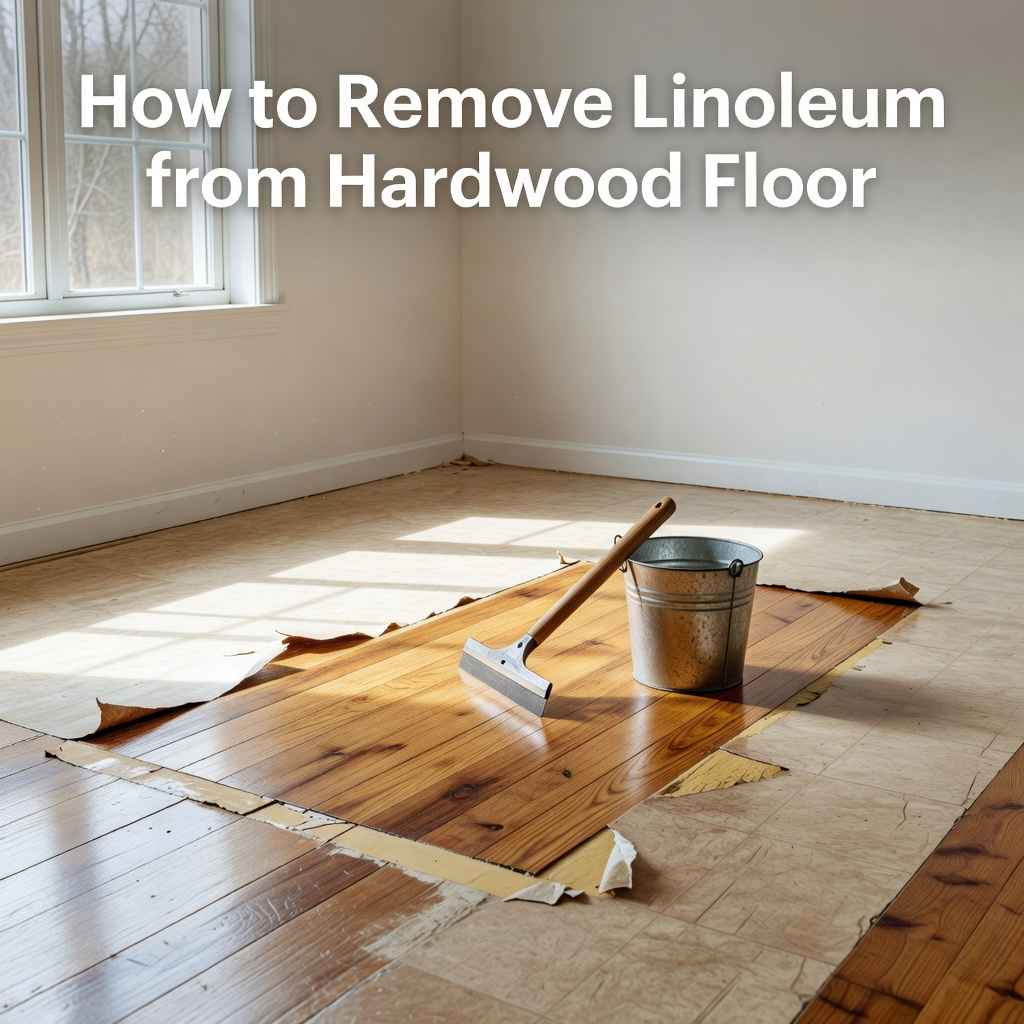
How to Remove Linoleum from Hardwood Floor
Taking up old flooring can feel a bit tricky, especially when you’re not sure where to start. Many people wonder how to remove linoleum from hardwood floor because it can sometimes be stuck on there really tight. It might seem like a big job at first, but it doesn’t have to be.
This guide will show you a simple way to get that linoleum up without damaging your beautiful wood floors underneath. We’ll walk through each step so you can feel confident tackling this project.
Preparing for Linoleum Removal
Getting ready is the most important part of any DIY project, and removing linoleum is no different. Doing it right saves you headaches later and helps protect your hardwood floors. Think of it like packing a lunchbox; you want to make sure you have everything you need before you head out.
This section covers the tools you’ll need and how to get your room ready to work in. Proper preparation makes the actual removal go much smoother.
Gathering Your Tools and Supplies
Before you can start lifting, you need the right tools. Having everything on hand means you won’t have to stop in the middle of the job to go to the store. This makes the process faster and less frustrating.
You’ll want items that help you safely scrape and lift the linoleum, as well as protect yourself.
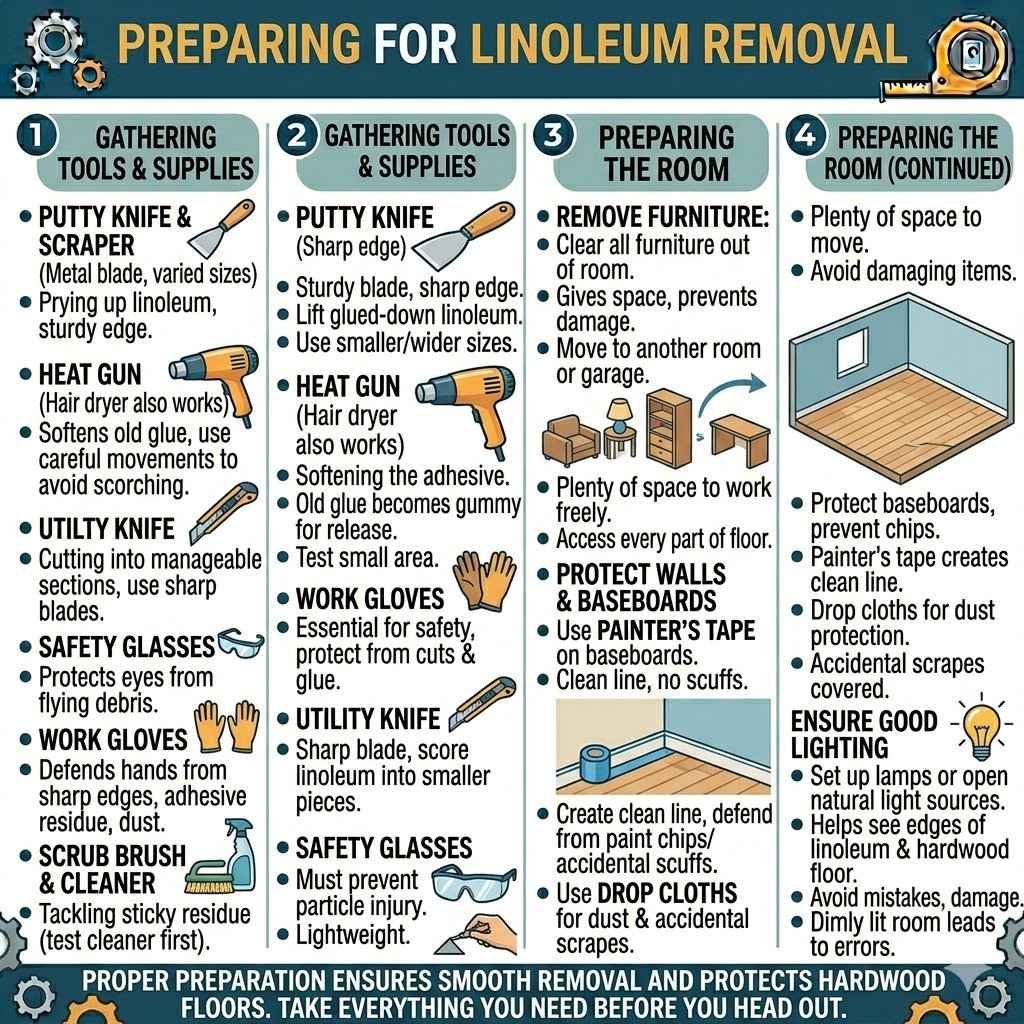
Putty Knife or Scraper: This is your main tool for prying up the linoleum. Look for one with a sturdy metal blade. A flexible putty knife can get into tight spots. A wider scraper is good for larger, flatter areas.
A good putty knife or scraper needs to be strong enough to lift glued-down linoleum. It should have a sharp edge, but be careful not to gouge your floor. You might need a few different sizes, from a smaller one for edges to a wider one for big sections.
Heat Gun or Hair Dryer: Heat can soften old glue and make the linoleum easier to peel. A heat gun is more powerful but needs careful use. A regular hair dryer can work too, but it will take longer. Always keep the heat moving to avoid scorching the linoleum or floor.
Softening the adhesive with heat is a key step. Old linoleum glue can become hard as a rock over time, making it incredibly difficult to scrape. Gentle heat makes the glue gummy again, so it releases its grip on the floor.
Be sure to test a small area first to see how hot you need to get it.
Gloves: Protect your hands from sharp edges and any chemicals that might be present. Work gloves are best.
Gloves are essential for safety. Linoleum can have sharp edges when you cut it or peel it back. They also protect your hands from glue residue and potential dust or debris that might come loose.
Thick work gloves are ideal for this task.
Safety Glasses: Small pieces of linoleum or debris can fly up. Protect your eyes.
Your eyes are precious! When you’re scraping or cutting, bits of linoleum or adhesive can become airborne. Safety glasses are a must to prevent these small particles from causing eye injury.
They are lightweight and provide crucial protection.
Utility Knife: For cutting the linoleum into smaller, more manageable pieces.
A sharp utility knife makes cutting linoleum much easier. You can score the linoleum and then bend it to snap it. This helps you remove it in smaller sections, which are easier to handle and dispose of.
Keep extra blades handy as they can get dull quickly.
Scrub Brush and Cleaner: To clean up any leftover glue residue.
After the linoleum is gone, there will likely be sticky glue left behind. You’ll need a good scrub brush and a suitable cleaner to tackle this mess. Choose a cleaner that is safe for hardwood floors, or test it in an inconspicuous spot first.
Preparing the Room
Before you start pulling up linoleum, you need to get the room ready. This means clearing out furniture and protecting anything you can’t move. It also means making sure you have good light to see what you’re doing.
Remove Furniture: Take all furniture out of the room. This gives you plenty of space to work.
Moving all furniture out of the room is the first step. This allows you to move freely and access every part of the floor. It prevents furniture from being in the way and getting damaged during the process.
Try to move items to another room or to a garage if possible.
Protect Walls and Baseboards: Cover baseboards with painter’s tape. You can also use drop cloths to protect walls from any dust or accidental scrapes.
Your walls and baseboards are part of your home’s finish. Painter’s tape can help create a clean line and protect them from paint chips or accidental scuffs. Drop cloths add an extra layer of protection against dust and debris that might get kicked up.
Ensure Good Lighting: Good light helps you see what you’re doing and avoid damaging the floor.
Working in a dimly lit room can lead to mistakes. Make sure you have plenty of light, either from natural sources or by setting up extra lamps. This helps you clearly see the edges of the linoleum and the hardwood underneath.
How to Remove Linoleum from Hardwood Floor Step-by-Step
Now that you’re prepped, it’s time to get to work! This is where we tackle the core of how to remove linoleum from hardwood floor. We’ll break down the process into simple, easy-to-follow steps.
Each step builds on the last, making the whole job feel manageable. You’ll see that with a little patience, you can uncover that beautiful hardwood.
Step 1 Loosening the Edges
The edges are usually the easiest place to start. Linoleum can sometimes lift away from the edges more readily than from the center. Getting a good start here will make the rest of the job much easier.
Think of it like peeling a sticker; starting at a corner makes it come off in one piece.
Find a Loose Edge: Look for any part of the linoleum that might be curling up or pulling away from the floor. If you can’t find one, you might need to carefully use your utility knife to start a small opening.
Sometimes, the linoleum has naturally lifted at the edges due to moisture or age. If you find a spot like this, that’s your perfect starting point. If not, you may need to create a small gap.
Be very careful not to cut too deep into the hardwood.
Use a Putty Knife or Scraper: Gently insert your putty knife or scraper under the edge of the linoleum.
Once you have a starting point, carefully slide your scraper or putty knife under the linoleum. You want to get it just under the surface layer so you can begin to lift it. Avoid jamming the tool too far, which could damage the wood.
Pry Upward: Pry the linoleum up slowly and steadily.
With the tool in place, apply gentle upward pressure. Work your way along the edge, lifting small sections at a time. The goal is to separate the linoleum from the adhesive holding it down.
Step 2 Cutting the Linoleum
For larger areas, especially if the linoleum is stubborn, cutting it into smaller pieces is a smart move. Big sheets are heavy and hard to manage. Small pieces are lighter and easier to peel and dispose of.
This makes the whole process much less physically demanding.
Use a Utility Knife: Carefully cut the linoleum into strips or squares, about 1-2 feet wide.
A sharp utility knife is essential here. Score the linoleum first, then you can often bend it along the score line to break it. This makes it easier to cut through completely.
Aim for manageable sizes that you can lift easily.
Cut Away from Yourself: Always cut away from your body to avoid injury.
Safety is paramount when using sharp tools. Always direct the blade of your utility knife away from your body and hands. This simple rule can prevent serious cuts and keep your DIY project safe.
Work in Sections: Cut one section at a time and remove it before cutting the next.
Don’t try to cut the entire floor at once. Focus on a small area, cut it into pieces, and remove those pieces. Then, move on to the next section.
This organized approach prevents you from getting overwhelmed.
Step 3 Applying Heat to Soften Glue
Old linoleum is often held down by tough adhesive. Heat can be your best friend in softening this glue, making it much easier to scrape away. This step is crucial for stubborn jobs.
It works by making the glue pliable again.
Use a Heat Gun or Hair Dryer: Hold the heat gun or hair dryer a few inches above the linoleum.
The heat needs to be directed at the linoleum surface. Keep the tool moving constantly to avoid overheating one spot. This is important to prevent damage to the linoleum or the underlying floor.
Work in Small Areas: Heat a small section of linoleum for about 30-60 seconds.
You don’t need to heat a huge area at once. Focus on a small patch, maybe a square foot or so. Heat it until it feels warm and slightly pliable.
Then, immediately move to scraping that area.
Scrape While Warm: Immediately use your scraper to lift the softened linoleum and adhesive.
As soon as you heat an area, that’s the time to get your scraper under it. The softened glue will allow the linoleum to lift more easily. You might find it peels away much cleaner with this method.
Step 4 Scraping and Removing Linoleum
This is where you do the bulk of the lifting and pulling. Patience is key here. Don’t rush the process, as being too aggressive can damage the hardwood.
The goal is to get all the linoleum up, piece by piece.
Slide Scraper Underneath: Work your scraper at an angle under the linoleum.
The angle of your scraper matters. Aim for a low angle, almost parallel to the floor, to get under the linoleum without digging into the wood. Gently push and pull to lift sections.
Lift and Pull: Pull the linoleum away from the floor as you scrape.
As you loosen a section, try to pull it up and away. This helps to break the bond between the linoleum and the adhesive. If it’s still stuck, apply a little more heat or gently work the scraper further underneath.
Dispose of Linoleum: Roll up the removed linoleum pieces and dispose of them properly.
Once you have pieces removed, roll them up tightly. This makes them easier to carry and store for disposal. Check local guidelines for how to dispose of old flooring materials.
Step 5 Cleaning Up Adhesive Residue
After the linoleum is off, you’ll likely have sticky adhesive left behind. This is a common part of the process. Cleaning it thoroughly ensures your hardwood floor is ready for its next life, whether it’s being refinished or covered with new flooring.
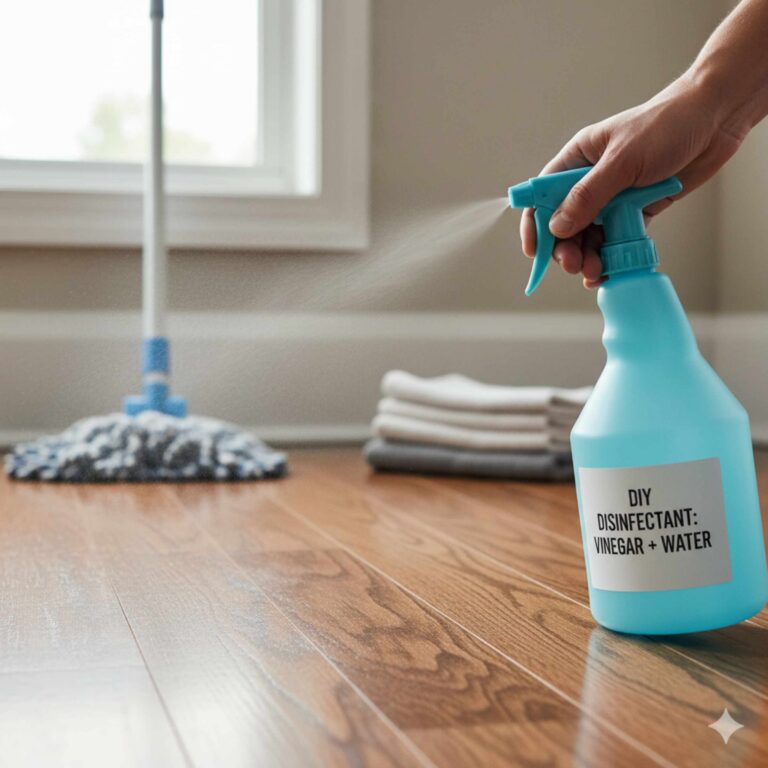
Choose Your Cleaner: Use a product specifically designed for removing adhesive, or a mild solvent.
There are many adhesive removers available at hardware stores. You can also try a mild solution like mineral spirits, but test it on an inconspicuous area first to ensure it doesn’t damage the hardwood. Always follow the product’s instructions.
Apply and Scrub: Apply the cleaner to a small section of adhesive. Let it sit for a few minutes, then scrub with a stiff brush.
Don’t try to clean the whole floor at once. Work in manageable areas. The cleaner needs time to break down the adhesive, so let it soak in as directed.
A stiff brush helps lift the softened glue.
Wipe Clean: Wipe away the loosened adhesive with a clean cloth. Repeat as needed.
After scrubbing, use a clean, damp cloth to wipe up the residue. You may need to repeat the cleaning and scrubbing process several times to remove all traces of the old adhesive. A final wipe with a dry cloth is good practice.
Consider a Scraper for Stubborn Spots: For very tough spots, you might need to use your scraper again.
If some adhesive is extremely stubborn, your scraper can be useful again. Be very careful to use it at a low angle to avoid scratching the hardwood. Apply a bit more cleaner to help it slide easier.
Protecting Your Hardwood Floor During Removal
Protecting your hardwood floor is a primary concern when learning how to remove linoleum from hardwood floor. The wood beneath the linoleum can be beautiful, and you want to keep it that way. A few extra precautions can prevent scratches, dents, and discoloration, ensuring your floor looks its best after the linoleum is gone.
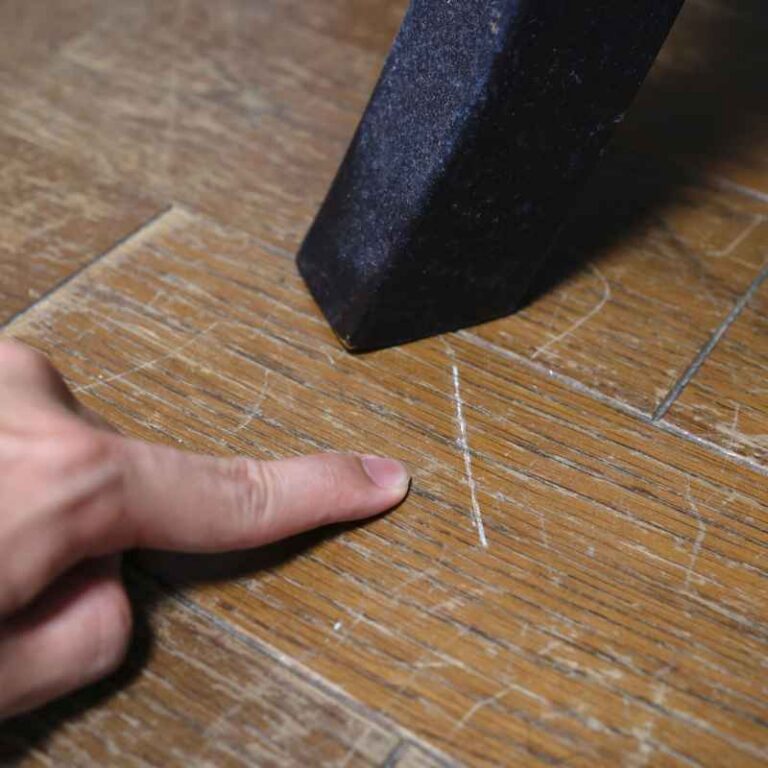
Minimizing Scratches and Dents
The biggest risk to your hardwood floor during linoleum removal is scratching or denting the surface. This can happen from dropped tools, aggressive scraping, or even just walking on exposed areas with grit on your shoes.
Use Appropriate Tools: Always use tools designed for scraping, not sharp objects that could easily damage wood.
A dull putty knife is better than a sharp chisel for this job. The idea is to lift, not cut. If your scraper seems too sharp, you can dull the edge slightly on a piece of sandpaper.
Scrape at a Low Angle: Keep your scraper as flat against the floor as possible.
This is perhaps the most critical tip for preventing scratches. A low angle allows the tool to slide under the linoleum without digging into the wood. Imagine you’re trying to slide a thin piece of paper under a carpet edge.
Avoid Dropping Tools: Be mindful of where your tools are at all times.
If you need to set a tool down, place it carefully on a drop cloth or a scrap piece of cardboard, not directly on the hardwood. A dropped hammer or even a heavy scraper can leave a permanent mark.
Wear Soft-Soled Shoes: Avoid wearing shoes with hard or gritty soles in the work area.
Tiny pieces of debris can get embedded in soft shoe soles, acting like sandpaper on your floor as you walk. Soft, clean sneakers are best for working on the floor itself.
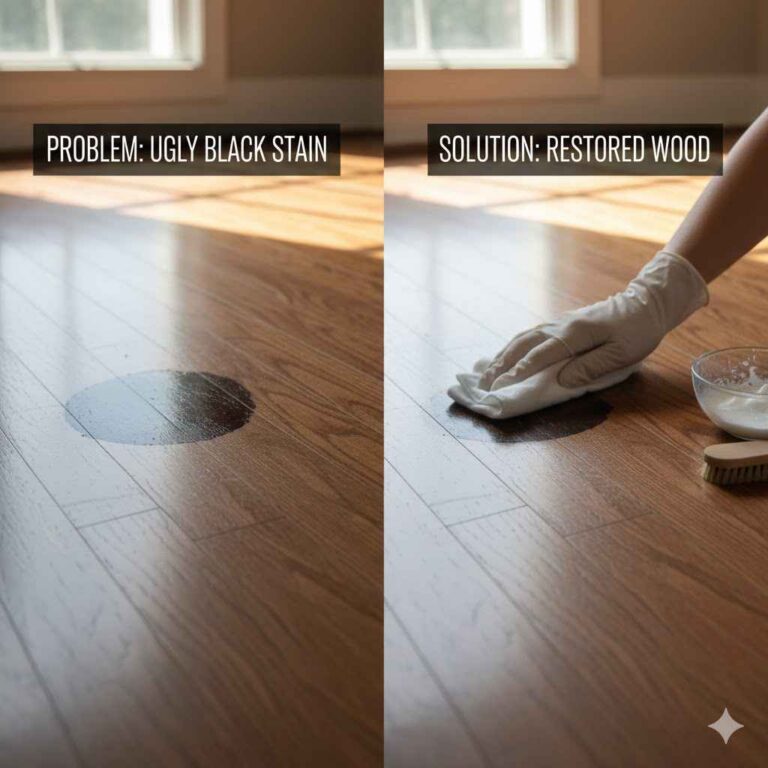
Dealing with Old Adhesives
Sometimes, linoleum is installed with adhesives that can stain or discolor the hardwood floor if left in contact for too long. Addressing these promptly is important.
Clean as You Go: Don’t let adhesive residue sit on the floor for days.
The longer adhesive sits, the harder it becomes to remove and the more likely it is to leave a mark. Tackle the adhesive cleaning right after you’ve removed the linoleum from a section.
Test Cleaners First: Always test any cleaning product on an inconspicuous area of the hardwood.
This is crucial to ensure the cleaner won’t stain or damage the wood finish. A small closet or a corner that’s usually covered by furniture is a good spot to test.
Be Patient with Stubborn Spots: Some adhesives require multiple applications of cleaner and scrubbing.
Don’t get discouraged if a spot doesn’t come up immediately. It might take several attempts with your chosen cleaner and brush. Reapplying heat can also sometimes help loosen dried adhesive.
When to Call a Professional
While learning how to remove linoleum from hardwood floor is achievable for most DIYers, there are times when professional help is the best option. If the linoleum is exceptionally old and brittle, or if the hardwood underneath appears severely damaged, a professional has the tools and expertise to handle it.
Extremely Brittle or Damaged Linoleum: If the linoleum is so old it crumbles at the slightest touch, it can be very difficult to remove cleanly.
Very old linoleum can become like a cracker, breaking into tiny pieces that are hard to grasp and remove. A professional might have specialized tools to deal with this type of material safely.
Suspected Asbestos or Lead Paint: Older linoleum might contain hazardous materials.
If your home was built before the 1980s, there’s a chance the linoleum or its adhesive contains asbestos. In such cases, it’s imperative to contact a certified asbestos abatement professional. Disturbing these materials without proper safety equipment can be dangerous.
Extensive Hardwood Damage: If the hardwood floor itself is significantly warped, water-damaged, or has deep gouges, you might need floor restoration specialists.
If the linoleum has been in place for a very long time and protected the floor from wear, the wood might be in surprisingly good condition. However, if the linoleum was installed poorly or there were leaks, the wood might need professional repair or refinishing before you can enjoy it.
Common Challenges and How to Overcome Them
Even with the best preparation, you might run into a few issues when you’re figuring out how to remove linoleum from hardwood floor. Knowing these common problems and their solutions can save you a lot of frustration. Think of it as having a map with potential roadblocks marked, so you can plan your route.
Stubborn Adhesive
This is by far the most common challenge. Sometimes, the adhesive is so strong it feels like it’s bonded the linoleum directly to the wood. It resists scraping and heat.
Try a Different Adhesive Remover: Not all removers work on all types of glue.
If one product isn’t working, don’t give up. Go back to the store and look for a different brand or a more heavy-duty option. Always read reviews and product descriptions to find one suited for old vinyl or linoleum adhesives.
Longer Heat Application: Sometimes, just a little more heat is needed.
Gently apply heat for a bit longer, but still keep the heat gun moving to prevent damage. The goal is to make the adhesive tacky, not melted or scorched. Test a small area to find the right duration.
Scraping Tool Variety: Use different types of scrapers.
A narrow scraper might get under edges better, while a wider one covers more area. Some professionals even use floor scrapers with long handles, which can offer more leverage. Consider renting a power scraper if the area is very large and the adhesive is extremely tough.
Damaged Hardwood Floor
Occasionally, you might discover that the hardwood floor has some damage beneath the linoleum, perhaps from water or age. This is where knowing how to remove linoleum from hardwood floor becomes part of a larger restoration project.
Assess the Damage: Determine if the damage is minor (scratches, small gouges) or major (warping, rot).
Minor scratches can often be sanded out. Warping or rot indicates more serious issues that might require replacing boards. Take a close look at the condition of the wood after removing the linoleum.
Sanding and Refinishing: Minor damage can usually be fixed by sanding and refinishing the floor.
Once the floor is clean, sanding it down will smooth out scratches and imperfections. You can then apply a new stain and sealant to match the rest of your home or create a new look.
Board Replacement: For severely damaged boards, you may need to replace them.
This is a more involved repair. If only a few boards are bad, you might be able to source matching wood. For widespread damage, it might be best to consult with a flooring professional.
Linoleum Tears Easily
When linoleum tears into tiny pieces instead of peeling off in larger sheets, it can make the removal process more tedious.
Cut into Smaller Pieces: This is where cutting becomes your best friend.
If the linoleum is tearing, focus on cutting it into very small, manageable pieces. This allows you to lift and scrape each piece individually, making the process less about large-scale peeling and more about targeted removal.
Use Heat Consistently: Heat is essential to help these small pieces lift.
Apply heat to each small section before trying to scrape. Even brittle linoleum might lift a bit more cleanly when the adhesive underneath is warm and soft. This is key to preventing it from just shattering.
Assessing Your Floor’s Condition Post-Removal
Once all the linoleum and adhesive are gone, it’s time for a thorough inspection. This is the moment of truth. You’ve successfully learned how to remove linoleum from hardwood floor, and now you see what lies beneath.
What you find will determine the next steps for your floor.
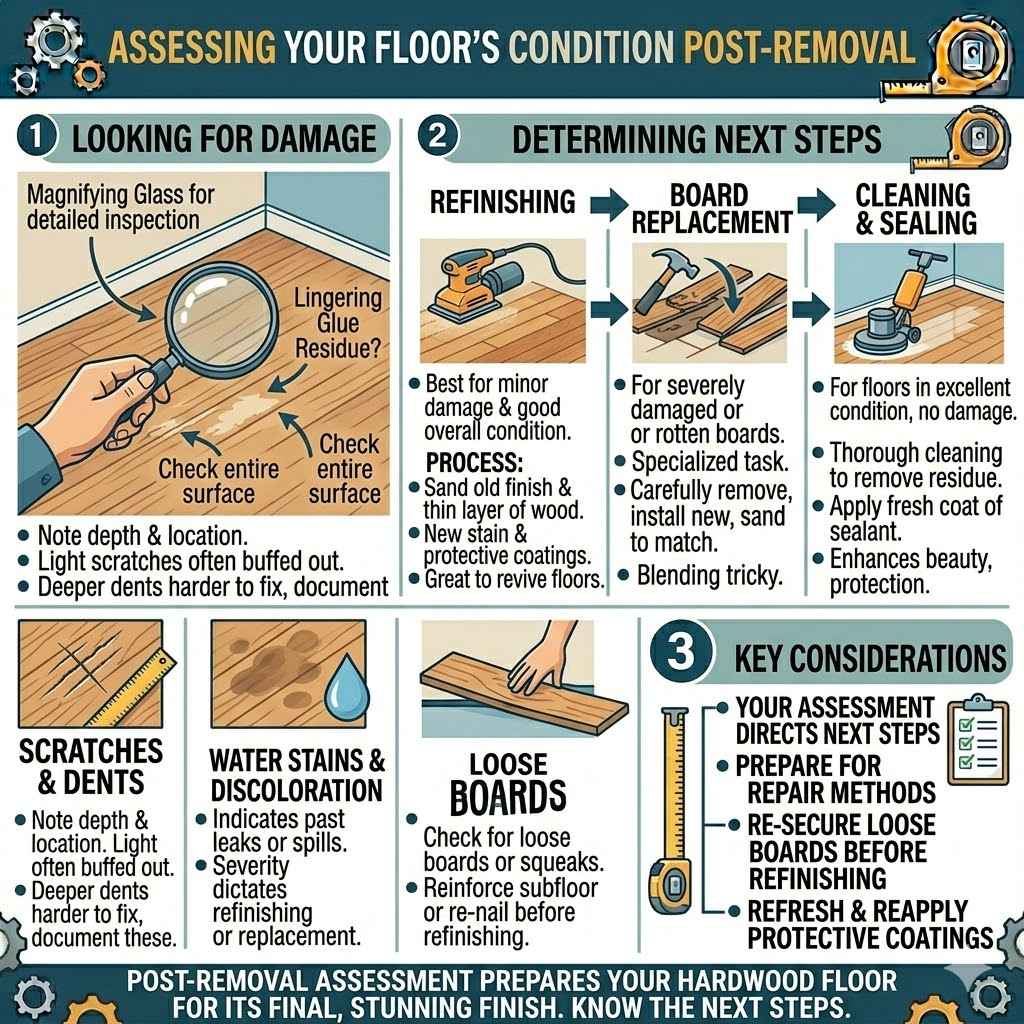
Looking for Damage
Walk across the entire floor, looking closely at the surface. Check for any lingering glue residue, scratches, gouges, or discoloration.
Scratches and Dents: Note the depth and location of any marks.
Light scratches can often be buffed out or sanded away. Deeper dents might be harder to fix and could affect the floor’s appearance. Documenting these will help you decide on repair methods.
Water Stains or Discoloration: Look for dark spots or areas where the wood color has changed significantly.
These might indicate past leaks or spills that have penetrated the wood. The severity will dictate whether refinishing or board replacement is needed.
Loose Boards: Check if any floorboards are loose or squeak when you step on them.
Loose boards can be re-secured. This might involve reinforcing the subfloor or re-nailing the boards. Address this before any refinishing to ensure a solid foundation.
Determining Next Steps
Based on your assessment, you can decide what to do next. Your goal is to get your hardwood floor ready for its final finish.
Refinishing: If the floor has minor damage and is in good overall condition, sanding and refinishing is usually the best option.
This process involves sanding down the old finish and a thin layer of wood to create a fresh surface. You can then apply a new stain and protective coatings. It’s a great way to revive old hardwood floors.
Board Replacement: If there are severely damaged or rotten boards, they will need to be replaced.
This is a more specialized task. You’ll need to carefully remove the damaged boards and install new ones, then sand them down to match the existing floor. Blending new wood with old can be tricky.
Cleaning and Sealing: For floors in excellent condition with no damage, a thorough cleaning and a fresh coat of sealant might be all that’s needed.
If your floor is already in great shape, you might just need to clean off any remaining residue and apply a new protective layer. This will enhance its natural beauty and provide ongoing protection.
Frequently Asked Questions
Question: How long does it take to remove linoleum from hardwood floor?
Answer: The time it takes can vary a lot. It depends on the size of the room, how well the linoleum is attached, and how much adhesive there is. For a small room, it might take a few hours.
For a larger room with tough adhesive, it could take a full day or even longer.
Question: Can I use a floor scraper machine?
Answer: Yes, for very large areas or extremely stubborn adhesive, a floor scraper machine can be very effective. You can rent these from tool rental stores. Be sure to read the instructions carefully and practice in a small area first, as they can be powerful and could potentially damage your hardwood floor if not used correctly.
Question: What’s the best way to remove sticky adhesive residue?
Answer: For sticky adhesive residue, start by using a commercial adhesive remover designed for floors. Apply it according to the product’s instructions, let it sit, and then scrub with a stiff brush. For very tough spots, you might need to use a scraper at a low angle.
Always test any cleaner in an inconspicuous area first.
Question: Will removing linoleum damage my hardwood floor?
Answer: It can if not done carefully. The main risks are scratching or gouging the wood with tools. By using the right techniques, like scraping at a low angle, using gentle heat, and taking your time, you can minimize the risk of damage.
Proper preparation and patience are key to protecting your hardwood.
Question: Should I refinish my hardwood floor after removing linoleum?
Answer: Often, yes. After removing linoleum and adhesive, the hardwood floor might have minor scratches, scuffs, or an old finish that needs refreshing. Refinishing can bring out the natural beauty of the wood and provide a new protective layer, making your floor look like new.
Summary
Successfully learning how to remove linoleum from hardwood floor involves careful preparation, patient work, and attention to detail. By gathering the right tools, working in sections, and using heat to soften stubborn adhesive, you can lift the old flooring cleanly. Protecting your hardwood throughout the process is vital.
Cleaning up any residue ensures a smooth surface, ready for its next step, whether that’s refinishing or a new covering.