How to Measure for Kitchen Cabinets Accurately
Measure every wall, opening, ceiling height, window, door, and obstruction to the nearest 1/8 inch. Then verify diagonals and appliance clearances before you order cabinets. Wrong measurements lead to filler gaps, blocked doors, misfit appliances, and reorder delays. This guide shows how to measure for kitchen cabinets accurately, including the hidden details cabinet designers need for a quote.
Step 1 Sketch
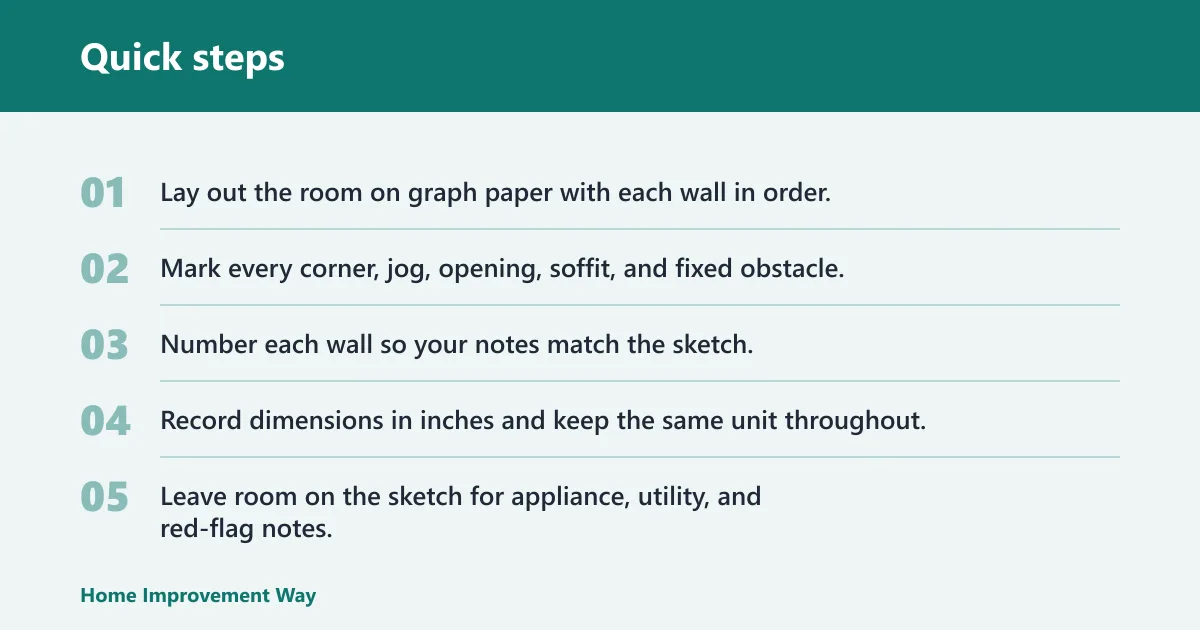


Start with a scaled kitchen sketch before you take a single measurement. Draw each wall in order, label corners and openings, and leave space for appliance, utility, and red-flag notes. A clear drawing keeps your field notes organized and makes it easier to spot fit risks before they become ordering problems.
Tools and setup
Use a rigid steel tape measure long enough for full wall runs. Skip cloth tapes; they can stretch and throw off long measurements. A laser distance measurer is optional for long runs, but treat it as backup data and verify every critical dimension with the tape.
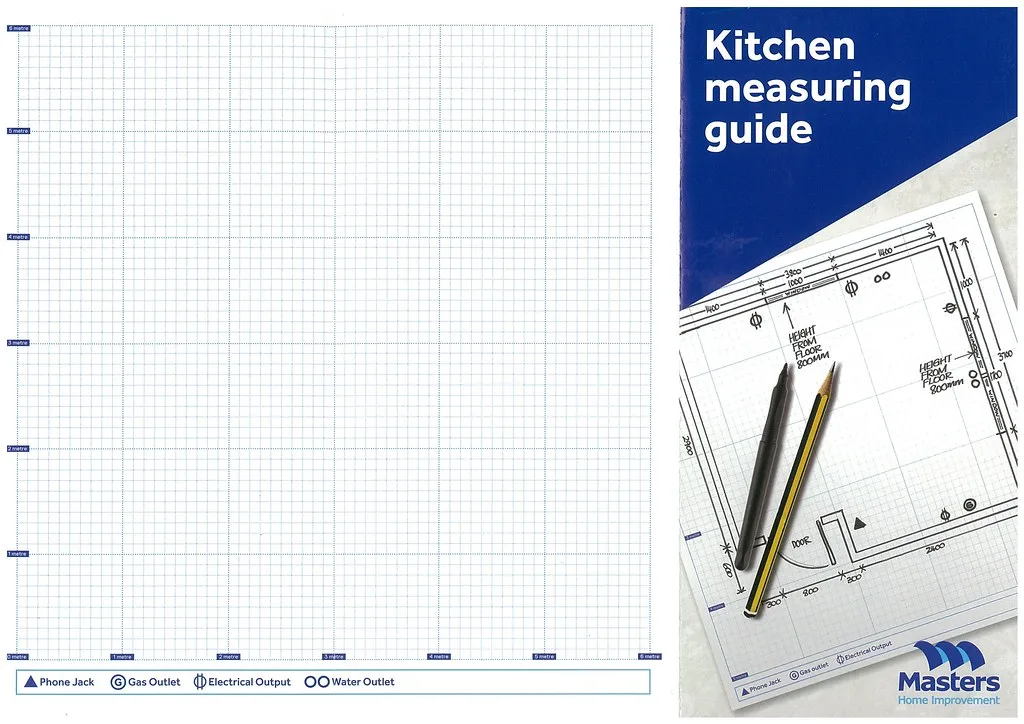
Use graph paper or a scaled sketch so the room stays proportional. One square can equal 6 inches. Add a pencil, eraser, ruler, and a measurement worksheet so you can record dimensions as you go instead of relying on memory.
- Lay out the room on graph paper with each wall in order.
- Mark every corner, jog, opening, soffit, and fixed obstacle.
- Number each wall so your notes match the sketch.
- Record dimensions in inches and keep the same unit throughout.
- Leave room on the sketch for appliance, utility, and red-flag notes.
Step 2 Measure each wall at 3 heights
Measure every wall run separately at the floor, counter height, and upper-cabinet height so you can catch bowed walls and framing shifts early. Multi-height checks are standard cabinet-design practice because the usable run can change from one level to another, and that affects fillers, end panels, and cabinet alignment.
Record each wall run separately
Measure each wall at the floor, around counter height near 36 inches, and near upper-cabinet height around 54 inches. Walls can bow, plaster can build out, and framing can lean, so a single number is not enough. MasterBrand’s measuring guidance also emphasizes checking wall lengths carefully so your plan reflects the room’s real shape, not just its largest dimension.
Suppose a 120-inch wall measures 120 inches at the floor but 119 1/2 inches near upper-cabinet height. That half-inch shift can matter where a tall pantry or full-height cabinet meets the wall, so the top measurement should stay in your notes, not in memory.
Plan fillers when top and bottom measurements differ
When the wall is wider at the floor than at the top, expect the cabinet line to need a tapered or standard filler to stay plumb and avoid rubbing at the reveal. When the top is wider than the bottom, note that a cabinet run may open up at the ceiling line or require a scribe at the end panel. Record the largest and smallest values together.
Compare wall lengths at floor, counter, and upper heights
Use the same wall points each time so the comparison stays clean. If one wall bows inward, the top dimension may be smaller than the bottom. If a wall leans outward, the upper dimension may be larger than the floor measurement, which changes filler planning. That difference is especially important for tall cabinets and stacked uppers.
Step 3 Check diagonals
Measure both corner-to-corner diagonals after you record the wall lengths. If the numbers differ, the room is out of square. That matters because a cabinet run can match the wall length and still leave a wedge-shaped gap, especially at corners, blind bases, or a full-height pantry end.
Take diagonal corner-to-corner measurements
Measure from one corner to the opposite corner, then repeat on the other diagonal. Differences between the two numbers indicate an out-of-square room. That difference can affect corner cabinet fit, end panels, and filler strips even when the wall-to-wall measurements look correct on paper.
Compare wall lengths at floor: use the same wall points
Use the same wall points each time so the comparison stays clean. If one wall bows inward, the top dimension may be smaller than the bottom. If a wall leans outward, the upper dimension may be larger than the floor measurement, which changes filler planning and can shift the cabinet line off center.
Step 4 Measure ceiling and soffits
Check ceiling height in several spots and record the lowest point if the room is uneven. Then measure soffits, bulkheads, and any ceiling drops that may limit upper-cabinet height or crown molding. Tall cabinets especially need floor-level and ceiling-level notes because uneven rooms can make a standard stack look misaligned.
Check height in four spots
Measure near each corner and one or two places along the center line. Record every value, then circle the lowest one. When ceilings are not level, the lowest point controls what fits cleanly, especially above refrigerators or tall pantry cabinets. Also note any floor slope if tall cabinets need to sit level across an uneven room.
Measure soffits and bulkheads
Record soffit and bulkhead depth, width, and height because they can limit upper cabinet depth and height. A soffit can also force a shorter cabinet stack than the rest of the room. Measure where the obstruction starts and ends, not just its face size, so the cabinet line can clear the full obstruction.
Picture a kitchen with an 8-foot ceiling and a bulkhead that drops 10 inches above one wall. The cabinets may still fit under the rest of the ceiling, but the bulkhead could cap the upper run on that wall and change the whole layout.
Step 5 Openings
Measure windows and doors from trim edge to trim edge, then record the opening’s center point from the nearest corner. KraftMaid’s measuring guide uses outside trim edges for opening width and asks for the center point as well, because cabinet placement depends on both the opening size and where it sits on the wall. Trim, stool projection, and swing clearance matter too.
Measure outside edge to outside edge
KraftMaid advises measuring windows and doors from the outside edge of trim to the outside edge of trim. That method captures the full casing footprint that cabinet doors, fillers, and side panels must clear. Do not measure only the glass or the rough opening if trim is already installed.
Record height and center point from the nearest corner
KraftMaid also says to measure from the nearest wall or corner to the center of each window and door. That center point tells a cabinet designer where the opening sits on the wall, which matters for upper cabinets, decorative panels, and appliance placement beneath a window. Record sill height and header height too so wall cabinets do not collide with the frame.
Note casings, returns, stool projection, and swing clearance
Write down trim depth, casing width, and any return molding that sticks out from the wall. Also note window stool projection, because a deep stool can interfere with a sink backsplash or a wall cabinet below the sill. Record door swing direction and how far the door opens into the kitchen, since a nearby cabinet or appliance can still fail in real use if the clear space is too tight.
Step 6 Appliances/utilities
Collect appliance model numbers before finalizing cabinet sizes, then check the manufacturer’s installation clearances for each one. Map water, gas, electric outlets, and HVAC locations on the sketch so you can spot conflicts early. Range, sink, refrigerator, and dishwasher placement can change the whole cabinet plan, especially when end panels or door swings are tight.
Collect exact appliance model numbers
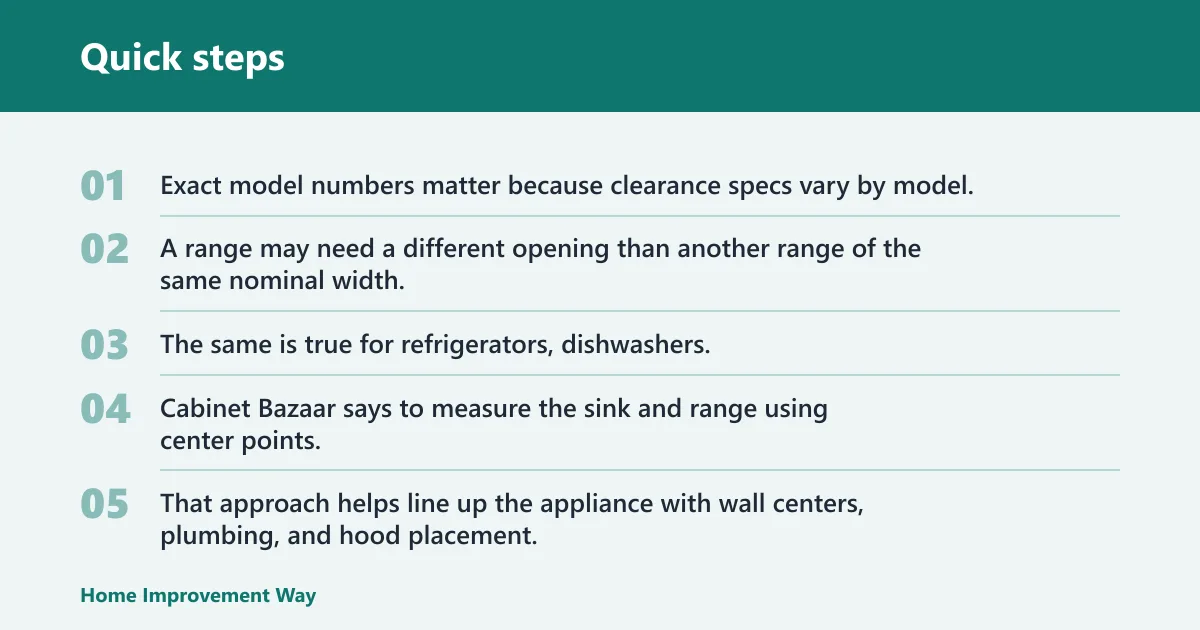
Exact model numbers matter because clearance specs vary by model. A range may need a different opening than another range of the same nominal width. The same is true for refrigerators, dishwashers, and sinks with special bowl depths or mounting requirements, so note the spec URL next to the model number for quick verification.
Check clearances for range, sink, and refrigerator placement
Cabinet Bazaar says to measure the sink and range using center points. That approach helps line up the appliance with wall centers, plumbing, and hood placement. For refrigerators, verify door-swing radius, handle clearance, and any panel reveal so the door can open fully without striking a wall or adjacent cabinet. For dishwashers, leave room for the appliance and the end panel or filler it needs to open and vent cleanly.
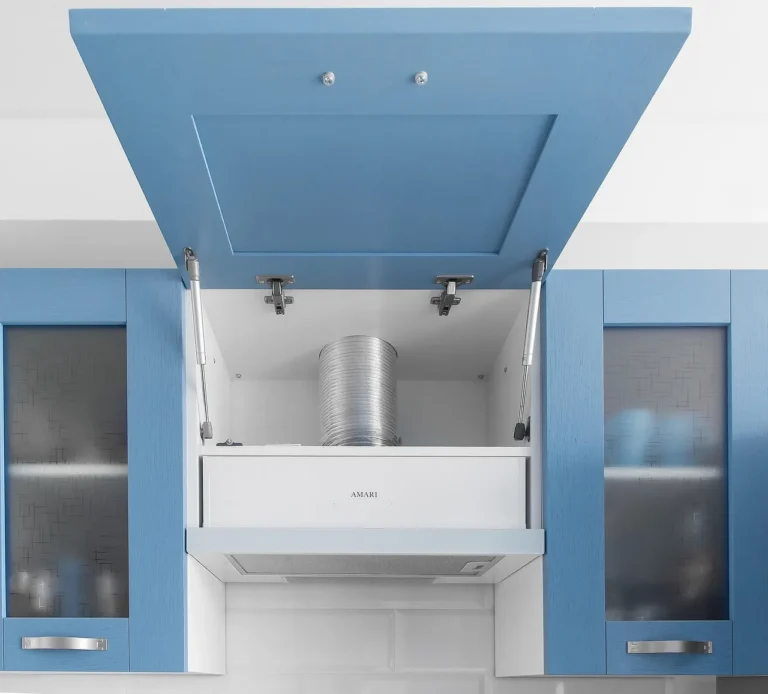
Also align the vent hood to the cooktop centerline before you lock in upper cabinets. A hood that is off center by even a small amount can look wrong and can push ducting or cabinet spacing out of line. Check adjacent clearances for opening doors, drawer fronts, and side panels so nothing binds when the appliance is installed.
Map water, gas, electrical, and HVAC locations
Identify water lines, gas lines, electrical outlets, and HVAC vents before you lock in cabinet widths. Older kitchens may also have columns, radiators, or boxed chases that shift cabinet placement by a few inches. Those details can force filler strips or change which cabinet modules fit on a wall.
A common first-timer mistake is measuring a 36-inch refrigerator opening from the wall to the face of the cabinet box, then forgetting the outlet and water line behind it. The cabinet may fit, but the appliance can still fail to slide in if the clearance at the rear is missing.
Cabinet measurement worksheet
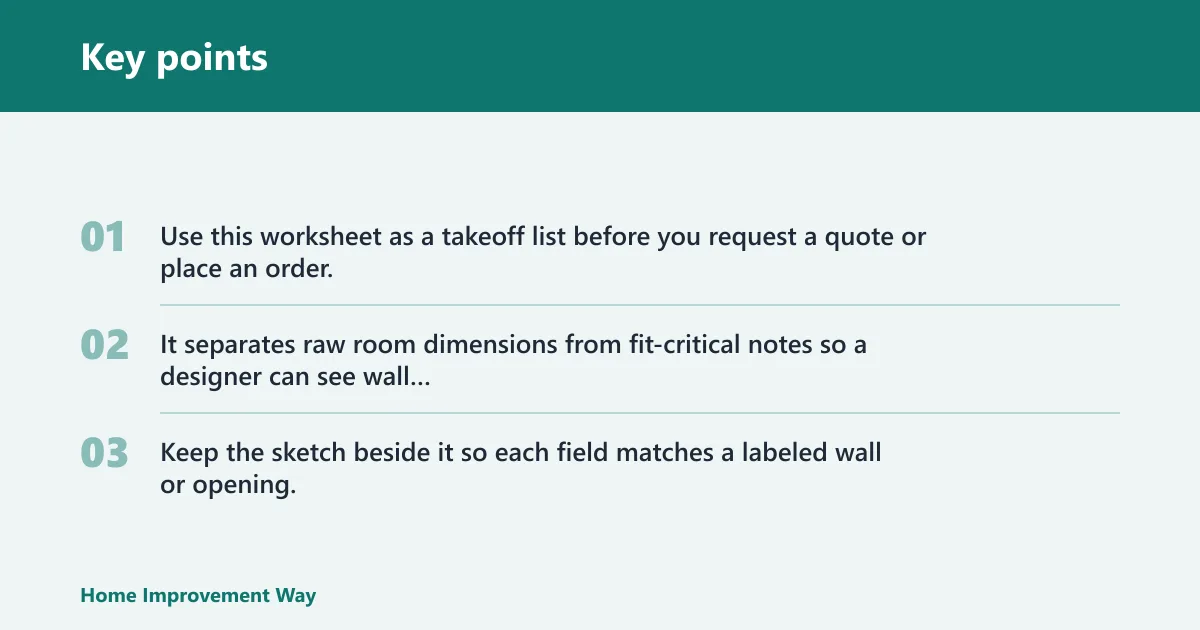
Use this worksheet as a takeoff list before you request a quote or place an order. It separates raw room dimensions from fit-critical notes so a designer can see wall lengths, opening locations, appliance constraints, and risk points in one place. Keep the sketch beside it so each field matches a labeled wall or opening.
| Field | Wall ID / opening / appliance | Floor / counter / upper measurements | Both diagonals | Opening width + trim width | Centerlines | Sill / header heights | Appliance model / spec URL | Utility offsets from corner | Red-flag action |
|---|---|---|---|---|---|---|---|---|---|
| Wall A length | Wall A | 126 1/4 / 126 / 125 7/8 | 144 3/8 / 145 1/8 | N/A | Note any jog or return center | Lowest ceiling at wall A: 96 1/8 | N/A | N/A | Plan filler if top and bottom differ |
| Wall B length | Wall B | 98 1/2 / 98 1/2 / 98 1/4 | 144 3/8 / 145 1/8 | N/A | Note any jog or return center | Ceiling check at wall B: 96 1/2 | N/A | N/A | Verify square and end-panel fit |
| Diagonal 1 | Corner to opposite corner | Use same wall points for both diagonals | 144 3/8 | N/A | N/A | N/A | N/A | N/A | Room may be out of square |
| Diagonal 2 | Other corner to opposite corner | Use same wall points for both diagonals | 145 1/8 | N/A | N/A | N/A | N/A | N/A | Adjust fillers or corner cabinets |
| Ceiling height | Four spots, lowest point noted | 96 1/2, 96 3/8, 96 1/4, 96 1/8 | N/A | N/A | N/A | Lowest point circled | N/A | N/A | Upper stack may need adjustment |
| Soffit / bulkhead | Wall section with obstruction | Depth 12, width 78, height 10 | N/A | N/A | Note start/end points | Note obstruction height from floor | N/A | N/A | Upper depth or height may be limited |
| Window opening | Window 1 | N/A | N/A | 42 wide trim-to-trim | 36 from corner to center | Sill 34, header 82 | N/A | N/A | Check stool projection and cabinet clash |
| Door opening | Door 1 | N/A | N/A | 30 wide trim-to-trim | 18 from corner to center | Header 80 | N/A | N/A | Door swing may block cabinet doors |
| Range | Range location | N/A | N/A | 30-inch opening | Centerline on wall | Hood height above cooktop | Model number and spec URL | Gas/electric offset from corner | Verify clearance and hood alignment |
| Sink | Sink base | N/A | N/A | Base width and bowl clearance | Center 24 from left corner | Window sill and faucet clearance | Model number and spec URL | Water line / drain offset from corner | Confirm cabinet size and plumbing access |
| Refrigerator | Fridge opening | N/A | N/A | Opening width and panel reveal | Door centerline on wall | Top clearance and ceiling height | Model number and spec URL | Outlet / water line offset from corner | Check door swing and panel clearance |
| Dishwasher | Dishwasher bay | N/A | N/A | Opening width plus end-panel needs | Centerline at sink base | Counter height and toe-kick room | Model number and spec URL | Supply / drain / outlet offset from corner | Leave room for side panel and service access |
| Utilities | Water / gas / electric / HVAC | N/A | N/A | N/A | Mark each point on the wall | N/A | N/A | Distance from nearest corner | Cabinet backs may need changes |
| Red flags | Anything requiring pro review | Out-of-square corner, bowed wall, low ceiling | Diagonal mismatch noted | Trim interference or tight opening | Missed centerline or shifted opening | Uneven sill or ceiling | Missing appliance model/spec link | Unknown utility offset | Pause order until verified |
Frequently asked questions
How do I measure for new kitchen cabinets?
Measure every wall run, opening, ceiling height, appliance location, and obstacle in inches. Then compare wall lengths at multiple heights and check both diagonals. That combination gives you a layout that reflects the room’s real shape, not just its largest dimension.
How do I measure for cabinets correctly?
Use a rigid steel tape, measure wall runs separately, and record openings from trim edge to trim edge. Add center points from the nearest corner for doors and windows. Finish with a diagonal square check and a ceiling-height check in several spots.
How are kitchen cabinets measured?
Cabinet planning starts with wall-by-wall lengths, then moves to square checks, ceiling height, soffits, openings, and appliance clearances. Designers use those measurements to decide cabinet widths, fillers, and panel locations. A room can be the right size and still need adjustments if it is out of square.
How do I make a kitchen cabinet measurement template?
Build a simple worksheet with wall lengths, diagonals, ceiling heights, opening sizes, center points, appliance model numbers, utility locations, and a red-flag column. A template works best when it separates raw dimensions from fit risks, so you can see what is safe to order and what still needs checking.
What should I measure besides wall length?
Measure ceiling height, soffits, bulkheads, diagonals, window and door trim, appliance specs, and utility locations. Also note columns, radiators, vents, floor level changes, and door swing paths. These items can be the difference between a cabinet that fits on paper and one that installs cleanly.
How do I check if my kitchen is square before ordering cabinets?
Measure both diagonals from corner to opposite corner. If the numbers differ, the room is out of square. Then compare wall lengths at the floor, counter height, and upper height to see whether the walls also bow or lean. That extra check helps you plan fillers and corner details.
Sponsored / affiliate links. As an Amazon Associate I earn from qualifying purchases. I may earn additional commission from eligible campaigns.