How to Patch a Roof Leak Temporarily in Winter
To patch a roof leak temporarily in winter, control the interior leak first, then use the least invasive exterior fix: seal flashing or fasteners, replace a slipped shingle, or cover a puncture with a roof tarp. Bad repairs can trap water, worsen ice dams, and turn a small leak into soaked insulation, stained ceilings, or electrical damage. This guide shows how to triage the leak, identify the pattern, and choose the safest temporary fix.
Roof leak triage table

| Symptom or location | Safest temporary action | What failure it most likely indicates |
|---|---|---|
| Drip appears under a ceiling stain far from the roof edge | Place buckets or containers under the drip and protect floors with plastic sheeting | Water traveled along framing from a roof opening that is elsewhere |
| Leak shows near a chimney, wall, skylight, or valley | Stop interior damage first, then inspect for flashing failure from a safe position | Failed flashing at a transition or penetration |
| Leak appears below a plumbing vent pipe | Contain inside water; do not rely on a surface patch alone if the boot is split | Deteriorated pipe boot, often replaced rather than patched |
| Water stains near the roof edge after snow buildup | Use interior containment and watch for further dripping after melt cycles | Ice dams from heat escaping the attic and melting snow that refreezes at the edge |
| Flat roof leak with a visible split seam and dry surface | Apply roofing tape or a compatible rubber patch material if the area is clean and dry | Small split seam or puncture on a flat section |
| Large opening or storm damage | Cover the damaged area with a secured tarp | Broader roof-surface failure that needs exterior water shedding |
What you’ll need
- Buckets or other containers
- Towels and absorbent rags
- Plastic sheeting for floors, furniture, or a temporary indoor catch area
- Heavy-duty roof tarp
- Roofing cement for small, dry gaps
- Self-adhesive roofing tape for small holes or split seams
- Rubber patch material for flat roof sections
- Gloves and slip-resistant footwear
- Flashlight
- Ladder only if access is safe and weather allows it
How do you stop a roof leak from inside?
Start inside if the roof is wet, icy, or unsafe to reach. Put a bucket or container under the drip, move furniture out of the fall zone, and cover the area with plastic sheeting so water does not spread across flooring. Water can enter at one point and show up somewhere else.
-
Catch the drip.
Place a bucket directly under active dripping and add towels around it to catch splash. If the stain is spreading, extend plastic sheeting beyond the wet zone so water does not soak cabinets, rugs, or baseboards. -
Check for electrical risk.
If water is near a light fixture, ceiling fan, or outlet, keep away from the area and shut off power to that circuit only if you can do so safely. Water and electricity are a dangerous mix. -
Watch the ceiling shape.
A sagging ceiling with trapped water may need controlled drainage at the lowest point, but only if no wiring is present and the area is safe to approach. Do not puncture a bulging ceiling blindly. -
Protect the room.
Move belongings, lay towels along the drip path, and keep the floor dry enough to walk on. This is containment, not repair, but it limits damage while you find the source.
If your ceiling stain is about 3 feet from a wall, the leak may travel inside the roof or framing before reaching the ceiling, and the drip may start after snow melts on the opposite side of the house. That mismatch strongly suggests the leak traveled inside the roof or framing before it reached the ceiling.
How do you choose the safest temporary fix?
Match the fix to the defect, not just the stain. Use roofing tape for a small hole or split seam on a dry, clean surface; use roofing cement only on a dry spot with a small gap; use rubber patch material on a flat roof section; use a tarp when the opening is larger or storm damage is obvious.
-
Inspect the leak pattern.
Look for the stain’s location, any nearby penetration, and whether the roof surface is dry, wet, dirty, icy, or mossy. Self-adhesive roofing tape may not stick well to wet, dirty, or mossy surfaces. -
Use tape on small defects.
Press self-adhesive roofing tape over a small hole or split seam only on a clean, dry surface. If the manufacturer lists a minimum application temperature, follow that limit before installing it. -
Use cement on dry gaps.
Apply roofing cement to a small, dry opening or a loose edge only as a temporary seal. It is not a permanent repair, and cold weather can affect how well many products bond. -
Patch flat sections.
Fit rubber patch material on a flat roof section when the surface is dry and free of standing water. A flat roof patch is limited if ponding water remains.
A common first-timer mistake is smearing sealant over a wet seam and assuming it will hold through freeze-thaw cycles. If the surface is damp, dirty, or iced, wait for a safe dry window or use interior containment until a better repair is possible.
How do you tarp a leaking roof in winter?
A tarp is the main temporary exterior barrier for larger openings and storm damage. Cover the damaged area with a heavy-duty tarp, extend it up past the ridge so water cannot get under it, and secure it safely. If the roof is snowy, icy, or too steep to reach without slipping, stay off it.
-
Measure the coverage area.
Choose a tarp large enough to extend beyond the damaged area and up past the ridge. That overlap matters because water can run under a short tarp edge. -
Place the tarp correctly.
Drape it over the damaged area so it sheds water downhill and across the roof surface, not into the opening. Smooth out folds that could trap water or wind. -
Secure the edges safely.
Fasten the tarp with an approved safe method for the roof type, keeping the hold points outside the leak area. Securement should resist wind without creating new holes in a fragile surface. -
Stay off unsafe roofs.
Walking on a snowy or icy roof is extremely dangerous. If you cannot reach the damaged area from a stable position, stop and call a roofer.
How do you patch flashing, pipe boots, and valleys?
First, read the leak pattern. Flashing at chimneys, walls, skylights, and valleys is commonly reported as a failure point, and a cracked pipe boot around a plumbing vent is another common source. The stain may show lower down, but the roof opening may be higher up or beside it.
-
Trace the water path.
Inspect the roof line above the stain, then check the nearest transition, seam, or penetration. Water can travel along framing and appear away from the entry point. -
Treat flashing as a source.
If the leak is at a chimney, wall, skylight, or valley, the flashing may be the actual failure point. A temporary seal can reduce water entry only if the surface is dry enough for the product to bond. -
Replace a damaged pipe boot.
If the rubber collar around a plumbing vent is cracked, patching often buys little time. A cracked pipe boot is commonly replaced rather than patched. -
Use a flat-roof patch only where it fits.
Rubber patch material can work on flat sections, but standing water limits it. If ponding remains, interior containment and a tarp are safer short-term choices than a patch that cannot hold.
Suppose the drip sits under a bathroom vent, but the roof is wet and the pipe boot is split. In that case, interior containment is the safer move first; a surface patch on a wet boot is unlikely to hold through the next freeze.
What if that didn’t work?
If a sealant fails, move up the ladder: interior containment, then a tarp, then a targeted patch only after the surface is dry and safe to reach. For winter leaks, the next step depends on the source and the weather, not on guesswork.
-
Recheck the source area.
Look again above the stain for flashing, a shingle edge, a pipe boot, or a valley transition. The leak location inside is only a clue, not the answer. -
Switch to a tarp.
If the opening is larger than a small seam or if the roof surface is too wet for adhesive work, use a roof tarp instead of trying another spot repair. -
Wait for dry conditions.
Many products have manufacturer minimum application temperatures. If the roof is frozen or soaked, wait for a safe window rather than forcing a patch that will fail.
Common mistakes
- Using roofing cement on a wet or icy surface.
- Trusting a stain location instead of tracing the roof source.
- Patching over a cracked pipe boot and expecting a long hold.
- Walking on a snowy or icy roof when access is unsafe.
- Puncturing a bulging ceiling without checking for electrical risk.
- Using tape on dirty, mossy, or damp roofing and expecting full adhesion.
- Relying on a flat-roof patch while ponding water remains.
How do you stop a roof leak until a roofer comes?
Stop the indoor damage first, then use the least risky exterior measure that fits the failure. Buckets, towels, and plastic sheeting can buy time inside; a tarp is often the main exterior barrier when the opening is bigger; sealants and tape are for small, dry defects only.
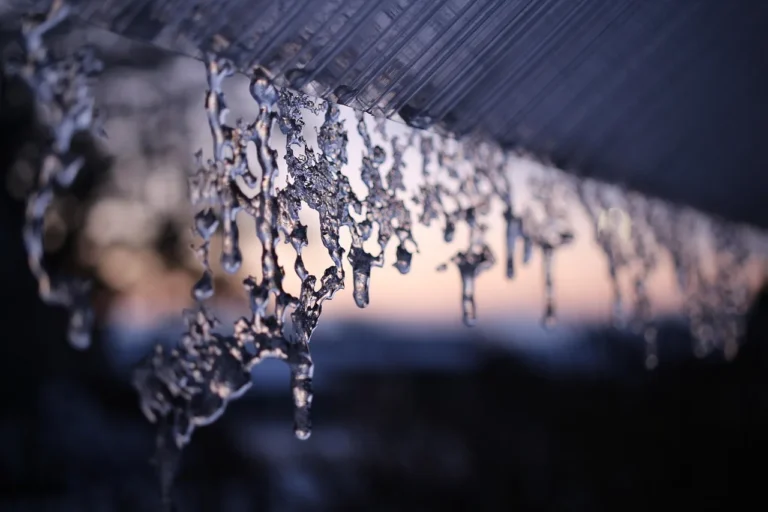
Ice dams form when attic heat melts snow, then that meltwater freezes again at the roof edge. Better attic insulation and ventilation reduce heat loss and lower the chance of repeat leaks.
Do not treat gutter work as a casual winter chore. If gutters are clogged and you cannot clear them safely from the ground with a tool designed for that job, leave them alone until conditions improve.
Frequently asked questions
How to temporarily patch a roof
Clean and dry the area first, then apply a patch only to the damaged section that matches the material and weather. On flat roofs, rubber patch material is limited if water is ponding. For larger openings, a tarp is the safer short-term option.
How to fix a leaky roof safely from inside
Use buckets, towels, and plastic sheeting to contain the water, and keep away from lights, fans, and outlets. If the ceiling bulges, do not puncture it unless you can rule out electrical risk and control the drainage point safely. Interior work is containment, not a roof fix.
Sponsored / affiliate links. As an Amazon Associate I earn from qualifying purchases. I may earn additional commission from eligible campaigns.