How to Prevent Ice Dams Without Replacing the Roof
Stop ice dams without replacing the roof by sealing attic air leaks first, then improving attic insulation and ventilation, and using heat cables only where heat is still escaping. If you skip the source fix, ice backs up again and can push water under shingles, into ceilings, and down walls. This guide ranks the fixes in order, shows where each works, and explains when a roof replacement is not the answer.
What causes ice dams?


Ice dams usually start when warm attic air heats the roof deck, melts snow above it, and that runoff refreezes at colder eaves. The eaves freeze first because they sit over the unheated outer edge of the house, so meltwater backs up behind the ice ridge.
Air leaks matter more than many homeowners expect. Open bypasses let heat escape into the attic, which raises roof temperature even if the insulation looks thick from below. That is why sealing leaks comes before adding more insulation.
What you’ll need
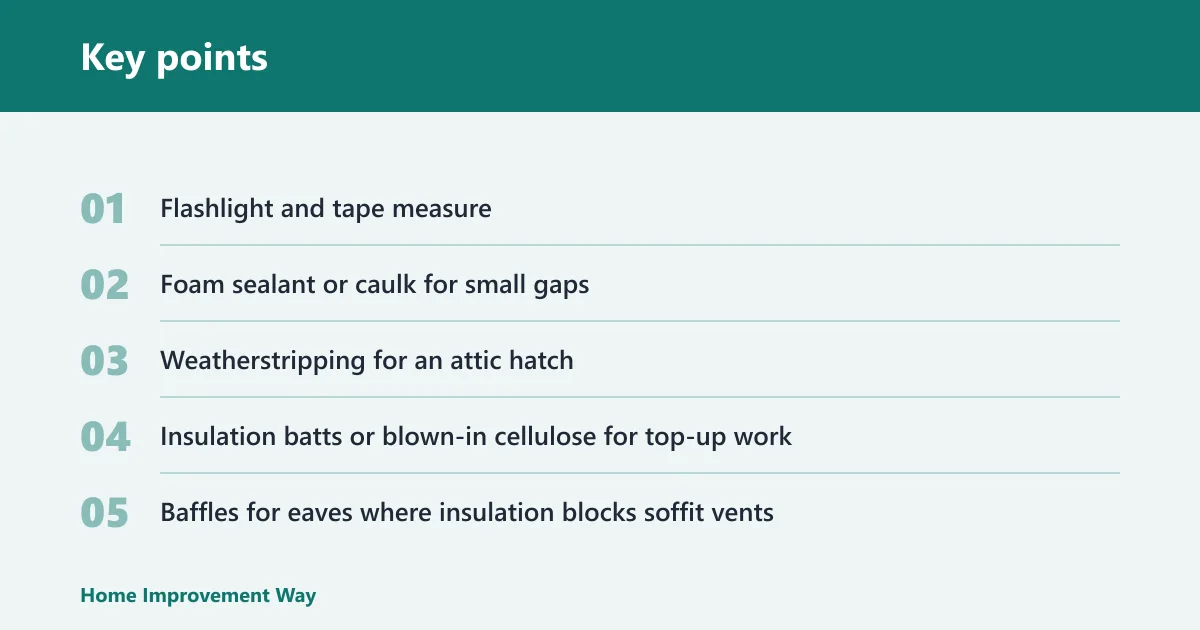
- Flashlight and tape measure
- Foam sealant or caulk for small gaps
- Weatherstripping for an attic hatch
- Insulation batts or blown-in cellulose for top-up work
- Baffles for eaves where insulation blocks soffit vents
- Roof rake with a long handle
- Calcium chloride and a cloth sock or tube
- Heat cables, if the roof edge still needs a temporary aid
- Ladder used from the ground, never from an icy roof
How do I stop ice damming on my roof?
Start by finding the heat source, not the ice. Seal attic bypasses, then add insulation if the attic falls short of about R-40, then correct ventilation balance. Use roof rakes, calcium chloride, or deicing cables only as short-term controls when the roof edge still warms up.
Step-by-step sequence
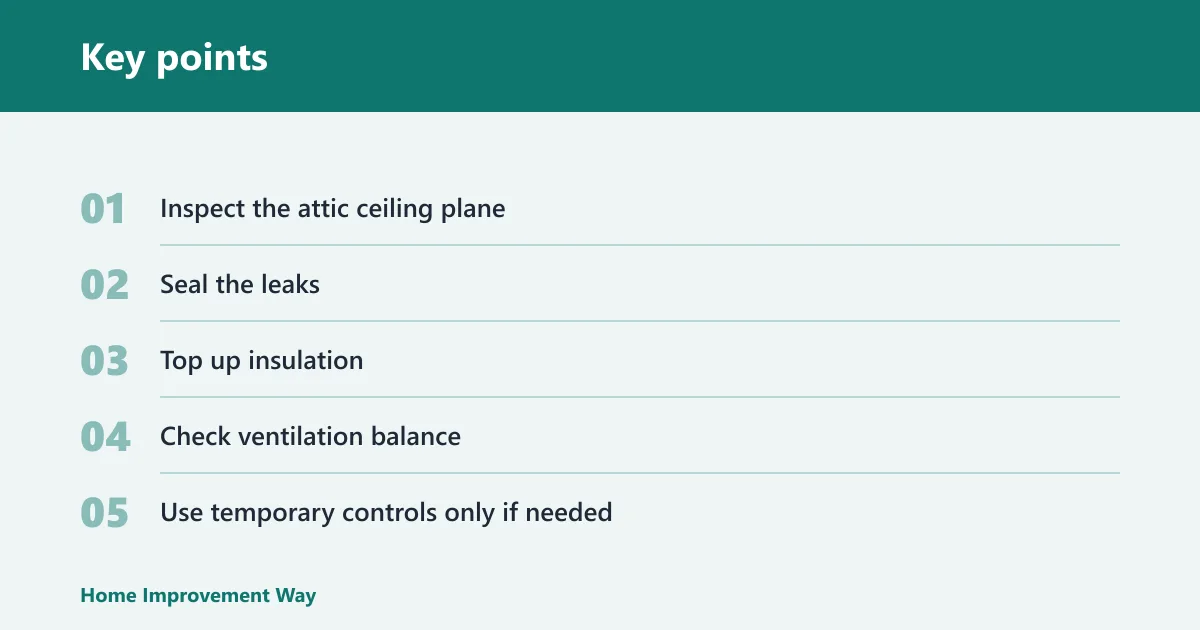
- Inspect the attic ceiling plane. Look for gaps around light fixtures, plumbing pipes, chimneys, access hatches, and drywall joints. These are common heat leaks.
- Seal the leaks. Use foam or caulk on small openings. Weatherstrip the hatch and seal obvious drywall gaps.
- Top up insulation. Add enough fiberglass or cellulose to reach about R-40. If the attic has much less than that, especially under about eight inches, it usually points to heat loss that needs correction. The exact depth varies by material and climate; the cited rule of thumb here is from common attic guidance. (Familyhandyman)
- Check ventilation balance. Confirm soffit vents are clear and paired with a ridge vent. Some guidance uses about 1 square foot of net free vent area per 300 square feet of attic floor. (Thisoldhouse)
- Use temporary controls only if needed. Clear fresh snow with a roof rake, or place calcium chloride in a sock to open a drainage path.
Say your 1960s split-level has icicles only above one bedroom wing. That pattern often points to a local attic bypass or a blocked soffit bay, not a whole-roof failure. If the same eave keeps icing after sealing and insulation work, the roof edge itself may need repair.
Common homeowner clues
- Icicles form in one area but not the whole roof.
- The attic feels warm near a hatch, chase, or bathroom vent.
- Snow melts in strips above a heated room or around recessed lights.
- One soffit bay looks packed with insulation while neighboring bays stay open.
How much attic insulation do I need to prevent ice dams?
Many homes aim for about R-40 in the attic, and building codes often land around 12 to 14 inches of fiberglass or cellulose, depending on the product and climate. Closed-cell spray foam is about R-7 per inch, while open-cell foam is about R-3.6 per inch, so material choice changes the depth needed. (Familyhandyman)
Insulation works best after air sealing, because loose heat can still slip around and through it. If the attic floor looks thin or uneven, add more in a continuous layer. That is the practical top-up step most likely to cut heat loss to the roof deck.
Attic insulation ladder
- Measure existing depth in several spots.
- Add insulation in layers of about 2 to 4 inches where space allows.
- Keep insulation back from soffit openings so vents stay open.
- Recheck depth after settling, especially with blown-in materials.
How to prevent ice damming on roof
Use balanced attic ventilation after air sealing and insulation are in place. The goal is a colder roof deck, not a windy attic full of shortcuts. Soffit vents bring in cold air at the eaves, ridge vents let warmer air leave at the peak, and baffles keep the intake path open.
This is where many homes fall short. A vented attic with blocked soffits can still run warm at the edge. Some guidance uses about 1 square foot of net free vent area per 300 square feet of attic floor, with ridge vent and continuous soffit vents working as a pair. That ratio is typical guidance, not a universal rule, because roof design and local code can change the target.
Ventilation checks
- Confirm the soffit vents are not buried by insulation.
- Install baffles at the eaves if insulation crowds the airflow path.
- Verify a continuous ridge vent runs along the peak when the roof design allows it.
- Stop if the attic still runs warm after airflow changes and revisit air sealing.
Suppose a finished attic has knee walls and a small attic chase behind drywall. Even with a ridge vent, that hidden chase can leak heat into the roof deck. In older homes, limited access often makes this bypass harder to find than a missing vent.
When does an ice dam membrane help?
Ice dam membrane helps when you need targeted roof protection without a full replacement. It is useful during localized repairs, reroofing a trouble section, or opening a small area for flashing work, because the membrane can be installed at vulnerable eaves and valleys. It reduces leak risk, but it does not fix heat loss, so air sealing and insulation still matter.
Where membrane is added during repairs
- At eaves where shingles are already being replaced for a repair.
- Along valleys that repeatedly take runoff and refreeze first.
- Around flashing details that must be reworked during a targeted patch.
- In roof-edge sections opened for localized shingle or decking repair.
When membrane is not enough
- When attic air leaks are still open.
- When insulation is too thin or uneven across the attic floor.
- When soffit intake is blocked and the roof edge still runs warm.
- When the roof deck is already failing across a broad area.
What can I do to fix ice dams on roof temporarily?
For active snow and ice, use temporary controls that slow refreezing at the edge. A roof rake removes snow from the lower edge and works best while the snow is still soft. Calcium chloride in a sock can melt a narrow channel through the ice so water can drain.
Do not use rock salt on the roof. Calcium chloride is the common choice for this job, and it is generally less harsh on roofing materials than sodium chloride. Deicing cables can help at the edge, but they are a second-line measure, not a cure.
Temporary controls
- Use a roof rake from the ground to clear the lower edge and eaves after snowfall.
- Fill a cloth sock with calcium chloride and lay it across the dam so it melts a drainage path.
- Install roof deicing cables only where the edge repeatedly refreezes and heat loss remains hard to stop. Cost varies widely by roof size, cable type, and installation conditions, so treat any single-price claim as only a rough estimate rather than a universal number.
- Leave the roof surface itself alone if it is icy or steep.
How to remove ice dams on roof safely
Safe removal means staying off the roof and working from the ground or from a secure ladder position only. Mechanical chipping can damage shingles, and walking on ice is a fall hazard. If water is entering the house, use temporary melting methods or call a roofer for safe removal and leak control.
Calcium chloride is a common method for removing ice dams because it creates a melt channel without the same roof damage risk as rock salt. If the dam is large, the interior has stains, or shingles are loose, treat it as a repair issue, not a cleanup task.
When to stop and call a roofer
- Water stains appear on ceilings or walls.
- Shingles look lifted, broken, or missing near the dam.
- Gutters are bent, torn, or pulled away by ice.
- The dam returns after you have already sealed and insulated the attic.
Urgent call scenarios
- Interior water is active during a storm or thaw.
- The roof edge is sagging, soft, or visibly damaged.
- Ice has pulled flashing or gutters out of alignment.
- A finished ceiling is stained, bulging, or dripping.
Do roof heat cables really help prevent ice dams?
Heat cables can help at the roof edge when warm spots are still refreezing there, but they do not solve the attic heat problem. They are most useful for stubborn eaves, valleys, or short runs where melting and refreezing keep repeating after insulation and air sealing work has already been done.
Use them as a supplement, not the main fix. If soffit intake is blocked or attic air leaks remain open, the cable only treats the symptom. That is why they fit best after the underlying heat-loss issues are addressed.
Where cables help most
- Short eaves that refreeze after snowmelt.
- Valleys that collect drifting snow and drain slowly.
- Homes where access limits a full ventilation upgrade right away.
Ice dam checklist table
| Problem sign | Likely cause | Fastest non-roof-replacement fix | Urgency level | When to call a roofer |
|---|---|---|---|---|
| Icicles only at one eave | Localized attic bypass or warm soffit bay | Seal the attic bypass above that area and clear soffit intake | Medium | If the shingles near that edge are lifted or stained |
| Repeated dams above a finished attic | Heat leakage at knee walls, hatch, or hidden chase | Add insulation and air seal the attic access, chase, and knee-wall gaps | High | If the finished ceiling already shows water damage |
| Poor soffit intake | Blocked vent path or buried baffles | Open the vent path and add baffles at the eaves | Medium | If the soffits are blocked by damaged material or pests |
| Recurring leaks after snow rake use | Residual heat loss plus trapped meltwater | Use calcium chloride for a drainage channel and inspect attic heat leaks | High | If water still enters after the channel opens |
| Heavy ice at gutters | Roof edge stays warm while runoff freezes at the eaves | Clear the lower roof edge from the ground and remove meltwater source | Medium | If the gutter is bent, detached, or cracked |
| Ice returns after insulation is added | Open bypasses around lights, pipes, or chimneys | Check for open bypasses around lights, pipes, or chimneys | High | If the roof deck itself may be sagging or uneven |
| Limited attic access | Hard-to-reach air leaks and incomplete sealing | Focus on hatch sealing and visible bypasses first | Medium | If hidden spaces likely need roof-side repair |
| Complex roof with valleys | Snow drifting and repeated refreezing in drainage channels | Use temporary edge control while attic fixes are completed | Medium | If valley flashing or shingles look damaged |
| Visible ceiling stains near exterior walls | Ongoing water entry through the roof edge or flashing | Stop the leak source and dry the area | Critical | Right away, because the roof or flashing may already be failing |
| Warm roof strip over one room | Heated room or duct leak warming the roof deck | Seal the room-to-attic bypass and inspect nearby insulation | High | If the strip widens or the shingles below it fail |
| Ice at one valley only | Snow load, shade, and runoff concentrating in the valley | Use temporary control and check ventilation above the adjacent attic spaces | Medium | If flashing or valley shingles are worn or loose |
Common mistakes
The biggest mistake is treating the ice. If the attic still leaks heat, the dam comes back. Another common error is stuffing insulation over soffit vents, which blocks intake and can make the eaves colder in the wrong way while the attic still runs warm.
Rock salt on a roof is another bad choice. Use calcium chloride instead. Also watch for hidden roof damage: if the dam returns after air sealing, insulation, and ventilation work, the problem may be a damaged shingle field, failed flashing, or a roof section that needs repair.
Prevention matters more than emergency removal. Seal the attic first, then build insulation and ventilation around that fix, and reserve temporary tools for storms and active refreezing.
Frequently asked questions
How do I prevent ice dams without replacing the roof?
Air seal the attic, add insulation toward about R-40, and keep soffit and ridge ventilation clear. If the roof edge still warms up after that, use a roof rake or calcium chloride for short-term control. Replacement is not the first answer when heat loss is the real cause.
Should I rake snow off the roof to stop ice dams?
Yes, if you can do it from the ground with a roof rake and the snow is still soft. Focus on the lower edge and eaves. Do not climb onto an icy roof. Raking lowers the amount of snow available to melt and refreeze at the edge.
How do I remove ice dams on roof safely?
Stay off the roof and use ground-based tools. Roof rakes remove snow, and calcium chloride can open a drainage channel without the damage that comes from chiseling or using rock salt. If the house already has leaks or lifted shingles, call a roofer for repair and safe removal.
Sponsored / affiliate links. As an Amazon Associate I earn from qualifying purchases. I may earn additional commission from eligible campaigns.