How to Use a Roof Rake to Remove Snow Safely
Use a roof rake from the ground. Clear the lower 3 to 4 feet of snow first, and stop if shingles lift, the roof is too steep, or your footing feels uncertain. Used badly, a rake can damage shingles, trigger a snow slide, or worsen ice dams. This guide covers the safest sequence, roof-type cautions, and a simple stop-or-continue rule.
Signs that snow load is becoming dangerous
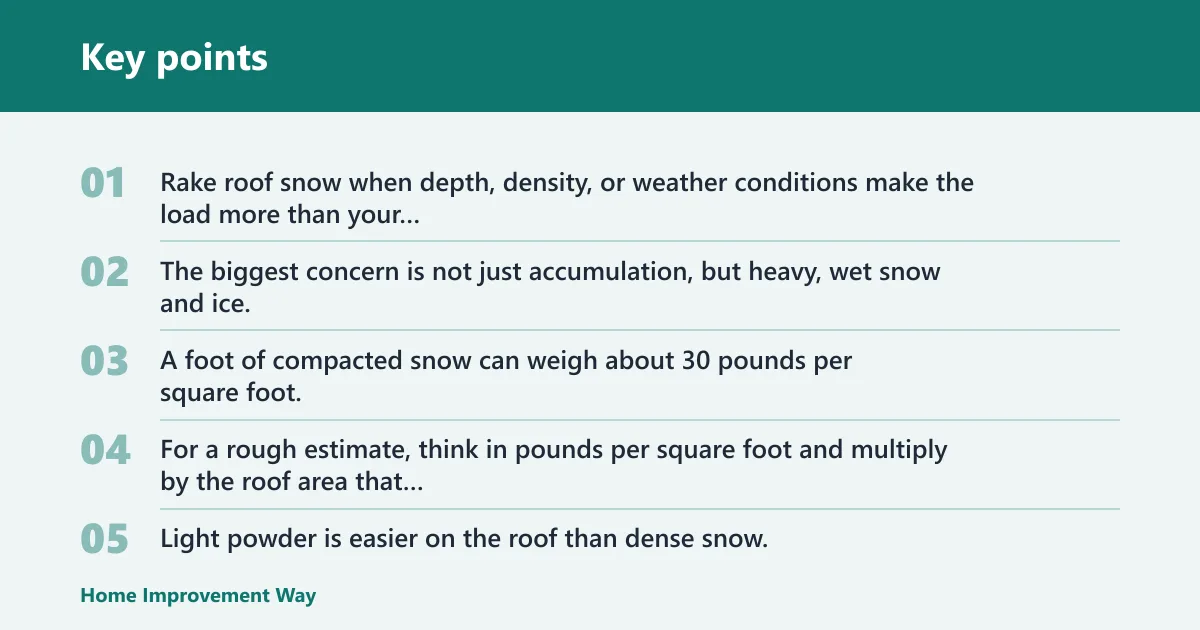


Rake roof snow when depth, density, or weather conditions make the load more than your roof can comfortably carry. The biggest concern is not just accumulation, but heavy, wet snow and ice, which can add weight quickly and raise the risk of edge damage, leaks, and collapse. A foot of compacted snow can weigh about 30 pounds per square foot, so density matters as much as depth. For a rough estimate, think in pounds per square foot and multiply by the roof area that is carrying the snow.
How snow type changes the risk
Light powder is easier on the roof than dense snow. Compacted snow can load framing and covering far more than the same depth of fluffy snow, and wet snow adds water weight that can increase stress quickly. If snow is drifting, crusting, or turning slushy near the eaves, treat it as a higher-risk condition.
Why wet, heavy snow raises the priority
Wet snow is harder to move and more likely to release in a slab. It can also melt upper roof snow and refreeze at colder eaves, which is how ice dams begin. That is why heavy, wet accumulation is a practical trigger for roof-raking decisions, especially when it sits along the lower edge.
When snow load becomes a concern
You do not need a calibrated gauge to make a safe decision. If snow is deep enough that the roof edge sags, doors stick, or ceiling drywall shows new cracks or stains, stop and consider professional help. The goal is to reduce load and protect the edge, not to guess your way through a structural problem.
Why ground-level raking is safer
Stay off a snowy roof. Safe homeowner snow removal is done from the ground with a roof rake, which keeps you away from slippery surfaces, edge drop-offs, and the sudden release of a heavy slab. A ladder is not the preferred routine access method, especially when the ground or rungs are icy.
Why you should stay off a snowy roof
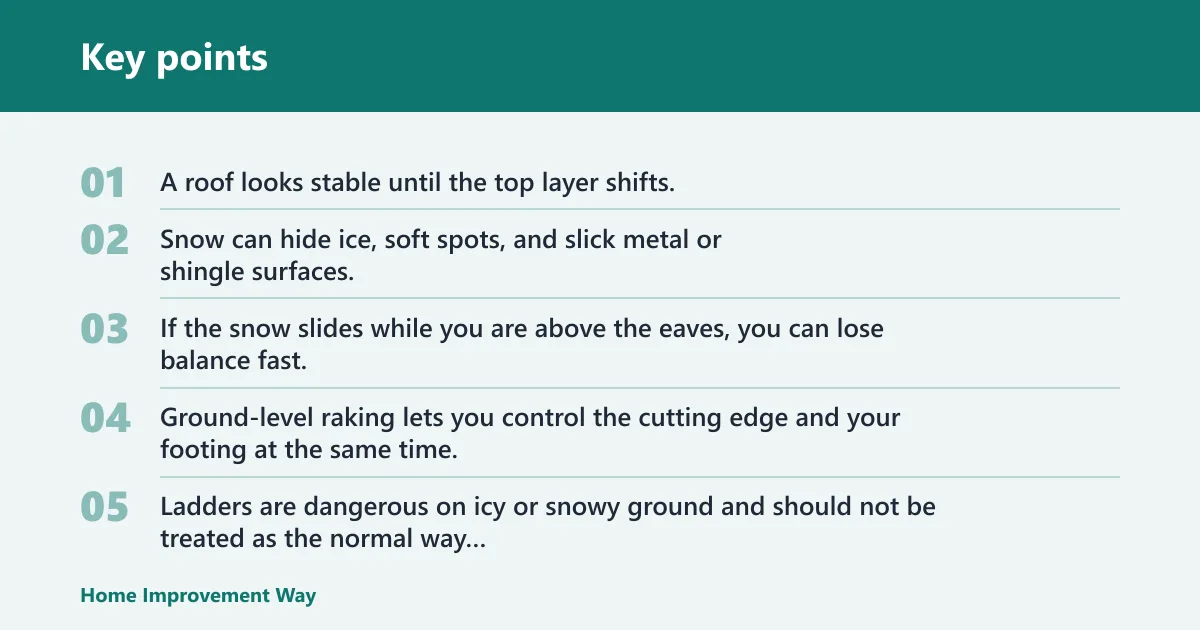
A roof looks stable until the top layer shifts. Snow can hide ice, soft spots, and slick metal or shingle surfaces. If the snow slides while you are above the eaves, you can lose balance fast. Ground-level raking lets you control the cutting edge and your footing at the same time.
Why ladders are a poor routine access choice
Ladders are dangerous on icy or snowy ground and should not be treated as the normal way to clear roof snow. They increase the chance of a slip at the base and make it harder to control the rake. If a roof area cannot be reached safely from the ground, the better answer is usually to stop.
What can go wrong with overreaching?
Overreaching pulls your center of mass toward the roof edge and can put you under a sliding sheet of snow. It also tempts you to rake too high in one pass. Short, controlled pulls are safer than long reaches that leave you off balance or buried in the release path.
Choose the right roof rake
A roof rake is a long-handled snow removal tool designed for sloped roofs. Look for a telescoping handle so you can reach the eaves from the ground. Many models use soft edges, cutting edges, or standard blades, and some add small wheels or rollers to reduce scraping on shingles.
Soft, cutting, and standard blade styles
Soft-edge blades are often a safer default for asphalt shingles because they can reduce abrasion. Cutting-style blades can help break packed snow, but they need more care on delicate surfaces. Standard blades are a middle ground for general use. Match the blade to the roof material, not to the depth alone.
Telescoping handle length
Choose the longest handle that still feels controllable from the ground. A longer reach helps you clear the lower roof edge without climbing, but extra length can make the tool harder to steer. If the rake starts to twist or the blade bounces, shorten your pass and reset your stance.
Rollers or wheels on shingles
Rollers or wheels can help reduce direct contact with shingles. That matters because roof shingles can lose protective granules if they are scraped hard. If the rake has a metal edge with no roller system, use it only with light pressure and only where the surface can tolerate that contact.
How do you use a roof rake to remove snow safely?
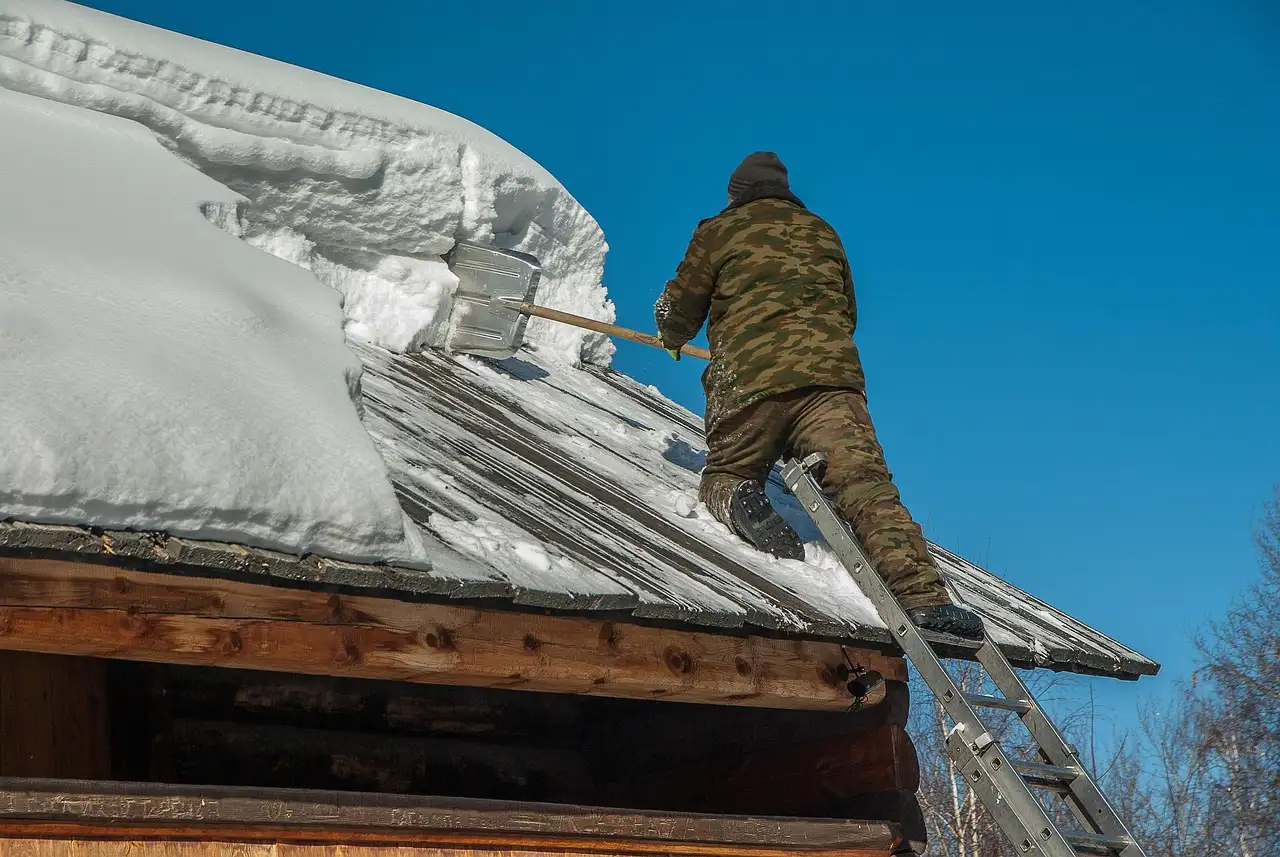
Start at the eaves, work in short passes, and keep the blade in the snow instead of on the roof surface. Pull down and out, then reset. Stop before you pull snow too high, because the higher you cut into the pack, the more likely a slab will break free and slide toward you.
Start at the eaves
The eaves are the first area to clear for ice-dam prevention because ice dams begin where upper-roof meltwater reaches colder eaves and refreezes. Clear the lower 3 to 4 feet first, since that perimeter zone is where meltwater can back up under shingles. That edge zone matters more than removing every inch from the entire roof.
Work in short passes
Use short, manageable pulls rather than trying to remove a deep section in one sweep. Clear a strip, step back, and repeat. If the snow resists, lighten the cut and work from the edge again. The safest pass is the one that does not ask the whole roof to move at once.
Keep the blade on the snow, not the roof surface
The blade should glide through the snow layer, not dig into shingles or paint. On asphalt shingles, a soft-contact approach matters because gouging can strip granules. On metal roofs, the surface may be slick, so the tool should be guided with even pressure and careful footing.
Stop before you pull snow too high
Do not chase snow all the way to the ridge by default. The goal is to lower edge risk and reduce load, not to strip the roof bare. If you are reaching too high, the handle is flexing, or the roof pitch changes under the rake, stop and reassess.
Say your one-story ranch has a 6-foot eave height and a soft-edge rake with a telescoping handle. Clearing the lower edge in short passes is reasonable if the snow is light to moderate. Suppose the same roof has crusted, wet snow and the blade starts to catch; that is the point to stop, not to force a deeper cut.
A roof rake is safest when it is designed for ground use only. Keep the design simple, soft-edged, and intended for controlled passes from below. Do not improvise a sharp-metal scraper or a long, rigid pole that invites overreaching.
What a safe DIY design should include
A safer homemade roof snow rake should mimic commercial ground-use tools: a telescoping or extended handle, a wide soft blade, and smooth edges that reduce abrasion. The blade should be broad enough to move snow in controlled passes without digging into shingles or catching in seams.
When a DIY extension is unsafe
Any extension becomes unsafe when it makes you reach above comfortable control, forces you to work from a ladder, or increases the chance of striking the roof surface hard. A longer handle is not automatically better if it bends, wobbles, or keeps you from steering the blade accurately.
Why sharp-metal builds are a bad idea
Sharp metal can gouge roofing materials, remove shingle granules, and make a snow slide harder to control. A DIY tool should reduce risk, not act like a scraper. If the only available materials create a hard, cutting edge, it is safer to buy a purpose-built rake than to build a risky one.
Roof rake decision checklist
This checklist helps you decide whether to continue, change technique, or call a professional roofing service. Use the roof type, the snow condition, and the access risk together. If any one category points to danger, stop the job.
| Roof type | Snow condition | Safe action | Stop signs |
|---|---|---|---|
| Asphalt shingles | Dry to moderate powder | Use a soft-edge roof rake from the ground. Clear the lower 3 to 4 feet first and keep the blade off the shingle surface. | Shingle lifting, granule loss, or the rake snagging on tabs. |
| Asphalt shingles | Wet heavy snow or compacted snow | Use shorter passes and less pressure. Leave a thin layer behind. | Slab release, scraping, or any sign the roof edge is too loaded to control. |
| Metal roof | Powder or light drift | Use a long-handled rake with careful footing. Keep the blade controlled because the surface may be slick. | Loss of balance, ice film, or snow sliding faster than you can manage. |
| Metal roof | Wet heavy snow | Consider stopping after edge clearing only. | Large sheets moving at once, unclear footing, or any access problem. |
| Low-slope roof | Snow drifting at the edge | Clear only what you can reach safely from the ground, and focus on the perimeter. | Wide, stuck snowfields, hidden drainage points, or blocked access. |
| Low-slope roof | Heavy, packed snow | Stop early and treat the roof as a higher-risk job. | Ponding, sagging, or a roofline that looks uneven. |
| Single-story access | Ground is stable and dry enough for footing | Ground-level raking is usually the safer DIY option if the edge is reachable. | Need to overreach, unstable footing, or the rake cannot reach the target zone. |
| Two-story access | Any snow condition that requires a ladder or awkward reach | Stop and evaluate professional help. | Two-story height, icy ground, or any requirement to work from a ladder. |
| Call a pro? Yes if the roof is steep, tall, icy, inaccessible, or showing structural warning signs. No only if you can work safely from the ground and stay within the lower-edge clearing zone. | |||
What should you avoid?
Avoid scraping shingles with metal tools, clearing every last patch of snow, using ladders on icy ground, and pulling snow in a way that dumps a slab onto your body. Those mistakes are common because they feel efficient. They are also the fastest way to damage the roof or get hurt.
Scraping shingles with metal tools
Metal tools can gouge roofing surfaces and remove protective granules from asphalt shingles. If the roof has a soft surface, use a soft-edge rake or a wheel-equipped model. If the only tool available has a hard blade that contacts the roof, it is better to stop than to force it.
Clearing every last patch of snow
You do not need a bare roof. The safer amount of residual snow depends on the roof type, the tool, and the conditions, so do not try to strip the roof completely clean. That approach helps reduce unnecessary abrasion and keeps you from chasing snow into areas that are harder to reach and more likely to fail under the rake.
Using ladders on icy ground
Do not treat a ladder as routine access for roof snow removal. Icy ground and slippery shoes turn a simple climb into a fall risk. If the roof area cannot be cleared from the ground, the safer decision is to stop and bring in a roofing service.
Pulling snow onto yourself
Do not stand under the cut line or work too far beneath the overhang. A common first-timer mistake is pulling too much snow at once, then stepping into the path of the release. Keep your stance to the side, keep short passes, and let the snow fall away from you.
When should you call a pro?
Call a professional roofing service when the roof is steep, tall, icy, or otherwise inaccessible from the ground. You should also stop if you see sagging, active leaks, cracked drywall, or snow that shifts in large sections. Those are warning signs that the job is no longer a simple rake-and-go task.
Steep, tall, or icy roofs
These are not good DIY roofs for winter clearing. A steep pitch makes footing and tool control harder, and ice adds another layer of slip risk. Two-story access also increases the consequence of a fall, so the better choice is usually to stay on the ground and hand the job off.
Areas you cannot reach safely from the ground
If your rake cannot reach the eaves without overreaching, you do not have the right setup for the job. Do not add a ladder to make up the difference. Ground-level roof raking only works when the safe reach zone matches the roof edge you want to clear.
Warning signs of roof stress or active leaks
If you notice new ceiling stains, cracking sounds, bowed trim, or doors and windows that suddenly stick, stop. These signs can point to load or water problems that need more than surface snow removal. A professional can inspect the roof, the attic, and the drainage path together.
Frequently asked questions
How much snow should I remove from my roof?
Remove enough snow to reduce load at the edge and lower ice-dam risk, not every flake. Leave at least an inch or two of snow on the roof, and focus first on the lower 3 to 4 feet near the eaves. Wet, heavy snow deserves more attention than powder.
How far up the roof should I rake snow for ice dam prevention?
Start at the eaves and clear the lower 3 to 4 feet first. That is the zone where ice dams most often begin, because meltwater refreezes at the edge and can back water under shingles. If you can reach only that zone safely from the ground, stop there.
Can I use a roof rake on a second-story roof?
You can use a roof rake only if you can reach the area safely from the ground without a ladder and without overreaching. Two-story access often pushes the task past normal DIY limits. If you need to stretch, climb, or work from unstable footing, call a professional roofing service instead.
What should I avoid when using a roof rake on shingles?
Avoid sharp or metal scraping against the shingles, because that can gouge the surface and remove protective granules. Avoid deep passes that pull a heavy slab toward you. Also avoid trying to clean the roof bare. A soft-contact approach from the ground is the safer method for asphalt shingles.
When is roof snow too heavy to handle myself?
Wet, heavy snow is a bigger concern than light powder, and compacted snow is riskier than fresh snow of the same depth. Safe snow load depends on roof design, roof area, drift patterns, and actual snow density. If the roof feels loaded, the edge is slick, or the rake can’t move it safely, stop.
How do I know when to call a professional for roof snow removal?
Call a professional if the roof is steep, tall, icy, or inaccessible from the ground. Also stop if you see sagging, active leaks, cracked interior finishes, or large slabs shifting as you rake. If you cannot clear the lower edge without a ladder or overreaching, the job is already beyond routine DIY.
Sponsored / affiliate links. As an Amazon Associate I earn from qualifying purchases. I may earn additional commission from eligible campaigns.
 Telescoping Roof Rake - 20ft Extendable Snow Removal Tool, Reinforced 3-Point Support Head, Thickened Pole for Efficient Snow Clearance
 Extendable Roof Snow Rake for Snow Removal, Telescopic Handle Up to 236 Inch Reach, Reinforced 3-Point Connection, Thickened Hardware, Anti-Slip Lock Grip, Snow Remover for Roof