How To Remove A Radiator From The Wall For Decorating
Dealing with a radiator when you want to redecorate can be a real headache. You see the beautiful wallpaper you want to hang or the fresh paint color you’re dreaming of. But then you see that bulky radiator sitting right in the way.
It feels like a big obstacle. You might wonder if you can even move it. And if you can, how do you do it without flooding your house or breaking anything?
It’s a common problem, and one that stops many home improvement projects before they even start. We get it. It feels daunting, and you want to be sure you do it right the first time.
Removing a radiator from your wall for decorating involves draining the system, safely disconnecting it, and then preparing it for reinstallation or storage. This process protects your home from water damage and ensures the radiator can be reattached later if needed.
Understanding Your Radiator System
Before we even think about taking a radiator down, it’s super important to understand what you’re dealing with. Most radiators in homes are part of a central heating system. This system uses hot water.
It runs from a boiler, through pipes, to the radiator. The radiator then heats up your room. When you want to remove one, you’re interrupting this flow.
This means you need to stop the water from coming out when you disconnect it.
Think of your heating system like a big, connected network. If you cut into one part, you need to make sure the water stays where it belongs. Most systems use radiators that are connected by pipes at the bottom.
These pipes feed hot water in and out. There are usually valves on these connections. These valves are your best friends when you want to work on the radiator.
Knowing where these valves are and how they work is key.
Some older homes might have different systems. They could be older gravity-fed systems. Or maybe you have a sealed system that uses pumps.
But for most modern homes, the basic principle is the same. Hot water travels through pipes. You need to isolate the radiator from this water flow.
This means shutting off the valves and then releasing any leftover water.
It’s also good to know if your radiator is electric. These are much simpler. They don’t connect to a boiler.
They have their own power source. If you have an electric radiator, you just need to turn off the power at the breaker. Then you can usually just unscrew it.
This guide focuses on hot water radiators, as they are much more common and involve more steps.
Why Removing a Radiator Can Be Necessary
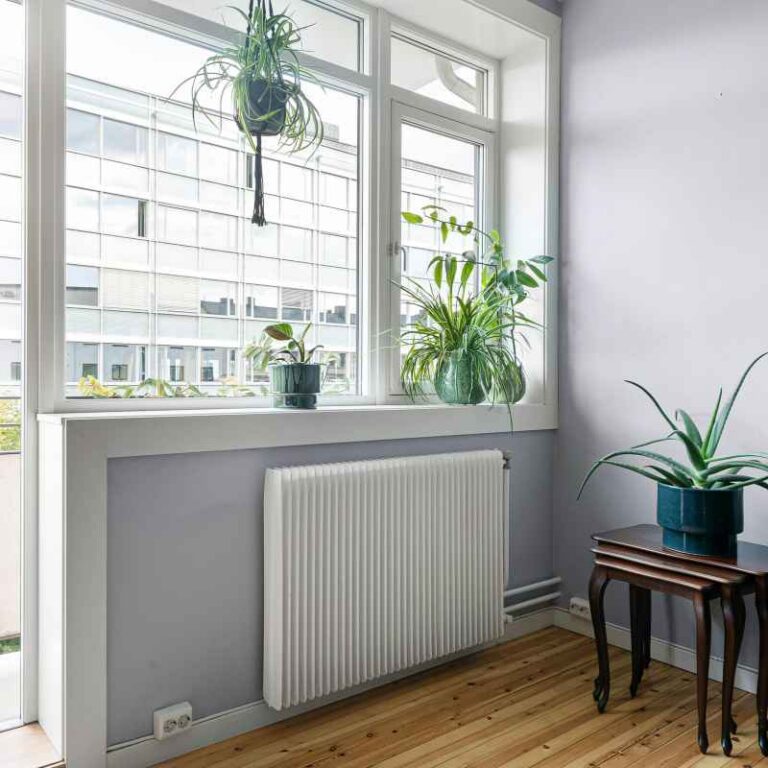
The most common reason people want to remove a radiator is for decorating. This makes a lot of sense. Radiators can be quite large and bulky.
They can get in the way of painting walls. They can also block you from applying wallpaper evenly. Sometimes, you just want a different look for your room.
A radiator can break up the flow of a wall. It can make it hard to place furniture just right.
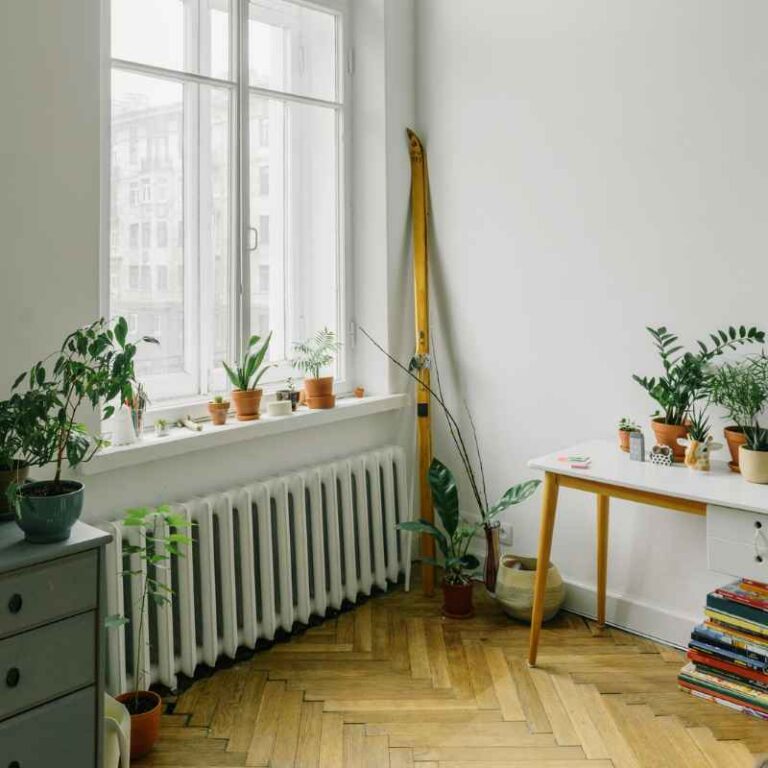
Other times, a radiator might be damaged. Perhaps it’s leaking. Or maybe it’s no longer heating properly.
If you’re replacing old windows, you might need to take it down temporarily. This lets you seal the wall properly around the new window frame. It’s also common if you are doing a major renovation.
You might be changing the layout of a room. This could mean the radiator is no longer in the best spot.
Sometimes, people simply want to upgrade their heating. Newer radiators can be more efficient. They might offer a more modern look.
When you get a new radiator, you’ll need to remove the old one first. This guide will help you with the removal part, whether it’s temporary or you plan to replace it.
Gathering Your Tools and Materials
Before you start, having the right tools makes everything much easier. You don’t want to be halfway through and realize you’re missing something crucial. This can lead to mistakes or delays.
Here’s a list of things that will likely come in handy:
- Adjustable Wrench: You’ll need this to loosen and tighten the radiator valves.
- Pipe Wrench: Sometimes, the standard valves can be stubborn. A pipe wrench gives you more grip.
- Pliers: Good for holding small parts or turning things gently.
- Bucket or Large Container: This is essential for catching water. You’ll need more than one.
- Old Towels or Rags: Have plenty on hand. Water can spill. These will help you clean up spills quickly.
- Draining Key: This small, unique key fits into the bleed valve at the top of the radiator. It lets air out and water drain.
- Screwdriver (Flathead): Might be needed for some types of valve caps or fittings.
- Gloves: To protect your hands from dirty water and sharp edges.
- Safety Glasses: Always a good idea when working with pipes or water.
- Something to Prop Up the Radiator: Radiators can be heavy. You’ll need a way to support it once it’s disconnected.
- Old Sheet or Dust Sheet: To protect your floor from spills and drips.
Having these items ready means you can move smoothly through the process. It reduces stress and makes the job feel much more manageable. Don’t skip this step!
Step-by-Step: Draining the Radiator
This is the most important part. If you don’t drain the radiator, you’ll have a mess. Water will pour out everywhere when you disconnect it.
This can damage your floors, walls, and even your electrical outlets. So, take your time here.
1. Turn Off the Heating System
First, you need to stop the flow of hot water. Go to your main boiler. Turn off the heating.
Make sure it’s completely off. Don’t just turn down the thermostat. You need to shut the system down.
Wait for the water in the radiators to cool down. This can take a couple of hours. You don’t want to be working with scalding hot water.
Safety first!
2. Locate the Drain Valve
Most radiators have two main valves. One is the lockshield valve. It’s usually at the opposite end from the main control valve.
The other is the control valve itself. This is where you adjust the heat. On the top of the radiator, often at the opposite end from the control valve, there’s a small bleed valve.
This is where air can escape. It’s also where you’ll connect your draining key.
3. Attach Your Draining Key
Take your radiator draining key. It looks like a small square or cross shape on a handle. You’ll see a small square slot on the bleed valve.
Fit the key onto this slot. Make sure it’s seated well. You might need to push it in a bit.
4. Open the Bleed Valve
Slowly turn the draining key counter-clockwise. You should hear a hiss. This is air escaping the radiator.
Air is lighter than water. It needs to come out first. Keep turning the key gently.
The hissing will stop. Then, you should see a small trickle of water start to come out. This is normal.
5. Position Your Bucket
Place a bucket directly under the bleed valve. It needs to catch all the water. Have a few old towels or rags ready.
They can soak up any drips. You might also want to put a dust sheet on the floor. This protects it from accidental spills.
6. Drain the Water
Now, you need to get the water out of the radiator. You can do this in a couple of ways. The easiest is to use the bleed valve.
Turn it a bit more. Water will start to flow into the bucket. You will need to empty the bucket often.
This can take a while. You might need several buckets worth of water.
A faster method involves closing the main valve and lockshield valve on the radiator first. Then, you open the bleed valve. Once the air is out, you can disconnect the pipes.
The water will then drain out more freely. However, this requires you to have the radiator disconnected. For most DIYers, draining via the bleed valve is safer.
Keep draining until no more water comes out. You want to get as much out as possible. This will make the radiator much lighter and easier to handle.
It also ensures that when you disconnect it, you won’t have water gushing out.
Radiator Draining Quick Check
Check Point: Is the water out?
Action: Gently tilt the radiator. If you still hear water sloshing, you need to drain more. If it feels light and no water comes out when you tilt it, you’re good to go.
Disconnecting the Radiator
Once the radiator is drained, you can disconnect it. This involves working with the pipe connections. Be gentle here.
These parts can be old and brittle.
1. Identify the Valves
Look at where the pipes connect to the radiator. You’ll see the main valve and the lockshield valve. The main valve has a handle you use to control the heat.
The lockshield valve is usually a smaller, plain valve with no handle. It has a cap that you might need to remove.
2. Close the Valves (If Not Already Done)
If you haven’t already, close both the main valve and the lockshield valve. Turn them clockwise until they are tight. This ensures no residual water can escape from the main system when you loosen the fittings.
3. Loosen the Fittings
Now, you’ll use your wrenches. Place an adjustable wrench or pipe wrench on the nut where the pipe connects to the radiator valve. Place another wrench on the valve body itself.
This is to hold the valve still. You don’t want to twist the entire valve out of the radiator. Slowly turn the nut on the pipe counter-clockwise.
You might feel some resistance.
Be prepared for a few drips. Even with draining, there might be a little bit of water left in the pipes and the valve body. Have your rags and bucket ready.
If it’s really stuck, don’t force it too hard. Sometimes a gentle tap with the handle of the wrench can help. Or try a bit of penetrating oil.
4. Repeat for Both Sides
You’ll need to do this for both the inlet and outlet pipes of the radiator. One side will be the supply pipe, and the other will be the return pipe. Disconnect both sides.
Once both sides are loose, the radiator should be free from the pipework.
Contrast: Normal vs. Concerning Drips
Normal: A few drips of water. This is expected as residual water exits the pipes and valve.
Concerning: A steady stream or gush of water. This means the radiator wasn’t fully drained, or a valve was not closed properly. Stop immediately and re-evaluate.
Removing the Radiator from the Wall
Radiators are often heavy. They are usually secured to the wall with brackets. You need to be careful when removing them from these brackets.
1. Support the Radiator
Before you try to lift it off the brackets, make sure you have support. A second person is ideal for this. If you’re alone, you can use blocks of wood or sturdy boxes to prop it up.
You don’t want it to drop suddenly.
2. Lift it Off the Brackets
Radiators typically hang on wall brackets. They often hook onto the top of these brackets. You might need to lift the radiator slightly upwards.
Then, tilt it away from the wall to unhook it. Feel for where the brackets are. Gently maneuver the radiator to release it from each bracket.
Some radiators might have screws or clamps holding them to the brackets. Check if yours does. If so, you’ll need to remove those first.
Always have someone help you, especially with larger radiators. It’s easy to strain your back or drop it.
3. Move it Safely
Once it’s free, carefully move the radiator to a safe place. Lay it on the floor on your dust sheet. Make sure it’s stable.
You don’t want it to roll or fall. If you are redecorating, you can lean it against a wall in another room. Just make sure it’s not blocking a walkway.
Observational Flow: Radiator Removal
- Assessment: Check valve types and bracket fixings.
- Draining: System off, bleed valve opened, water collected.
- Disconnection: Pipe fittings loosened carefully.
- Support: Radiator propped before lifting.
- Detachment: Radiator lifted off wall brackets.
- Relocation: Moved to a safe, clear area.
What to Do With the Radiator
Now that the radiator is off the wall, you have a few options. What you do depends on why you removed it.
If You’re Replacing It
If you’re putting in a new radiator, this is perfect. You can take the old one to a recycling center. Many scrap metal yards will take them.
Make sure to check their policies first. Some may pay you a small amount for the metal.
If You’re Storing It Temporarily
If you plan to put it back after redecorating, you need to store it properly. Make sure it’s completely dry. If there’s any moisture left inside, it could freeze and damage it in colder weather.
You could also fill it with a bit of antifreeze if you’re worried about freezing. Store it in a dry place, away from any hazards.
If You’re Selling It
If the radiator is still in good condition, you might be able to sell it. List it online. Be honest about its condition.
Include dimensions and the type of connections it has. Buyers might be looking for specific styles or sizes.
What to Do with the Exposed Wall and Pipes
With the radiator gone, you have a clear wall to work with. You also have exposed pipework. This is your chance to make everything look neat.
Cleaning the Wall
This is the perfect time to clean the wall behind where the radiator was. Dust and grime can build up there. You can wipe it down with a damp cloth.
If you’re painting, you can do a quick primer coat on the bare plaster. You can also fill any small holes left by the brackets. Sand them smooth.
Dealing with Pipework
The pipes are now exposed. You can insulate them if they are in a cold spot. This helps with heating efficiency.
It also prevents them from freezing. You can buy pipe insulation sleeves at any hardware store. They are easy to cut and fit.
If the pipes look a bit rusty or old, you might consider capping them off. This is a more permanent solution if you don’t plan to reattach the radiator. You can buy end caps for pipes.
Make sure they are the right size for your pipes. You’ll need to shut off the main water supply to the house before capping. This is a job that might be best left to a plumber if you’re not comfortable with it.
Sometimes, the valves themselves can look a bit unsightly. You can get decorative valve covers. Or you might consider replacing the old valves with new, modern ones when you reattach the radiator.
This is also a good time to check the condition of the pipes. Are they corroded? Are there any signs of leaks?
Addressing these now can save you future trouble.
Quick-Scan Table: Pipework Options
| Option | Description | When To Use |
|---|---|---|
| Insulate | Add foam sleeves to pipes. | Pipes in cold areas, to save heat. |
| Cap Off | Seal pipes permanently. | Radiator removed forever. |
| Clean/Paint | Wipe down or paint pipes. | For aesthetic appeal. |
| Replace Valves | Fit new, modern valves. | When reattaching a radiator. |
Reattaching the Radiator
If you’re putting the radiator back after decorating, you’ll need to reverse the process. This is usually easier than taking it down, but still requires care.
1. Prepare the Radiator
Make sure the radiator is dry inside and out. Check the connections. Ensure there’s no old sealant or debris causing problems.
If you replaced the valves, make sure they are fitted correctly.
2. Rehang the Radiator
Carefully lift the radiator back onto its brackets. This is where having a helper is very useful. Hook the top of the radiator onto the brackets first.
Then, let it settle into place. Make sure it’s secure.
3. Reconnect the Pipes
Now, reconnect the pipes to the valves. You might want to use a bit of plumber’s tape on the threads to ensure a good seal. Tighten the nuts with your wrenches.
Again, use one wrench to hold the valve and the other to turn the nut. Don’t overtighten. You don’t want to damage the threads.
4. Refill the System
Once the radiator is reconnected, you need to refill your heating system. This usually involves opening a filling loop on your boiler or heating system. Let the water pressure build up.
Check your boiler manual for specific instructions.
5. Bleed the Radiator
After the system is refilled, you will likely have air trapped in the radiator. Use your draining key to open the bleed valve at the top. Let the air out until water starts to flow.
Then, close the bleed valve tightly. You may need to do this for other radiators in the house too.
6. Check for Leaks
Turn the heating system back on. Let it run for a while. Carefully check all the connections you made.
Look for any signs of drips or leaks. If you see any, turn off the heating and tighten the fittings slightly. Small leaks can be tricky.
If you can’t stop them, you might need to call a professional.
When It’s Normal and When to Worry
It’s normal to have a few drips when you’re disconnecting and reconnecting. It’s also normal to hear gurgling sounds when you refill the system. This is just air moving through the pipes.
The radiators might take a little while to heat up fully after being refilled.
You should worry if you see significant amounts of water leaking. Especially after you’ve tightened everything. Persistent leaks might mean the valve is faulty, the thread is damaged, or the connection isn’t sealed properly.
If you’re unsure, it’s always best to call a qualified plumber. Water damage can be very expensive to fix.
Another worry sign is if the radiator doesn’t heat up at all after refilling and bleeding. This could mean there’s a blockage, or the valves aren’t working correctly. If you have a pressure drop in your heating system that you can’t explain, that’s also a sign something is wrong.
Always trust your gut. If something feels off, it’s better to get an expert opinion.
Stacked Micro-Sections: Post-Reinstallation Checks
Pressure Gauge: Ensure your boiler pressure is within the normal range after refilling.
Warmth Check: Feel the radiator. Is it heating up evenly? If not, bleed again.
Leak Patrol: Visually inspect all connection points for any signs of moisture.
Quick Tips for a Smoother Process
Here are a few extra tips that can make this job a lot less stressful:
- Get Help: Seriously, a second person makes a huge difference.
- Take Pictures: Before you disconnect anything, take a few photos. This can help you remember how it all goes back together.
- Label Everything: If you have multiple radiators or pipes, label them.
- Protect Your Belongings: Move any furniture or rugs away from the work area.
- Have a “Wet” Bucket: Keep a dedicated bucket just for the water you drain.
- Turn Off Main Water: If you are capping pipes, make sure you turn off the main water supply to your house first.
- Don’t Rush: Take your time. It’s better to be slow and careful than to rush and make a mistake.
Frequently Asked Questions
Do I need to turn off my water supply to the whole house to remove a radiator?
No, you generally do not need to turn off the main water supply to your house. You only need to turn off your central heating system at the boiler and then drain the water out of the specific radiator you are working on using the bleed valve. However, if you plan to permanently cap off the pipes, then you would need to shut off the main water supply.
How much water is in a radiator?
The amount of water in a radiator can vary. Smaller radiators might hold only a few liters. Larger column radiators can hold significantly more, perhaps up to 10-15 liters or more.
This is why having multiple buckets and plenty of rags is important.
Can I leave the pipes open after removing the radiator?
It’s not recommended to leave the pipe ends open for long periods. This can lead to dust and debris getting into your heating system. If you are not immediately reattaching a radiator, you should cap off the pipes securely.
This prevents contamination and potential drafts.
How do I know if my radiator is drained enough?
You’ll know it’s drained enough when no more water comes out of the bleed valve when you open it. You can also gently tilt the radiator; if you don’t hear or feel any water sloshing inside, it’s likely empty. It will also feel significantly lighter.
What if I can’t remove the radiator brackets?
Radiator brackets can sometimes be old and difficult to remove. If they are screwed into the wall and the screws are rusted or stripped, you might need to use a screwdriver with a good grip or even a drill to remove them. Be careful not to damage the wall excessively.
If they are truly stuck, consider if they are essential for reattachment or if you can
Is it safe to paint a radiator while it’s on the wall?
Yes, you can paint a radiator while it’s on the wall, but it’s best done when the heating is off and the radiator is cool. Use special radiator paint for best results. However, if you’re doing a major redecoration like wallpapering or extensive wall repairs, removing it is usually the cleaner and more effective option.
Conclusion
Taking down a radiator might seem like a big job. But with the right steps and a little care, you can do it. You can free up your walls for beautiful decorating.
Remember to drain it fully. Be gentle with the fittings. And always have a helping hand for lifting.
Enjoy your newly refreshed space!