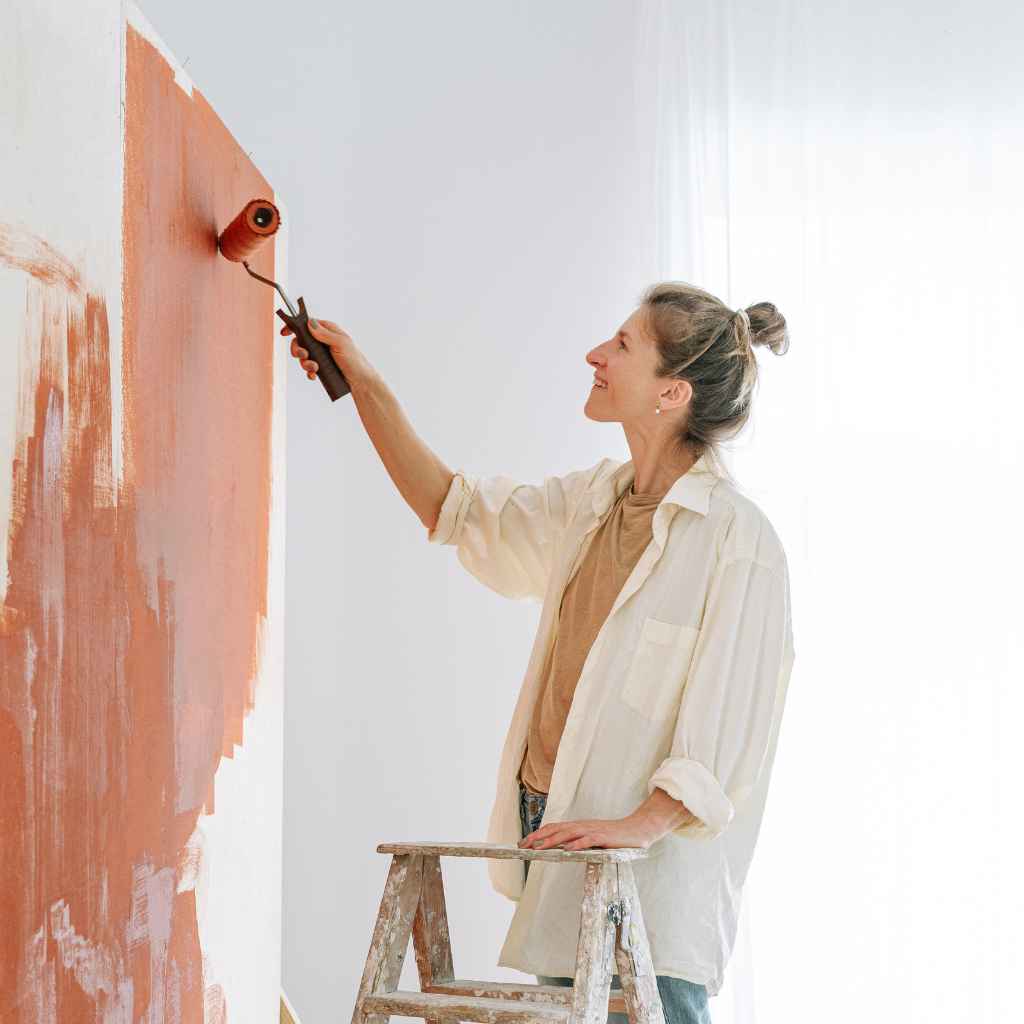
Do You Need To Prime Drywall Before Painting? Yes, Here’S Why
Priming drywall before painting is essential. It creates a smooth, uniform surface for paint, blocks stains, and ensures even color absorption for a better, longer-lasting finish. Skipping primer often leads to patchy walls and requires more paint to achieve the desired look.
What is Drywall Primer and Why Use It?
Think of primer as the base layer for your paint. It’s a special kind of liquid that you put on the wall first. It’s not quite like paint, and it’s not quite like a sealer.
It sits somewhere in the middle. Its main job is to prepare the drywall surface for the paint you’ll put on top.
Drywall itself is made of paper and gypsum. These materials are pretty good at soaking things up. When you paint directly on new, unprimed drywall, the paint gets absorbed unevenly.
Some spots soak up more paint than others. This is because the paper facing and the gypsum core have different textures and densities.
Primer’s job is to seal those different textures. It creates a more even surface. This means your topcoat of paint will go on smoothly.
It will look the same everywhere. No more shiny spots or dull patches that you get when paint soaks in differently.
It also helps your paint stick better. This is super important for a good-looking wall. When paint sticks well, it lasts longer.
It’s less likely to peel or chip over time. Primer acts like a glue between the drywall and the paint. This helps everything hold together well.
Another big reason people use primer is for stain blocking. New drywall can sometimes have marks on it. Maybe it’s from handling, or grease from your hands.
Older walls might have water stains or marks from magic markers. Primer is designed to cover up these old marks. It stops them from showing through your fresh paint.
You don’t want a weird dark spot peeking through your lovely new color, do you?
So, in short, primer is your wall’s best friend before it gets its pretty outfit of paint. It makes the paint job look better, makes the paint last longer, and hides any oopsies from the past.
My First “Oh No” Moment with Drywall and Paint
I remember the first time I tried to paint a room without priming. It was my first apartment. I was so excited to make it feel like mine.
I bought the brightest blue paint I could find. I figured, new walls, new paint, what could go wrong?
I slapped on the first coat. It looked… okay. But then I saw it.
Certain spots were way darker than others. It looked like I’d smudged it with a wet rag. I thought maybe I just needed another coat.
So, I painted a second coat. The dark spots got a little lighter, but now other parts looked faded. It was a patchy mess.
I started to feel a knot of panic in my stomach. It looked worse than before!
I spent hours trying to even it out. I’d add paint here, then notice another spot there that looked weird. I ended up using way more paint than I planned.
And the final result? It was still a bit blotchy. That experience taught me a valuable, albeit frustrating, lesson.
Priming is not just a suggestion; it’s a necessity for a professional-looking finish. I learned that day that rushing can cost you more time and money in the end.
Primer vs. Paint: What’s the Real Difference?
Primer:
- It’s a base coat.
- It seals porous surfaces.
- It helps paint stick.
- It blocks stains.
- It’s not meant to be the final color.
Paint:
- It’s the top coat.
- It provides color and finish.
- It can sometimes soak in unevenly.
- It might not cover stains well on its own.
Why Does New Drywall Act So Differently?
New drywall is like a brand-new sponge. It’s designed to be absorbent. This is a good thing when it’s being manufactured.
But it can be a headache when you’re trying to paint it.
The paper on the front of the drywall is smooth. But it’s still paper. Paper loves to drink up liquid.
The gypsum inside is also a bit porous. When you put paint on, the paper and the gypsum soak it up at different rates. The edges where drywall panels meet, and the joint compound used to smooth them, can also behave differently.
These differences in absorption mean that if you paint directly onto new drywall, you’ll get an uneven look. Some areas will look darker because they’ve soaked up more paint. Other areas will look lighter because the paint sat on the surface more.
This is often called “flashing.” It’s when you can see where the paint layers are different thickness or absorbed differently.
This is especially true if you use a color with high tint. Darker or very bright colors are more likely to show these inconsistencies. They have more pigment, and the uneven absorption makes those pigments stand out in blotches.
You might end up needing three, four, or even more coats of paint to try and cover it up. That’s a lot of work and a lot of wasted paint!
Also, new drywall often has a chalky residue from the manufacturing process. Primer helps to lock that dust down. It gives the paint a solid surface to adhere to.
Without primer, the paint might not stick as well to that chalky layer. This could lead to peeling down the road.
So, the unique nature of new drywall – its absorbency and potential for dust – makes it a surface that absolutely needs that prepping step. It’s like baking a cake. You wouldn’t put frosting directly on the dry cake mix, would you?
You bake the cake first. Primer is like baking the drywall surface.
The Science of Absorption
Drywall Surface: Porous and uneven.
Paint: Liquid that soaks into surfaces.
Problem: Uneven soaking causes color variation and patchiness.
Primer Solution: Seals the surface, making it uniform for even paint absorption.
What Happens If You Skip Primer? The “Patchy Paint” Effect
Let’s talk about the most common outcome if you decide to skip the primer: patchy paint. We touched on it, but it’s worth really diving into.
Imagine you’ve just painted a wall. You step back, expecting a beautiful, even color. Instead, you see areas that look slightly darker, almost shiny, while others look dull and faded.
This is the “patchy paint” effect, also known as flashing.
This happens because the new drywall is like a sponge with different parts. The paper outer layer, the gypsum core, and the joint compound used to cover seams and screw holes all absorb liquids differently. When you apply paint directly, some areas soak up more of the liquid (the binder and pigment), leaving less on the surface.
Other areas soak up less, leaving more pigment sitting on top.
The result is an inconsistent finish. The paint doesn’t look smooth or uniform. It’s especially noticeable under certain lights.
You might not see it clearly in dim light, but turn on a bright lamp, and the unevenness jumps out at you. It can make a brand-new paint job look amateurish and poorly done.
To try and fix this, most people will just apply more coats of paint. This is where you really start to waste paint and time. You’ll likely need at least one, maybe two, extra coats to get a truly even appearance.
Each coat takes time to apply and dry. You end up spending far more effort trying to correct the problem than you would have spent just priming.
Beyond the patchy look, skipping primer can also affect the paint’s longevity. Primer helps the topcoat adhere better. Without that strong bond, the paint is more susceptible to nicks, scratches, and peeling over time.
You might find yourself needing to repaint sooner than you’d expect.
And what about stains? If there are any faint marks or discoloration on the drywall, they can bleed through the paint without a good stain-blocking primer. That means your beautiful new wall might develop mysterious spots.
It’s frustrating when this happens!
So, while it might seem like an unnecessary extra step, skipping primer often leads to more work, more expense (in paint and time), and a less-than-perfect finish. The patchy paint effect is the most visible sign that primer was missing.
My “Why Did I Even Bother?” Moment with Stains
I once helped a friend paint her nursery. She had this lovely pastel green picked out. We were so excited to finish it for the new baby.
We skipped the primer, thinking it was just a quick job and the color was light, so it would be fine. Big mistake.
About a week later, we noticed faint yellow circles appearing on the wall. They looked like old water stains. This house was older, and we hadn’t noticed any water damage before.
These weren’t huge, obvious stains. They were subtle, but they were definitely there. They were coming from the pipes or something behind the drywall.
We tried painting over them with the pastel green. They popped through almost immediately. Then we tried a second coat.
Still there. We were so frustrated. The room was supposed to be a peaceful sanctuary, not a test of our painting patience.
Finally, we had to go to the store and buy a proper stain-blocking primer. We had to go through the whole process again: re-paint the primer over the stained areas, let it dry, and then re-paint the topcoat. It took twice as long as it should have.
That day taught me that sometimes, the “extra step” is actually the shortcut to a job done right the first time. Those faint yellow circles were a visual reminder of why priming is so crucial, especially for stain blocking.
Quick Scan: Signs You Skipped Primer
Appearance: Patchy, uneven color. Some spots darker than others.
Shine: Inconsistent sheen; some areas look glossy, others flat.
Color Saturation: Colors don’t look as vibrant or deep as expected.
Stains: Old marks or water spots bleed through the paint.
Texture: Surface might feel less smooth than expected.
When Is Priming Absolutely Non-Negotiable?
While priming is always a good idea for new drywall, there are certain situations where it’s an absolute must. You really, really shouldn’t skip it then.
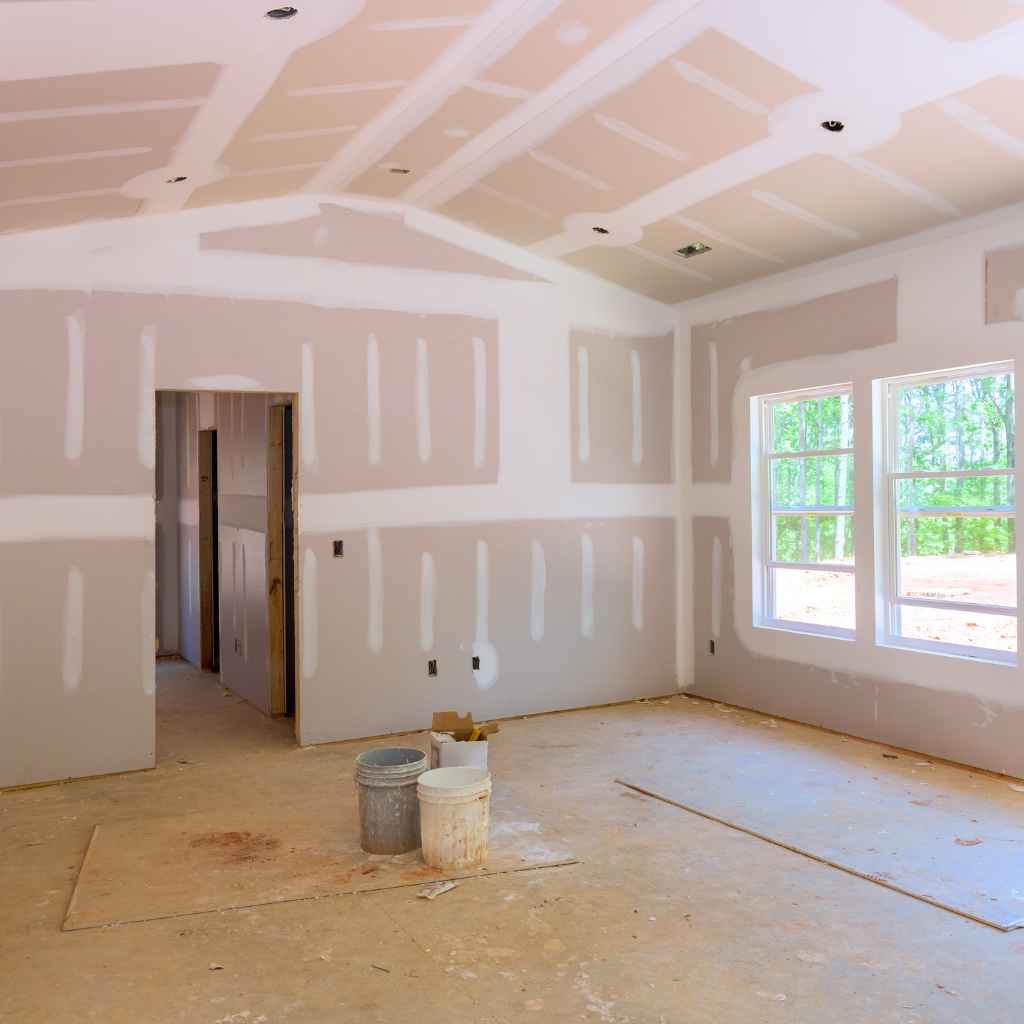
1. New Drywall or Plaster: As we’ve discussed, this is the primary case. New, unpainted drywall or fresh plaster is highly porous.
Primer is essential to create a uniform surface and prevent uneven paint absorption.
2. Covering Dark or Bold Colors: If you’re painting over a very dark color (like navy blue or deep red) with a lighter shade, primer is your best friend. A good quality primer can block out the old color effectively.
This means you’ll need fewer coats of your new, lighter paint. You might even consider a tinted primer. Some paint stores can tint primer to be closer to your new paint color.
This helps even more.
3. Stains: Any kind of stain – water marks, grease, crayon marks, soot, even nicotine stains – needs a stain-blocking primer. Regular primer might cover them lightly, but they can bleed through later.
A dedicated stain-blocking primer is formulated to seal these marks completely, preventing them from reappearing.
4. Glossy Surfaces: If you’re painting over a surface that has a glossy finish, like old enamel paint or even some types of laminate, it needs a special bonding primer. Glossy surfaces are very smooth, and regular paint won’t stick well.
A bonding primer creates a surface the new paint can grip onto.
5. Patching or Repairs: If you’ve patched holes in your drywall or done repairs, the patched areas will likely have a different texture and absorbency than the surrounding wall. Priming these spots before painting the whole wall ensures they blend in seamlessly and don’t stand out.
6. New Wood Trim or Doors: While not drywall, new wood also needs priming. It’s very porous.
Primer seals the wood grain and prevents the paint from soaking in unevenly, which would make the finish look splotchy and rough.
These are the times when primer isn’t just a “nice to have” but a critical step for a successful paint job. It saves you headaches and ensures a professional look.
When Priming Is a MUST
- New Drywall/Plaster: For even absorption.
- Dark to Light Colors: To block old color.
- Stains (Water, Grease, Nicotine): To prevent bleed-through.
- Glossy Surfaces: For paint adhesion.
- Patched Areas: To blend repairs seamlessly.
- New Wood: To seal grain and prevent blotchiness.
Types of Drywall Primers: What’s Best for You?
Not all primers are created equal. They have different strengths. Choosing the right one makes a difference for your project.
Here are the main types you’ll run into:
1. Water-Based (Latex) Primers: These are the most common and versatile. They’re easy to find and easy to clean up with soap and water.
They dry quickly. They are great for general-purpose priming on new drywall. They work well for covering light stains and providing a good base for most types of paint.
They are also good for sealing paper and gypsum.
2. Oil-Based (Alkyd) Primers: These are tougher and stickier. They are excellent stain blockers.
If you have really stubborn stains like water damage, rust, or heavy grease, an oil-based primer is often the best choice. They also create a very smooth surface, which is nice for high-gloss finishes. However, they have stronger fumes, take longer to dry, and require mineral spirits for cleanup.
They are also more expensive.
3. Shellac-Based Primers: These are the superheroes of stain blocking. They can seal almost anything – severe water damage, smoke damage, strong odors, crayon marks, ink.
They dry very fast, often in under an hour. They are great for difficult situations. The downside is they have very strong fumes and require denatured alcohol for cleanup.
They can also be more expensive than latex primers.
4. Bonding Primers: These are specialized for surfaces that paint doesn’t normally stick to well, like tile, laminate, or glossy paint. They create a strong grip for the topcoat.
For drywall, you usually only need a bonding primer if the drywall itself has a very unusual finish or if you’re painting over something completely unexpected.
5. Tinted Primers: You can get primers tinted to a specific color. This is super helpful when you’re painting a dark color or a vibrant color.
Tinting the primer closer to your final paint color means you’ll need fewer coats of the actual paint to get full coverage. For example, if you’re painting a bold red, a red-tinted primer will help block out the old color much better than a white primer.
For most new drywall projects, a good quality water-based primer is perfectly fine. If you have tough stains or odors, step up to an oil-based or shellac-based primer. Always read the product label to make sure it’s suitable for drywall and for the type of paint you’ll be using on top.
My Experience with a “Stubborn” Stain
I once tackled a bathroom renovation. The ceiling had a nasty, dark water stain from a leaky pipe. We fixed the leak, but the stain remained.
It was one of those deep, ugly brown marks that looked like it had been there forever.
I tried a regular latex primer first, hoping for the best. I applied a thick coat. I let it dry.
Then I applied my topcoat of ceiling paint. Within hours, the stain started to creep through. It was like a ghost reappearing.
I was so annoyed. That stain was persistent!
I realized I needed something stronger. I went back to the store and bought a good quality oil-based, stain-blocking primer. This stuff smelled like a chemical factory, but I was desperate.
I applied it carefully over the entire stained area. I made sure to get good coverage. This time, I let it dry completely overnight.
The next day, I applied the ceiling paint. And you know what? The stain was gone.
It didn’t even try to peek through. That experience really drove home the importance of using the right product for the job. Sometimes, a standard primer just won’t cut it, and you need a specialized formula to truly get the job done right.
That oil-based primer saved my ceiling from looking like a forgotten Rorschach test.
Primer Quick Guide
For New Drywall: Use a good quality water-based primer.
For Tough Stains (Water, Grease, Nicotine): Use an oil-based primer or shellac-based primer.
For Dark Colors: Consider a tinted primer.
For Very Smooth Surfaces: Use a bonding primer.
How Primer Helps with Paint Coverage and Longevity
We’ve talked about how primer makes the paint job look better, but it also helps your paint last longer. Let’s look at how.
Better Adhesion: Think of primer as a sticky handshake between the wall and the paint. Drywall can be dusty or slightly chalky. Primer creates a solid, uniform surface that the topcoat of paint can really grip onto.
When paint sticks well, it’s less likely to chip, peel, or scratch. This means your paint job will look good for years, not just months.
Even Color: We know this makes the paint look better right away. But think about longevity too. If the color is uneven, you might be tempted to touch it up more often.
Touching up can sometimes create more noticeable patches if not done perfectly. A smooth, even color base from primer means fewer touch-ups are needed. This helps maintain the wall’s appearance over time.
Sealing Porosity: Primer seals the pores in the drywall. This prevents moisture from the paint from being absorbed too quickly into the wall. This can help the paint cure properly.
A properly cured paint film is stronger and more durable. It can better withstand cleaning and wear and tear.
Less Paint Needed: While it seems like an extra step, using primer can actually save you money on paint. Because primer creates an even base, your topcoat of paint will cover more evenly. This means you will likely need fewer coats of your expensive finish paint to achieve full coverage.
For dark colors or dramatic color changes, this can be a significant saving.
So, when you factor in fewer coats of paint needed, less chance of peeling or chipping, and fewer touch-ups, primer contributes to a longer-lasting, better-looking paint job. It’s an investment in the future of your walls.
What Does This Mean for Your DIY Project?
If you’re planning to paint any walls, whether it’s a fresh coat in a living room or painting over new drywall, here’s what you need to know.
New Drywall: Always prime. Don’t skip this step. It will save you so much trouble and make your paint look professional.
A good quality water-based drywall primer is usually your best bet. Make sure you cover all the seams and screw holes where the joint compound is.
Painting Over Old Paint: If the old paint is in good condition, not peeling, and you’re painting with a similar color, you might be able to get away with just a good quality paint and primer in one. However, if you’re changing colors dramatically, covering stains, or painting over a glossy surface, you’ll still need a dedicated primer.
Stains: See a stain? Grab a stain-blocking primer. Don’t hope for the best with regular primer or paint.
It’s rarely worth the risk of the stain bleeding through.
Time and Money: Yes, primer costs money. And it takes extra time. But compare that to buying extra gallons of paint, spending days trying to fix patchy spots, or having to repaint sooner because of peeling.
In the long run, priming usually saves you time and money.
The Finish: The biggest win is the look. A primed surface leads to a smooth, even color. It looks polished and professional.
It’s the foundation for a beautiful room. So, when you’re planning your next painting project, add primer to your shopping list. It’s a small step that yields big results.
Quick Tips for Priming Drywall
Here are some easy tips to make your priming job go smoothly.
- Clean the Walls: Before you do anything, wipe down your new drywall with a slightly damp cloth. This removes any dust or debris. Let it dry completely.
- Use the Right Primer: Choose a primer made for drywall or a general-purpose drywall primer. If you have stains, get a stain-blocking one.
- Apply Evenly: Use a roller for large areas and a brush for edges and corners. Don’t leave drips or thick spots.
- Two Coats if Needed: For very porous surfaces or if you’re covering dark colors, two thin coats of primer might be better than one thick one.
- Let it Dry: Always follow the manufacturer’s instructions for drying times. Painting over primer that’s not fully dry can cause issues.
- Ventilate: Open windows and doors, especially if using oil-based or shellac primers.
- Consider Tinting: If you’re painting a dark or vibrant color, ask your paint store to tint the primer.
Frequently Asked Questions About Priming Drywall
Do I need to prime new drywall before painting?
Yes, it is highly recommended to prime new drywall. Primer seals the porous paper and gypsum, creating a uniform surface for paint. This prevents uneven absorption, which can lead to patchiness and require more coats of paint.
What kind of primer should I use on new drywall?
A good quality water-based (latex) drywall primer is usually the best choice for new drywall. If you’re dealing with stains, a stain-blocking primer (oil-based or shellac-based) is needed.
Can I skip primer if I use “paint and primer in one”?
While “paint and primer in one” products are convenient, they often don’t perform as well as a separate primer, especially on new, unprimed drywall or when covering stains or dark colors. For best results on new drywall, a dedicated primer is still recommended.
How many coats of primer do I need?
Typically, one coat of primer is sufficient for new drywall. However, if the drywall is very porous, or if you are trying to cover significant stains or dark colors, two thin coats of primer might be necessary for optimal results.
What happens if I don’t prime before painting drywall?
If you don’t prime new drywall, you’ll likely experience uneven paint absorption, leading to patchy or blotchy walls. You may also need more coats of paint to achieve an even color, and stains might bleed through the paint layer over time.
Can I use regular house paint as a primer?
No, regular house paint is not a substitute for primer. Primer has specific properties to seal surfaces, block stains, and improve paint adhesion, which regular paint does not provide effectively, especially on new drywall.
Final Thoughts on Priming Drywall
So, there you have it. Priming drywall isn’t just an extra step; it’s a crucial one for a beautiful, lasting paint job. It preps your walls, hides imperfections, and ensures your paint color looks its best.
It saves you paint, time, and frustration in the long run. Next time you face a blank drywall canvas, remember your primer – it’s the key to unlocking a truly great finish.