Can You Fix a Split Copper Pipe Yourself?
Yes, if the split is small, the pipe is accessible, and you can shut off the water. No, if the line is hidden, badly bent, or the damage is near a fitting, where replacement is safer. A bad fix can lead to leaks, water damage, and more burst pipe repairs. This guide explains when to patch, when to replace, and which repair method fits the damage.
Split copper pipe repair basics


A split copper supply pipe from freezing is not the same as a pinhole leak. A freeze split usually opens along the pipe wall and is commonly reported in 1/2 inch or 3/4 inch copper supply pipe, and it may leave the tube stretched, flattened, or cracked open.
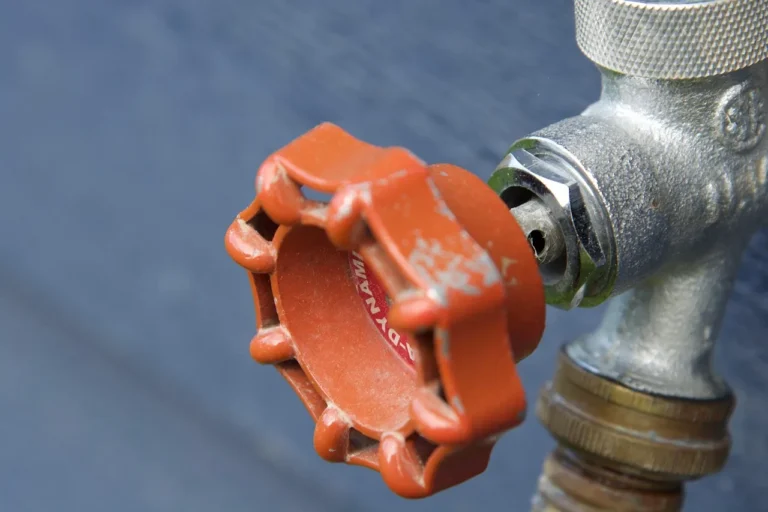
Start by turning off the main shutoff valve at the water meter or the local shutoff valve serving that branch line. Then open the lowest faucet on that line and a nearby faucet to release pressure and drain water from the pipe before touching it. That step matters because even a small split can spray once thawed pressure returns.
What you’ll need
- Water shutoff valve access at the main or local branch
- Pipe cutter
- Cleaning abrasive or sandcloth
- Lead-free solder and soldering flux
- Soldering kit or torch kit
- Copper pipe section for replacement
- Copper couplings
- Push-to-connect fittings, if you choose that repair path
- Compression fittings, for short cut-out repairs
- Repair clamp or pipe repair clamp with rubber patch and bolts
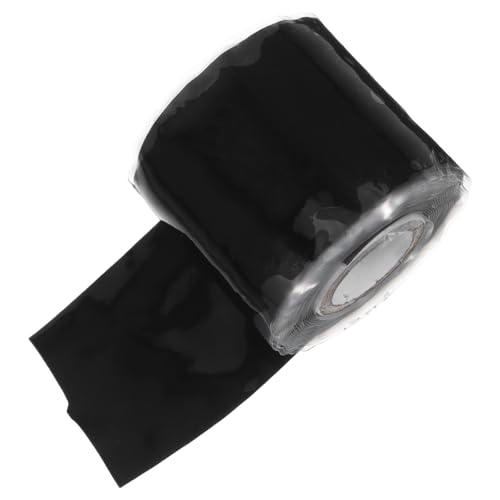
- Pipe repair tape for a short-term stopgap only
- Gloves and eye protection
Copper pipe decision table
| Split length | Proximity to fitting | Pipe condition | Access location | Homeowner skill level | Required tools | Safest repair choice | DIY risk level |
|---|---|---|---|---|---|---|---|
| Under 1 inch | More than 6 inches away | Round, not badly bent | Open basement or crawlspace | Comfortable with cut-and-fit work | Pipe cutter, couplings, soldering kit | Cut out and replace with couplings | Low to moderate |
| 1 to 3 inches | Far from elbow or tee | Pipe still holds shape | Accessible wall chase or exposed run | Skilled with solder or push-fit parts | Pipe cutter, cleaner, flux, solder or push-fit fittings | Push-to-connect repair or cut-and-replace | Moderate |
| Any split with deformed pipe | Within 2 inches of fitting | Oval, bent, or creased | Inside wall, tight bay, or near an elbow | Limited plumbing experience | None beyond shutoff and inspection tools | Call a plumber | High |
| Small split, immediate leak control needed | Not yet cut open | Pipe still accessible on all sides | Open and dry surface | Any skill level | Repair clamp, wrench, towel | Temporary clamp only | Low short-term, high if left in place |
| Short leaky section under 6 inches | Enough straight pipe on both sides | Pipe ends sound after cut-out | Open and reachable | Can make square cuts and fit couplings | Pipe cutter, compression fittings or push-to-connect fittings | Cut out and replace with couplings | Moderate |
Can you fix a split copper pipe yourself?
Yes, if the split is small, the pipe is open and easy to reach, and you can remove the damaged section without working too close to a fitting, wall, or elbow. No, if the pipe is badly distorted, hidden, or in a place where a clean cut and proper connection are not realistic.
A split that runs along a straight, exposed section is the best DIY candidate. A split near a tee or elbow is not. The closer the damage is to a fitting, the less room you have for a reliable cut, clean end, and new connection.
When the pipe is a good DIY candidate
Choose DIY only when you can shut off the water, drain the line, and expose enough pipe to cut out the damaged section cleanly. A straight run of 1/2 inch or 3/4 inch copper with sound pipe on both sides is the best case.
Say your 3/4 inch copper supply pipe split for 2 inches in an open basement line, and the nearest fitting is well away from the damage. That is the kind of repair where cut-out and replacement is usually practical.
When the damage is too risky for DIY
Call a plumber when the split is very close to a fitting, the pipe runs inside a wall with no clear access, or the section appears flattened from freezing. A hidden repair can leave moisture inside the wall and make the leak harder to find later.
Suppose the split is on a spigot supply line behind finished drywall and there is not enough straight pipe to work with. That is a poor place for a first-time repair, even with push-to-connect fittings.
How to fix a split copper pipe
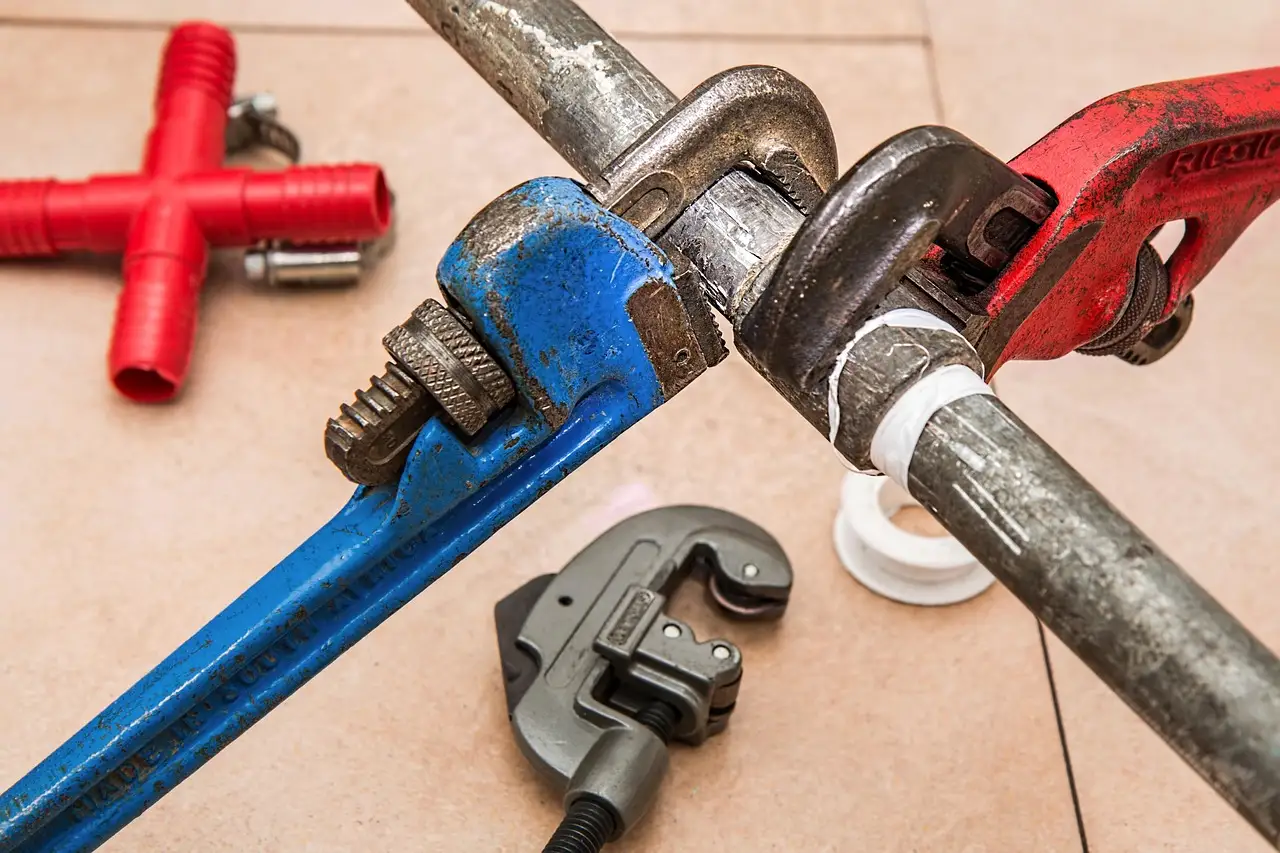
The safest permanent repair is usually to cut out the split and install a new section with two copper couplings. A repair clamp can stop active dripping for a short time, and push-to-connect fittings can help when there is enough straight pipe to cut back to sound metal.
- Shut off the water. Turn off the main shutoff valve at the meter or the local shutoff valve for that branch, then open a faucet to release pressure. Keep the faucet open while you work so the line stays drained.
- Expose the damaged run. Clear insulation, framing, or wall access enough to see both ends of the split. If the pipe is hidden and you cannot inspect the full damaged section, stop and reassess.
- Choose the repair type. Use a clamp for a short emergency hold, cut-and-replace for a permanent fix, or push-to-connect fittings if you have clean pipe ends and enough straight section for the fitting body.
Temporary clamp repair
A repair clamp is a rubber patch tightened by bolts. It can slow or stop a leak long enough to prevent further damage, but it is not a permanent repair. Use it only when you need time to get water under control.
- Dry the pipe surface. Wipe away water and corrosion so the rubber patch seats properly. Dirt or scale can let water track around the clamp.
- Center the clamp. Place the patch over the split and tighten the bolts evenly until the leak stops. Do not overtighten to the point of deforming the pipe.
- Plan a real repair. Replace the damaged section as soon as possible. Tape and clamp repairs are stopgaps, not the final answer.
Cut out and replace with couplings
This is the preferred permanent repair for most split copper pipe damage. Cut out the damaged section, fit in a new piece of copper pipe, and connect it with two copper couplings. Use lead-free solder and soldering flux after cleaning and sanding the pipe ends. Keep a fire extinguisher nearby, protect framing and insulation from heat, and never heat solder near finished walls without checking for concealed combustibles first.
- Mark sound pipe. Measure past the split until both sides are round and undamaged. Leave enough straight pipe for the couplings and the replacement section.
- Cut the section out. Use a pipe cutter for a clean, square cut. If the split is short, some repair fittings require cutting out a short leaky section under 6 inches.
- Clean the ends. Sand the outside of the pipe and the inside of the couplings until they are bright and clean. Apply flux before heating, then sweat the joints with lead-free solder.
- Test before closing up. Restore water slowly and check each joint for seepage. Watch for hidden moisture around the repair after the line is back under pressure.
Push-to-connect repair
Push-to-connect fittings are a solder-free option and can be useful for burst pipe repairs. They work best when the cut ends are straight, clean, and fully accessible. They are not the right answer if the split is too close to a fitting or the pipe is badly shaped.
- Cut back to sound pipe. Remove the split and any deformed metal. Make sure the remaining ends are round enough for the fitting to grip.
- Deburr and measure. Clean the cut edge and check the insertion depth marked on the fitting. Follow the manufacturer’s depth chart or molded insertion mark so the pipe seats correctly. A poor cut can leave the seal incomplete.
- Push fully into place. Seat the fitting until it reaches the stop, then restore water slowly. Check both ends for drips, especially during the first pressurization.
What mistakes make the repair fail?
The most common failure is trying to repair a split that is too close to a fitting, elbow, or wall. Another failure is skipping the drain-down step and cutting a pipe that still holds pressure. Pipe repair tape and a clamp can buy time, but they do not make the split disappear.
- Do not solder dirty copper. If the pipe is not cleaned and sanded, solder will not flow properly. Use flux on bright metal only.
- Do not leave bent pipe in place. If the freeze distorted the tube, cut back farther until the pipe is round again. A deformed end can leak even if the joint looks sealed.
- Do not skip the pressure check. Bring water back on slowly and inspect the repair, then recheck after a few minutes. Recurring seepage often shows up after the line fully repressurizes.
How do you keep the pipe from splitting again?
Fix the freeze cause after the repair. Add insulation where the pipe is exposed, seal air leaks near the pipe route, and add heat protection where the line has frozen before. If the burst was on a vulnerable branch, a stop-and-waste valve may be worth adding.
After the repair, keep an eye on nearby surfaces for damp spots, staining, or a return leak after thawing. A pipe that split once can split again if the cold exposure stays the same.
Frequently asked questions
How do you repair a split copper water pipe yourself?
Turn off the water, drain the line, cut out the split with a pipe cutter, and replace that section with new copper pipe and couplings. If the damage is short and accessible, push-to-connect fittings can also work. Restore water slowly and inspect the joints for seepage.
Can you fix a cracked copper pipe without calling a plumber?
Yes, if the crack is on an open, straight section and you can make clean cuts with room to work. No, if the crack is near a fitting, inside a wall, or on a deformed pipe. In those cases, replacement by a plumber is the safer route.
Should you solder a split copper pipe or replace it?
Replace it if the split is more than a tiny surface crack or if the pipe is distorted. For most freeze splits, cutting out the damage is the better choice.
What temporary fix can stop a leaking split copper pipe?
A repair clamp with a rubber patch and bolts is the best temporary stopgap. Pipe repair tape can help with a very small leak, but it is not permanent. Use either only long enough to prevent damage until you can install a real repair.
How do you repair a 1/2 inch copper pipe?
Use the same method as for larger pipe, but measure carefully because 1/2 inch tubing has less room for error. Cut out the damaged section, then fit a replacement piece with couplings or a push-to-connect repair if the pipe ends are straight and accessible.
Can you use push-to-connect fittings on a broken copper pipe?
Yes, if you cut back to sound pipe and have enough straight length for the fitting to grip. They are not ideal for every split, especially near fittings or in tight spaces. Check the fitting depth mark and seat the pipe fully before repressurizing.
What tools do you need to fix a copper pipe leak?
At minimum, you need a pipe cutter, a cleaning abrasive, and a way to shut off the water. For a permanent copper repair, add lead-free solder, soldering flux, and a soldering kit or torch kit. Compression fittings or push-to-connect fittings may reduce the need for heat.
When should you call a plumber instead of DIYing a split pipe?
Call a plumber when the split is close to a fitting, the pipe is inside a wall with limited access, or the metal is badly bent from freezing. Also call if the leak returns after the line is back on. Those are signs the damage is bigger than a simple repair.
Sponsored / affiliate links. As an Amazon Associate I earn from qualifying purchases. I may earn additional commission from eligible campaigns.