How Much Money Does Weatherstripping Save?
Weatherstripping can save money when leaks around doors and windows are a real problem, and in the right scenario it may trim heating and cooling bills by roughly 5% to 10% of the air-leakage-related portion of the bill, not the whole bill. That range is most plausible in homes with obvious gaps, worn seals, and a climate where heating or cooling runs hard for long stretches, consistent with DOE and Energy Saver guidance on air sealing and weatherization. It can pay back quickly when the opening is the main leak and the material cost stays low, but the result is much less dramatic when the bigger losses are in the attic, rim joist, or other assembly leaks. Here’s how to judge payback for doors, windows, and whole-home use, plus when air sealing beats weatherstripping.
This guide is part of our Winter Weatherproofing: How to Draft-Proof Your Home series.
What weatherstripping savings depend
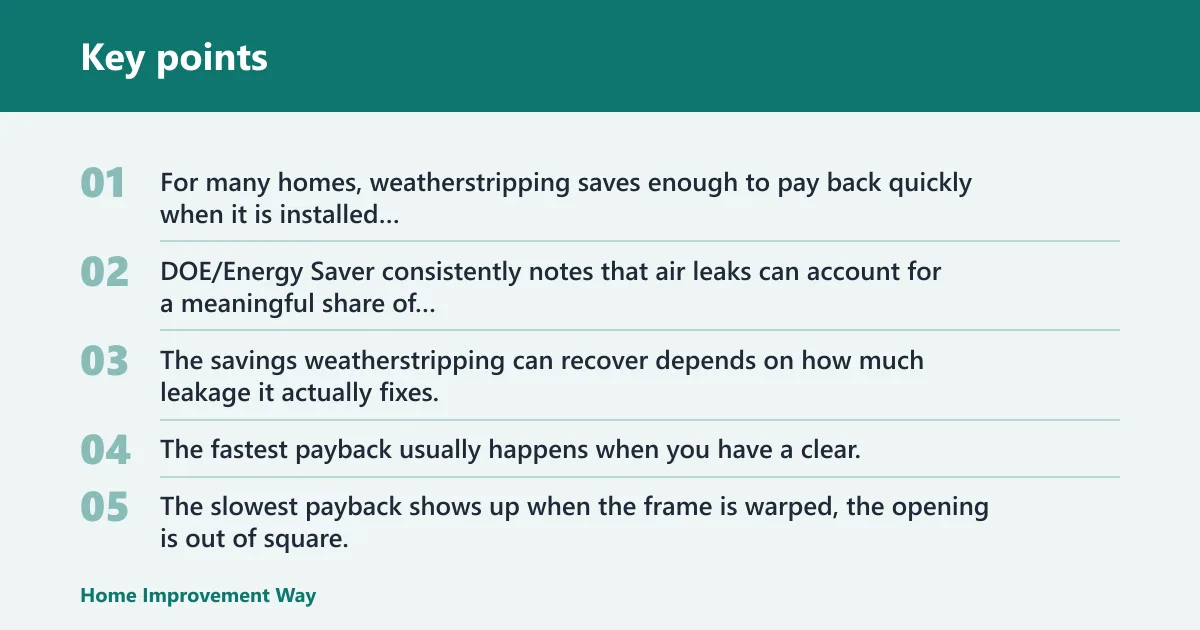


For many homes, weatherstripping saves enough to pay back quickly when it is installed on a moving part, like a door edge or a window sash. DOE/Energy Saver consistently notes that air leaks can account for a meaningful share of heating and cooling demand, and that sealing accessible leaks is one of the most cost-effective first steps. The savings weatherstripping can recover depends on how much leakage it actually fixes, the climate, the fuel you buy, and the utility rate in your area.
The fastest payback usually happens when you have a clear, narrow leak at an exterior door or an operable window that still closes squarely. The slowest payback shows up when the frame is warped, the opening is out of square, or most of the air leakage is elsewhere in the house.
What changes the result
Leakage severity drives the result first. In homes inspected for draft complaints, the most common failure modes are flattened door stops, compressed or missing bottom seals, loose meeting rails, threshold gaps, and worn corner joints. If a door only has a small gap at the latch side, weatherstripping can address a useful share of the loss. If the whole frame is pulling away from the wall, the bigger loss may be at the trim, sheathing, attic, or other assembly joints that weatherstripping does not reach.
Cold, windy homes usually show the biggest gains because moving air pushes through weak points faster and for longer periods. Mild weather reduces that pressure, so the same strip can save less. Fuel type also matters because the value of each saved unit differs between electricity, natural gas, propane, and oil. Higher local utility rates improve payback; lower rates slow it down.
When the payback is fast and when it is slow
Properly applied caulking and weather stripping can often be recovered in energy savings within one heating season in a high-leak, high-rate scenario, but not as a universal rule. That statement fits the openings where the fix actually addresses the loss path. It is less persuasive when the problem is a warped slab door, a badly fitted sash, or a home with bigger air leaks in the attic or rim joist. DOE guidance on air sealing and Energy Star recommendations for weatherstripping both point to the same hierarchy: fix the biggest leaks first, then refine the moving openings.
Suppose a bedroom window has a stiff sash and a weak old strip at the meeting rail. Replacing the strip may be worth it. If that same room also has cold air pouring through recessed lights or the attic hatch, the window work helps comfort, but the bigger bill reduction is likely to come from broader air sealing.
Weatherstripping savings calculator
This table is a transparent mini-calculator, not a promise. Assumptions: a moderate climate band unless noted, utility rates in the neighborhood of $0.15/kWh for electricity or $1.50 to $2.00 per therm for natural gas, and leakage severity that is visibly high enough to feel at the opening. DIY savings use material cost only; pro savings include labor based on contractor pricing commonly seen in retailer and contractor estimates for small weatherstripping jobs, plus removal and fit-up time. Formula for payback: payback years = total project cost ÷ estimated annual savings. If the opening is not the main leak, actual payback can be much longer.
| Scenario | Material cost | Professional install cost | Estimated annual savings range | Payback assumption |
|---|---|---|---|---|
| Drafty exterior door | $12 to $35 | $150 to $250 | $20 to $60 | Best case: cold climate, obvious edge leak, gas heat, high utility rate; DIY pays back in 1 to 2 heating seasons, installed work in 3 to 8 seasons |
| Average bedroom window | $8 to $25 | $120 to $220 | $10 to $30 | Best case: operable sash leak, moderate-to-cold climate, leakage concentrated at moving parts; DIY pays back in 1 to 3 seasons, installed work in 4 to 10 seasons |
| Whole-home basic weatherstripping project | $40 to $120 | $150 to $400 | $40 to $150 | Best case: multiple worn doors and windows, visible draft points, no major framing problems; DIY often pays back within one year, installed work often within 1 to 3 seasons |
How the table assumptions were chosen
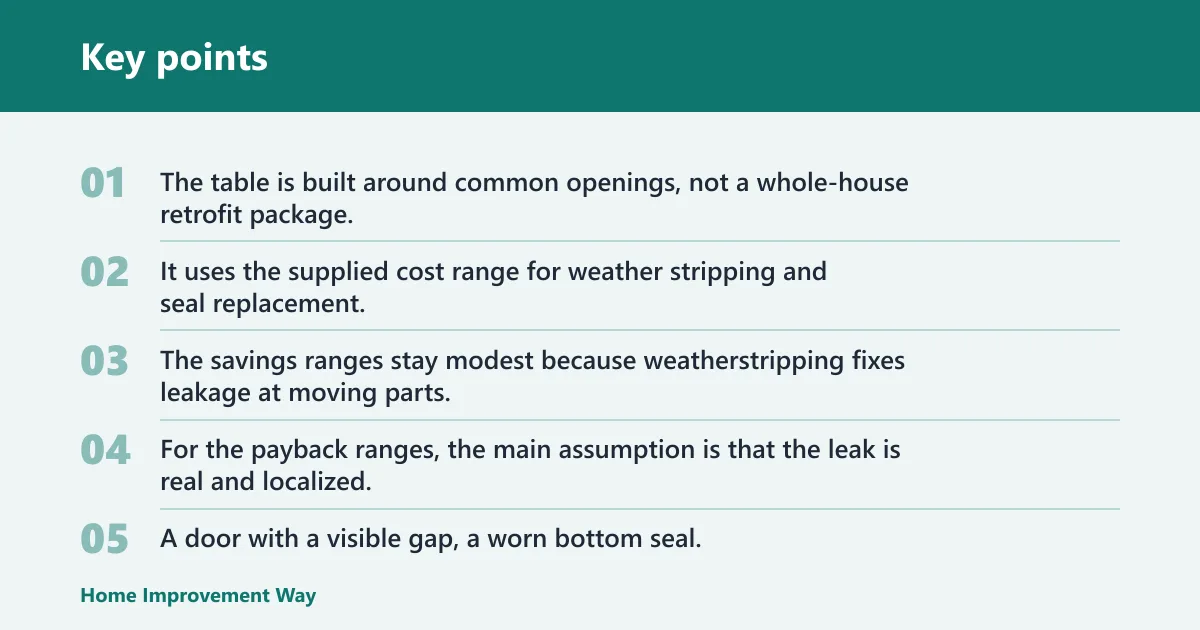
The table is built around common openings, not a whole-house retrofit package. It uses the supplied cost range for weather stripping and seal replacement, which is $150 to $400, and it keeps the job small enough that one or two openings can be judged on their own. The savings ranges stay modest because weatherstripping fixes leakage at moving parts, not every air path in the house.
For the payback ranges, the main assumption is that the leak is real and localized. A door with a visible gap, a worn bottom seal, or a flat compression strip that no longer springs back is a better candidate than a window that is loose for structural reasons. Utility rates and climate zone can shift the result either way. In many houses, attic bypasses, rim-joist leaks, and unsealed penetrations outperform weatherstripping on dollars saved because they cover larger leakage volumes.
What is a weatherstrip?
Weatherstripping is the compressible seal that closes the moving edge of a door or window against the frame. It works where parts open and close repeatedly. That is why it belongs on operable sashes and door edges, while caulk belongs on fixed joints.
How weatherstripping works on moving parts
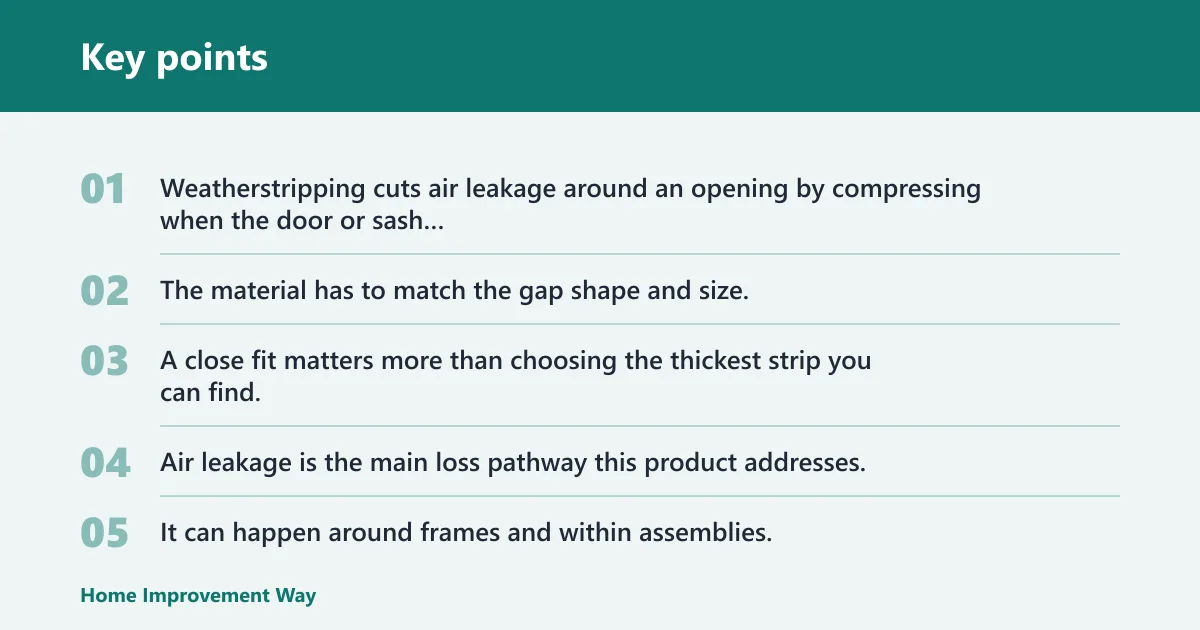
Weatherstripping cuts air leakage around an opening by compressing when the door or sash is closed. The material has to match the gap shape and size, or the seal will either bind the opening or leave a leak. A close fit matters more than choosing the thickest strip you can find.
Air leakage is the main loss pathway this product addresses. It can happen around frames and within assemblies, but weatherstripping mainly targets the points where something moves: the window sash, the door edge, the threshold, the top stop, or the latch side.
Where leaks usually form on doors and windows
On doors, common leak points are the side seals, top seals, bottom seals, and the threshold area. Garage doors often lose seal performance at the bottom edge first because that part sees the most abrasion and contact with concrete, grit, and weather. On older exterior doors, the most common problems are compressed door stops, misaligned strike plates, and thresholds that no longer meet the sweep evenly.
On windows, the moving sash is a frequent problem spot. A sash can seal poorly even when the glass and frame look fine. That is one reason caulk is often the wrong fix for that part of the opening. When inspecting, look at the meeting rail, side jambs, upper sash stop, and any points where the sash drags or leaves daylight.
Related guides: exterior door weatherstripping, garage door bottom seals, caulking gaps, and draft diagnosis.
How material choice changes durability
Weatherstripping materials include organic felt, brush or wiper types, metal strips, plastics and rubber, and synthetic weatherstripping. Felt is inexpensive but wears sooner. Brush and wiper types suit sliding parts. Metal strips can last well when the opening stays aligned. Plastics and rubber are common for compression seals and flexible edges.
Choose the type that fits the motion and the gap. A tight, even closure can use a simple compression seal. A rougher or more variable gap may need a more forgiving material. If the opening is badly warped, no strip will fix that by itself.
Should you use caulk instead?
Use caulk for fixed cracks, gaps, and joints. Use weatherstripping for moving parts. Caulk can be the better choice for stationary trim, wall joints, and other seams that do not open and close. It is not the right fix for a window sash or a door edge that must move every day.
Fixed gaps versus moving joints
Caulk is recommended for cracks, gaps, and joints no more than a quarter inch wide, but joint design and caulk type still matter. Surface prep matters too. Dust, loose paint, old sealant, and moisture can all reduce adhesion. If the joint is too large or moves too much, a different seal detail may be needed.
A common first-timer mistake is caulking a drafty window sash because the air feels cold at the glass edge. That may hide the symptom for a moment, but it does not solve a moving-joint leak. The sash needs weatherstripping; the fixed perimeter may need caulk.
Surface prep and cure conditions
Weatherstripping should be applied at temperatures above 20°F. Caulking needs relatively warm temperatures above 45°F to set properly. Product instructions can vary by model, and manufacturer installation specs may be more restrictive for adhesion, flexibility, or curing, so check the label before you start. Cold surfaces, damp wood, and dusty trim can all reduce bond and shorten service life.
- Clean the contact surface and remove loose debris.
- Measure the gap shape and choose a matching profile.
- Test the closure before cutting the final length.
- Install the strip so it compresses evenly when closed.
- Check for pinched motion, drag, or visible daylight after closing.
Why some openings need both products
Some openings need both. A door may need caulk around the fixed casing and weatherstripping at the edges. A window may need caulk at the exterior trim joint and weatherstripping at the sash. That split is common because the leak sources are different.
How much does weather stripping cost?
Weather stripping and seal replacement typically costs between $150 and $400 for a job that includes labor, while smaller DIY projects can cost far less in materials alone. The price depends on the opening size, the type of seal, whether the threshold or side seals need work, and whether the frame needs adjustment first.
DIY material cost versus installed cost
DIY material cost is the low end because you are buying only the strip, adhesive, fasteners, or replacement seal. Professional install costs more because it adds diagnosis, removal of old material, fit-up, and labor. Most weather stripping jobs take 1 to 2 hours, but a stiff or damaged opening can take longer.
Bottom seal replacement is usually the lower-cost part of the job. Full weatherization that includes side seals and threshold work is higher cost. That difference matters when you compare a single worn strip against a more complete door rebuild. The wide spread in pricing reflects contractor minimums, trip charges, and the fact that many small jobs are priced as a service visit rather than by linear foot alone.
Where price varies by material and opening size
Organic felt usually costs less than metal or high-durability synthetic options. Brush, wiper, and flexible rubber or plastic seals often sit in the middle. A simple interior opening is usually cheaper than an exposed exterior door or a garage door bottom seal because the wear and exposure are higher.
Where to buy weather stripping? Home centers, hardware stores, building supply outlets, and online sellers all carry it. For a DIY match, bring a photo and the old piece if possible. That makes it easier to compare profile shape, thickness, and fastening style before buying.
What a full-home project usually includes
A full-home basic project usually means several doors, a few windows, and the most obvious leakage points, not every crack in the house. If drafts are widespread, weatherstripping alone may not be the best first dollar. Broader air sealing can return more because it attacks the larger loss paths.
How long does weatherstripping last?
Life varies by material, location, and use. Protected interior runs can last longer than exposed exterior edges. Bottom seals usually wear sooner than side seals, and garage door bottoms wear fastest because they face abrasion, sun exposure, and temperature swings.
Wear signs to watch
Replace the seal when it is cracked, flattened, torn, missing chunks, or no longer springs back. Drafts, visible daylight, rattling, and a door that slams differently than before can all point to a failed seal. If the strip no longer compresses enough to close the gap, it is done.
Bottom garage door seals typically last 5 to 7 years with normal use. Sun and repeated temperature swings shorten that life. The same idea applies to exterior doors: the more exposure and traffic the seal sees, the sooner it needs attention.
How sun, temperature swings, and use affect life
UV exposure dries out many synthetic and rubber materials. Repeated closing wears the contact face. Doors that open to wind, rain, or direct afternoon sun usually need replacement sooner than an interior closet door or a protected window stop.
Seal lifespan is not one number for every product. It changes with the material, the fit, and the opening. A strip that looks fine from across the room can still leak if it has lost its compression.
Replacement timing for door and garage seals
Replace bottom seals first when the leak is at the floor line. Check side seals and top seals next if daylight shows along the perimeter. For garage doors, a worn bottom seal is often the first part to fail, so it is usually the first to inspect and the first to replace.
Say your front door closes firmly, but you can feel cold air at the threshold and see daylight at the bottom edge. That is a localized problem. Replacing the bottom seal or threshold piece is usually the right first fix before moving to broader work.
Frequently asked questions
Where do I buy weather stripping?
You can buy weather stripping at home centers, hardware stores, building supply outlets, and online sellers. Match the profile to the opening before you buy. If you can bring the old strip or a clear photo, it is easier to pick the right material and fastening style.
Can I make my own weather stripping?
You can improvise a temporary seal in a pinch, but a homemade strip is usually a stopgap, not a durable fix. Factory-made materials are made to compress, rebound, and stay attached. For a door or window that gets regular use, a proper replacement is usually the better value.
How do I use weather stripping?
Start by identifying the moving part and the exact leak path. Clean the surface, choose a strip that matches the gap shape and size, then install it so the opening compresses evenly when closed. If the leak is at a fixed joint, use caulk instead of weatherstripping.
How do I choose weather stripping?
Choose by motion, gap shape, and exposure. Use brush or wiper types for some sliding parts, compression seals for many doors and windows, and more durable materials where wear is high. If the frame is warped or the air leak is large elsewhere, fix that issue first.
Sponsored / affiliate links. As an Amazon Associate I earn from qualifying purchases. I may earn additional commission from eligible campaigns.