How to Install Heat Cable in Gutters and Downspouts
Install heat cable along the roof edge, through the gutter, and down each downspout as required by the product listing, using a UL-listed system sized to the gutter length and roof width. Follow the specific manufacturer install manual for routing, overlap, maximum length, end sealing, and control compatibility, and use a GFCI-protected outdoor circuit as required by electrical code. If you size or route it wrong, the cable can short out, trip the breaker, or leave ice dams and split gutters in place. This guide covers routing, sizing, and the electrical checks that keep the cable working through winter.
This guide is part of our Ice Dams, Gutters and Snow: Protect Your Roof This Winter series.
What you’ll need


- Outdoor-rated self-regulating heat cable for wet-location use, unless the manufacturer specifies a different constant-wattage layout.
- GFCI-protected outdoor outlet with a weatherproof cover.
- Thermostat or snow sensor, if your model supports one.
- Roof-safe clips, fasteners, and protection for exit points.
- Tape measure, ladder, and basic hand tools.
- Manufacturer instructions for cable length, wattage, maximum length, and crossing or overlap rules.
How do you size the cable run?
Measure the actual gutter and downspout path first, then match that layout to the cable’s watts-per-foot and maximum-length limits. Electrical sizing should always start with the product label and install manual, then be checked against the circuit rating and breaker capacity under NEC guidance. For most gutter and downspout jobs, self-regulating cable is the safer default because it changes output with temperature. Constant-wattage cable can work too, but its layout must match the exact product, and many models do not allow overlap or crossing.
Check the route before you buy cable
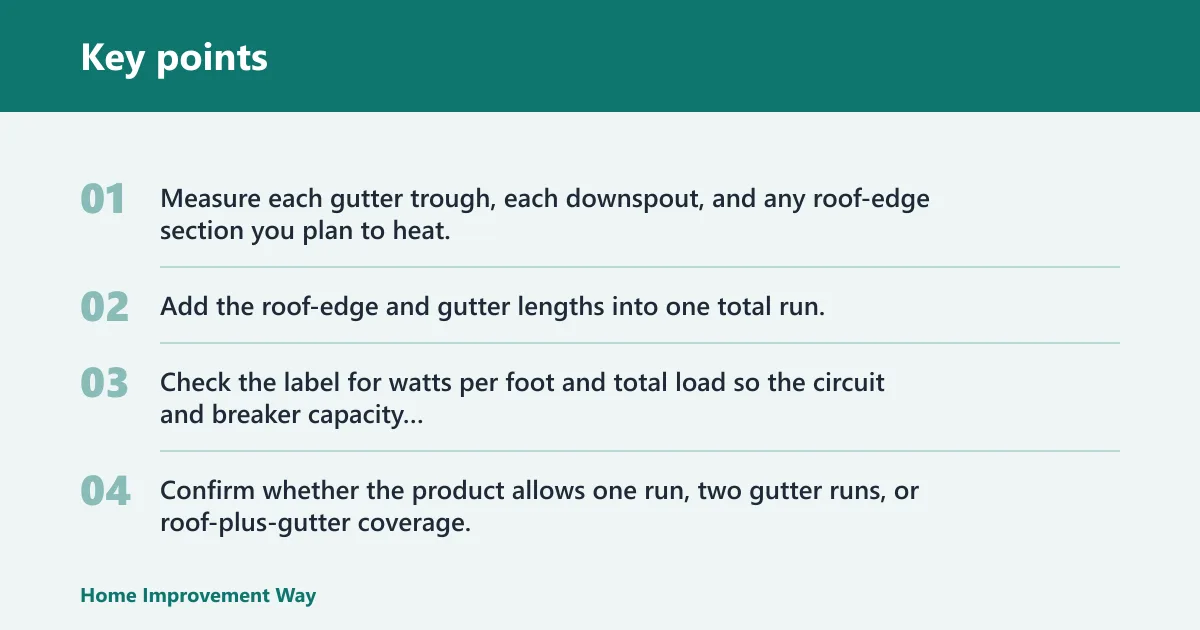
- Measure each gutter trough, each downspout, and any roof-edge section you plan to heat.
- Add the roof-edge and gutter lengths into one total run, then confirm the manufacturer’s maximum length for that exact model.
- Check the label for watts per foot and total load so the circuit and breaker capacity can handle the full system.
- Confirm whether the product allows one run, two gutter runs, or roof-plus-gutter coverage.
A common first-timer mistake is buying cable before the route is mapped. Say your front eave has 24 feet of gutter and two 10-foot downspouts. That is 44 linear feet of heated path before any roof-edge coverage is added. If the product is rated at 5 watts per foot, the full load is about 220 watts. On a 120-volt circuit, that is roughly 1.8 amps, which is within many branch circuits, but the actual safe limit still depends on the manufacturer’s maximum length, the breaker rating, and any other loads already on the circuit.
Decide between one run, two runs, or roof-plus-gutter coverage
To use two runs in gutters if no roof cable is installed, and homes in extremely cold or snowy areas should get two gutter runs regardless. That is still product-dependent. The manufacturer’s layout, spacing, and maximum-length limits come first, because a run that exceeds the listing will not work safely or reliably. Check the product manual for whether one or two gutter runs are allowed, whether roof-edge coverage is listed, and whether the run count changes with climate zone or roof pitch.
Quick sizing example for circuit load
Use this simple check before installation: total linear feet × watts per foot = total wattage. Then divide total wattage by voltage to estimate amperage draw. For example, 40 feet of cable at 5 watts per foot equals 200 watts total. On a 120-volt circuit, 200 watts ÷ 120 volts = 1.67 amps. That load may be small, but it still must fit within the product’s maximum-length listing and the circuit/breaker capacity, especially if the receptacle serves other equipment. Always verify the breaker size, the cable’s listed amperage, and whether the control or thermostat changes the allowable load.
Self-regulating vs. constant-wattage cable
| Type | Overlap rules | Cut-to-length flexibility | Energy use | Ideal scenarios | Common install mistakes |
|---|---|---|---|---|---|
| Self-regulating | Usually less sensitive to temperature changes, but still follow the manual; do not assume overlap is allowed | Often more flexible, but only if the specific product is listed for field cutting and termination | Adjusts output with temperature, which can reduce unnecessary heating in milder conditions | Retrofits, mixed roof/gutter runs, variable winter conditions | Cutting without a listed termination kit, exceeding the maximum length, ignoring bend/spacing instructions |
| Constant-wattage | Typically stricter; many models prohibit overlap or crossing | Usually less flexible; many products must be installed to exact listed lengths | More consistent output, so it may use more energy when conditions are mild | Fixed, repeatable layouts where the route is simple and fully documented | Overlapping cable, improvising the route, assuming it can be shortened like self-regulating cable |
How do you install heat cable in gutters and downspouts?
Turn off the circuit before touching any cable, clips, or terminations, and keep power off while handling them. Clean the gutter trough and downspout path so debris does not block meltwater. Guide the cable through the gutter and into each downspout without forcing it, then secure it with roof-safe clips and protect sharp edges, especially at the mouth of the downspout where early failures often begin. Manufacturer instructions and NEC/GFCI requirements should control the final layout, connection method, and weatherproofing.
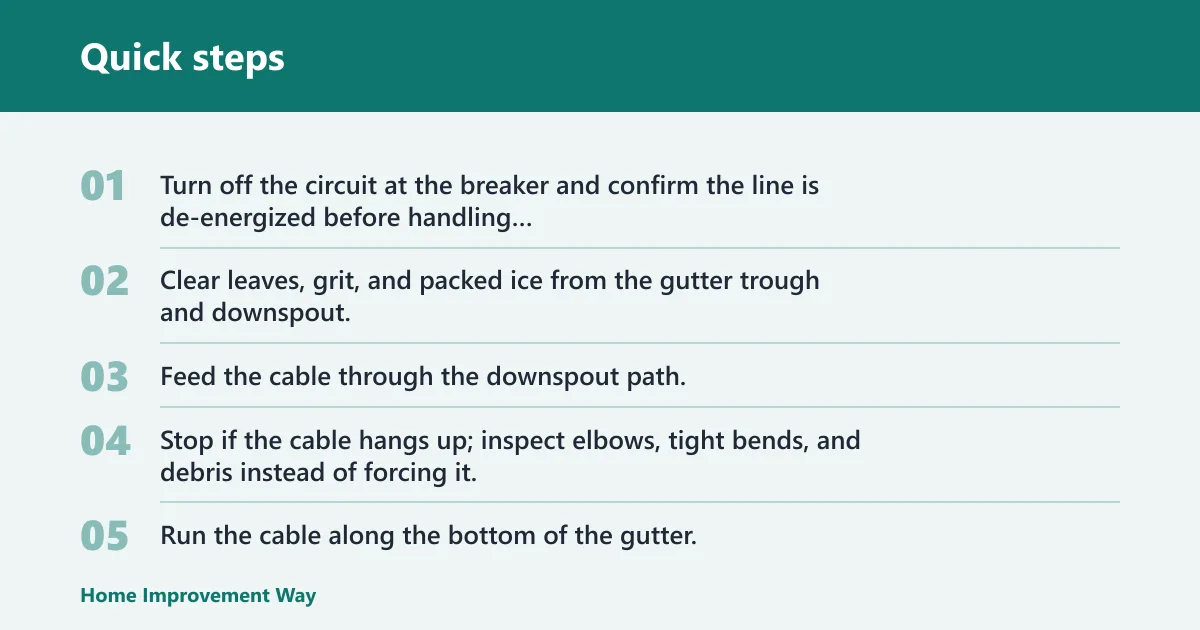
Follow the installation steps
- Turn off the circuit at the breaker and confirm the line is de-energized before handling anything.
- Clear leaves, grit, and packed ice from the gutter trough and downspout.
- Feed the cable through the downspout path, starting with the section the manufacturer allows.
- Stop if the cable hangs up; inspect elbows, tight bends, and debris instead of forcing it.
- Run the cable along the bottom of the gutter, under the bracket layout where the hardware allows it.
- Use roof-safe clips or approved fasteners so you do not drive nail holes through shingles.
- Protect exit points and sharp metal edges at the mouth of the downspout or termination point.
- Reconnect power only after the cable is fully routed and the outlet is GFCI-protected with a weatherproof cover.
Use the downspout geometry to guide the route
Standard residential downspouts are listed as 2×3 or 3×4 inches, and those may need a layout that matches the exact listed product. Large residential downspouts are listed as 4×5 inches or larger. Small openings, tight elbows, and sharp mouth edges are the trouble spots. If the cable catches, stop and recheck the path before damage starts. Check the product manual for the exact spacing, bend radius, and whether the manufacturer requires a single centered run or another listed layout in the downspout.
Keep the roof edge and gutter path clear
Ice dams form when meltwater refreezes at the eave and pushes water under shingles. That is why roof-edge, gutter, and downspout routing matter together. The gutter trough should stay open enough to carry meltwater, not turn into a solid block that traps water at the roof line. If the product is listed for roof-edge use, follow the manufacturer’s spacing and crossing rules; if it is not, keep the installation in the gutter and downspout only.
Gutter heat cable termination guide
| Termination method | Protection level | Install difficulty | Best-use case | Common failure risk |
|---|---|---|---|---|
| Ground drain | Highest; complete-protection option | Moderate | Downspout can exit to a protected drain path | Poor routing to the drain or a hidden sharp edge |
| Visible end | Lower; exposed to weather | Easy | Simple installation where inspection access matters | Damage at the exposed end and missed weather wear |
| Cable-tie securing | Moderate if placed cleanly | Easy to moderate | Short exposed sections that need tidy support | Weak tie strength or tie placement on a rough edge |
Use the manufacturer-approved termination method for the specific cable system, including any listed end seal or termination kit. Do not improvise the finish with a visible loose end or cable tie. If the system includes a splice or transition, make that connection only with the factory or listed parts the manufacturer specifies, and protect the finished end from sharp metal, moisture, and abrasion.
Common mistakes
Most failures start with one of four problems: forcing cable through a clogged elbow, leaving sharp metal edges unprotected, using a layout that does not match the manufacturer’s manual, or ignoring a missing GFCI. Exposed terminations are another weak point. The mouth of the downspout is especially vulnerable, and improper termination there is a common source of early wear. Manufacturer installation guidance, not a generic rule of thumb, should decide how the termination is protected and where the cable is allowed to end.
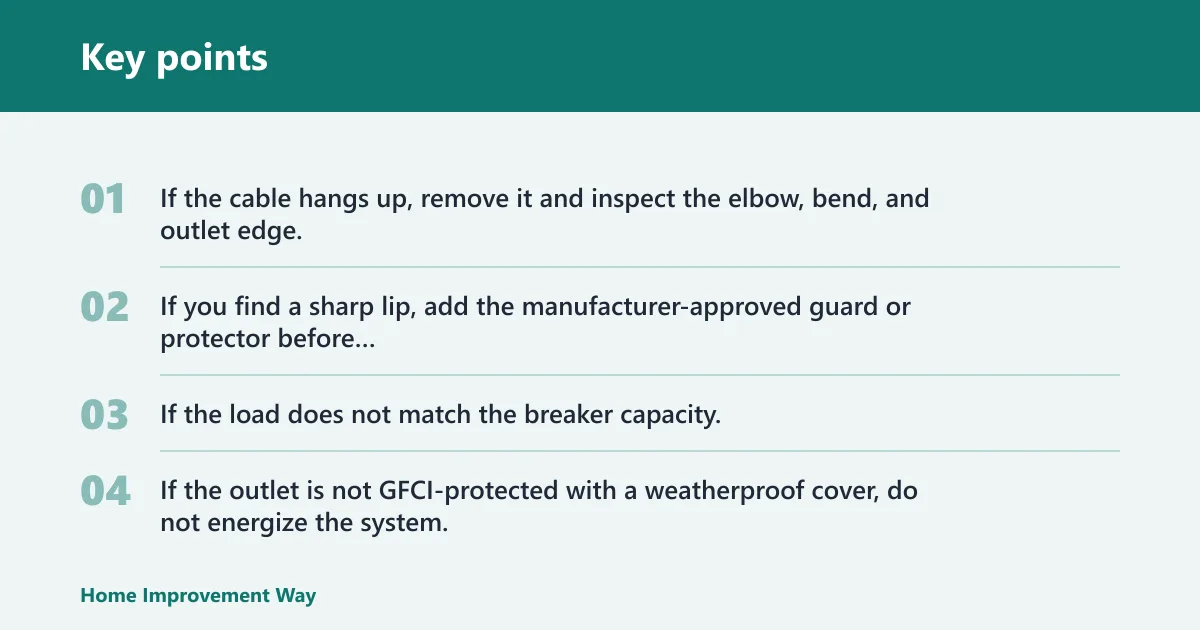
Fix the problem before power goes back
- If the cable hangs up, remove it and inspect the elbow, bend, and outlet edge.
- If you find a sharp lip, add the manufacturer-approved guard or protector before reinstalling.
- If the load does not match the breaker capacity, reduce the run or follow the product’s listed layout.
- If the outlet is not GFCI-protected with a weatherproof cover, do not energize the system.
Suppose a 3×4 downspout has two elbows and a rough cut at the mouth. A cable can snag at the bend, then wear at the edge after it is forced through. The safer move is to clear the path, protect the mouth, and confirm the route before power returns.
Use a control that matches the weather
A thermostat or snow sensor is optional, but it can automate when the cable runs. That matters because constant heating is not always needed. Check the manufacturer’s listing for compatibility, then wire the control only as directed for that model. If your cable does not support one, leave it out rather than guessing. Also confirm whether the control changes the maximum connected load or requires a specific sensor location for accurate operation.
Can heat cable be installed on an existing roof and gutter system?
Yes. Existing gutters and roofs are common retrofit jobs, as long as the gutter trough is clear, the cable path matches the product listing, and the terminations are protected. You do not need to remove the whole gutter system. You do need to check hidden hangers, outlet edges, and any place where the cable could rub or kink.
Retrofit checklist for existing roofs and gutters
- Confirm the roof edge, gutter, and downspout path before buying cable.
- Verify the product is listed for wet-location use and the exact installation surface.
- Inspect elbows, sharp seams, and outlet mouths for snags or abrasion points.
- Check that the circuit is GFCI-protected and the outlet has a weatherproof cover.
- Match the final routing, support spacing, and termination method to the product manual.
Will heat cable stop gutters from freezing?
It helps reduce freezing where the cable is routed, but it does not fix every roof condition. The goal is to keep meltwater moving through the gutter trough and downspout so it does not refreeze into an ice dam. If the path is clogged, undersized, or mismatched to the product layout, freezing can still happen.
Frequently asked questions
How do you install heat tape in gutters and downspouts?
Turn off power, clean the trough and downspout, feed the cable through the approved route, and secure it with roof-safe clips. Then finish the termination with the manufacturer-approved parts for that system. Reconnect power only after the GFCI outlet and weatherproof cover are in place.
How much heat cable do I need for my gutters and downspouts?
Measure the full path first, then compare that total to the cable’s watts-per-foot and maximum-length listing. Add roof-edge length only if the product manual allows it. The final layout and run count should match the specific product listing.
Where should gutter heat cable be installed?
Place it in the gutter trough, through the downspout, and along the roof edge only if the product is listed for that use. The goal is to keep meltwater moving away from the eave. The cable should stay clear of sharp edges and be secured where wind and snow can move it.
Do heat cables work in downspouts?
Yes, but downspout geometry matters. Tight bends, elbows, and narrowed sections can stop the cable or damage its jacket. Standard residential downspouts are 2×3 or 3×4 inches and should be routed according to the exact product listing. Larger 4×5-inch downspouts can require a different layout.
What kind of heat cable is best for gutters?
Outdoor-rated self-regulating heat cable is often the default choice for many gutter and downspout installs because it adjusts output with temperature. Constant-wattage cable is an older alternative that can still work, but its route must match the exact product and its no-overlap or no-crossing rules, if listed.
Do I need a thermostat or snow sensor for heat cable?
No, but it can improve automatic operation if the model supports one. A thermostat or snow sensor turns the system on only when conditions call for it. Check the manufacturer’s wiring instructions before adding one, because compatibility varies by model and control method.
Sponsored / affiliate links. As an Amazon Associate I earn from qualifying purchases. I may earn additional commission from eligible campaigns.