How to Install Roof Heat Cable in a Zigzag Pattern
Install roof heat cable in a zigzag so it covers the cold roof edge and moves meltwater off the roof. Before starting, de-energize the circuit and make sure roof conditions are safe for installation. This guide shows how to measure, mark, install, and check a zigzag layout without oversizing the run.
What you’ll need
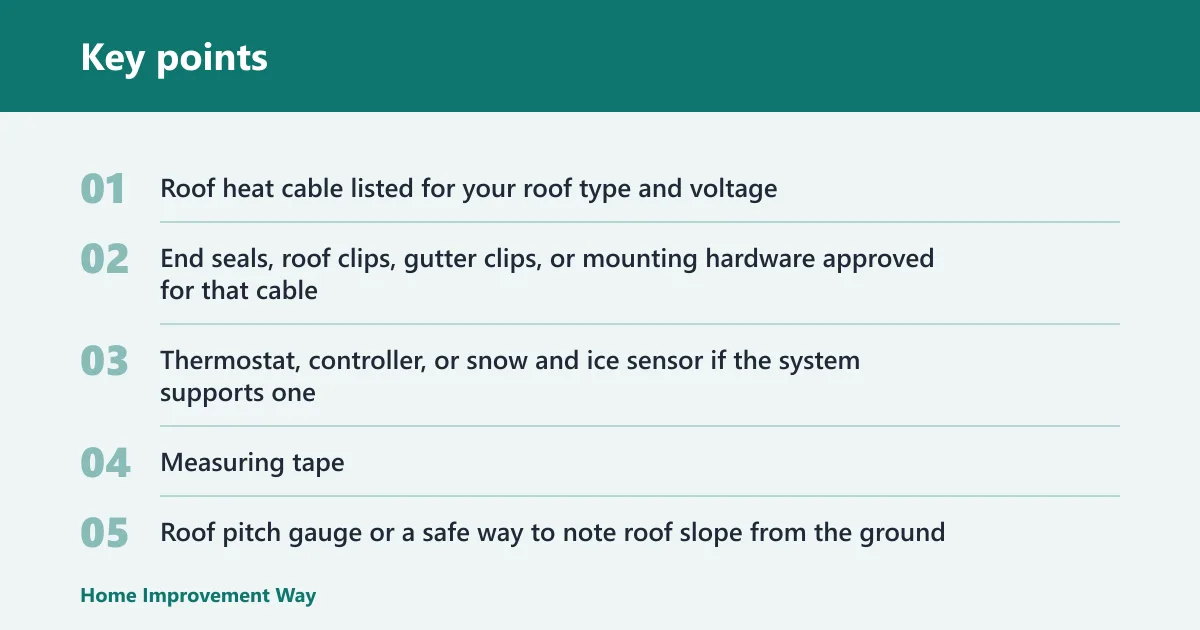


- Roof heat cable listed for your roof type and voltage
- End seals, roof clips, gutter clips, or mounting hardware approved for that cable
- Thermostat, controller, or snow and ice sensor if the system supports one
- Measuring tape
- Roof pitch gauge or a safe way to note roof slope from the ground
- Ladder rated for the job and set on stable ground
- Outdoor-rated electrical supply that matches the exact product listing
- GFCI protection as required by the manufacturer and local code
- Marker, chalk line, or low-tack layout marks
- Gloves and eye protection
Follow the product manual and local electrical code. Never install damaged cable, and do not route a product in a way the manufacturer forbids.
Zigzag sizing worksheet
Use this worksheet before you buy cable. It gives you a measurement method you can apply from the ground, then check against the exact model listing and its installation instructions.
| Roof edge length | Overhang depth | Roof pitch | Target loop height | Loop spacing | Estimated cable length | Gutter/downspout add-ons | Circuit-load check |
|---|---|---|---|---|---|---|---|
| 120 ft | 6 to 12 in | Moderate slope; confirm from your roof | 18 to 24 in above the eave line | 24 in horizontal spacing between peaks and valleys | 291 ft | Add gutter length plus downspout height for each section you heat | Confirm voltage, amperage, and maximum run in the exact listing |
| 80 ft | 12 in | Steeper slope | 24 in above the eave line | 24 in horizontal spacing between peaks and valleys | Estimate from the same method; do not shrink spacing to “save” cable | Count each gutter run and each downspout separately | Check whether one circuit can carry the listed load |
How to use the worksheet: Use the product’s spacing chart for loop height, roof edge coverage, and approved clip placement. Set the layout from the roof geometry and the manufacturer’s instructions for the exact cable.
Worked example: If your roof edge is 120 feet and the overhang is 6 to 12 inches, estimate the cable length from the product’s spacing chart and the full path through the roof edge, gutter, and downspout sections. Confirm the exact wattage and voltage on the product listing before buying.
Pass/fail checklist for common mistakes
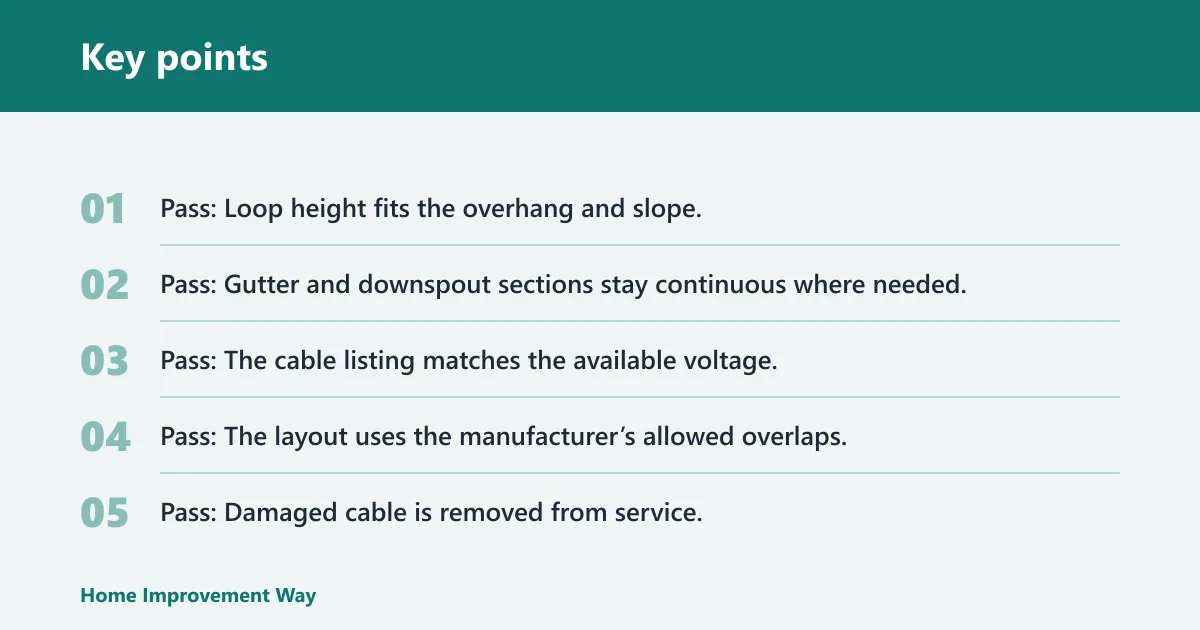
- Pass: Loop height fits the overhang and slope. Fail: Loops stop too low and miss the cold edge.
- Pass: Gutter and downspout sections stay continuous where needed. Fail: A break leaves meltwater trapped at the gutter outlet.
- Pass: The cable listing matches the available voltage. Fail: The run is sized from guesswork instead of the nameplate.
- Pass: The layout uses the manufacturer’s allowed overlaps. Fail: The cable crosses itself where the product forbids it.
- Pass: Damaged cable is removed from service. Fail: A nicked or crushed section is installed anyway.
Where does roof heat cable go?
On a shingled roof, the cable usually goes along the eave, then zigzags up and down over the first roof area that feeds the ice dam. It can also continue into gutters and downspouts when those parts need a path for meltwater to leave the roof edge.
Shingle-roof placement along the eave
Start at the roof edge, not halfway up the slope. The goal is a melt-water channel that reaches past the exterior wall and into the gutter or off the edge, not to warm every shingle above it.
Keep the layout even across the coldest section of the roof. A common first-timer mistake is stopping the run too short on the lower edge, which leaves ice at the exact spot you meant to protect.
When gutters and downspouts need their own run
Heat cable in the gutter helps keep water moving to the downspout. A heated downspout helps carry that water away from the house. If either section is left cold, meltwater can refreeze and block the path you just opened.
Picture a 30-foot gutter feeding one downspout on a shaded side of the house. If the roof edge is heated but the gutter outlet is not, water can still back up at the turn and freeze there. That is a placement problem, not a power problem.
What changes on a metal roof
Metal roofs often need different routing and attachment than shingle roofs. Follow the metal-roof accessory list for your panel profile; do not copy a shingle zigzag onto a metal roof without checking the instructions.
How high should the loops go?
Set loop height from the overhang depth and roof slope, then keep that height consistent across the run. Use the product’s loop-height chart for the exact model.
Use overhang depth and roof slope to set loop height
Measure the overhang depth from the exterior wall to the roof edge. Then use the manufacturer’s loop-height rule for your model. Steeper roofs usually need a cleaner, more uniform zigzag because meltwater reaches the gutter faster and can refreeze if the heated path is too short.
Keep the loop shape consistent across the run
Use the same peak height from end to end. If one loop rises higher than the others, that section can pull cable length away from the lower area and leave a cold gap near the eave.
Suppose the left side of the roof has a 12-inch overhang and the right side has a 6-inch overhang. Do not force both sides to the same clip point if that makes one side too shallow. Adjust each side to its own geometry, then keep the run continuous where the manufacturer allows it.
Adjust for valleys and uneven roof geometry
Valleys, dormers, and changes in roof pitch can interrupt the pattern. If the manufacturer allows extra routing in those areas, keep the cable in the designed melt path. If the layout gets too complex, stop and remeasure rather than guessing at the next bend.
How far apart should the loops be?
Measure loop spacing according to the product’s installation instructions, not along the sloped cable. Keep the pattern even so the melt path stays continuous and the cable does not drift into a stretched-out layout.
Measure spacing from peak to peak across the roof
Lay out the tops of the loops at equal horizontal intervals. The cable length will be longer than the horizontal distance, so do not use the sloped cable length as your spacing guide.
Keep the pattern even so the melt path stays continuous
The point of a zigzag is continuity. If one section has tight loops and the next section is wide open, the meltwater path becomes uneven. That can leave one bay clear and the next bay frozen.
Do not tighten spacing to fix a short cable run
If the cable is short, do not compress the loops to make it fit. That changes the thermal layout and can create an overlap problem. Use the manufacturer’s approved length, or select a different listed cable length.
Step 1: Plan power and controls
Choose the cable type first, then match the electrical supply to the exact product listing. Self-regulating cable draws variable power with temperature and is often paired with a controller or sensor for lower runtime. Constant wattage cable needs more exact layout and electrical sizing, and overlap limits may differ by product.
- Confirm whether the listing calls for self-regulating or constant wattage cable.
- Check the exact voltage options for the product in the listing.
- Verify amperage, circuit load, and any maximum run in the manufacturer’s manual for your exact model.
- Add a thermostat or snow and ice sensor if the system supports one and you want lower runtime.
- Use a GFCI-protected outdoor supply where required by the manufacturer and local code.
Use the supply voltage listed for the specific product. Do not size the circuit from a generic rule.
Step 2: Install, then verify the run
Attach the cable exactly where the layout calls for it, using only the clips and attachment method approved for your roof and cable type. Start at the roof edge, fasten the lead end at the first clip point, then build the zigzag upward in the same order across the run. Do not cross prohibited overlap points. Never install a damaged cable, and do not field-splice or extend a run unless the manufacturer explicitly allows it.
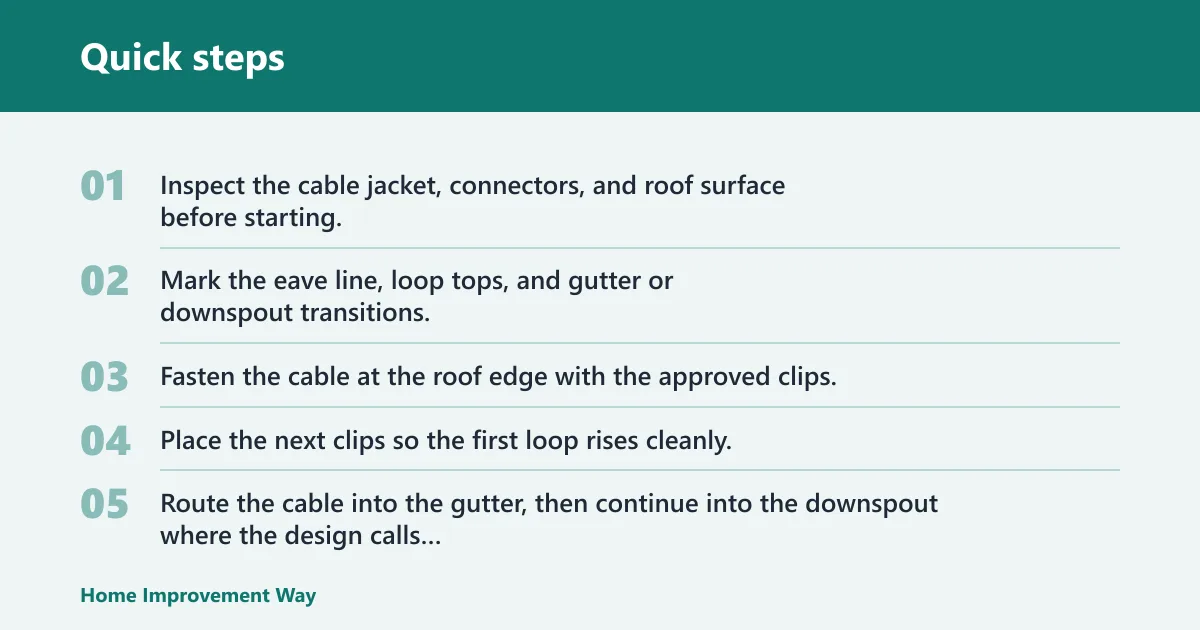
- Inspect the cable jacket, connectors, and roof surface before starting.
- Mark the eave line, loop tops, and gutter or downspout transitions.
- Fasten the cable at the roof edge with the approved clips.
- Place the next clips so the first loop rises cleanly, then continue the pattern across the planned width, keeping the spacing even.
- Route the cable into the gutter, then continue into the downspout where the design calls for it, keeping a smooth path and a drip loop where the cable drops into the vertical section.
- Connect power only after the run matches the manufacturer’s diagram.
- Test the control or sensor response before winter use.
If the run is short by a small amount, do not add an unapproved section. Recheck the layout, because the right fix may be a different listed cable length or a different path through the gutter and downspout.
If that didn’t work, try this next
- Recheck the measuring points from the exterior wall to the roof edge and from peak to peak.
- Confirm the cable count against the plan for the exact gutter and downspout sections.
- Verify that the control turns the system on and off as expected when the sensor changes state.
- If the listing requires a different voltage or circuit, stop and correct that before use.
Common mistakes
- Too-short loop height: The heated section does not reach far enough up the roof edge. Fix it by remeasuring the overhang and following the manufacturer’s loop-height chart.
- Gaps in gutter or downspout continuity: Water melts in one section and refreezes in the next. Fix it by extending the heated path only where the listing allows it.
- Wrong circuit sizing for the exact cable: The cable may draw more or less power than expected. Fix it by matching voltage and amperage to the nameplate, not to a generic rule.
- Using a zigzag pattern on the wrong roof type: A metal roof often needs different routing and fastening. Fix it by following the metal-roof instructions for that product.
- Ignoring insulation or ventilation problems: Heat cable can help with drainage, but it does not solve attic heat loss on its own. Fix the roof system issue separately if the roof still warms unevenly.
Frequently asked questions
Where does roof heat cable go on a shingled roof?
It usually goes along the eave, then zigzags up from the roof edge over the cold section that feeds the ice dam. Many installs also include the gutter and the downspout so melted water can leave the roof instead of refreezing at the outlet.
How high up the roof should the zigzag loops go?
Use the overhang depth and the product’s spacing chart. Keep the height even across the run.
Can roof heat cable be used on a metal roof?
Yes, but metal roofs often need different routing and attachment than shingle roofs. Check the panel-profile instructions before you place clips or fasteners.
Do I need gutters and downspouts heated too?
If meltwater has to travel through the gutter or downspout to leave the roof, those parts often need heat tracing too. A heated roof edge alone can still leave a frozen plug at the outlet. Count gutter length and downspout height when you plan the run.
What size circuit or voltage do roof heat cables need?
Use the exact voltage and circuit information in the manufacturer’s listing. Do not use a universal circuit limit.
Should I use self-regulating or constant wattage heat cable?
Choose the type the listing and roof design call for. Self-regulating cable changes output with temperature and often works well with a controller or sensor. Constant wattage cable needs tighter layout control and may have overlap rules that differ by model.
How do I know if my roof heat cable is working?
Check the controller, sensor, and power connection first, then confirm that the cable is energized only when the system calls for heat. A snow or ice sensor should shut the system off when conditions no longer need it. If the roof still freezes, recheck the layout and the gutter path.
Sponsored / affiliate links. As an Amazon Associate I earn from qualifying purchases. I may earn additional commission from eligible campaigns.