How to Make Wood Steps Less Slippery in Winter
Use abrasive anti-slip tape or exterior grit treads on dry, fully thawed wood, add a mat or removable tread cover on covered steps, and clear ice plus meltwater first; if the wood stays wet or freezes daily, choose a mechanical tread, not paint-on sealer. Poor traction on winter steps can lead to falls, broken nosings, and faster rot from trapped moisture. This guide shows which fix fits exposed, covered, or partly frozen wood steps, and which products fail in freezing wet conditions.
This guide is part of our Ice Dams, Gutters and Snow: Protect Your Roof This Winter series.
What wood steps need before traction


Start with the stair itself. Worn wood, loose boards, cracked edges, soft spots, shaky railings, peeling finish, and poor drainage all change the fix you should choose. If the tread moves or the nosing is damaged, traction products can fail early or hide a repair problem.
Dry slip versus winter moisture
Dry wood can feel slick because of wear, paint, dust, or polished grain. Winter adds another problem: damp wood, frosted wood, icy film, tracked-in snow, meltwater, and thaw-refreeze cycles. Those conditions can defeat products that work fine on a dry tread.
When repair comes first
If a tread flexes, a board lifts, an edge is split, or the railing shakes, fix that before you add grip. A coating or strip will not correct a weak stair. Drainage matters too. Water that sits on the wood will keep returning as frost or ice.
Wood condition also matters for finish compatibility. The U.S. Forest Service recommends keeping exterior wood clean, sound, and protected from standing moisture, since repeated wetting and drying break down coatings faster and encourage decay. If the finish is already peeling or the wood is weathered, traction products have to work harder and may not bond as well.
What you’ll need
- Broom, shop vacuum, or stiff brush
- Clean rags and a dry cloth
- Mild cleaner approved for wood
- Sandpaper or a sanding block
- Chosen traction product for the stair condition
- Utility knife or scissors for trim work
- Screwdriver or drill for mesh strips or repairs
- Basic repair items for loose boards or railings
- De-icer or ice melt labeled for your stair material
For winter de-icing, the label matters. The Consumer Product Safety Commission warns that some ice-melt products can be corrosive or damaging to nearby surfaces, so wood stairs, adjacent trim, and metal hardware should be checked for compatibility before use. The safest product is the one that works for the temperature range and material you actually have.
How do you make wood steps safer right now?
Check the stair condition first, then match the fix to moisture level and location. A quick temporary product only helps if the tread stays dry enough to hold it. On exterior steps, clear snow and meltwater before you install anything, or the new surface can fail right away.
1. Inspect the stair before adding grip
- Test each tread for movement, rot, split edges, and soft spots.
- Grab the railing and check for shake.
- Look for standing water, frost, or a recurring icy film.
- Look at the finish. Peeling coatings should come off before a new coating goes on.
2. Match the fix to the moisture level
- Use tape or strip treads only on wood that is dry and fully thawed.
- Use a coating or grit additive when you need a more even traction surface.
- Use mesh strips when adhesive is likely to fail or wear quickly.
- Use a runner only on indoor stairs that stay dry enough for carpet coverage.
3. Keep temporary traction where it can stay put
- Clean the tread.
- Dry it fully.
- Add the traction product.
- Recheck after the next thaw-refreeze cycle.
Which anti-slip option fits each winter condition?
Dry, slick wood calls for surface grip. Damp or frosted wood needs a fix that can hold through light moisture and regular cleaning. Icy film, shaded steps, covered porch steps, and indoor mudroom steps each push you toward a different choice because the failure mode changes with the weather and the location.
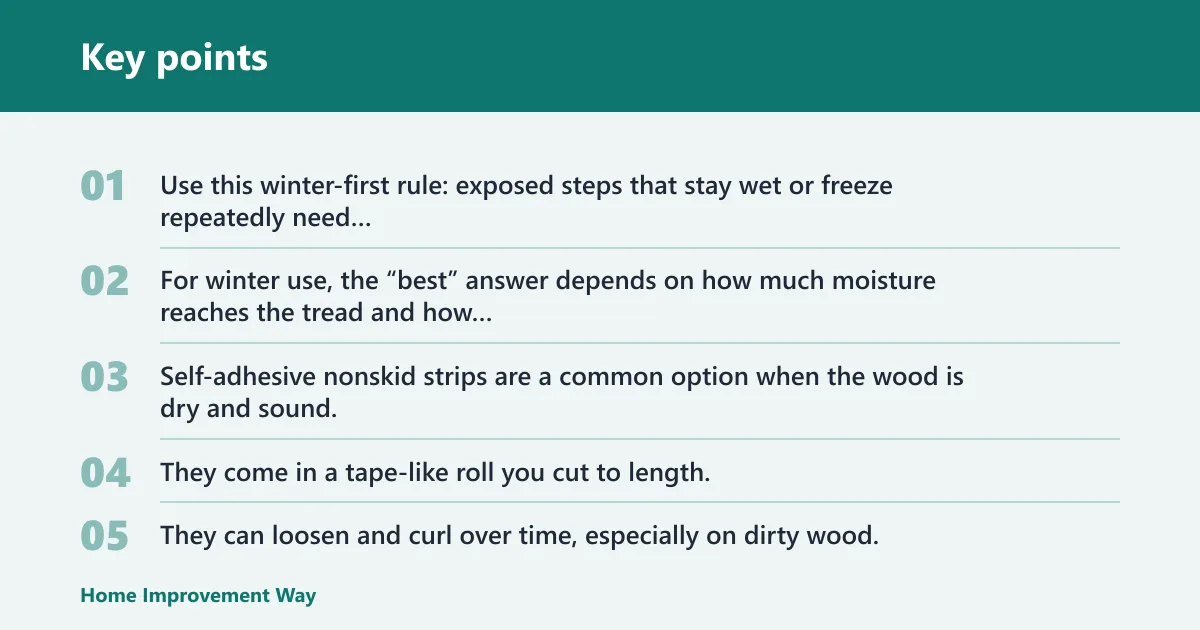
Use this winter-first rule: exposed steps that stay wet or freeze repeatedly need mechanical traction or a mechanically fixed tread; partially frozen steps need de-icing first and only then a traction product; covered or shaded steps can sometimes accept adhesive or coating options, but they fail sooner if meltwater lingers. For winter use, the “best” answer depends on how much moisture reaches the tread and how often it refreezes.
Dry but slick wood
Self-adhesive nonskid strips are a common option when the wood is dry and sound. They come in a tape-like roll you cut to length, and two or three strips are typically placed parallel with the front of the tread. They can loosen and curl over time, especially on dirty wood. They are a poor choice for steps that stay wet, freeze daily, or have surface dust that keeps the adhesive from biting.
Damp or frosted wood
A nonslip coating spray can work on both interior and exterior wooden steps, but only after cleaning and sanding. The exact chemistry varies by product, so read the label. Many coating products also have application-temperature and cure-time limits, which means cold weather can delay bond and hardening even if the tread looks dry. A textured finish helps traction, yet a coating still needs a dry surface to bond well. If the wood stays damp, expect a shorter service life.
Icy film and thaw-refreeze conditions
Surface texture alone does not solve glaze ice. When a thin icy film keeps returning, prioritize mechanical traction and drainage. Mesh strips are the stronger choice because they screw into the stair tread for a more permanent hold. They are the better answer when adhesive strips are likely to fail. Even so, no surface treatment is a substitute for clearing ice before traffic.
Covered porch steps
Covered steps can reduce direct snowfall, but they can still collect tracked-in meltwater. That makes them a borderline case. If the tread stays mostly dry, adhesive strips can work. If the cover traps dampness or the stairs get regular slush from foot traffic, choose mesh strips or another fixed tread option. A covered step that freezes at the front edge still behaves like an exterior step, not an indoor one.
Indoor mudroom steps
Interior transition stairs often see wet boots and salt residue, so traction must survive cleaning. stair runners for indoor mudroom steps are a strong indoor option. They are narrow carpet pieces that fit over the center portion of treads, and they can be continuous or installed as small pieces covering individual treads. stair treads for indoor wood stairs can also help where you want a more defined edge on each step.
Wood steps decision table
Use the table below to match the stair condition to the fix. If the stair has more than one problem, choose the row that matches the wettest or most exposed condition.
| Step condition | Best fix | Why it works | Common failure mode | Maintenance frequency |
|---|---|---|---|---|
| Dry but slick wood | Self-adhesive nonskid strips | Rough surface adds quick traction on a clean tread | Can loosen, curl, or wear at the edge | Check about monthly and after hard freeze cycles |
| Damp wood | Nonslip coating spray | Creates a textured finish across the tread | Poor bond if the wood was not cleaned and sanded | Inspect each thaw and recoat as needed |
| Frosted wood | Mesh strips | Screws into the tread for stronger hold | Can still fail if frost is trapped under dirt | Check at the start of each storm cycle |
| Icy film | Mechanical tread plus de-icing | Built-in grip holds better than surface glue alone | Any surface product can slip if ice forms on top | Remove ice every storm and recheck after thaw |
| Shaded steps | Mesh strips or coating with grit | Shaded wood dries slowly, so permanent grip helps | Moisture lingers and wears adhesives early | Check weekly in winter |
| Covered porch steps | Mesh strips or adhesive strips if fully dry | Lower exposure means less direct snow load | Tracked-in water weakens tape and coating | Inspect after every thaw-refreeze cycle |
| Indoor mudroom steps | Stair runner | Carpeted center strip adds traction for wet footwear | Dirt under the runner reduces grip | Vacuum and lift to clean regularly |
How do you choose between tape, coating, and mesh?
Choose tape for dry wood and short-term traction. Choose coating when you want a full tread surface and the wood can be sanded and prepared. Choose mesh when adhesive products are likely to fail or when you want a more permanent hold on exterior steps that see winter moisture.
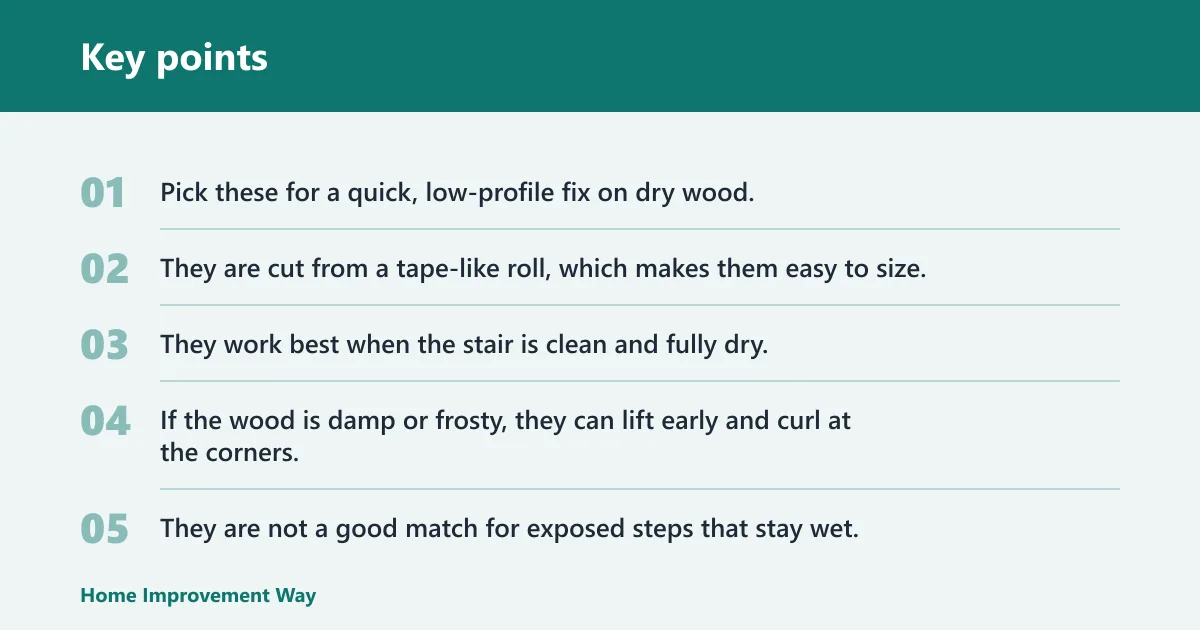
Self-adhesive nonskid strips
Pick these for a quick, low-profile fix on dry wood. They are cut from a tape-like roll, which makes them easy to size. They work best when the stair is clean and fully dry. If the wood is damp or frosty, they can lift early and curl at the corners. They are not a good match for exposed steps that stay wet, nor for areas that see daily freeze-thaw cycling.
Nonslip coating spray
Pick this when you want traction without a separate strip line. Clean and sand first. The product chemistry varies, so follow the label for prep and cure time. Many labels also limit the minimum application temperature and the time required for curing before foot traffic, so cold-weather installation can be a bad fit. Use it on interior or exterior wood only when the tread is sound and dry enough for the coating to bond.
Mesh strips
Pick mesh strips when the stair gets frequent wetting or when adhesive strips are failing. They screw into the stair tread, so they stay put better through winter use. They are a better fit for exposed entries, shaded steps, and other places where tape tends to loosen. They are also the better answer when you do not want to rely on glue in a freeze-thaw zone.
Surface texture and grit additive
A grit additive is useful when you are refinishing wood and want texture built into the coating instead of added as a separate strip. It works best on sound, dry wood that can be cleaned and recoated evenly. It is less useful on weathered, peeling, or constantly wet steps, because the grit cannot compensate for a failing bond or standing moisture. Avoid relying on grit alone on exposed steps that ice over often.
Wood stair condition
If the wood is soft, cracked, loose, or repeatedly wet at the nosing, start with repair and drainage. Traction products last longer on wood that is sound, level, and dry enough to accept them. If the finish is failing, the stairs may need sanding, stripping, or repair before any anti-slip product goes on.
Vinyl mats versus rubber-backed products
Removable mats can help in the right place, but winter exposure changes the risk. On covered porch steps or indoor mudroom stairs, a well-sized vinyl mat can catch slush and protect a landing if it lies flat and is secured against movement. On exposed exterior treads, loose mats become a trip hazard, can lift in wind, and can trap meltwater under the edge.
Rubber backing can improve hold on smooth indoor flooring, but it can also trap moisture underneath, especially on wood that breathes and dries slowly. If the backing keeps a damp layer against the tread, it can contribute to staining, cupping, or decay over time. Rubber-backed products are also unsafe when they slide on an icy or snow-covered tread. Use them only where the stair stays protected, flat, and dry enough to remain stable.
In short: removable mats can make sense on covered porch steps or indoor mudroom transitions, but they are a poor choice for exposed or icy treads. If the stair gets direct snow, active freeze-thaw, or drifting meltwater, choose a fixed traction product instead of a loose mat.
Common mistakes
Winter stair fixes fail most often because the surface was wrong, the moisture was ignored, or the product was used in the wrong place. Avoid these mistakes and the traction option has a much better chance of lasting through the season.
- Skipping cleaning and sanding. Dirt, dust, and old finish keep strips and coatings from bonding.
- Using loose mats on exterior stairs. A loose mat can shift, trap meltwater, and become a trip hazard.
- Using mats on forward-tilting treads. That is a repair issue, not a traction fix.
- Ignoring slope or drainage. Water that stays on the wood turns into frost or ice.
- Covering damaged wood. Loose boards, cracked edges, soft spots, and shaky railings need repair first.
- Assuming every product works the same in wet weather. Adhesives can fail on damp or frosty wood, and coatings can lose grip when an icy film forms.
Say your rear entry has three wood steps under a roof overhang, but the north side stays damp until noon. A tape strip may hold for a while on the top step and fail earlier on the shaded bottom step. That is a condition mismatch, not a product defect.
Suppose the mudroom step catches slush from boots every evening. A stair runner or fixed tread piece can work indoors, but only if you vacuum grit from under it and check that the edges stay flat. Dust buildup under a stair mat reduces grip and can cause sliding.
How do you stop wood steps from getting slippery when wet or icy?
Clear the surface first, then add grip that can survive the moisture level you actually have. Sweep, dry, de-ice, re-grip, and recheck after thaw-refreeze cycles. If the stairs stay wet, a simple adhesive fix will keep losing the fight against water. For winter prevention, the U.S. Consumer Product Safety Commission and slip-fall prevention guidance both emphasize keeping walking surfaces clear, dry, and in good repair rather than relying on a single surface treatment.
Winter maintenance sequence
- Sweep off snow, leaves, and grit.
- Dry the tread with a cloth.
- Remove ice or meltwater before applying any product.
- Re-grip with the chosen strip, coating, mesh, or runner.
- Recheck after the next thaw-refreeze cycle.
Prevention
Keep the stair clear at the end of each storm and check the lowest tread first. That is where meltwater, tracked-in snow, and freeze-back usually show up first. If water keeps pooling there, the drainage problem needs attention before the next storm. For exterior wood, routine cleaning and finish maintenance are part of the safety plan, not just the appearance plan.
Frequently asked questions
How do you make wooden steps less slippery in the winter?
Start with a repair check, then choose traction based on moisture. Dry, sound wood can take tape or a coating. Wet or frosty wood usually needs mesh or a more permanent tread. Clear snow and meltwater first, because products fail faster on dirty or damp stairs.
How do you make wood stairs not slippery?
Use the product that matches the stair condition. Tape suits dry wood, mesh suits wetter or higher-wear steps, and runners suit indoor stairs that stay dry enough for carpet coverage. Check for loose boards, cracked edges, soft spots, and shaky railings before any install.
What is the safest non-slip option for wooden stairs?
The safest option is the one that stays attached under the conditions you have. On exterior winter steps, mesh strips are often a better fit than loose mats or weak adhesive when moisture keeps returning. On indoor stairs, a properly secured runner or tread piece can be a better fit. Avoid calling any one product universally safest without matching it to exposure, moisture, and maintenance.
Should I use treads, tape, or coating on slippery wood steps?
Use tape for a dry, quick fix, coating for a prepared tread with even coverage, and mesh for better hold when winter moisture makes adhesive unreliable. If the step is wet, frosted, or icy often, choose a fixed mechanical option instead of a surface-only treatment.
How do I make outdoor wood steps safer in winter without ruining the wood?
Keep the wood dry when possible, clean before every install, and use a fix that matches the exposure. Mesh strips suit wetter outdoor steps better than loose mats. If the finish is peeling, remove it first. That keeps the wood from trapping moisture under a failed layer.
Sponsored / affiliate links. As an Amazon Associate I earn from qualifying purchases. I may earn additional commission from eligible campaigns.