What Size Oil Filled Radiator Do I Need? Calculator Guide
This guide will break down how to pick the perfect size. You’ll learn what makes a room need more or less heat. By the end, you’ll feel confident choosing the right radiator for your space.
The best size oil-filled radiator depends on your room’s square footage, insulation quality, and the climate. A general rule is about 10 watts per square foot, but this can change based on other factors. Using a BTU calculator or formula can give you a more precise answer for optimal heating.
Understanding Your Heating Needs
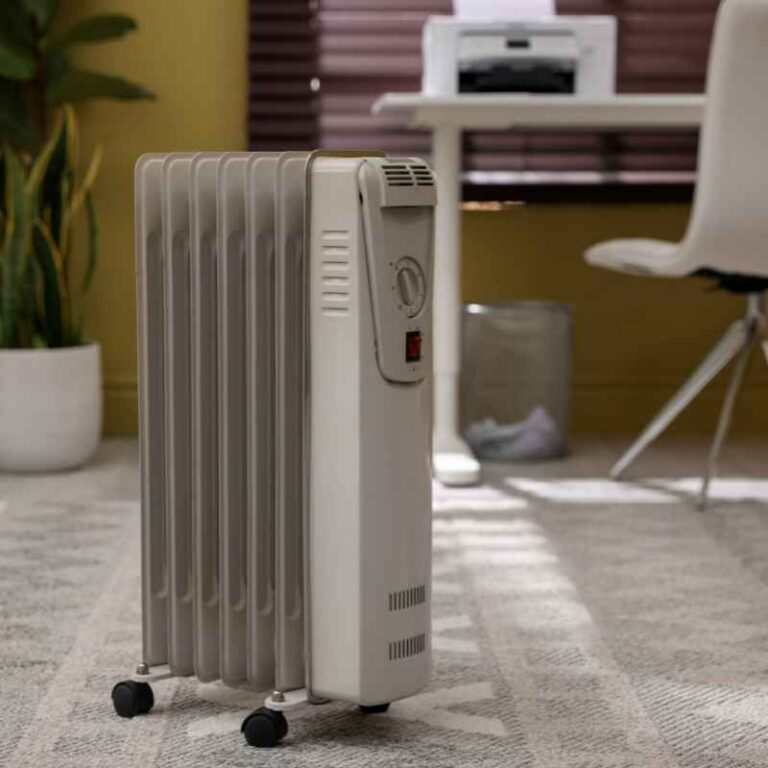
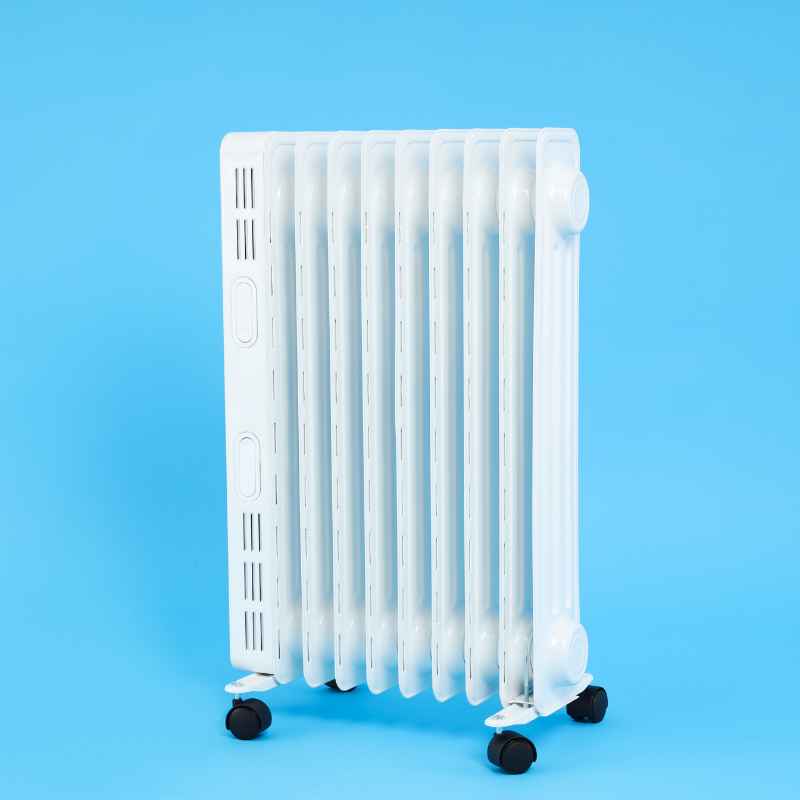
An oil-filled radiator works by heating oil inside its sealed metal fins. This oil then circulates, warming the fins. The fins give off heat into the room.
It’s like a mini, portable version of a steam radiator in your home.
These heaters are great because they offer a steady, gentle warmth. They don’t blow hot air like some other heaters. This makes them good for bedrooms or offices.
They also tend to stay warm for a while even after you turn them off. This is due to the retained heat in the oil.
But the biggest question is: how much heat do you need? Too small, and your room will never feel warm enough. Too big, and you’ll waste electricity.
You’ll end up with a heater that runs less often but uses a lot of power when it does. We need to find that sweet spot.
To do this, we need to think about a few things. The size of the room is the first. But it’s not the only thing.
Insulation matters a lot. So do windows and the outside temperature. We’ll look at each one.
The Magic Number: BTU and Watts
When we talk about heating power, we often hear two terms: BTU and Watts. BTU stands for British Thermal Unit. It’s a measure of heat energy.
Watts measure electrical power. For heaters, they are related. More Watts means more heat output.
Think of BTU as the total amount of heat a heater can put out. Think of Watts as how much electricity it uses to make that heat. A heater with more Watts can create more BTUs.
Most manufacturers will tell you the BTU output of their radiators. They might also list the Wattage.
A common starting point is to aim for about 10 Watts per square foot of living space. This is a rough idea. It works well for average rooms.
It assumes a standard ceiling height too. This is about 8 feet high. It also assumes decent insulation.
And it assumes your climate is not extremely cold.
So, if you have a room that’s 10 feet by 12 feet, that’s 120 square feet. Using the 10 Watts per square foot rule, you’d look for a heater around 1200 Watts. This might mean looking for radiators that are 1200W or 1500W.
These are very common sizes.
But this 10 Watts per square foot is just a starting point. We need to adjust it. We’ll talk about how to do that next.
It’s important to get this right for comfort and saving money.
Factors That Change Your Heating Needs
Your room isn’t just a simple rectangle on a blueprint. Many things affect how much heat it loses. And how much heat you need to add to keep it cozy.
Let’s explore these factors.
Room Size Matters Most
We touched on this. The bigger the room, the more heat it needs. This is the most direct link.
A small bathroom needs much less heat than a large living room. Always measure your space first. Measure the length and width.
Then multiply them together to get the square footage. Don’t forget to measure height if it’s unusually high.
For example, a 10×10 foot room is 100 square feet. You’d aim for around 1000 Watts. A 15×20 foot room is 300 square feet.
You’d need about 3000 Watts. This could mean using two smaller radiators instead of one very large one.
Spreading the heat out can be better. Two 1500W radiators can warm a large room more evenly than one 3000W unit. They also offer a backup if one fails.
Or you can use just one if the weather isn’t too cold. This saves energy.
Insulation: Your Home’s Winter Coat
Think of insulation like a warm coat for your house. Good insulation keeps the heat in. Bad insulation lets it escape.
Walls, attics, and floors all have insulation. Older homes often have less insulation. Or it might be packed down and less effective over time.
If your home has great insulation, you might need slightly less wattage than the 10 Watts per square foot rule suggests. If your insulation is poor, you’ll need more. This is a big one for energy savings.
It also impacts comfort.
How can you tell if your insulation is good? Feel your walls on a cold day. Are they cold to the touch?
Do you feel drafts near windows or outlets? These are signs of poor insulation. Adding insulation or sealing drafts can make a huge difference.
It makes your heating system work less.
Windows and Doors: Heat Leaks
Windows and doors are often the weakest points for heat loss. Single-pane windows are terrible insulators. Double-pane windows are better.
High-efficiency, low-E windows are the best. The more windows you have, the more heat you lose.
A room with many large windows will need more heating power. This is especially true if those windows are old or drafty. Measure the total area of your windows.
If it’s more than 10% of your room’s floor area, you should add extra wattage.
For every large window, you might need to add 500-1000 Watts to your calculation. For drafty windows, add even more. Sealing up drafts with weatherstripping or caulk is a must.
Heavy curtains or blinds can also help trap heat at night.
Ceiling Height: More Space to Fill
The 10 Watts per square foot rule usually assumes a standard 8-foot ceiling. If you have high ceilings, like in a room with a vaulted ceiling, you have more air to heat. This means you’ll need more power.
For every foot of ceiling height above 8 feet, add about 10-15% to your required wattage. So, a room with a 10-foot ceiling needs more heat than an identical room with an 8-foot ceiling. This is because there’s a bigger volume of air to warm up.
Climate and Location: The Great Outdoors
Where you live plays a huge role. If you live in a place with very cold winters, your radiator needs to work harder. A few inches of snow outside means something different than a mild winter day.
In colder regions, you might need to increase your wattage by 20-30% or even more. If your region has mild winters, you might be able to get away with slightly less. Some online calculators ask for your ZIP code.
This helps them estimate local average temperatures.
It’s also about how quickly the outside temperature drops. If you experience big temperature swings, you need a heater that can respond. Oil-filled radiators heat up slower but maintain heat longer.
This is good for steady warmth, but for quick boosts, you might need a bit more power.
Consider the lowest temperatures you typically see. Then add a buffer to your calculation. It’s better to have a little extra power than not enough when it’s freezing outside.
Room Heat Loss Factors Explained
Room Size: Larger rooms need more heat. Measure length x width for square footage.
Insulation: Poor insulation means heat escapes faster. Check walls, attic, and floors.
Windows: Single-pane, old, or numerous windows increase heat loss. Add wattage for more/larger windows.
Ceiling Height: High ceilings mean more air volume to heat. Adjust wattage for extra height.
Climate: Colder regions require more powerful heaters. Consider your area’s average low temperatures.
Calculating Your BTU Needs: A Step-by-Step Approach
Let’s put it all together. We’ll use a method that accounts for the factors we just discussed. This will give you a more accurate estimate.
It’s like having your own personal heat calculator.
Step 1: Calculate Base Square Footage
Measure your room’s length and width. Multiply these numbers to get the square footage. Let’s say your room is 12 feet by 15 feet.
That’s 180 square feet.
Step 2: Calculate Base Wattage
Use the 10 Watts per square foot rule. For our 180 square foot room: 180 sq ft x 10 Watts/sq ft = 1800 Watts.
Step 3: Adjust for Insulation
This is where it gets a bit more subjective. You need to judge your home’s insulation. Here are some general guidelines:
- Excellent Insulation: (Newer homes, well-sealed, good attic insulation) – Subtract 10-15% from base wattage.
- Good Insulation: (Average modern home) – No adjustment needed, use base wattage.
- Fair Insulation: (Older home, some drafts, average attic insulation) – Add 10-15% to base wattage.
- Poor Insulation: (Very old home, significant drafts, little to no attic insulation) – Add 20-30% to base wattage.
Let’s assume our 180 sq ft room has fair insulation. We add 15%. So, 1800 Watts x 1.15 = 2070 Watts.
Now we need a heater around 2000-2200 Watts.
Step 4: Adjust for Windows and Doors
Look at your windows. Are they single-pane? Double-pane?
Are there many of them?
- For each standard-sized single-pane window: Add 500 Watts.
- For each standard-sized double-pane window: Add 250 Watts.
- If windows are large or drafty: Add more, maybe double the above amounts.
Let’s say our room has two standard double-pane windows. That’s 2 x 250 Watts = 500 Watts added. Our total is now 2070 Watts + 500 Watts = 2570 Watts.
Step 5: Adjust for Ceiling Height
Measure your ceiling height. If it’s 8 feet or less, no adjustment is needed here. If it’s higher:
- For every foot above 8 feet: Add 10% of your current total wattage.
Let’s imagine our room has a 10-foot ceiling. That’s 2 feet above 8 feet. We add 10% for each foot.
So, 10% of 2570 Watts = 257 Watts. We need to add this twice. 257 Watts x 2 = 514 Watts.
Our total is now 2570 Watts + 514 Watts = 3084 Watts.
Step 6: Adjust for Climate
This is a final boost for colder areas. If you live in a very cold climate:
- Very Cold Climate (frequently below 0°F): Add 20-30% to your current total.
- Cold Climate (frequently below 20°F): Add 10-15% to your current total.
- Mild Climate: No adjustment needed.
Let’s say we live in a cold climate. We add 15%. 3084 Watts x 1.15 = 3547 Watts.
So, for this 12×15 room with fair insulation, two double-pane windows, a 10-foot ceiling, and a cold climate, we need a radiator providing around 3500 Watts.
This would likely mean using two radiators. Perhaps two 1800W units. Or one 2000W and one 1500W.
It depends on what’s available. This is a much more precise approach than just guessing.
Example Calculation Summary
Room: 12 ft x 15 ft (180 sq ft)
Base Wattage (10W/sq ft): 1800W
Insulation: Fair (+15%): 2070W
Windows: 2 Double-Pane (+500W): 2570W
Ceiling Height: 10 ft (+20%): 3084W
Climate: Cold (+15%): 3547W
Target Output: ~3500 Watts
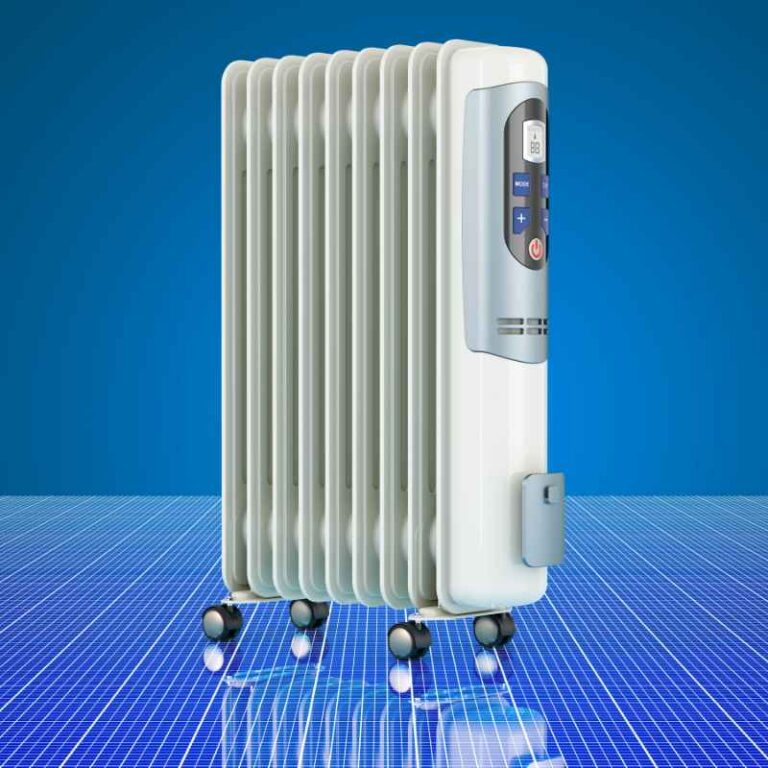
Real-World Radiator Sizes
Oil-filled radiators come in various Wattage ratings. Common sizes include: 500W, 750W, 1000W, 1200W, 1500W, 2000W, and 2500W. Some larger ones might go up to 3000W.
It’s rare to find a single radiator that’s exactly 3500W. You’ll usually need to combine units. For our example room needing 3500W, two 1800W radiators would be a good choice.
They’d give you 3600W total. This is close and offers flexibility.
You might also see radiators measured in BTUs. How do you convert? A good rule of thumb is that 1 Watt is about 3.41 BTU.
So, 1000 Watts is about 3410 BTUs.
If a manufacturer says a radiator is 1500W, it’s roughly 5115 BTUs. If your calculation points to needing 2000 Watts, you’d look for a heater with about 6820 BTUs. Or you might need two smaller units that add up.
When looking at radiators, check the product description. It should clearly state the Wattage or BTU output. It might also give recommended room size.
But always do your own calculation. Those recommendations can be very general.
Think about the shape of your room too. A long, narrow room might benefit from two smaller radiators placed at opposite ends. This helps distribute heat more evenly.
A square room might be fine with one radiator on one wall.
Also, consider the source of heat. If you’re heating a basement that’s mostly underground, it might retain heat better than an upstairs room. If you’re heating a sunroom that gets a lot of direct sun, it might need less heating on sunny days.
Personal Story: The Drafty Attic Room
I remember trying to heat a spare bedroom in my old house. It was the one right under the attic. It had one small, single-pane window.
The insulation up there was… well, let’s just say it was more of a suggestion than a reality. The room was about 10×12 feet, so 120 sq ft.
My first thought was to grab the smallest radiator I had. It was a cute, little 750W model. I figured that would be enough for a small room, right?
Wrong. It was agonizingly slow. Even on the highest setting, the room would only get lukewarm.
And that was on a moderately cool autumn evening.
The single-pane window felt like a freezer door. I could actually see the air shimmering a bit near it on cold mornings. The walls themselves seemed to absorb all the heat I tried to put in.
I’d turn the radiator up, it would hum away, and I’d still be wearing a sweater indoors.
It was frustrating. I felt like I was wasting electricity on a heater that wasn’t doing its job. I spent hours huddled in there, trying to get work done, only to retreat to a warmer part of the house.
I felt a bit defeated, wondering if I’d ever make that room comfortable. That’s when I knew I needed to do more than just guess.
I sat down and measured everything. I looked at the single-pane window, the thin walls, and the lack of proper insulation. I recalculated my needs, realizing that 750W was nowhere near enough.
I needed to seriously boost the wattage for that specific space. It was a tough lesson about understanding your home’s specific needs.
When to Use Multiple Radiators
As we’ve seen, large rooms or rooms with many heat-losing factors often need more than one heater. This is a smart way to manage heating.
Using two smaller radiators instead of one very large one has benefits:
- Even Heat Distribution: Place them on opposite walls. This helps warm the whole room more uniformly.
- Zoning: You can heat just one part of a large open-plan area if needed.
- Flexibility: On milder days, you might only need to run one radiator. This saves energy.
- Backup: If one unit has an issue, the other can still provide some heat.
- Safer Operation: Two smaller units might not run as hard as one very large one. This can extend their lifespan.
For example, if your calculation came out to needing 2500W, you could get one 1500W and one 1000W radiator. Or maybe two 1250W units if they are available. This gives you control.
You can adjust the heating based on how cold it is outside.
When you combine radiators, add their Wattage ratings together. This gives you the total heating capacity. Make sure the combined Wattage meets or slightly exceeds your calculated need.
It’s generally okay to go a little over. It just means the heater might cycle off more often.
Radiator Size Combination Guide
Target Need: 1500W
Option 1: One 1500W radiator.
Option 2: One 1000W + One 500W radiator (Total: 1500W).
Option 3: Two 750W radiators (Total: 1500W).
Target Need: 2800W
Option 1: One 2500W + One 500W radiator (Total: 3000W).
Option 2: One 1500W + One 1200W radiator (Total: 2700W).
Option 3: Two 1500W radiators (Total: 3000W).
What to Look For in an Oil-Filled Radiator
Beyond just the size, other features can make a difference. Think about how you’ll use the heater.
Adjustable Thermostat
This is crucial. A thermostat lets you set a desired temperature. The radiator will then turn on and off automatically to maintain that temp.
This prevents overheating and saves energy. Cheaper models might have just a few heat settings, but a true thermostat is best.
Safety Features
Look for features like overheat protection. This is a sensor that shuts off the heater if it gets too hot. A tip-over switch is also important.
This will cut power if the radiator is accidentally knocked over. These are vital, especially if you have pets or children.
Timer Function
Some radiators have a built-in timer. This lets you schedule when the heater turns on or off. You could set it to warm up a room before you wake up.
Or to turn off automatically at bedtime. This adds convenience and helps save energy.
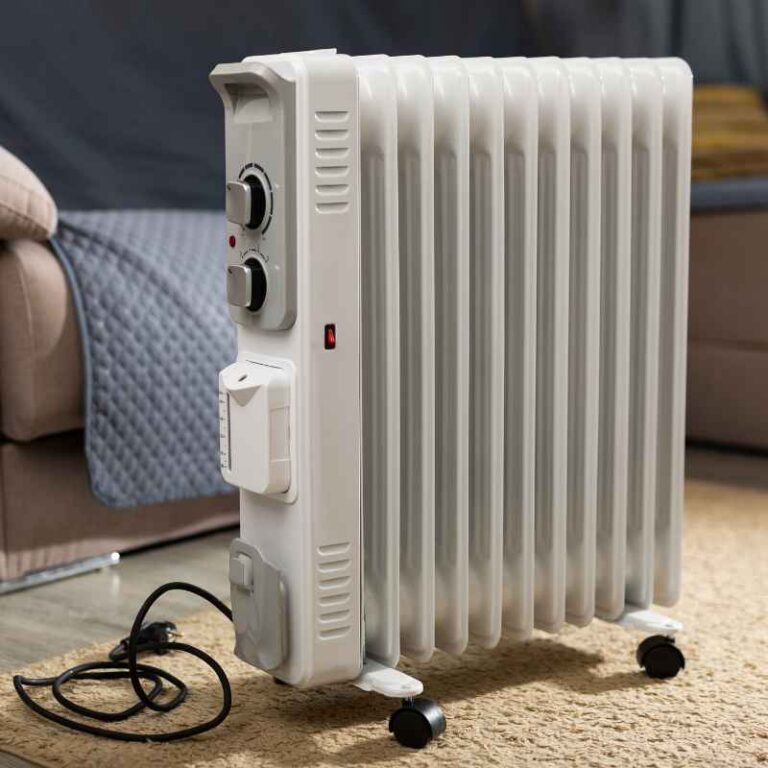
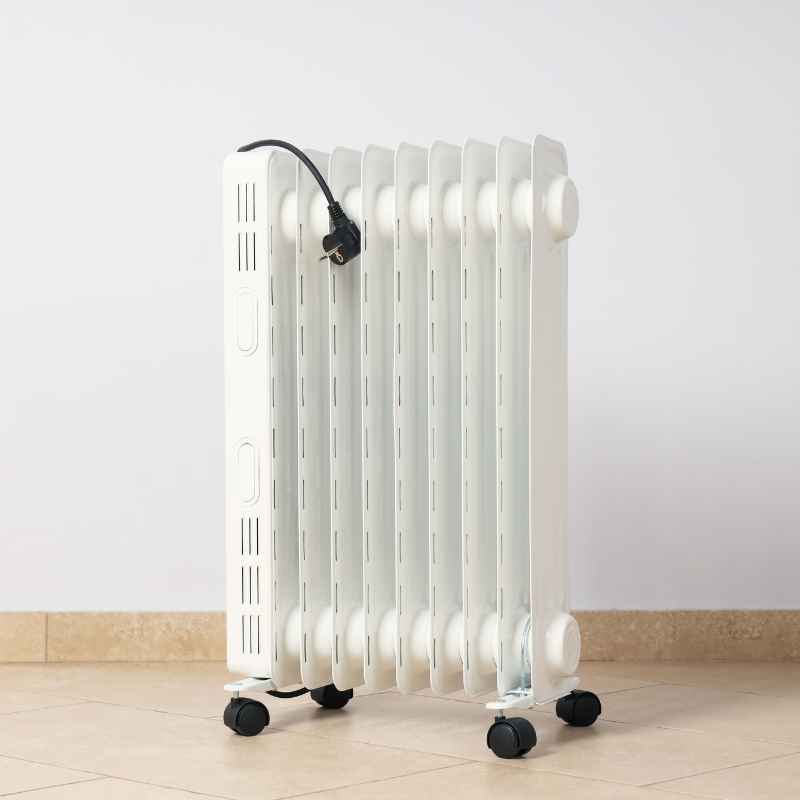
Portability
Most oil-filled radiators have wheels or casters. This makes them easy to move from room to room. Check how sturdy the wheels are.
Some are better than others. If you plan to move it often, look for a model that’s easy to handle.
Cord Storage
This is a small detail, but it’s nice to have. Some radiators have a place to wrap the power cord. This keeps things tidy when the unit is not in use.
Silent Operation
Oil-filled radiators are known for being quiet. They don’t have fans that make noise. The heating is very gentle and silent.
This is one of their biggest advantages, especially for bedrooms.
When choosing, read reviews. See what other users say about the performance and reliability of different brands. Even with the right size, a poorly made heater won’t keep you warm effectively.
When is it Too Cold for a Single Radiator?
Even the biggest single oil-filled radiators typically top out around 2500W or 3000W. If your calculation shows you need significantly more heat than that for a single room, you must use multiple units.
For example, if you have a very large open-plan living space that’s 600 square feet, and it’s poorly insulated, your needs could be very high. 600 sq ft x 10W/sq ft = 6000W base. Add in poor insulation, lots of windows, and cold climate, and you could easily need 8000W or more.
In such cases, one large radiator is insufficient. You would need at least three or four radiators to provide that level of heat. Distribute them strategically.
Place them where heat is most needed.
Think about the design of your space. If you have an attached garage that’s cold, and you want to heat the room next to it, the cold from the garage will affect the room. You may need to add extra wattage for that wall.
It’s also worth noting that electric resistance heating, which is what these radiators use, is not the most energy-efficient way to heat a very large space. For huge areas or whole houses, other heating systems might be more economical. But for specific rooms or supplemental heat, oil-filled radiators are excellent.
Radiator Sizing Checklist
- Measure: Room length, width, and ceiling height.
- Calculate: Base square footage.
- Estimate: Insulation quality (Excellent, Good, Fair, Poor).
- Count: Number and type of windows.
- Assess: Climate (Mild, Cold, Very Cold).
- Add: Wattage for each factor.
- Choose: Radiator(s) with total Wattage meeting or slightly exceeding your needs.
Frequently Asked Questions About Radiator Sizing
How do I find the Wattage of my current radiator?
Look for a label on the radiator itself, usually on the back or bottom. It might list the wattage (W) or power consumption. If you still have the manual or original box, that will also have the specs.
Sometimes, you can identify the model number and search online.
Is a 1500W radiator enough for a living room?
It depends entirely on the size of your living room and its other factors. A small 10×10 living room might be fine. A large 20×20 living room, especially if it’s drafty or has poor insulation, will likely need more.
Always calculate your specific needs.
Can I use an oil-filled radiator in a bathroom?
Yes, many oil-filled radiators are safe for bathrooms, but always check the product specifications for water-resistance ratings (IP ratings). Ensure the radiator is placed away from direct water spray. They provide a gentle, safe heat perfect for making bathrooms cozy.
What’s the difference between BTU and Watts for heaters?
Watts measure electrical power used. BTUs measure the amount of heat produced. For electric heaters, they are directly related.
A higher Wattage means a higher BTU output. Manufacturers often list both. For electric radiators, 1 Watt is roughly 3.41 BTU.
Should I get a bigger radiator than I calculated?
It’s generally better to get a radiator that meets or slightly exceeds your calculated need. Having a bit of extra capacity means the heater might cycle off more often. This can be more efficient than a heater that’s constantly struggling to keep up.
However, going excessively oversized can be wasteful.
How much electricity does a 1500W radiator use?
A 1500W radiator uses 1.5 kilowatts of electricity per hour when it’s running at full power. If it runs continuously for one hour, it will use 1.5 kWh. The actual electricity used depends on how often the thermostat cycles it on and off to maintain the desired temperature.
Conclusion: Warmth Made Simple
Choosing the right size oil-filled radiator doesn’t have to be a guessing game. By measuring your room, considering insulation, windows, and climate, you can make an informed decision. This ensures your space is comfortably warm without wasting energy.
Use the steps and calculations we’ve discussed. You’ll feel much more confident selecting the perfect heater. Enjoy a cozier home this season!