Do Infrared Heaters Need To Be On An Interior Wall?
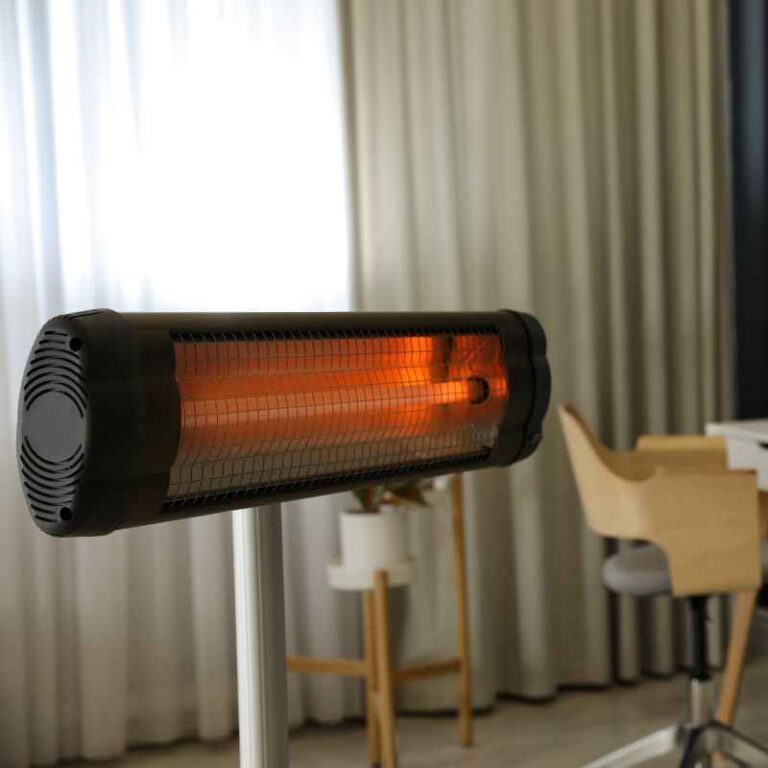
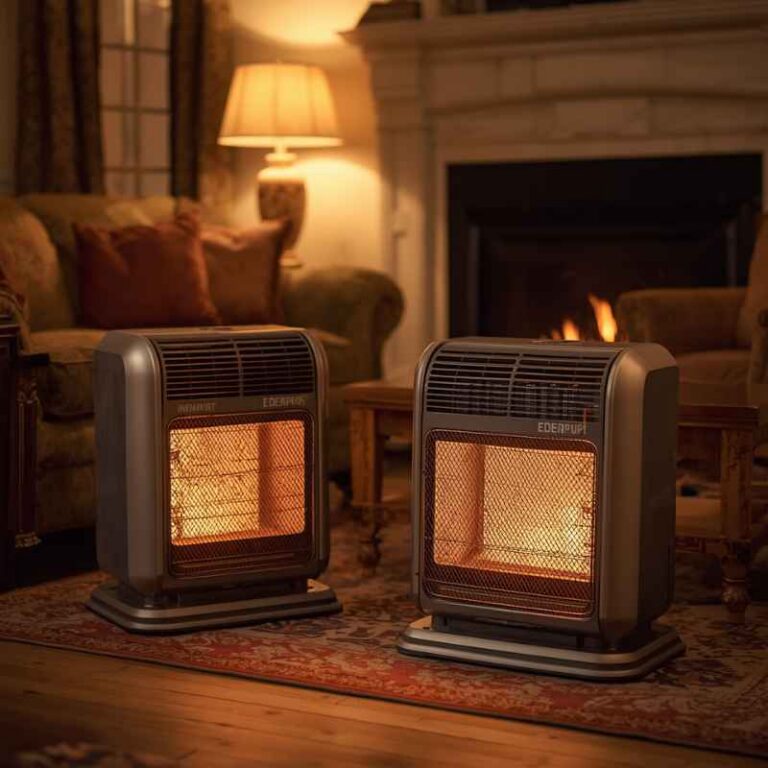
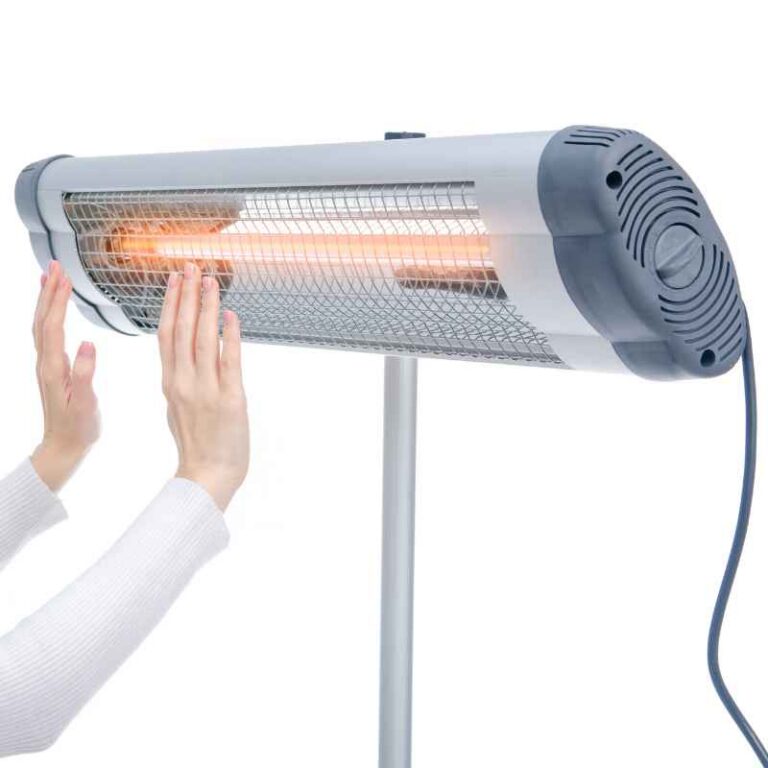
Infrared heaters are different from the heaters you might be used to. They don’t heat the air. Instead, they heat objects and people directly.
Think of it like the sun’s rays. The heat travels in waves. These waves bounce off surfaces.
This is why they feel so good and direct. But this also means where you put them really matters. It affects how well they work and if they’re safe.
We need to talk about what’s best for your home.
The main thing to grasp is how infrared heat works. It’s not like a fan heater blowing hot air all around. Infrared rays shoot out in a line.
They hit whatever is in front of them. Then, those objects get warm. This is great for focused heating.
You can warm up a specific spot. This can save energy. But it also means you can’t just put the heater anywhere.
The wall behind it is important. So is what’s around it. This is true for all types of infrared heaters.
Why Wall Placement Matters for Infrared Heaters
When we talk about placing infrared heaters, the type of wall is a big deal. Exterior walls are usually cooler. They might have insulation problems.
They also face the outside weather. Interior walls are generally warmer. They are inside your home’s heated space.
This difference affects how the heater works. It also affects safety. Let’s break down why.
An exterior wall can sometimes be a better choice. Why? Because it’s away from other heat sources.
It’s also usually a solid wall. It’s not right next to your furniture or curtains. This helps prevent heat from bouncing back too soon.
It also keeps the heat directed where you want it. On the other hand, some people worry about heat loss through exterior walls. This is a valid concern for some heating systems.
But infrared is different. It heats objects. So, the wall itself becoming a heat sink isn’t the main issue.
It’s more about direction and safety.
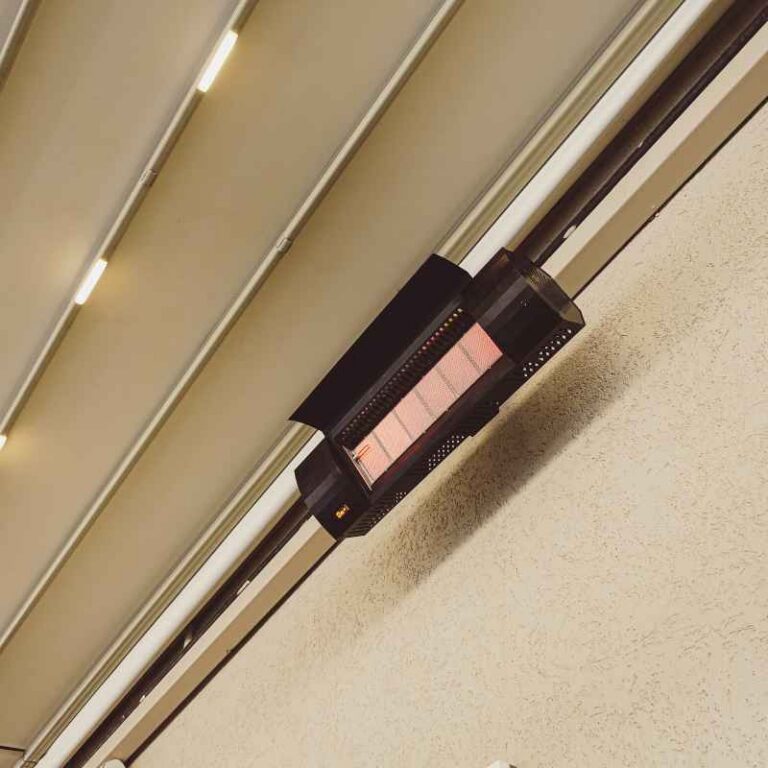
Now, what about interior walls? This is where most questions come up. Putting a heater on an interior wall means the heat is directed outward, into your room.
That’s good. But what about the wall itself? Does it get too hot?
Can it cause damage? This depends on the heater and the wall. Many modern infrared heaters are designed for safety.
They have features to prevent overheating. They also have clear spacing guidelines. These guidelines are super important.
They tell you how far away the heater needs to be from things.
Consider a wall with a lot of things against it. Think about shelves, books, or artwork. Heat needs space to travel.
If the wall is covered, the heat might build up. This build-up can be a problem. It can damage the wall.
It can also be a fire hazard. Even on an interior wall, you need to think about clearance. This is a rule for almost all heaters, not just infrared ones.
It’s about keeping things safe and letting the heater do its job right.
The material of the wall also plays a role. A thick plaster wall might handle heat better than a thin drywall. Some older homes have plaster and lath.
These can be quite robust. Newer homes often use drywall. Drywall is more sensitive to heat.
It can discolor or even crack if it gets too hot. So, when thinking about an interior wall, check the material. Also, check what’s on that wall.
Are there electrical outlets nearby? Is there wiring in the wall? These are critical safety checks.
The heat output of the heater is another factor. A small personal heater has less heat than a large whole-room unit. A smaller heater might be fine on an interior wall if it’s placed correctly.
A larger, more powerful heater will need more space. It will also need a sturdier wall. Always check the manufacturer’s instructions.
They will give you specific advice. This advice is based on testing. It’s there to keep you and your home safe.
So, the short answer is: it depends. But we need to explore the details more.
Direct Answer / Quick Summary
Infrared heaters do not strictly need to be on an exterior wall. Placement depends on the heater’s power, manufacturer’s safety guidelines, and the wall’s material and surroundings. Prioritize keeping the heater a safe distance from objects and flammable materials, whether the wall is interior or exterior. Always check your heater’s manual for specific clearance requirements to ensure safe and efficient operation.
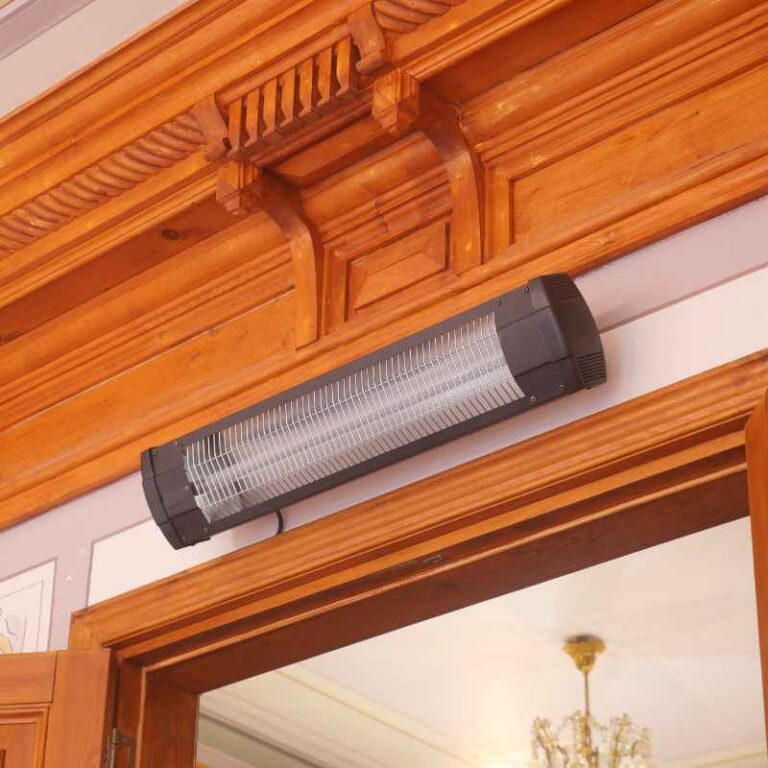
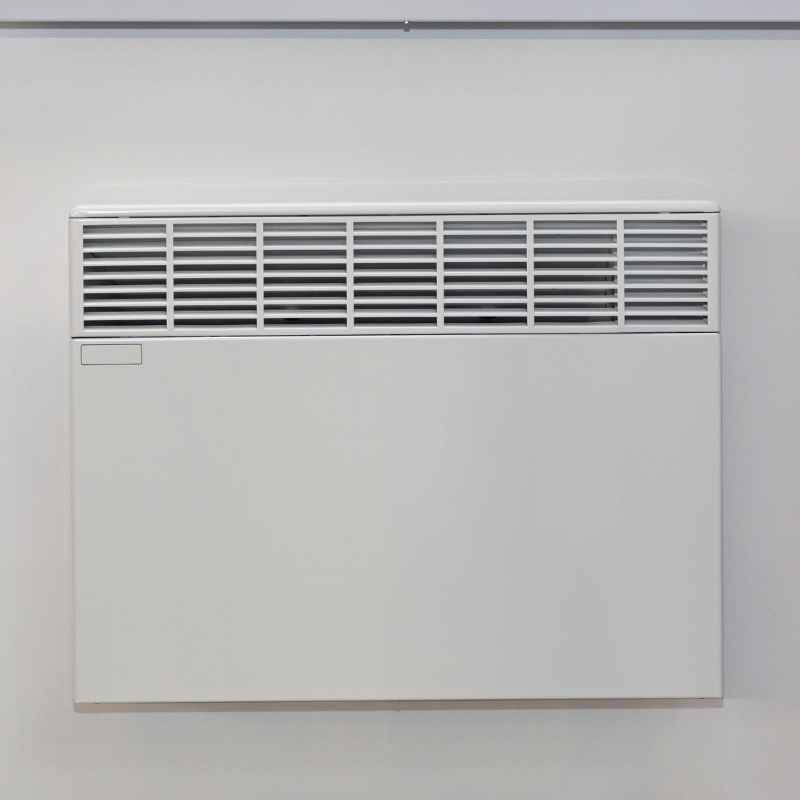
Can You Mount an Infrared Heater on an Interior Wall?
Yes, you can mount an infrared heater on an interior wall. But there are rules. These rules are not just suggestions.
They are for your safety. The main thing is clearance. Manufacturers give specific distances.
These are usually for the wall behind the heater. They are also for the sides and above. These numbers are important.
They ensure the heater doesn’t overheat the wall. They also stop heat from building up around the unit. This prevents potential fire risks.
Think about a typical interior wall. It’s usually part of a conditioned space. This means it’s already warm inside your house.
So, you aren’t trying to heat a cold surface. This is different from an exterior wall. An exterior wall is exposed to the elements.
It’s often much colder. An infrared heater aimed at a cold exterior wall will lose some heat to that wall. The heat will then radiate outward.
This can make it less efficient. But it also keeps the heater itself cooler. It might also be safer in some cases.
When mounting on an interior wall, look at the wall’s construction. Is it drywall? Is it plaster?
Does it have insulation behind it? If it’s a standard drywall interior wall, you need to be extra careful. Drywall can scorch or discolor.
It can even become brittle over time if exposed to too much heat. Some infrared heaters produce a lot of radiant heat. This heat is intense.
It can damage surfaces if they are too close.
Also, consider what’s on that wall. Is it a bare wall? Or is it covered in pictures, mirrors, or shelves?
Anything that sits directly behind or very close to the heater can absorb heat. This can make that item hot. It can also trap heat against the wall.
This trapped heat is the main concern. It can lead to overheating. Always keep the area around the heater clear.
The manufacturer’s manual will tell you exactly how much space you need. This is your best guide.
I remember setting up a wall-mounted infrared heater in a client’s sunroom. The wall was a standard interior drywall. The instructions said at least 6 inches clearance from the wall.
We mounted it carefully. It worked like a charm. But my friend tried to put one above his TV on an interior wall.
He didn’t check the specs. The heat warped the TV casing over time. It was a costly mistake.
This shows why following the rules is vital. It applies to interior walls too.
The power of the heater matters a lot here. A small 500-watt personal heater is different from a 1500-watt room heater. More power means more heat.
More heat means you need more space. You need more caution. For powerful heaters, an interior wall might require extra consideration.
Perhaps a heat shield or a specific mounting bracket is needed. Always consult the manual for the specific model. It’s the most reliable source of information.
Infrared Heater Clearance: The Golden Rules
Clearance is Key: Always follow the manufacturer’s recommended distances. This is for walls, floors, and ceilings.
No Obstructions: Never place anything directly behind or too close to the heater. This includes furniture, curtains, or decorations.
Flammables Away: Keep flammable materials (like paper, fabric, wood) far from the heater.
Ventilation Matters: Ensure the heater has enough air circulation around it.
Exterior Walls vs. Interior Walls: A Closer Look
Let’s get into the details about exterior versus interior walls. This distinction is important for understanding heater placement. It’s not just about whether the wall is inside or outside.
It’s about the temperature of that wall. It’s also about how much heat is lost through it.
An exterior wall is your home’s barrier to the outside. In winter, it’s cold. In summer, it can be hot.
This temperature difference affects how heat behaves. When an infrared heater is aimed at an exterior wall, the wall absorbs some of the heat. Then, that heat starts to radiate outward into the cold.
This means some of the heat energy is lost to the outside. This can make the heater seem less effective. It might take longer to warm up the objects in the room.
However, the heat hitting the exterior wall also means the heater itself might run cooler. The wall acts like a buffer. It absorbs some of the radiant energy.
This can be good. It can prevent the wall behind the heater from getting too hot. It also keeps the heat directed into the room.
Some people find mounting on an exterior wall a safer bet for this reason. It’s less likely to cause issues with the wall’s surface.
Now, let’s consider an interior wall. This wall is part of your home’s heated envelope. It’s usually warmer than an exterior wall.
When an infrared heater is aimed at an interior wall, the heat is absorbed. This absorbed heat then re-radiates into the room. This is generally more efficient.
The heat stays inside your home. You feel the warmth more directly. But this also means the interior wall itself can get hotter.
This is where clearance becomes extremely important.
If the interior wall has artwork, mirrors, or even just paint, excessive heat can cause damage. Paint might bubble or discolor. Artwork might fade or be damaged.
Mirrors could potentially crack under uneven heat stress, though this is rare. The biggest risk is fire. If the wall gets too hot, anything flammable nearby could ignite.
This is why the manufacturer’s clearances are non-negotiable.
I’ve seen people place these heaters too close to decorative items on interior walls. They want the heat to hit them directly. But the radiant energy is powerful.
It can damage things you don’t expect. A wood-framed picture might warp. A velvet curtain could scorch.
Even the paint on the wall can change color. This is why, even if the wall is warm, you still need that space. It lets the heat do its job without causing harm.
Another point is about the material of the wall. A solid brick or stone interior wall will behave differently than a standard drywall wall. Stone and brick are good at absorbing and then slowly releasing heat.
They are less prone to quick damage from radiant heat. Drywall, on the other hand, is more delicate. It’s made of paper and gypsum.
It can scorch easily.
Quick Scan: Interior vs. Exterior Wall Placement
| Feature | Interior Wall | Exterior Wall |
|---|---|---|
| Heat Efficiency | Higher (less heat lost outside) | Lower (some heat lost to the outside) |
| Wall Temperature Risk | Higher (potential for scorching/damage) | Lower (wall acts as a buffer) |
| Safety Focus | Strict clearance essential to protect wall surface and prevent fire. | Clearance still important, but wall surface damage less likely. |
| Best For | Rooms where maximum heat retention is desired. | Situations where wall surface protection is a primary concern. |
Factors to Consider for Safe Placement
Beyond just interior or exterior, several other things matter for placing your infrared heater. These factors help ensure you get the most warmth safely. Think of these as your checklist before you drill any holes.
Manufacturer’s Instructions: I can’t say this enough. Read the manual. It’s your most important tool.
It will tell you exact distances. It will specify what materials the heater can be mounted on. It will also warn you about specific risks.
Every heater is a bit different. What works for one might not work for another. Trust the people who made it.
Room Size and Heater Wattage: A small heater for a tiny nook is different from a large unit for a living room. A more powerful heater produces more heat. More heat needs more space to dissipate safely.
If you have a large room, you might need more than one heater. Or you might need a more powerful one. But a more powerful heater will have stricter clearance rules.
Make sure the heater is the right size for your space. Too small and it won’t heat well. Too big and it could be a hazard if not placed properly.
What’s Around the Heater: Think about the items near where you want to mount the heater. Are there curtains? Furniture?
Bookshelves? Even plants? All of these can be flammable.
They can also block heat. Blocking heat can cause it to build up. This build-up is dangerous.
Keep a generous space around the heater. Imagine a bubble of empty air. This bubble should be clear of anything that could catch fire or melt.
Wall Material: As we talked about, drywall is different from plaster. Plaster and lath is different from brick. Concrete block is different again.
Some materials are more heat-resistant than others. If you have a sensitive wall, like thin drywall, you might need to add a heat shield. Or you might need to mount the heater further away.
Or choose a different location entirely. Some manufacturers sell specific mounting kits. These can help ensure proper distance and airflow.
Electrical Outlets and Wiring: This is a critical safety check. You don’t want to mount a heater directly above or too close to an electrical outlet. There’s also wiring within the wall.
Many heaters use a lot of power. If the wiring in the wall is old or not up to code, it could be a risk. It’s wise to be aware of where the studs are.
That’s usually where you mount things. But be careful of electrical lines. If you’re unsure, consult an electrician.
Airflow: Infrared heaters don’t rely on air circulation the way convection heaters do. But they still need some airflow. Don’t box them in.
Don’t cover the vents or heat-emitting surfaces. Ensure air can move around the unit. This helps keep the heater itself from overheating.
It also helps the heat spread out into the room properly.
I once saw a setup where someone had mounted an infrared heater above a very old, ornate wooden cabinet. It looked nice. But the cabinet was directly in the heat’s path.
The wood started to warp and dry out. It looked brittle. It was a real shame.
It could have been avoided with just a few more inches of space. It’s a good lesson in respecting the heat’s power.
Safe Placement Checklist
1. Manual Checked? Yes/No
2. Clearance Met? Yes/No
3. Flammables Clear? Yes/No
4. Wall Material Suitable? Yes/No
5. Electrical Safe? Yes/No
6. Airflow Good? Yes/No
My Own Experience with Heater Placement
I remember a time when I was helping my aunt. She had just bought a beautiful, modern infrared panel heater. It was a sleek, flat panel designed to mount on the wall.
She wanted it in her living room. She pointed to a spot above her couch. It looked like a perfect place.
The heater would face into the room. It would warm everyone sitting there. But then I looked at the wall.
It was a standard drywall wall. And the couch was pretty close to the wall.
I pulled out the heater’s manual. It said, “Minimum 12 inches clearance from the wall behind the heater.” My aunt’s couch was about 8 inches from the wall. So, mounting it directly above the couch meant the couch would be in the direct heat path.
That wasn’t safe. The fabric could scorch. It could even catch fire.
Also, the heat radiating back to the wall needed that 12-inch buffer. The wall itself could get too hot.
My aunt was a bit disappointed. She really wanted it there. She said, “But it’s just a little heat, right?
It’s not like a fire!” I explained that infrared heat is different. It’s radiant. It heats surfaces intensely.
I showed her the diagram in the manual. We talked about how the heat would bounce off the couch. Then it would hit the wall.
Then it would try to go back to the couch. That loop could get dangerous. It could overheat the fabric and the wall.
We found another spot. It was on a different wall. This wall had more space.
There was no furniture directly in front of it. We made sure there was plenty of room above and to the sides. It worked perfectly.
And it was safe. That experience taught me to always trust the manual first. People often underestimate how powerful these heaters are.
Another time, I was working in an older house. The walls were thick plaster. The owner wanted to install an infrared heater in a small hallway.
The hallway was narrow. There wasn’t much room for clearance. The wall was an interior one.
I was a bit nervous. But after checking the heater specs, it had a good clearance rating for walls. The plaster was solid and thick.
We mounted it. It worked well. The plaster absorbed the heat nicely.
It didn’t discolor. It felt safe. This showed me that not all interior walls are the same.
The material makes a big difference. So does the heater’s design. But still, I always add a little extra buffer space if I can.
Better safe than sorry.
What to Do If You Suspect an Issue
Sometimes, even with careful placement, you might notice something odd. It’s good to know what to look for. And what to do if you see it.
Your safety is the top priority. Your home’s safety is also vital.
Smell of Burning: This is the biggest red flag. If you smell anything burning, turn the heater off immediately. Unplug it.
Let it cool down completely. Then inspect it. Look for any debris that might have fallen onto the heating element.
Check the wall behind and around it. If you see any discoloration, scorch marks, or damage, do not use the heater again until it’s inspected by a professional or replaced. This smell usually means something is overheating.
Discoloration or Scorching: Look at the wall where the heater is mounted. Is the paint changing color? Is it darkening?
Are there any brown or black marks? This indicates the wall is getting too hot. The clearance is not enough, or the wall material is too sensitive.
If you see this, move the heater. Or get a different type of heater. Or consider adding a heat shield.
But don’t ignore it. It’s a sign of danger.
Strange Noises: While most infrared heaters are quiet, some might make clicking or buzzing sounds. A faint hum is sometimes normal as components heat up. But loud, unusual noises could signal a problem.
It might mean a part is loose or overheating. Turn it off and check the manual. If the noise persists or is concerning, call a technician.
The Heater Feels Too Hot: The outside casing of the heater will get warm. This is normal. But if it’s so hot you can’t touch it for more than a second, that’s a sign.
It could mean the heater is working too hard. Or it’s not getting enough ventilation. Or it’s just too powerful for the space and placement.
Again, turn it off. Check clearances. Ensure nothing is blocking airflow.
If the problem continues, it might need professional service.
Reduced Effectiveness: If you notice your heater isn’t warming the room as well as it used to, it could be a placement issue. Perhaps something has moved closer. Or maybe the wall behind it is absorbing too much heat.
Check that the heater is clean. Dust can reduce its efficiency. Ensure there are no obstructions.
Sometimes, a simple clean-up can solve this.
I had a situation where a client’s infrared heater stopped working well. It was mounted on an interior wall. They had put up some decorative shelves.
These shelves were about 10 inches away from the heater. The manual called for 18 inches. The heat was being blocked.
It wasn’t reaching the room. It was reflecting back. This made the heater work harder.
And it wasn’t warming the space. We moved the shelves. We increased the clearance.
The heater worked like new. It was a simple fix, but it highlights how important clear space is.
Troubleshooting Quick Tips
Smell Burning? Turn off, unplug, inspect, and cool down. Never ignore this.
Wall Discolored? Increase clearance or add a heat shield. If damaged, consult a pro.
Loud Noises? Check manual for normal sounds. If unusual, power off and investigate.
Heater Too Hot to Touch? Ensure proper airflow and clearance. Consider professional check.
Not Heating Well? Check for obstructions and clean the unit. Review placement for efficiency.
Best Practices for Infrared Heater Installation
To get the most out of your infrared heater and keep your home safe, follow these best practices. They are easy to remember and implement. They are based on how these heaters work best.
Always Read the Manual First: I’m repeating this because it’s crucial. The manual has specific safety and installation instructions for your exact model. Do not skip this step.
Measure Twice, Drill Once: Before you mount anything, measure all clearances carefully. Use a level. Ensure the heater is straight.
Incorrect mounting can affect how it heats and its safety.
Consider the Heat Pattern: Infrared heaters send heat forward. Think about where you want that heat to go. Do you want to warm a specific seating area?
A desk? Or a general zone? Place the heater so its heat is directed where it’s needed most.
This avoids wasting energy.
Avoid Direct Facing of Sensitive Materials: If possible, don’t aim the heater directly at delicate fabrics, plastics, or treated wood surfaces that are very close. Even with proper clearance, intense radiant heat can cause damage over time.
Use Studs for Mounting: When mounting to drywall, always try to secure the heater to wall studs. This ensures a strong, secure fit. It prevents the heater from pulling away from the wall, which could create a safety hazard.
Test Before Full Use: After installation, turn the heater on for a short period. Stand back and observe. Does it feel like it’s heating the intended area?
Is there any unusual smell or noise? Check the wall behind and around the heater after 15-20 minutes. It should feel warm, but not hot to the touch.
Regular Cleaning: Keep the heater clean. Dust and debris can reduce its efficiency. It can also become a fire hazard if it builds up on the heating elements.
Unplug the heater before cleaning. Use a soft brush or a vacuum cleaner attachment.
Understand Your Climate: If you live in a very cold climate, an infrared heater might be a great supplement. But it might not be enough as a sole heat source in extreme cold. Understand its limitations.
It’s great for zone heating. It’s excellent for making a room feel much warmer quickly.
I helped a friend set up a radiant panel heater in his workshop. He had a large, open space. He mounted it on an interior wall that faced his workbench.
He followed all the clearance rules. He made sure the wall was sturdy. He also made sure nothing was directly in front of it.
It made a huge difference. He could work comfortably even when it was cold outside. He said it was the best heating upgrade he ever made.
It was all about careful planning and following the rules.
Infrared Heater: Do’s and Don’ts
Do: Read the manual.
Don’t: Mount too close to the wall.
Do: Consider heat direction.
Don’t: Block airflow.
Do: Use studs for mounting.
Don’t: Ignore strange smells or noises.
Do: Clean regularly.
Don’t: Overestimate its power for a large space.
When to Consult a Professional
While many infrared heater installations are straightforward, there are times when it’s best to call in an expert. Don’t hesitate to get professional help. It’s better than risking damage or injury.
Electrical Concerns: If you are unsure about your home’s wiring, circuits, or need to install a new outlet, hire a qualified electrician. Infrared heaters can draw a lot of power. Incorrect wiring is a major fire risk.
An electrician can ensure the installation is safe and up to code.
Complex Mounting Situations: If you have an unusual wall material, like very old plaster, or a unique mounting surface, a professional installer might know the best way to secure the heater safely. They can also advise on whether additional support or a heat shield is needed.
Heater Malfunctions: If your heater is not working correctly, making strange noises, or smells odd after you’ve followed all troubleshooting steps, it’s time to call a repair technician. Some models might be under warranty. A professional can diagnose and fix the problem without causing further damage.
Doubts About Placement: If you’re still unsure about the best placement for your heater, even after reading the manual, consult a heating specialist or a qualified installer. They can assess your room and advise on the optimal and safest location for efficient heating.
Home Modifications: If installing the heater requires any modification to your home’s structure, like cutting into walls or reinforcing mounting points, it’s wise to involve a contractor or handyman. This ensures structural integrity and safety.
I had a client who wanted to install a ceiling-mounted infrared heater. His ceiling had some old, uneven beams. He wasn’t sure how to attach it securely.
He hired a handyman. The handyman had the right tools and experience. He secured the mounting brackets firmly.
He made sure it was level and safe. It was a small cost for peace of mind. It prevented a potential accident.
Sometimes, that professional touch is exactly what’s needed.
Frequent Questions About Infrared Heater Wall Placement
Can I place an infrared heater directly opposite a window?
Yes, you can place an infrared heater opposite a window. However, windows can let heat escape. This might make your heater work harder.
It’s often more efficient to point it towards interior walls or furniture. This way, the heat stays inside your home longer.
Will an infrared heater damage my wallpaper?
It’s possible. If the heater is too close, the radiant heat can cause wallpaper to peel, bubble, or discolor. Always follow the manufacturer’s recommended clearance.
If you have delicate wallpaper, consider mounting the heater further away or using a heat shield.
Is it safe to mount an infrared heater above a fireplace?
Generally, no. Fireplaces produce heat and often have decorative elements. Mounting a heater directly above can cause overheating.
It can also damage the heater or the fireplace surround. Always check your heater’s manual and consider the combined heat sources.
Do infrared heaters need to be a certain distance from the ceiling?
Yes, most manufacturers specify a minimum distance from the ceiling. This allows for proper heat dissipation and prevents overheating of the ceiling material. Check your manual for the exact measurement.
Typically, it’s around 12 to 24 inches, but can vary.
Can I mount an infrared heater on a partition wall?
It depends on the partition wall’s construction. If it’s a standard drywall partition, follow the same rules as any interior wall. Ensure adequate clearance.
If the partition is flimsy or made of thin material, it might not be suitable for mounting. Consult the manual and consider reinforcing the mounting point if necessary.
What is the best type of wall for an infrared heater?
Solid, heat-resistant walls are generally best. This includes brick, stone, or thick plaster walls. Standard drywall interior walls can work if the manufacturer’s clearance guidelines are strictly followed.
Exterior walls are also suitable, though heat might be lost outward.
Conclusion
So, do infrared heaters need to be on an interior wall? The simple answer is no, they don’t have to be. But the placement is crucial.
Whether on an interior or exterior wall, safety and efficiency depend on following guidelines. Always prioritize clearance. Always read your heater’s manual.
This ensures you get cozy warmth without any worry.