How To Clean Reflectors On Infrared Heaters (Simple Steps)
Cleaning the reflectors on your infrared heater is crucial for maintaining its efficiency and heat output. This process involves safely powering down the unit, gently removing dust and debris with soft materials, and ensuring the reflectors are dry and reassembled correctly. Regular cleaning prevents heat loss and keeps your heater performing at its best.
Understanding Infrared Heater Reflectors
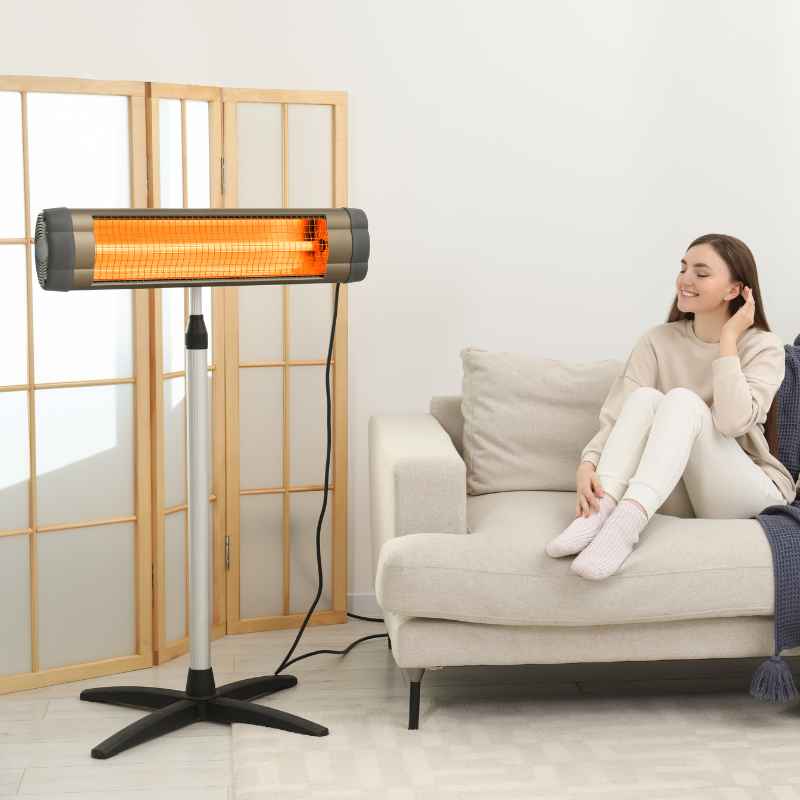
Infrared heaters work by converting electricity into radiant heat. This heat is then directed outwards to warm objects and people in a room. The reflector is a key part of this process.
It’s usually a shiny, curved surface inside the heater. Its job is to bounce the heat waves outward. Think of it like a mirror for heat.
Without a clean reflector, the heat can get trapped or scattered in the wrong direction. This means less warmth reaches you. It also makes the heater work harder than it needs to.
This can use more energy.
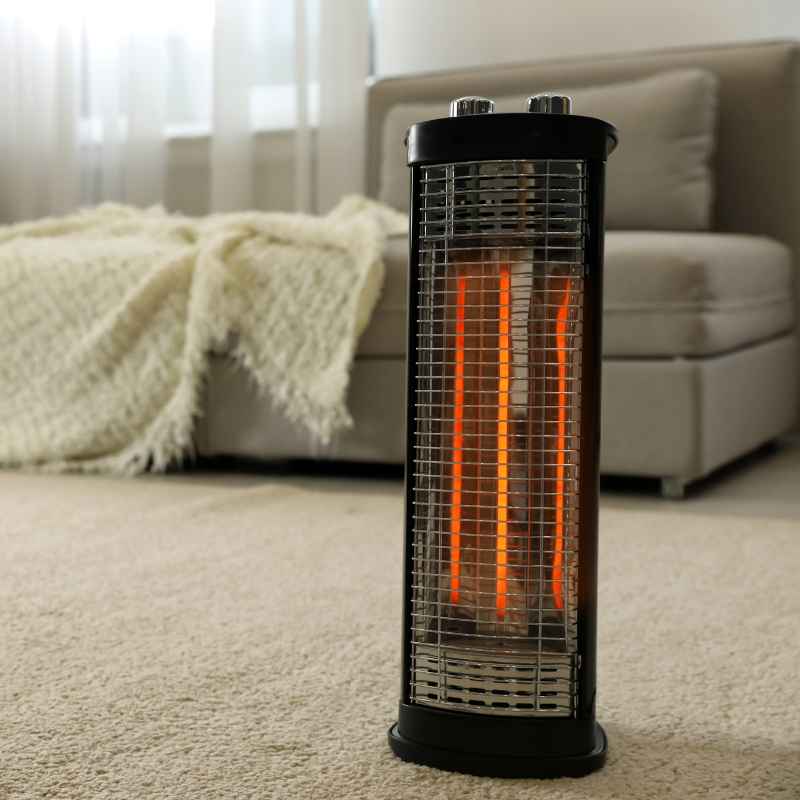
These reflectors are often made of polished metal, like aluminum. Over time, dust, grease, and other tiny particles from the air can settle on this shiny surface. This coating is not transparent.
It blocks the heat waves. It also makes the surface less shiny. A duller surface reflects less heat.
So, the heater doesn’t send out as much warmth. It’s like trying to see through a dusty window. Things look dimmer and less clear.
The same happens to the heat waves.
Why does this happen so much? Well, most homes have dust. It floats in the air.
When the heater is on, it can draw some of this air in. The dust sticks to the warm surfaces inside. Kitchens and living areas often have more airborne particles.
Cooking can create grease particles. Pet dander is also a common issue. Even tiny fibers from carpets and furniture can become airborne.
All these tiny bits land on the reflector.
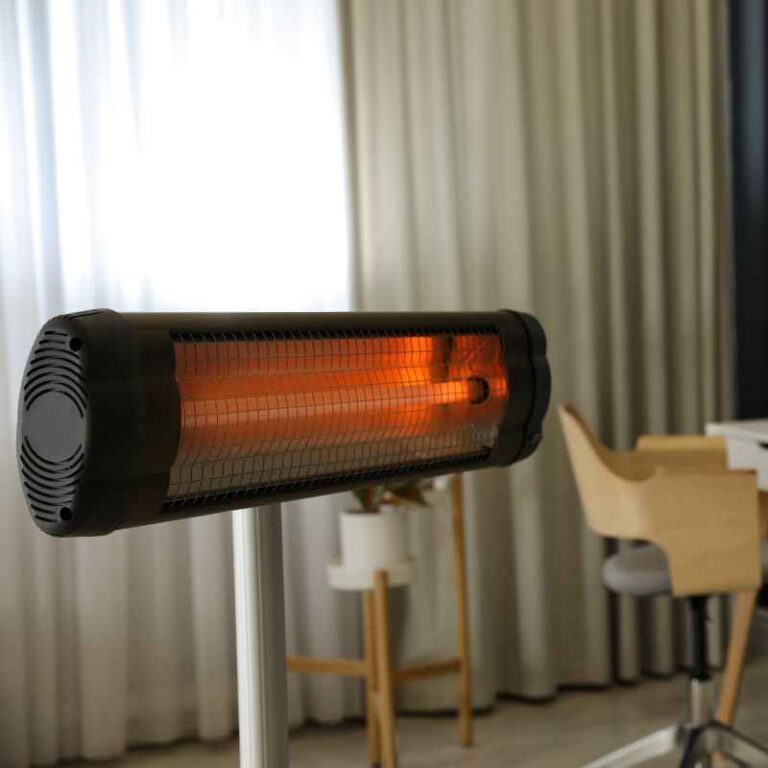
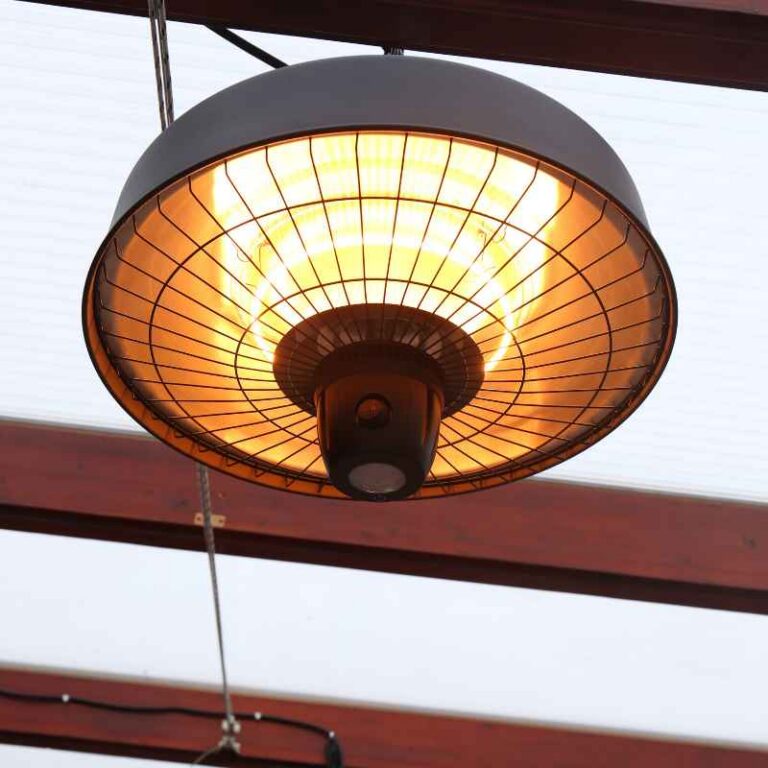
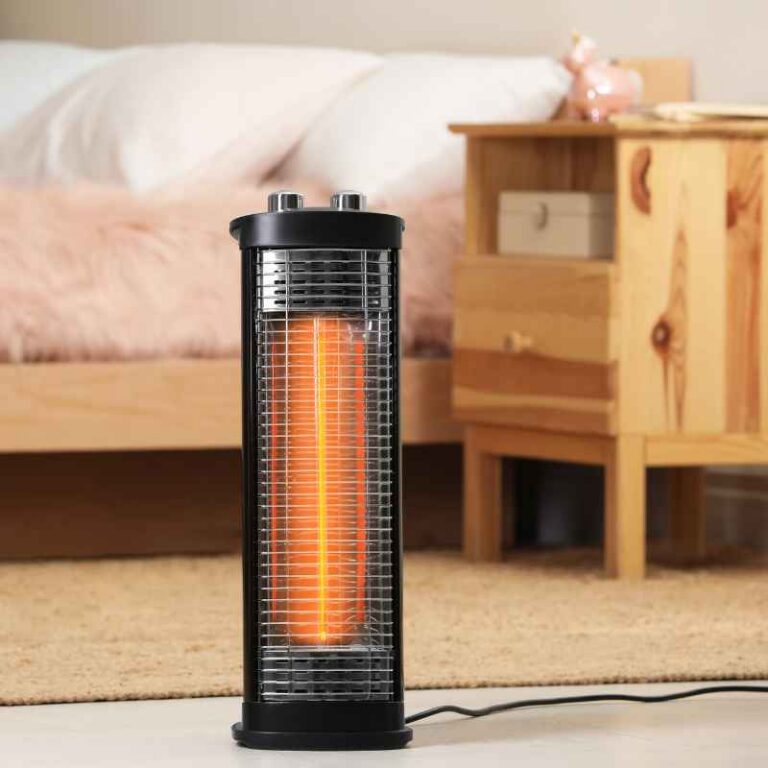
The type of infrared heater can also play a role. Some are portable units. Others are mounted on walls or ceilings.
Those in areas with more airflow might collect dust faster. If you live in a dry climate, dust can be more of a problem. Also, if the heater is used very often, the dust has more chances to accumulate.
Understanding this helps us see why cleaning is not just a chore. It’s really about making sure your heater does its job right.
My First Frustrating Experience with a Dim Heater
I remember one chilly autumn evening a few years back. I’d just moved into a new apartment. It had this sleek-looking infrared heater in the living room.
I was excited to try it out. I flicked the switch, expecting instant cozy warmth. But… nothing much happened.
The heating element glowed, sure, but the room stayed stubbornly cool. I fiddled with the settings. I checked if it was plugged in properly.
I even moved a chair closer, thinking maybe I was just being too far away.
Panic started to set in. Was the heater broken? Was I going to freeze all winter?
I felt a wave of annoyance wash over me. Moving to a new place should be exciting, not a constant battle with faulty appliances. I was sitting there, shivering slightly, staring at the heater.
I could see a faint orange glow, but it didn’t feel like it was reaching me at all. It was frustrating, like a promise of warmth that wasn’t being kept. I felt a bit helpless.
Then, it hit me. I remembered reading somewhere that infrared heaters have parts that need cleaning. I peered closer at the heater’s casing, trying to see inside.
The glow was coming from elements behind a protective grille. And on the inside edges, behind those elements, I could see… dust. A lot of dust.
It looked like a furry grey blanket had settled on the shiny parts. That’s when I realized my problem might be a simple, dusty one. It was a moment of dawning realization mixed with a bit of embarrassment.
What You Need for Cleaning
Gathering your supplies is the first step. You don’t need fancy tools. Most things you probably already have at home.
Having the right items makes the job smooth and safe. This avoids any accidental damage to your heater. It also makes sure you clean effectively.
Safety first is always the motto here. We want to fix the heater, not create new problems.
Cleaning Kit Essentials
Soft Cloths: Microfiber cloths are best. They are gentle and don’t scratch. Have a few on hand.
You might need one for dusting and another for wiping.
Soft Brush: A clean paintbrush or a dusting brush works well. It can reach tight spots. It helps loosen dust before wiping.
Vacuum Cleaner with Brush Attachment: This is great for removing loose dust. It also helps suck up debris safely. Use it before you start wiping.
Mild Cleaning Solution (Optional): For tough grime, a mix of water and a tiny bit of mild dish soap can work. Use it sparingly. Always test on a small area first.
Gloves: To keep your hands clean. Also, some people prefer them for handling appliance parts.
Safety Glasses: To protect your eyes from any falling dust particles.
Make sure all your cloths are clean and dry. Using a dirty cloth will just spread more dirt around. A dry cloth is important for the final wipe.
We don’t want any moisture left behind. Moisture and electricity are not good friends. The brush should be one you only use for cleaning tasks.
This ensures it’s free of any old chemicals or debris. These simple steps make sure your cleaning is successful and safe.
Step-by-Step Guide to Cleaning Infrared Heater Reflectors
Cleaning your infrared heater’s reflectors is a straightforward process. It just needs a little care and attention. Remember, safety is the top priority.
Always disconnect the power before you begin. This is not a step you can skip. Even if the heater feels cool, there could still be a risk.
Electricity can be dangerous. So, always unplug it from the wall socket. Make sure it’s completely disconnected.
1. Power Down and Cool Off
First, turn off your infrared heater. Then, unplug it from the power outlet. It’s important to let the heater cool down completely.
This can take some time, maybe 30 minutes or more. Don’t rush this step. Touching any part of the heater that is still warm could cause a burn.
Safety first, always. Wait until it feels cool to the touch. This ensures you won’t get hurt.
2. Access the Reflectors
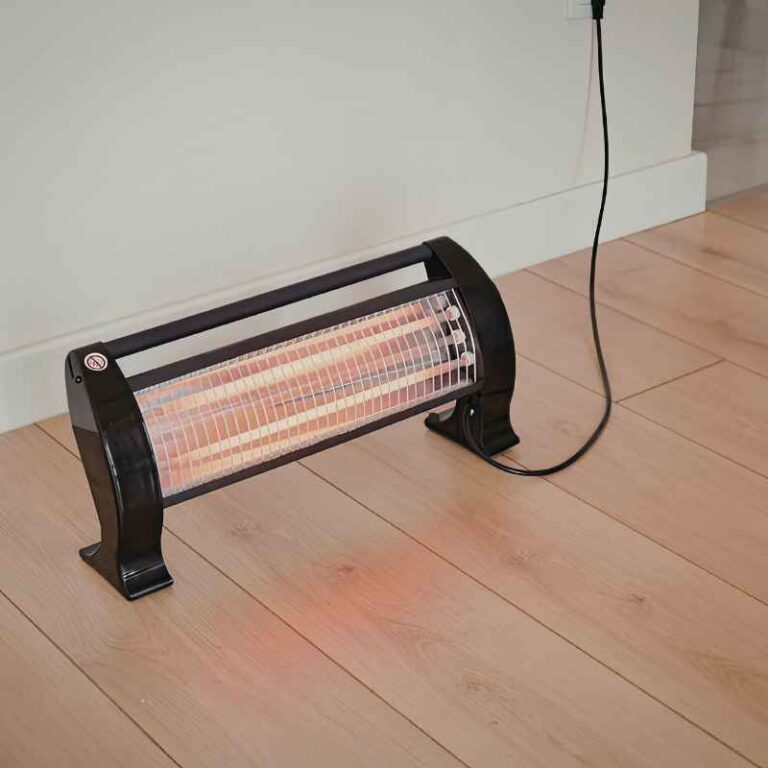
Now, you need to see the reflectors. How you do this depends on your heater model. Most portable heaters have a casing you can remove.
Look for screws on the back or sides. They might be Phillips head screws. You might need a screwdriver.
Some units might have clips. Gently pry open the casing. If you’re unsure, check your heater’s manual.
It will show you how to open it safely. Don’t force anything. For wall-mounted units, you might need to remove a grille or cover.
Again, the manual is your best friend here.
Take your time with this step. You don’t want to strip screws or break plastic parts. If the manual isn’t available, look for common ways units are assembled.
Often, the back panel is the easiest to access. Some heaters have a removable front grille that gives you access. Just be gentle.
Feel for any resistance. If something feels stuck, double-check for hidden screws or tabs. Once you can see the heating elements and the shiny reflector behind them, you’re ready for the next part.
3. Initial Dust Removal
Once the reflectors are visible, you can start cleaning. Use your vacuum cleaner with the soft brush attachment. Gently go over the reflectors.
This will suck up loose dust and debris. Pay attention to the areas around the heating elements too. Be careful not to push down too hard.
You don’t want to bend or damage the reflectors. This step removes the most visible dust. It makes the wiping process much easier.
It also prevents you from just smearing thick dust around.
After vacuuming, take your clean, dry, soft brush. Gently brush away any remaining dust. Start from the top and work your way down.
This helps the dust fall away. Brush it towards the bottom opening of the heater if possible. You can also use the brush to get into corners or around the edges of the reflectors.
This pre-cleaning step is vital. It ensures that the next step, wiping, is done on a surface that is mostly free of loose particles. This avoids scratching.
4. Gentle Wiping
Now, take a clean, dry microfiber cloth. Gently wipe the surface of the reflectors. Use a light touch.
You are just trying to remove the fine film of dust that the brush and vacuum missed. Move the cloth in one direction. This helps create a uniform finish.
Don’t rub back and forth aggressively. That can create streaks. If the reflectors seem very dirty, you can use a slightly damp cloth.
Make sure the cloth is just barely damp. It should not be wet. Wring it out extremely well.
If you use a damp cloth, you must let the reflectors dry completely. Air drying is best. Make sure there is no moisture left at all.
You can use a separate dry microfiber cloth to gently buff the surface after it dries. This helps restore its shine. Be very careful not to leave any lint behind.
Some people worry about using any liquid at all. If that’s you, stick to just dry cloths and brushes. A truly stubborn spot might need a tiny bit of mild cleaner.
But usually, dry or very lightly damp is enough. The goal is to make them shiny again.
Tackling Stubborn Grime
Mild Soap Solution: Mix a drop or two of mild dish soap with a cup of warm water. Dampen a corner of your microfiber cloth with this solution. Wring it out until it’s almost dry.
Gentle Wipe: Lightly wipe the grimy spots. Do not scrub hard. You are only trying to lift the dirt.
Rinse (if needed): Dampen a clean section of the cloth with plain water. Wring it out thoroughly. Wipe the area again to remove any soap residue.
Dry Thoroughly: Use a dry, clean microfiber cloth to completely dry the reflector. Ensure no moisture remains before reassembling.
Warning: Always check your heater’s manual. Some manufacturers advise against any liquid cleaners. If in doubt, stick to dry methods only.
Remember, these reflectors are designed to be super shiny. Their job is to bounce heat. Any film or residue dulls that shine.
So, a good clean can make a big difference. You want them to look like new mirrors. This ensures they are doing their best work.
It’s like polishing your car’s headlights. They shine brighter and make driving safer. Here, the reflectors shine brighter and make your room warmer.
5. Reassembly
Once you are absolutely sure the reflectors are clean and dry, it’s time to put everything back together. Carefully reattach the casing or grille. Make sure all screws are put back in their correct places.
Don’t overtighten the screws. You could crack the plastic. If your unit had clips, ensure they snap back securely into place.
Double-check that all panels are flush. There should be no gaps where dust can easily enter later. This step is important for safety and for keeping the heater’s interior clean.
It’s always a good idea to do a final visual check. Make sure no tools or cloths were left inside the heater. Close up the unit completely.
Ensure it looks just like it did before you started. Sometimes, after cleaning, you might notice a slightly different sound or how the heater sits. Just make sure everything feels secure.
A well-reassembled heater is a safe heater. This brings us to the final step: testing it out.
6. Test Run
Plug your heater back into the wall outlet. Turn it on. You should notice a difference right away.
The glow from the heating elements might seem brighter. More importantly, you should feel a stronger wave of warmth coming from it. The heat should reach you more effectively.
Your room should start to warm up faster. It’s a satisfying feeling when you see the results of your work. If it doesn’t seem much better, double-check your work.
Did you miss a spot? Was the unit cool enough?
Sometimes, it might take a few minutes for the heater to reach full operational temperature. But you should definitely feel an improvement. The heat should feel more direct and powerful.
This is the direct result of those clean, shiny reflectors doing their job perfectly. It’s a great reminder that simple maintenance can save you money and keep you comfortable. You’ve brought your heater back to life!
Quick Scan: Cleaning Checklist
- Unplug & Cool: Safety first.
- Open Up: Access reflectors carefully.
- Vacuum Dust: Remove loose debris.
- Brush Gently: Loosen settled dust.
- Wipe Clean: Use dry or slightly damp cloth.
- Dry Fully: No moisture left.
- Reassemble: Securely put back together.
- Test Heat: Feel the difference.
Real-World Context and Scenarios
Where you use your infrared heater can greatly impact how often it needs cleaning. In a busy kitchen, for example, airborne grease particles are common. These can stick to the reflectors and become quite stubborn.
A heater used in a workshop might collect sawdust. In a bedroom, it might be mostly dust and maybe pet dander. Each environment presents its own cleaning challenges.
Understanding your specific situation helps you know what to expect.
Consider the age of your home too. Older homes might have more dust. They might also have more drafts.
Drafts can pull dust into the heater more quickly. Newer, more tightly sealed homes might have better air quality. But they can also get stuffy.
Stuffy air can sometimes contain more concentrated dust. The habits of the people living there also matter. Do you dust regularly?
Do you run air purifiers? These actions affect the air quality inside your home.
The design of the heater itself plays a role. Some heaters have grilles that are easy to open. Others are more sealed.
If your heater is difficult to open, you might be tempted to skip cleaning. But that’s when problems can start. Look for heaters that are designed for easier maintenance.
User-friendly access points are a big plus. The materials used for the reflectors also matter. Most are durable, but rough cleaning can still damage them.
Finally, how often you use the heater is a big factor. A heater that runs all day, every day, will collect dust much faster. A unit used only for a few hours on a cold evening will likely stay cleaner for longer.
In general, it’s a good idea to check your heater’s reflectors at least once a year. If you notice a drop in performance, check them sooner. It’s better to do a quick clean than to let dirt build up for years.
What This Means for You
Is a bit of dust on your heater’s reflectors normal? Absolutely. Most homes have dust.
It’s a part of everyday life. You don’t need to panic if you see a little bit of dust. It doesn’t mean your heater is broken.
It just means it’s being used, and it’s collecting particles from the air. This is especially true for heaters that draw air in. They are essentially acting like mini air filters.
When should you worry? You should worry if the dust build-up is thick and heavy. If it looks like a solid layer, it’s definitely impacting performance.
You should also worry if you see any signs of scorching or discoloration on the reflectors. This could indicate a more serious issue. If cleaning doesn’t seem to improve the heat output, that’s another sign something might be wrong.
It’s not just about the dust anymore.
Here are some simple checks you can do. After cleaning, does the heater glow as brightly as it used to? Does the heat feel more direct and strong?
Can you feel the warmth spreading across the room more effectively? If the answer to these is yes, then your cleaning was successful. You’ve restored its performance.
If the answer is no, it might be time to consult your heater’s manual again. Or, it might be time to call a professional. Don’t try to fix internal electrical issues yourself.
Remember, the goal is to keep your heater running efficiently. A clean heater uses less energy to produce the same amount of heat. This can save you money on your electricity bills.
It also means your heater lasts longer. Regular, simple maintenance like cleaning the reflectors is an investment. It keeps you comfortable and saves you money in the long run.
It also ensures your home stays warm and cozy when you need it most.
Quick Fixes and Tips for Maintenance
Keeping your infrared heater in top shape involves more than just cleaning the reflectors. Think of it as a little tune-up for your comfort. These tips are easy to follow.
They help your heater run better and last longer.
Proactive Heater Care
Regular Dusting: Dust the outside of your heater often. This prevents dust from building up inside.
Air Quality: Use air purifiers. This reduces the amount of dust in the air. It helps keep the heater cleaner.
Placement Matters: Don’t place heaters too close to dusty surfaces. Avoid placing them in corners where dust collects easily.
Listen Up: Pay attention to any strange noises. Unusual sounds can be an early warning sign.
Inspect Regularly: Look for any signs of damage. Check cords and plugs for wear and tear.
Manual is Key: Always refer to your owner’s manual for specific cleaning instructions. It’s the best guide for your model.
One big tip is to schedule your cleaning. Put it on your calendar. Maybe every six months.
Or once a year, before the cold season starts. This makes sure you don’t forget. It becomes a routine.
Just like changing air filters in your home. Another tip is to keep the area around the heater clear. This helps with airflow.
It also makes cleaning the heater itself easier.
When you’re cleaning, take a moment to inspect the power cord. Make sure it’s not frayed or damaged. If it looks worn, it’s safer to replace the heater than to risk an electrical fire.
Also, check the outlet it’s plugged into. Ensure it’s not loose or damaged. These small checks are part of overall home safety.
They ensure your heater is not just working well, but also safely.

Frequently Asked Questions About Heater Reflectors
How often should I clean the reflectors on my infrared heater?
It’s a good idea to check your infrared heater’s reflectors at least once a year. If you notice a decrease in heat output or the glow seems dimmer, it’s time for a cleaning. Homes with more dust, pets, or certain environmental factors might need cleaning more often, perhaps every 6 months.
Can I use glass cleaner on infrared heater reflectors?
It’s generally not recommended to use glass cleaner. Many glass cleaners contain ammonia or other chemicals. These can damage the reflective coating or leave a residue.
Stick to a mild soap and water solution or just a dry, soft cloth for cleaning.
What happens if I don’t clean the reflectors?
If you don’t clean the reflectors, dust and grime will build up. This build-up acts like a barrier. It blocks the infrared heat waves.
This means your heater will produce less effective heat. It will also have to work harder to try to warm the space, using more electricity.
Are all infrared heater reflectors made of the same material?
Most infrared heater reflectors are made of highly polished aluminum. This material is chosen for its excellent reflectivity. Some higher-end models might use different materials or coatings.
Always check your owner’s manual for specific details about your heater’s components.
My heater still doesn’t seem to heat well after cleaning. What else could be wrong?
If cleaning the reflectors doesn’t solve the problem, other issues could be at play. The heating element itself might be failing. There could be an electrical fault.
Or, the heater might simply be undersized for the room. Always consult your user manual. If you suspect a technical issue, contact a qualified technician or the manufacturer.
Can I use compressed air to clean the inside of my infrared heater?
Using compressed air can be effective for blowing out dust. However, be careful. It can blow dust into areas you can’t easily clean.
It can also push dust deeper into the heater’s components. If you use compressed air, do so gently. Ensure the heater is unplugged and allow dust to settle before proceeding with other cleaning steps.
Conclusion
Keeping your infrared heater’s reflectors clean is a simple yet vital task. It ensures you get the most warmth and efficiency from your appliance. By following these easy steps, you can restore your heater’s performance.
You’ll enjoy a cozier home. Don’t let dust dim your heat. A little effort goes a long way.
Your wallet and your comfort will thank you for it.